OnePlus phones are easy to root, but that also means they're easy to brick if you get trigger happy with your superuser privileges. If you find yourself in this situation, you'll quickly realize the OnePlus firmware download page doesn't provide files you can flash in Fastboot mode.
The official OnePlus firmware files are designed to be a failsafe. You flash them in recovery mode, and they overwrite every bit of data on your phone to put it back to a factory-fresh state.
But you usually don't need to start from scratch. If you installed a faulty root mod, you'd be fine if you only restored the system and boot partitions. Or if you want to root with Magisk, you just need the boot image to patch, but instead you get the entire set of factory images packed together in a payload.bin file. Thankfully, you can turn that payload.bin file into something useful.
Download the Factory OTA.zip
To get started, download your phone's factory firmware package (what OnePlus calls an OTA ZIP) by clicking the link below from a computer.
Click your phone model, then you'll be taken to the software update page for your phone. From there, hit the "Download" button to save the file onto your computer.
Extract the Payload.bin File
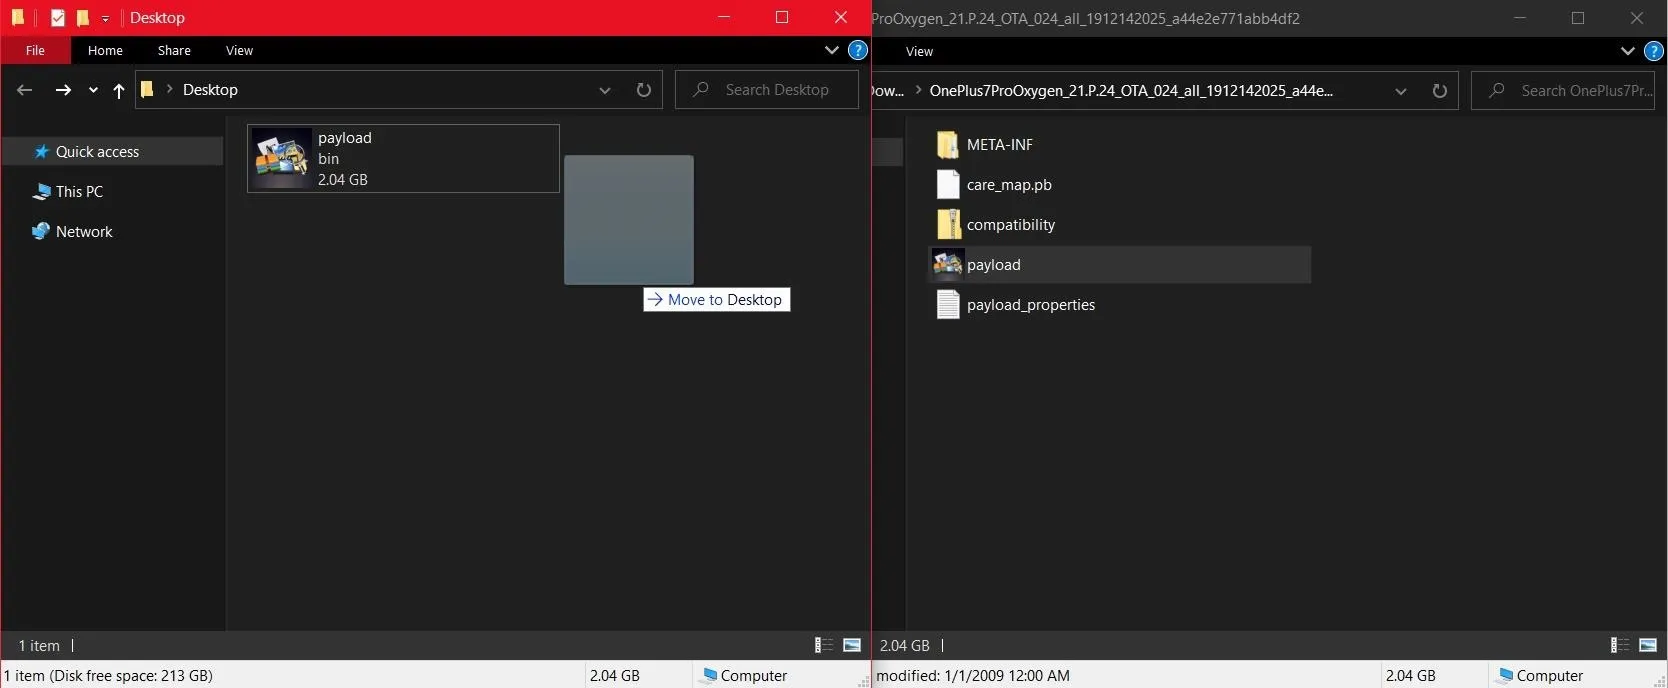
Now, extract the OTA firmware ZIP and locate the "payload.bin" file inside of it. This file holds all of the factory image files. Drag this file and drop it onto your desktop, then delete the original folder since you don't need anything else in it.
Install Python
The payload.bin file contains all the fastboot-flashable factory images you need, but you can't extract them with a normal archive utility. Instead, you'll need to use the Payload Dumper Tool, which itself runs in the Python programming language.
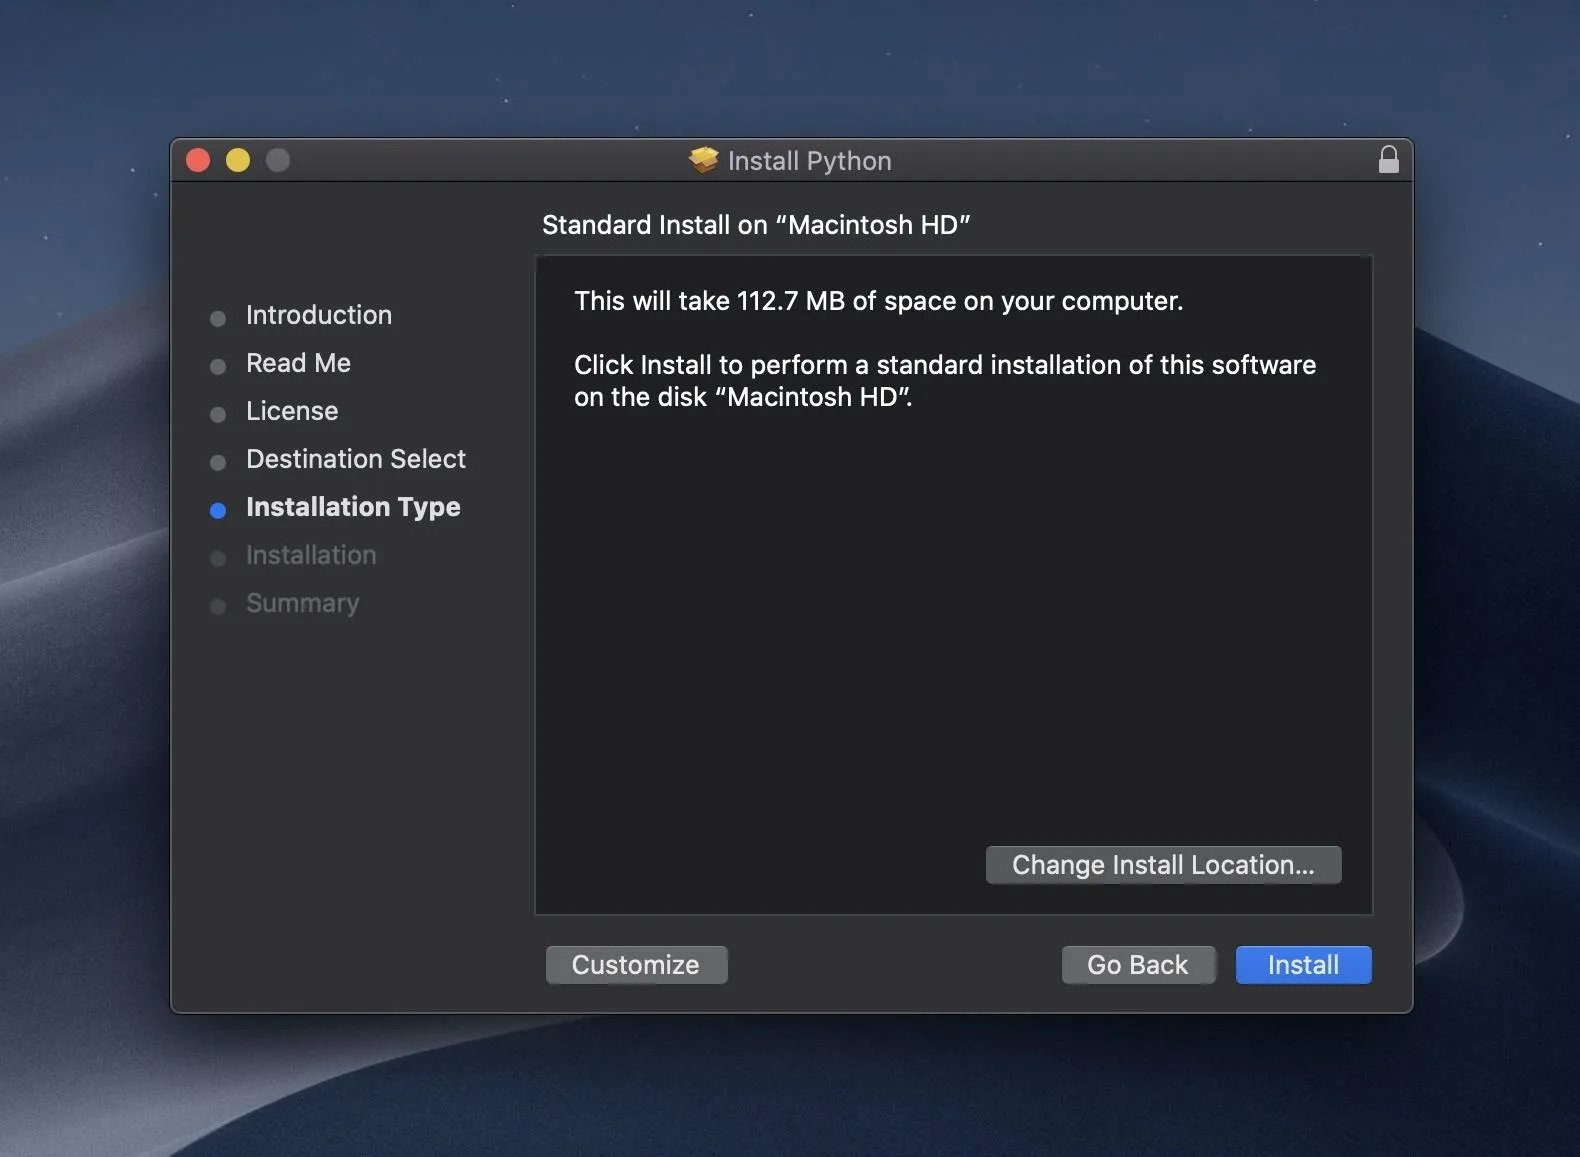
So next, you'll need to install Python on your computer. Hit up the one of the links below to download Python for your operating system. Once downloaded, open the installer file and click "Continue" or "Install Now," depending on your OS. Follow the prompts, clicking "Next" or "Continue" to wrap up installation.
Download the Payload Dumper Tool
Now that Python has been installed on your computer, the next thing you'll need to do is grab the Payload Dumper Tool by geminids14. This is what will be used to actually take the "payload.bin" file and crack it wide open, so you can view the core system image files. You can download the tool using the link below.
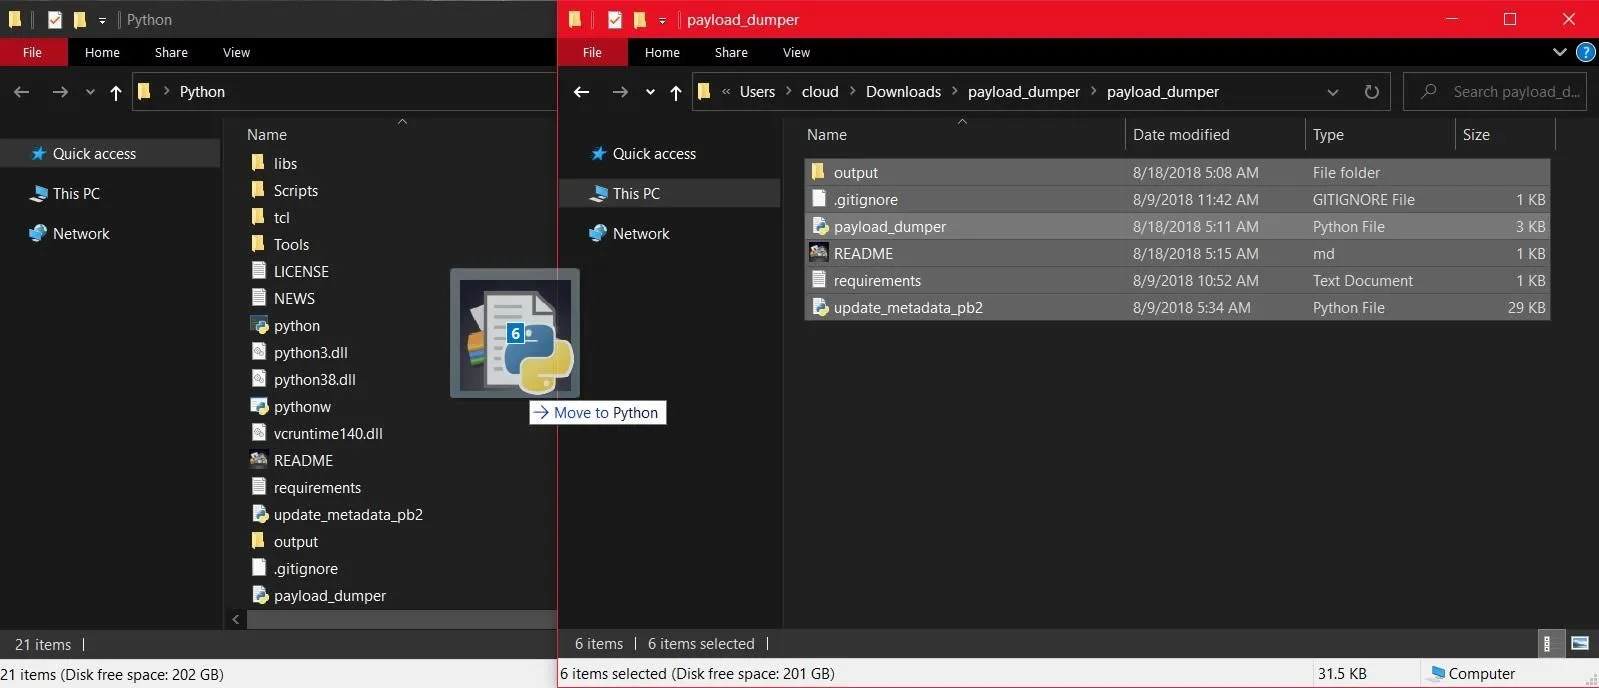
Once the Payload Dumper Tool has been downloaded, you need to extract and move its contents over to your newly installed Python folder from the previous step.
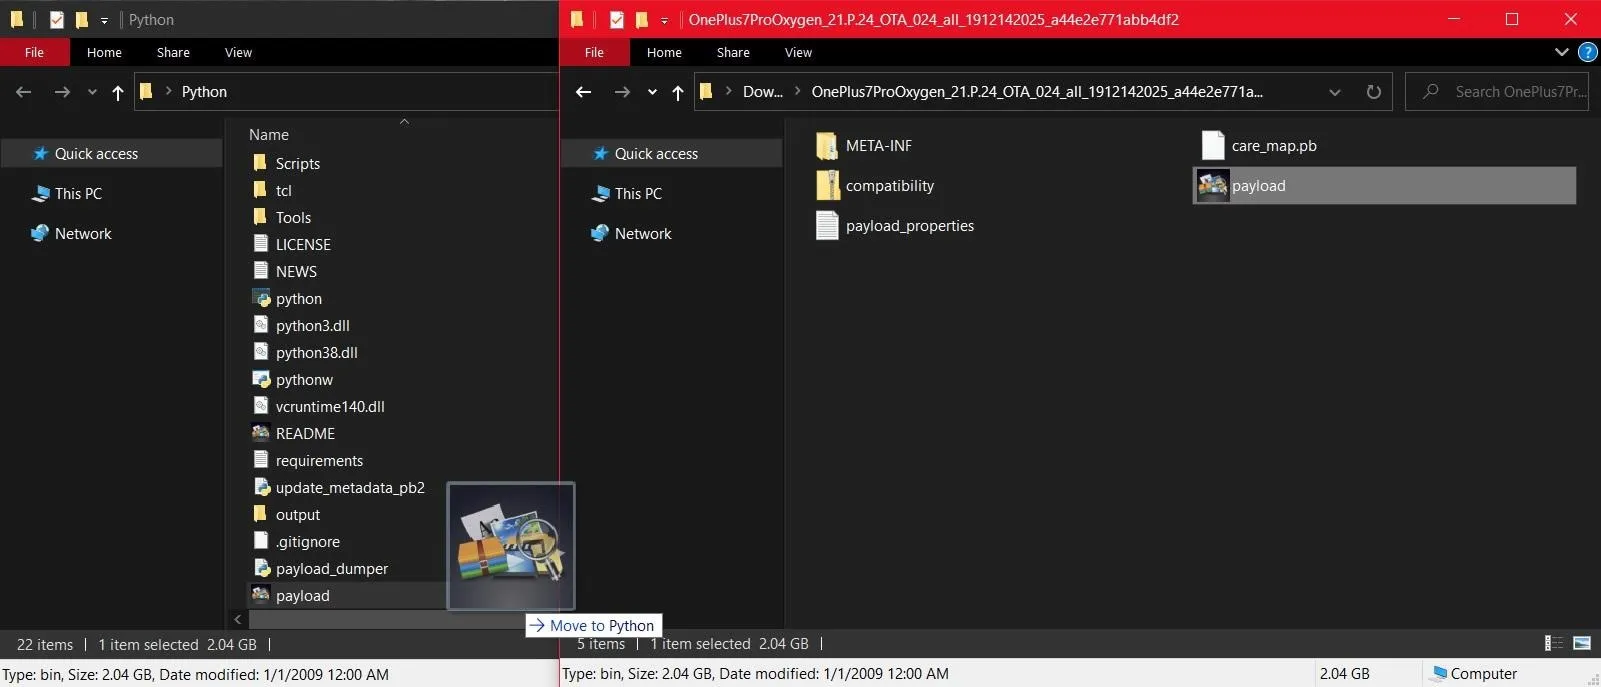
You also need to take your "payload.bin" file and put it in the same Python folder as well so that everything is in the same location.
Open a Command Window in the Python Folder
Now that you have all the necessary files in the Python folder, you need to open a command window before you can begin extracting the payload.bin file.
If you're using Windows, you can click the address bar in the Python folder, then type "cmd" and hit enter to open a command window right there. You can also hold the Shift key and right-click a blank spot in the Python folder, then select "Open PowerShell window here." Now the command window is ready to go! You can move onto the next step.
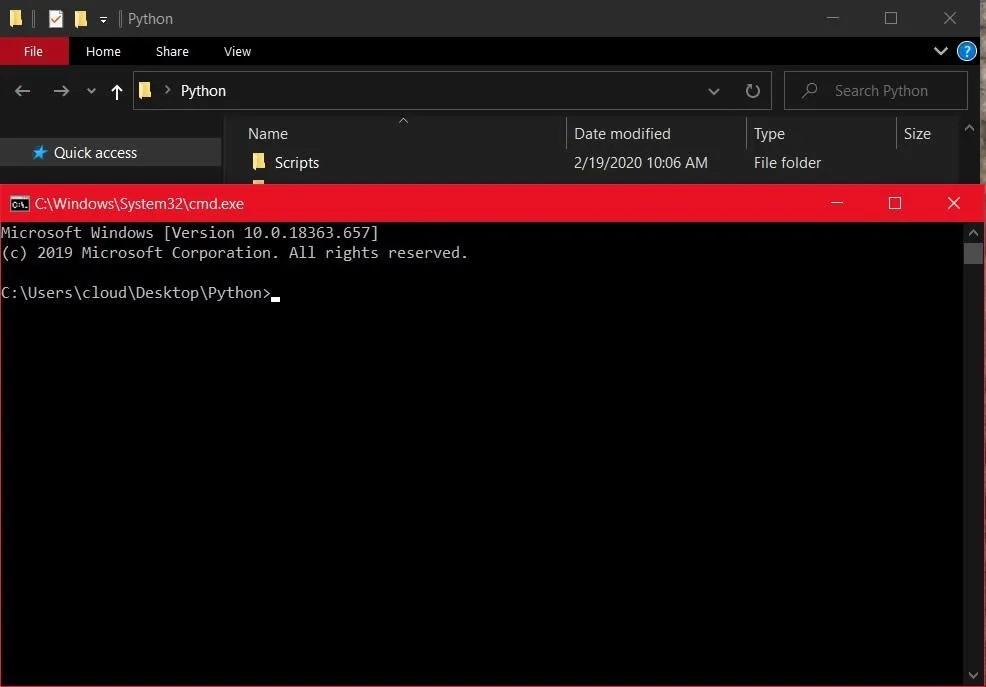
If you're using Mac or Linux, you can open the Terminal app, type "cd" and a space, then drag and drop the Python folder onto the command window itself. Hit enter and it will automatically link the Python folder to your Terminal app. Now the command window is ready to go! You can move onto the next step.
Extract the Payload.bin File
You're almost there now — the final step is to actually execute the proper commands and extract the payload.bin file. From the command window opened in the previous step, you'll want to copy and paste (or type) the following command, then hit enter to continue.
python -m pip install -r requirements.txtNote: Mac, Linux, and Windows PowerShell users might have to add a period and a slash before entering certain commands (e.g., ./python -m pip install -r requirements.txt).
The above command will download the required dependencies for the process of extracting the payload.bin file. It won't take long for that to finish up.
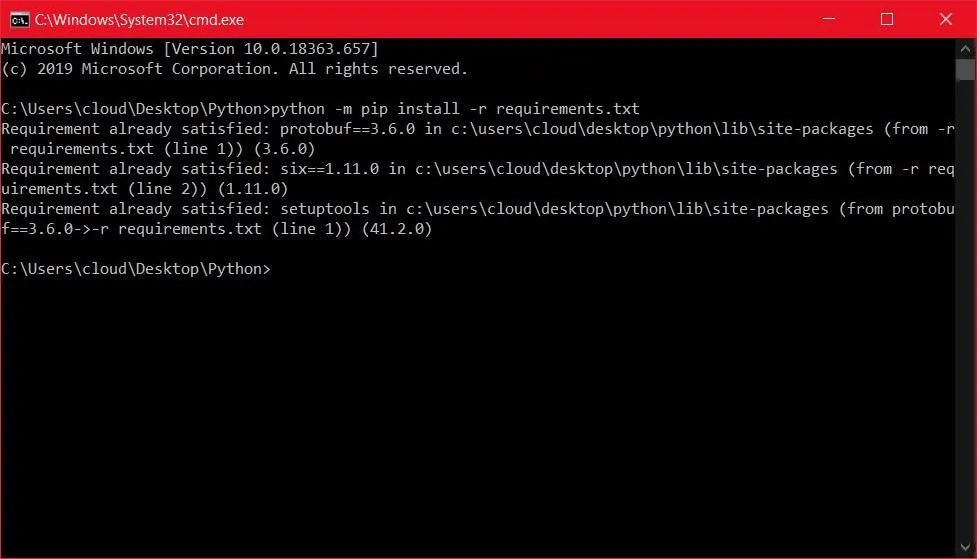
After that, you'll want to copy and paste (or type) the next command, then hit enter to continue.
python payload_dumper.py payload.binThe above command is where the magic happens — it will now begin breaking down your payload.bin file into individual system image files. Since this can take some time to complete, you'll need to have a bit of patience here.
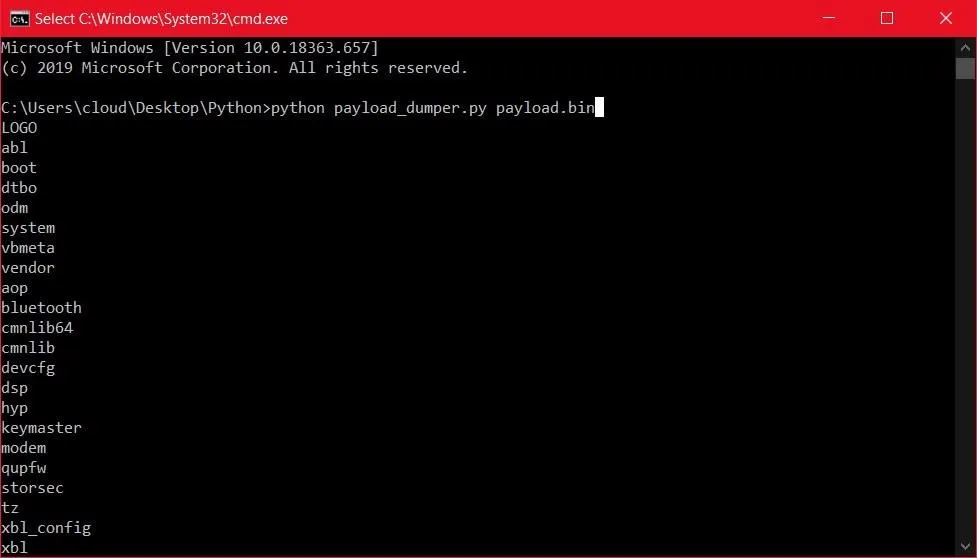
Once the entire process has successfully finished, all of the system image files extracted from the payload.bin file will be placed in the "Output" folder of your Python directory.
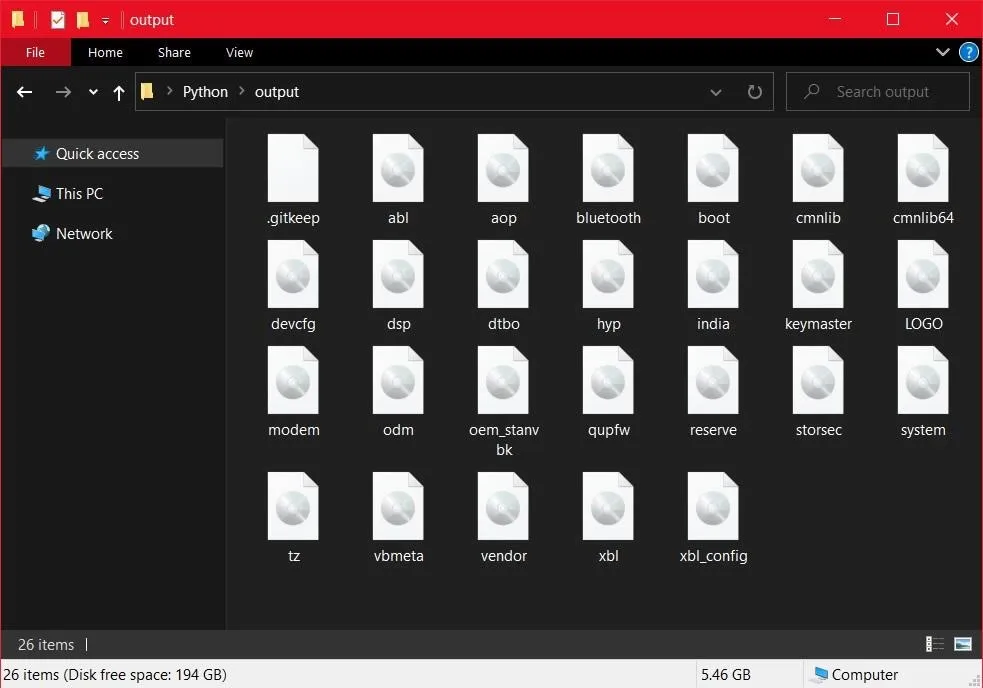
So yes, it takes a while, but now that you're set up, it should be a lot faster to do this again in the future if you ever need to. And now that you have standard factory image files, you can flash them easily with fastboot!
Cover photo and screenshots by Stephen Perkins/Gadget Hacks











Comments
Be the first, drop a comment!