


The OnePlus 5 had been in the hands of the public for a meager twenty hours before developers on XDA released a custom recovery image for it, and the 5T had a similar trajectory. The installation process is simple enough, but it can be somewhat confusing if you're new to modding Android.
If you're an old soul, you'll be happy to learn that there's nothing new or different when it comes to installing TWRP on the OnePlus 5 or 5T. Just unlock your bootloader then flash the TWRP image using fastboot. This will make it incredibly easy to flash a root ZIP like Magisk, and we'll show you how to do that with a separate guide linked out at the end of this one. But if that sounds like I'm talking in another language, keep on reading and it'll all become clear below.
- Don't Miss: The 5 Best Phones for Rooting & Modding
Requirements
- OnePlus 5
- Windows, Mac or Linux computer
- ADB and Fastboot installed
- USB data cable
- "Developer options" enabled
Enable 'OEM Unlocking' & Reboot to Bootloader Mode
Before you can begin modifying the OnePlus 5 or 5T in any way, you'll have to unlock the bootloader — otherwise, you'll be completely locked out of the system partition. But before you can unlock the bootloader, you'll need to enable a single option in your phone's Settings menu.
Head to the "Developer options" menu near the bottom of Settings, then enable the "OEM unlocking" option. After you've done that, it's time to boot the phone into bootloader mode.
To do so, power the device completely off. Then turn your phone back on by holding the power and volume up buttons for about ten seconds until the bootloader menu appears. Release the volume and power buttons when it does, and leave the phone on this menu.
Unlock Your Bootloader
When your phone is in bootloader mode, connect it to your computer with the USB data cable, then open up a Command Prompt or Terminal window. You'll need to change directories to the platform-tools folder inside of your ADB and Fastboot installation directory. This can be done using the command "cd
For Windows users, this directory can usually be found at "C:\Program Files (x86)\Android\android-sdk\platform-tools" (without the quotations, of course). For Mac and Linux users, this location varies depending on where you extracted your ADB folder when you installed the utility, so search your hard drive for the platform-tools folder if you've forgotten.
After the command prompt or terminal window is in the right directory, type in the following command:
fastboot flashing unlockNote: Linux, Mac, and Windows PowerShell users will have to add a period and a slash (./) to the front of the above command, e.g., ./fastboot flashing unlock

Hit enter after typing in the command, and you'll see a confirmation appear on your phone. Use the volume keys to select "Yes," then hit the power key to confirm. This command will unlock your phone's bootloader, which will also wipe all of your data. Your device will display a screen stating that your data is being wiped and will then reboot to the operating system when complete.
At this point, you'll need to set up your device again and re-enable Developer options and USB Debugging before continuing to Step 3, so be sure to do that.
Download & Flash the Latest Version of TWRP
After you've re-enabled USB Debugging, continue by downloading the latest version of TWRP for the OnePlus 5 or 5T to your computer.
After downloading the latest image, turn your phone off and boot into bootloader mode once again.
Next type the following command into the Command Prompt or Terminal window, then add a single space to the end, but don't hit enter just yet.
fastboot flash recoveryNote: Linux, Mac, and Windows PowerShell users will likely have to add a period and a slash (./) to the above command, e.g., ./fastboot flash recovery )

After that, open the folder on your computer where TWRP was downloaded, then click and drag the IMG file into the Command Prompt or Terminal window. This will populate the file name and full location for you. Once the entire download path is visible, hit enter and wait for the flashing to complete.
Reboot to TWRP & Make It Your Permanent Recovery
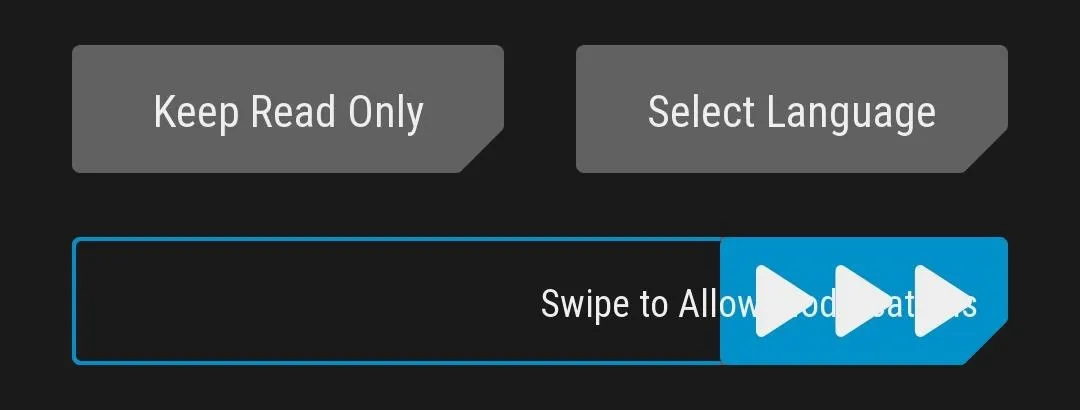
This step is perhaps the most important: Making sure TWRP sticks as your new custom recovery. So from the bootloader menu, use the volume rockers to select "Recovery mode" on your phone and confirm by pressing the power button. This will boot your phone into TWRP. When TWRP boots up, you'll see a screen asking you to enable system modifications. Swipe the bar on the bottom to allow it, which will make TWRP stick and avoid it getting replaced by the stock recovery interface the next time you reboot.
At this point, you're ready to start flashing ZIP and mods with TWRP. The interface is entirely touch-based, so even beginners should feel right at home. If you're ready to root your phone, use the "Don't Miss" link at the very bottom of this article to get started.
Decrypt Your Storage (Some Users)
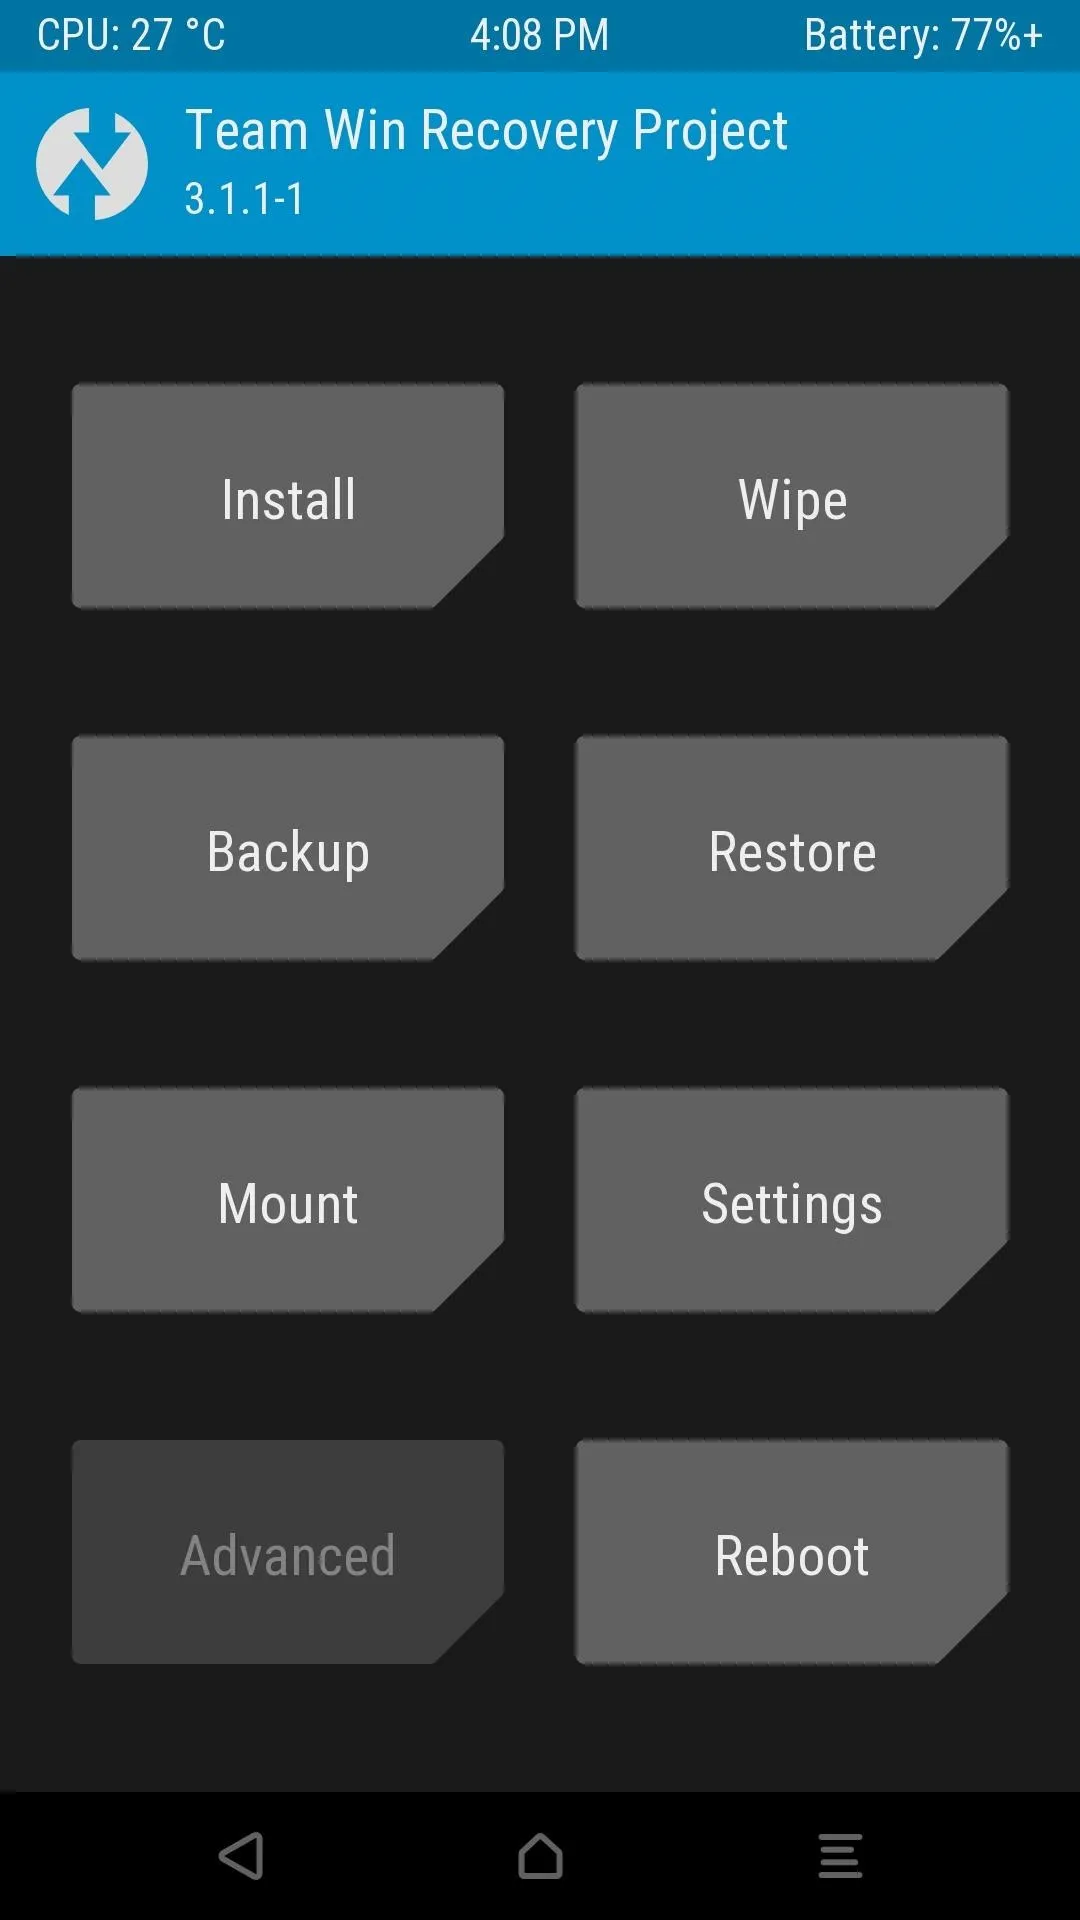
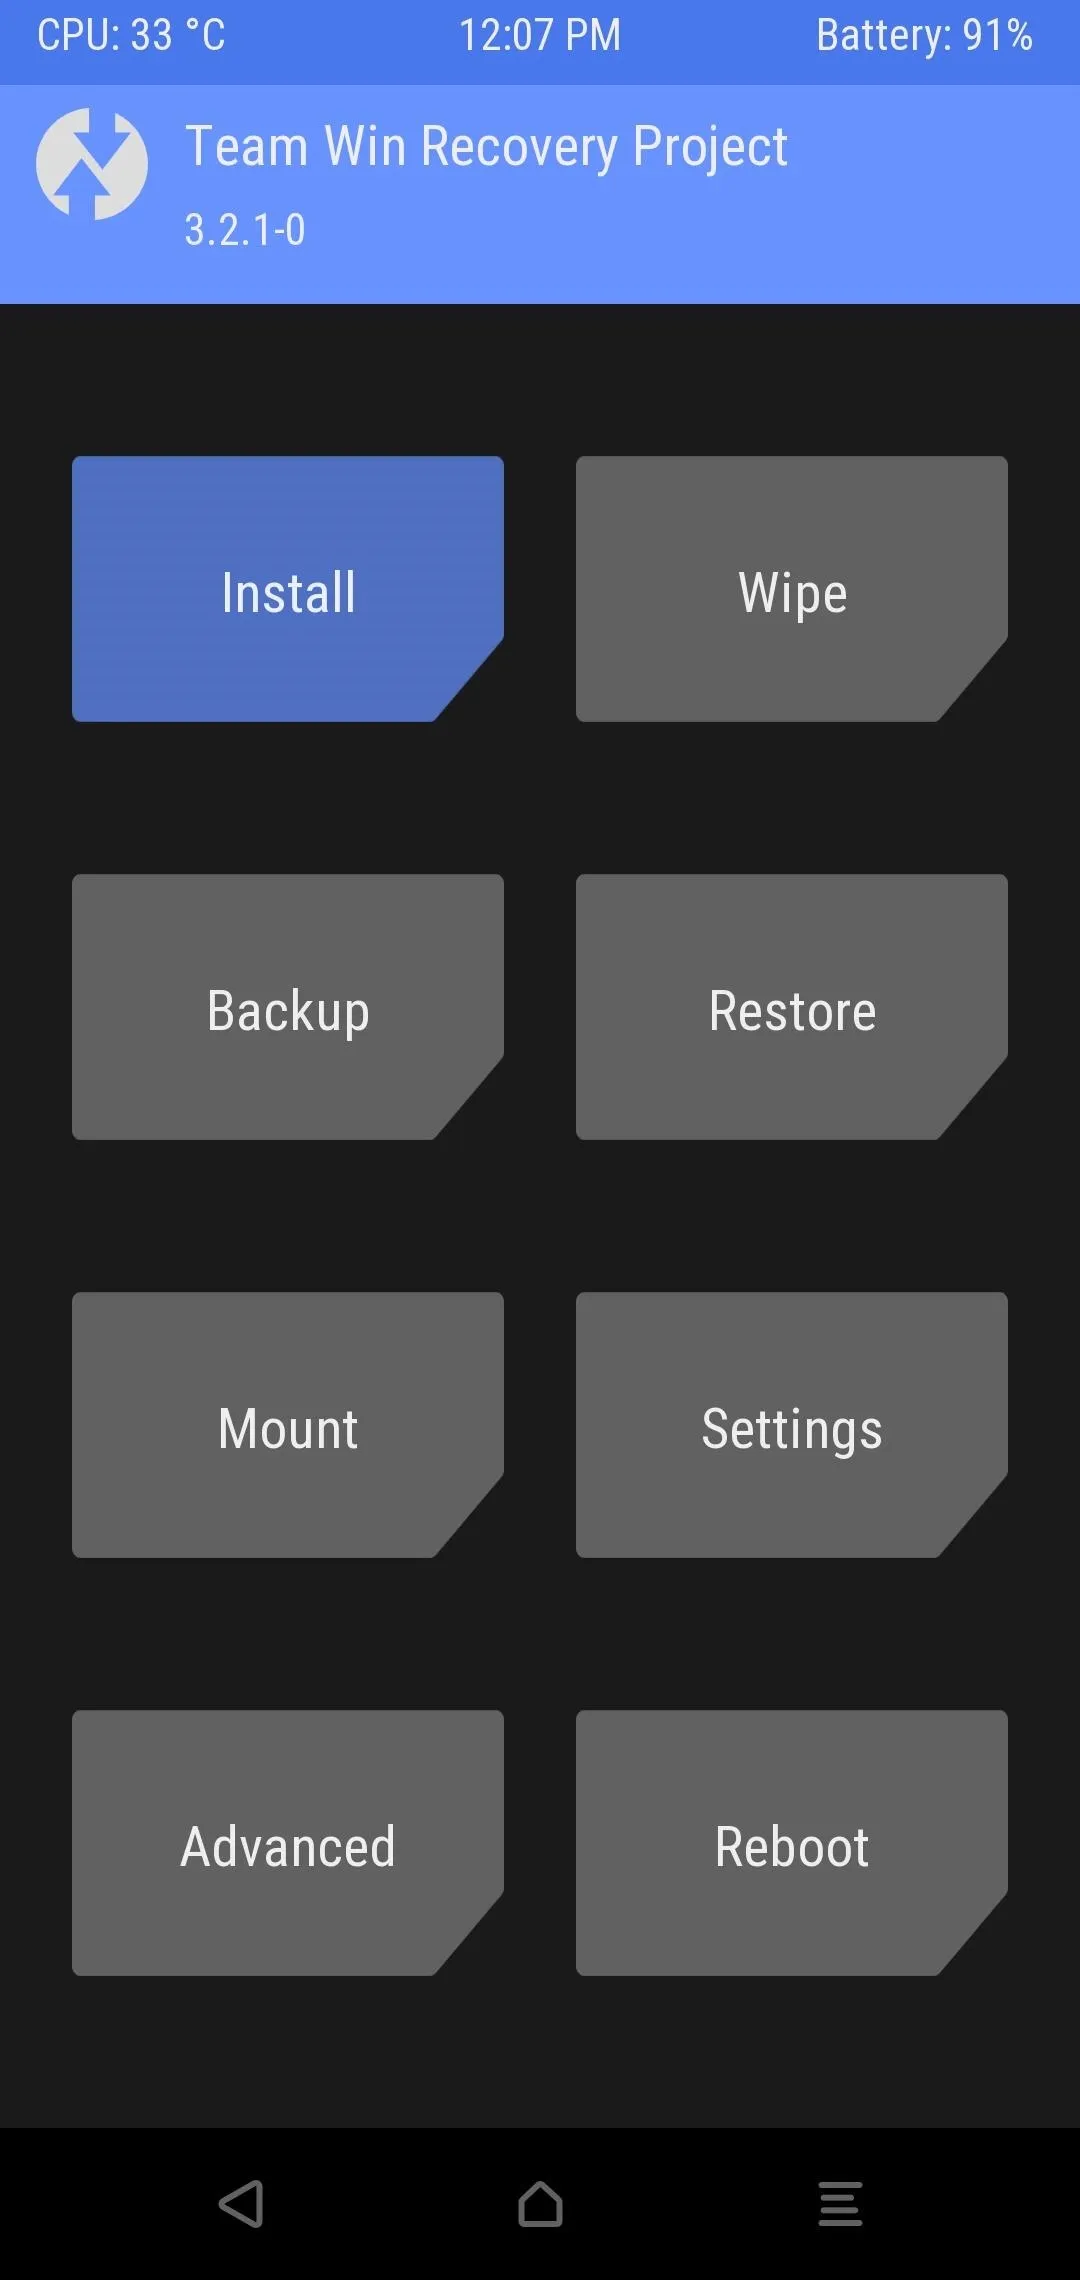
If you boot into TWRP and tap the "Install" button, you should be able to see the files on your phone's storage. If you don't see any files, you'll have to decrypt your phone's storage partition. To start with that, download this encryption-disabling file on your computer:
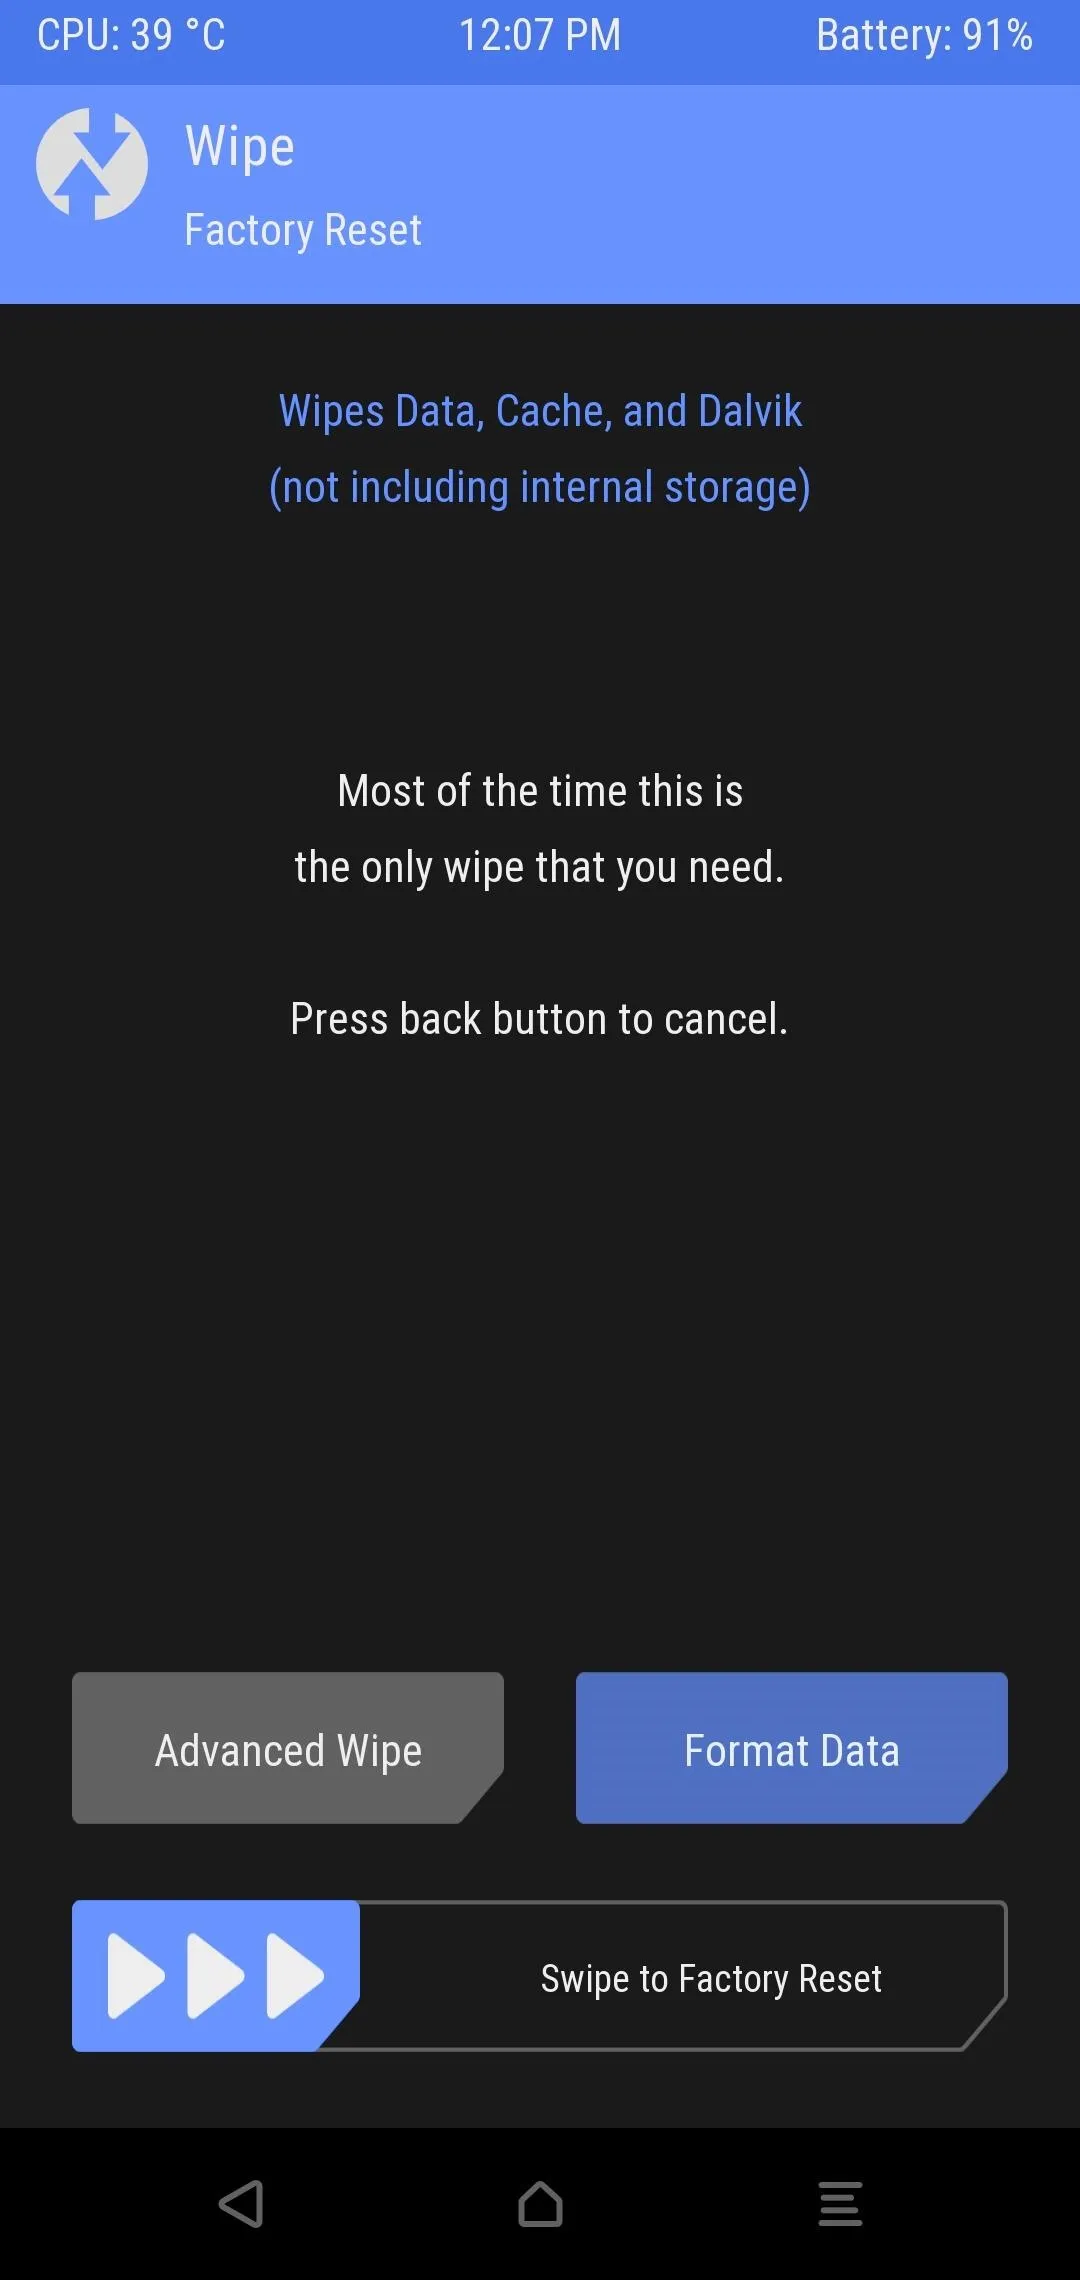
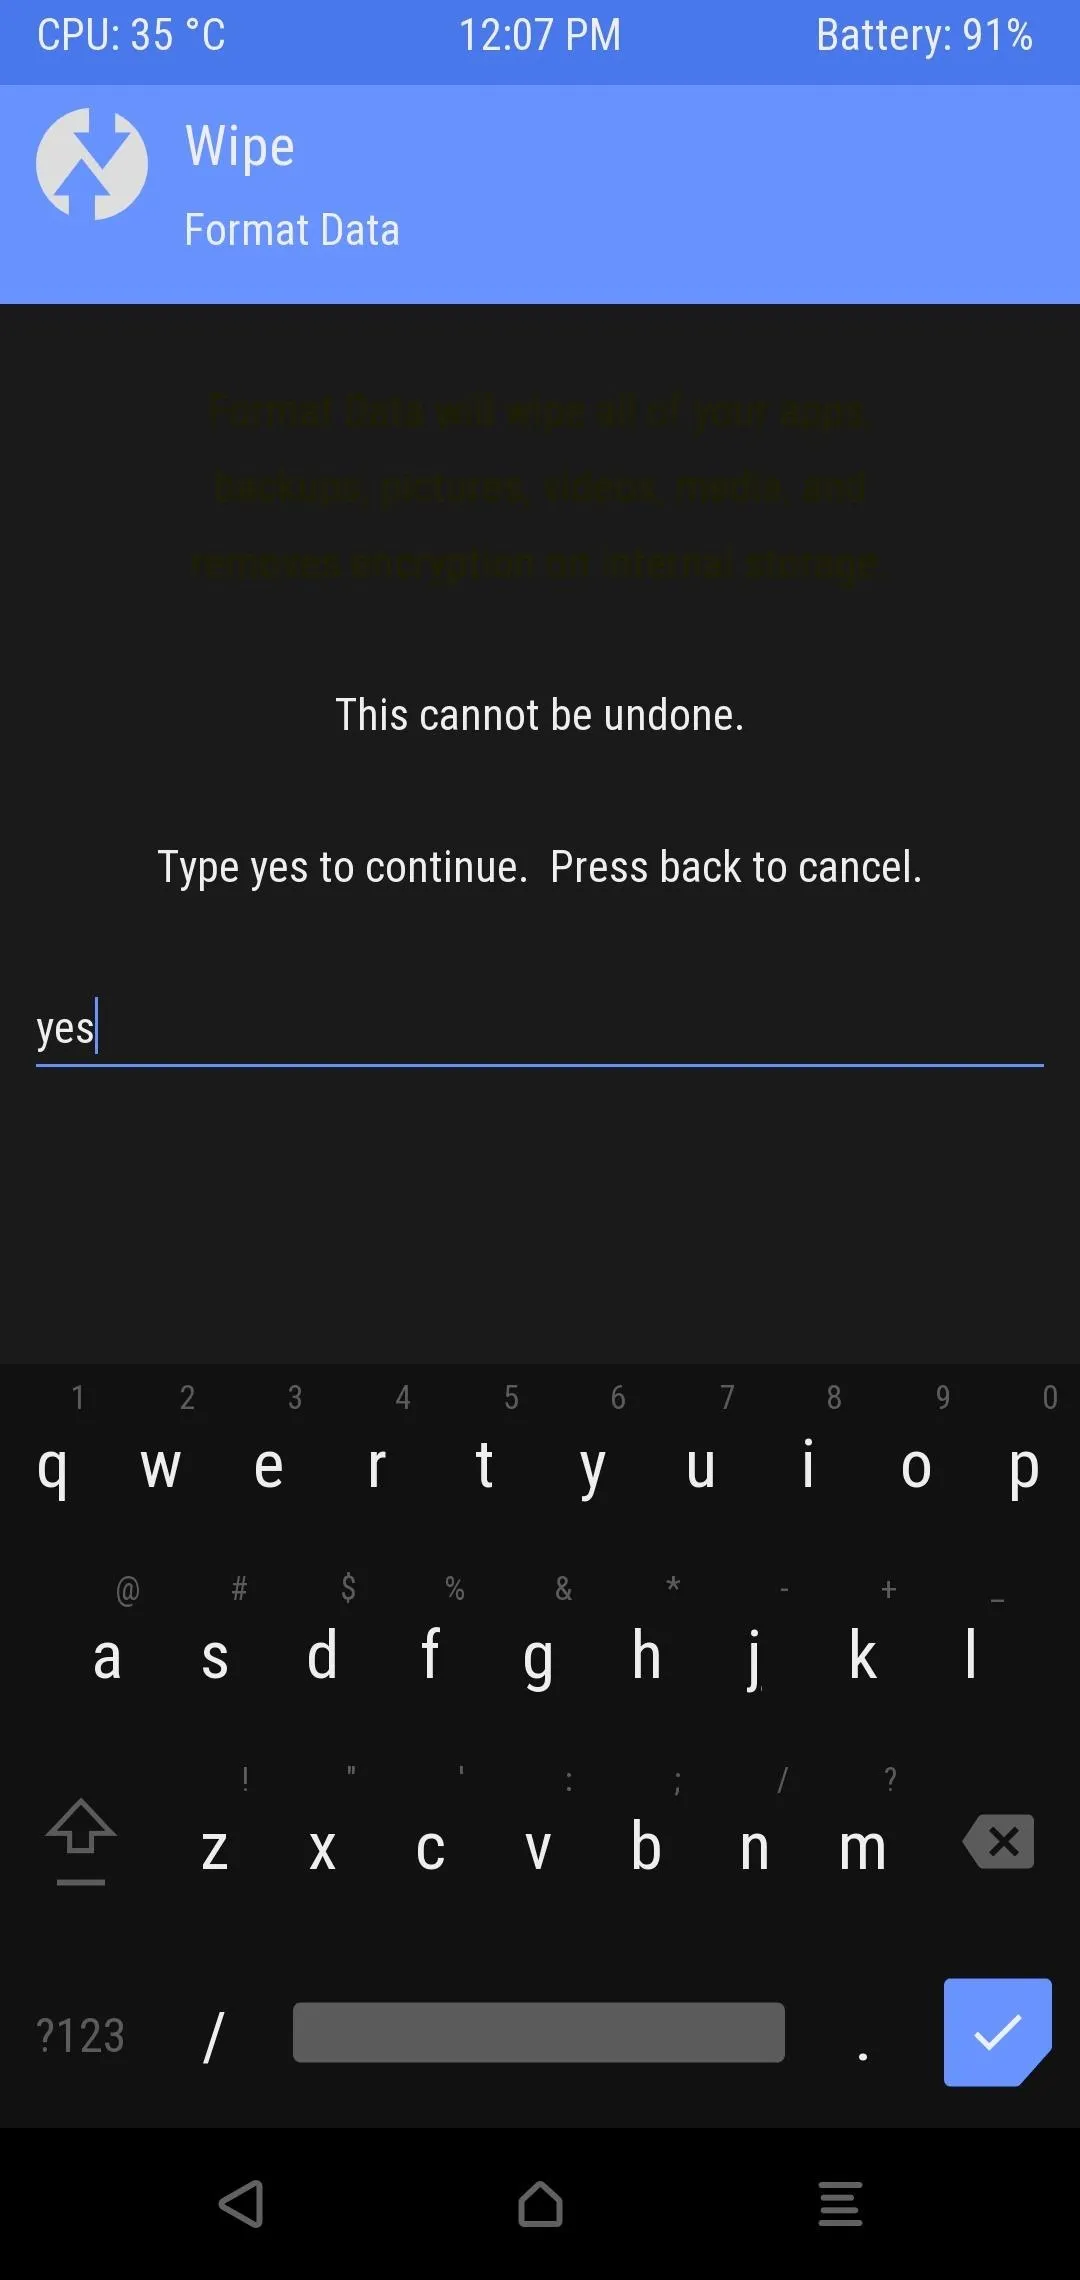
Next, you'll need to wipe the data on your phone. This shouldn't cause any additional data loss since your existing files were wiped when you unlocked your bootloader in Step 2. So from TWRP's main menu, tap "Wipe," then select "Format Data" on the following screen. From there, enter "yes" in the prompt, then tap the enter key on the keyboard. This will delete all the existing encrypted data on your phone.
Next, you'll need to move the No Verity ZIP from your computer to your phone. If you're using Windows, you can simply hook your phone up to your PC with a USB cable, then use Windows Explorer to drag and drop the file onto your phone's storage (your phone will appear in the left pane of Windows Explorer). From there, tap "Install" in TWRP's main menu, then select the ZIP and swipe the slider to flash it. Finally, tap "Reboot System."
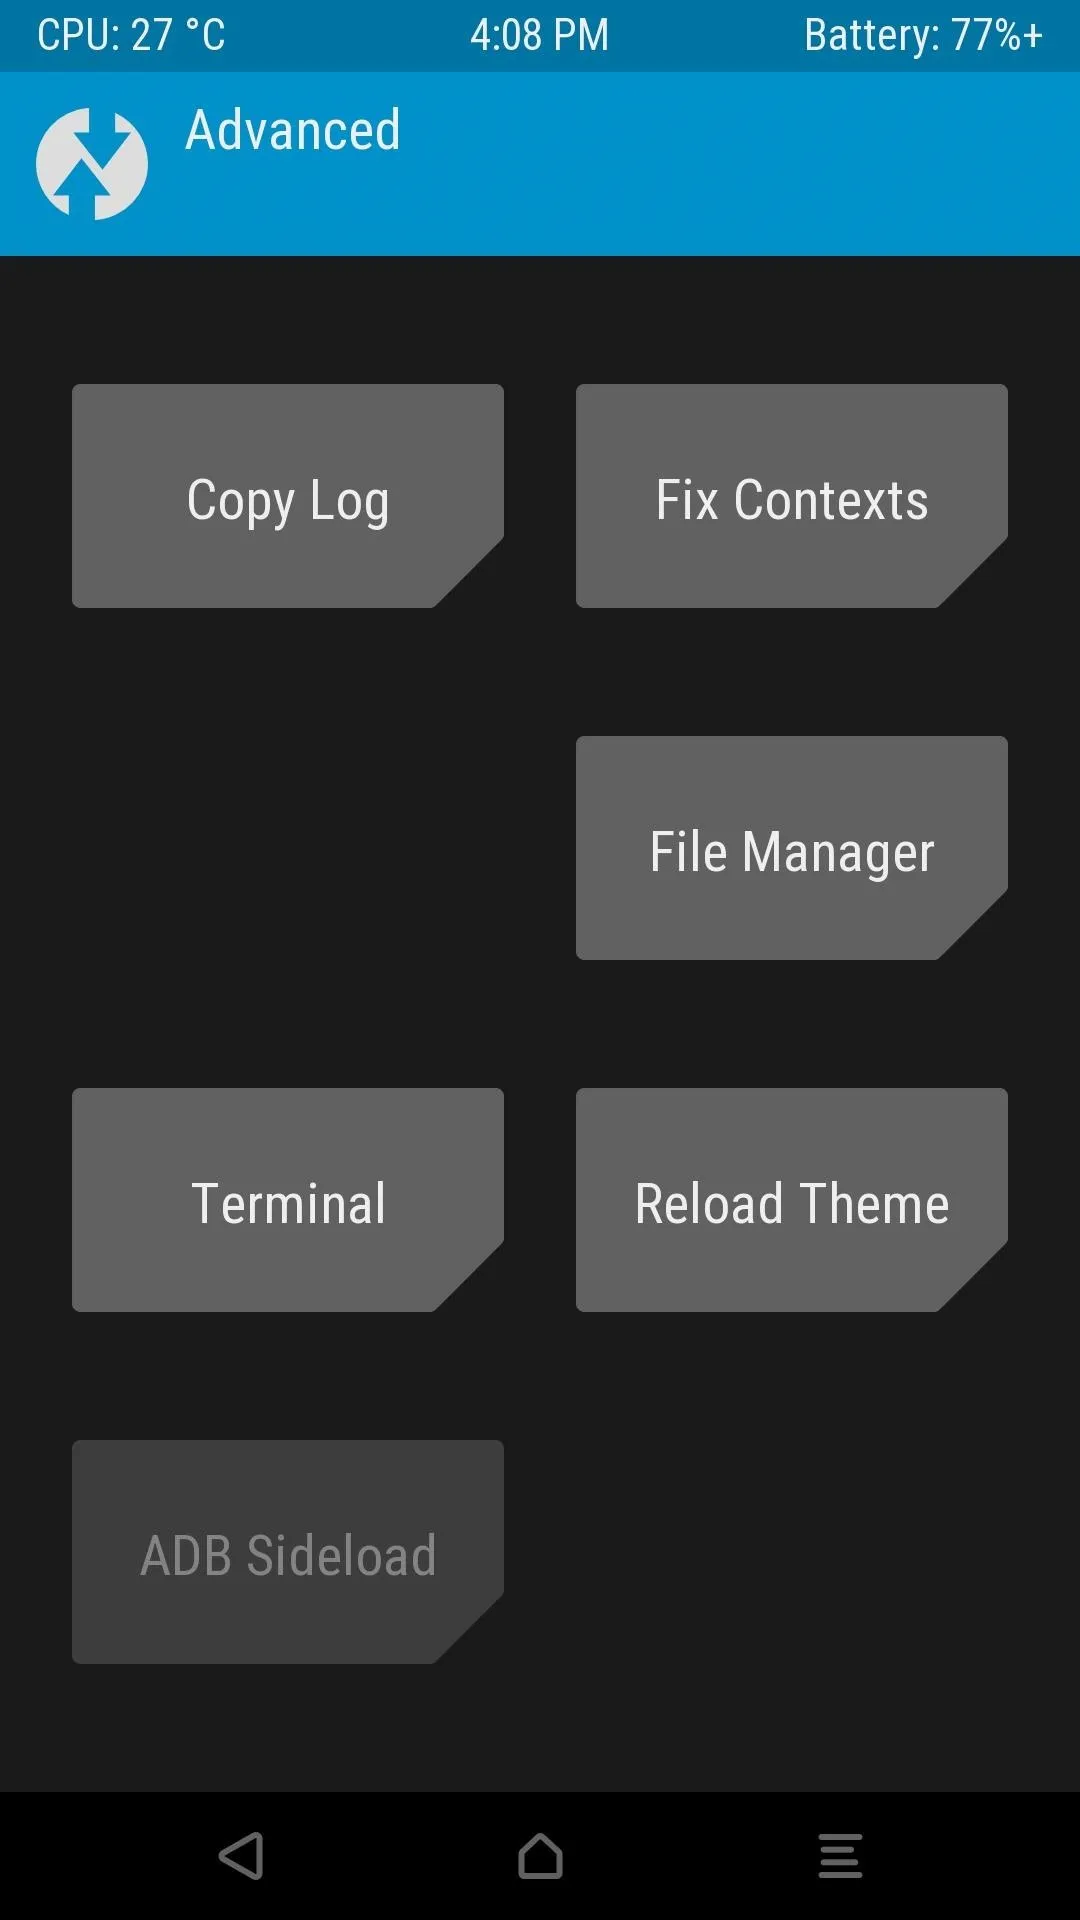
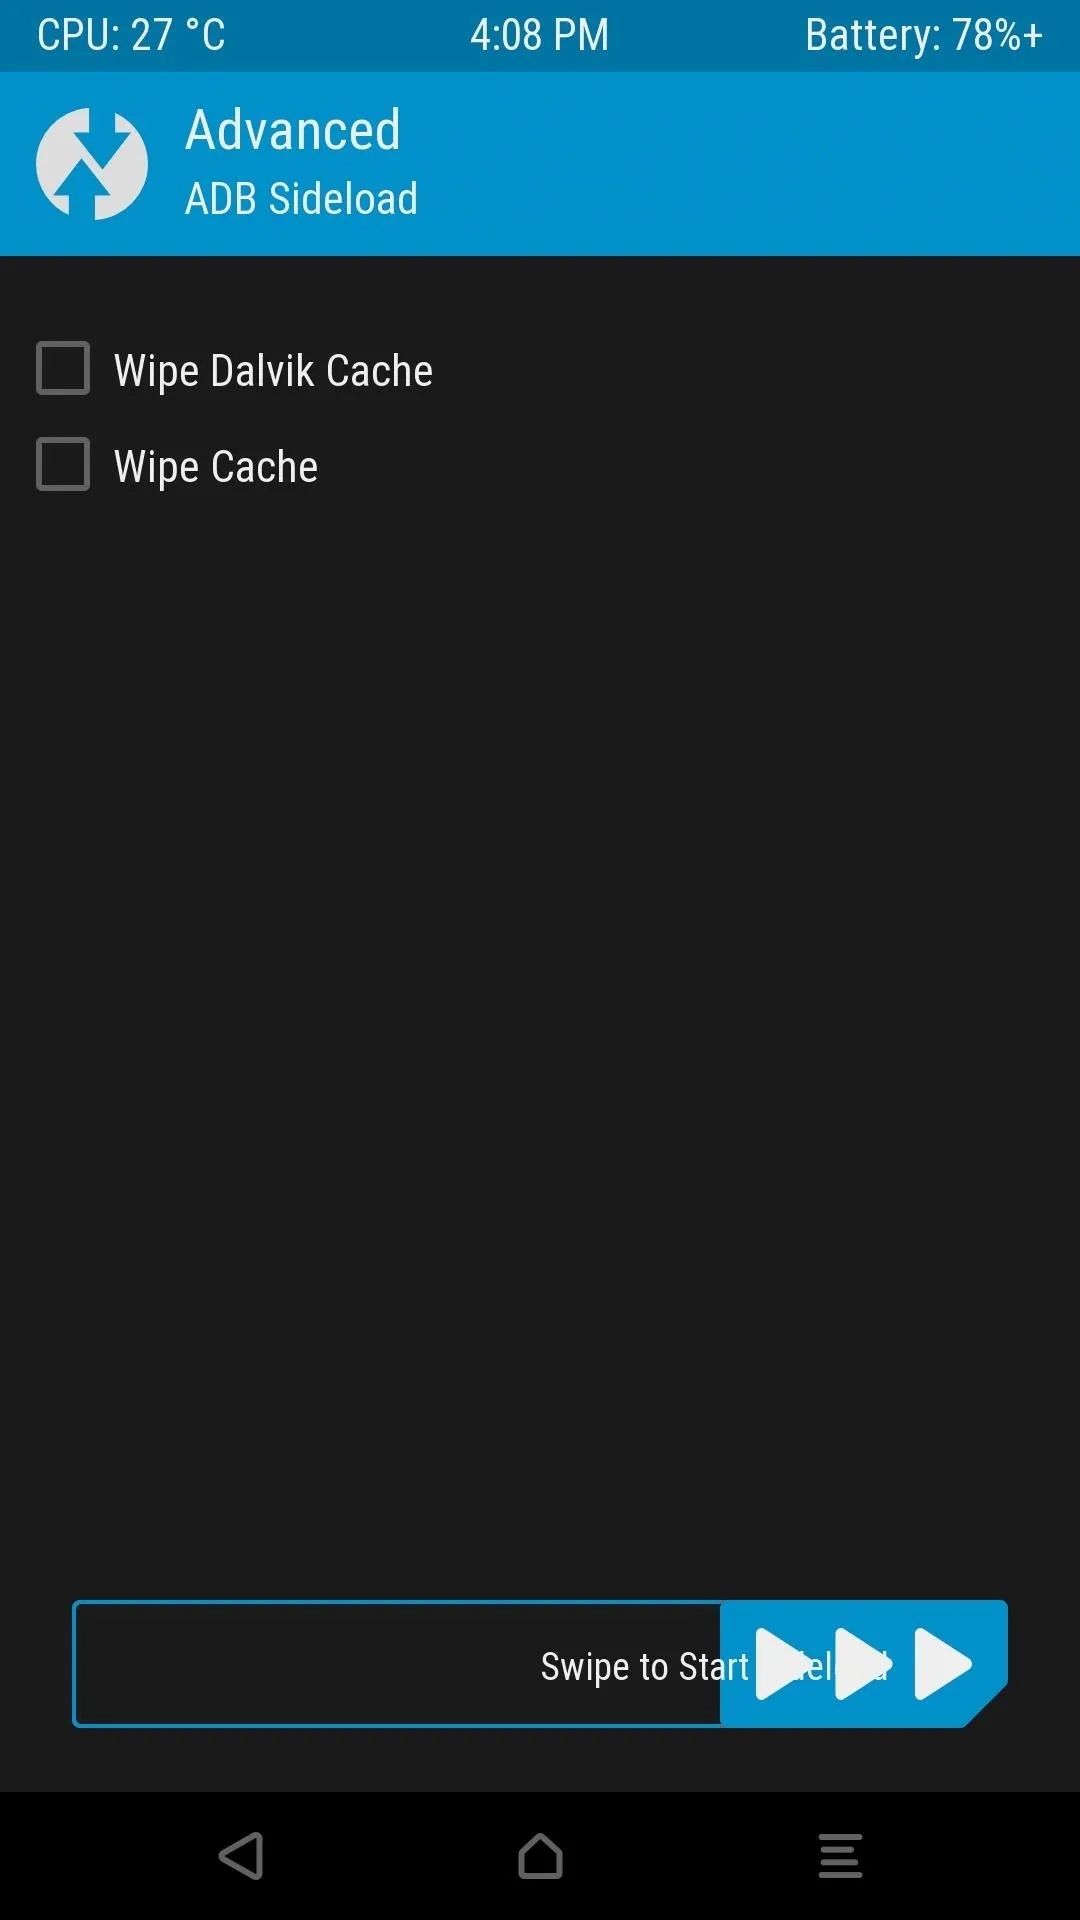
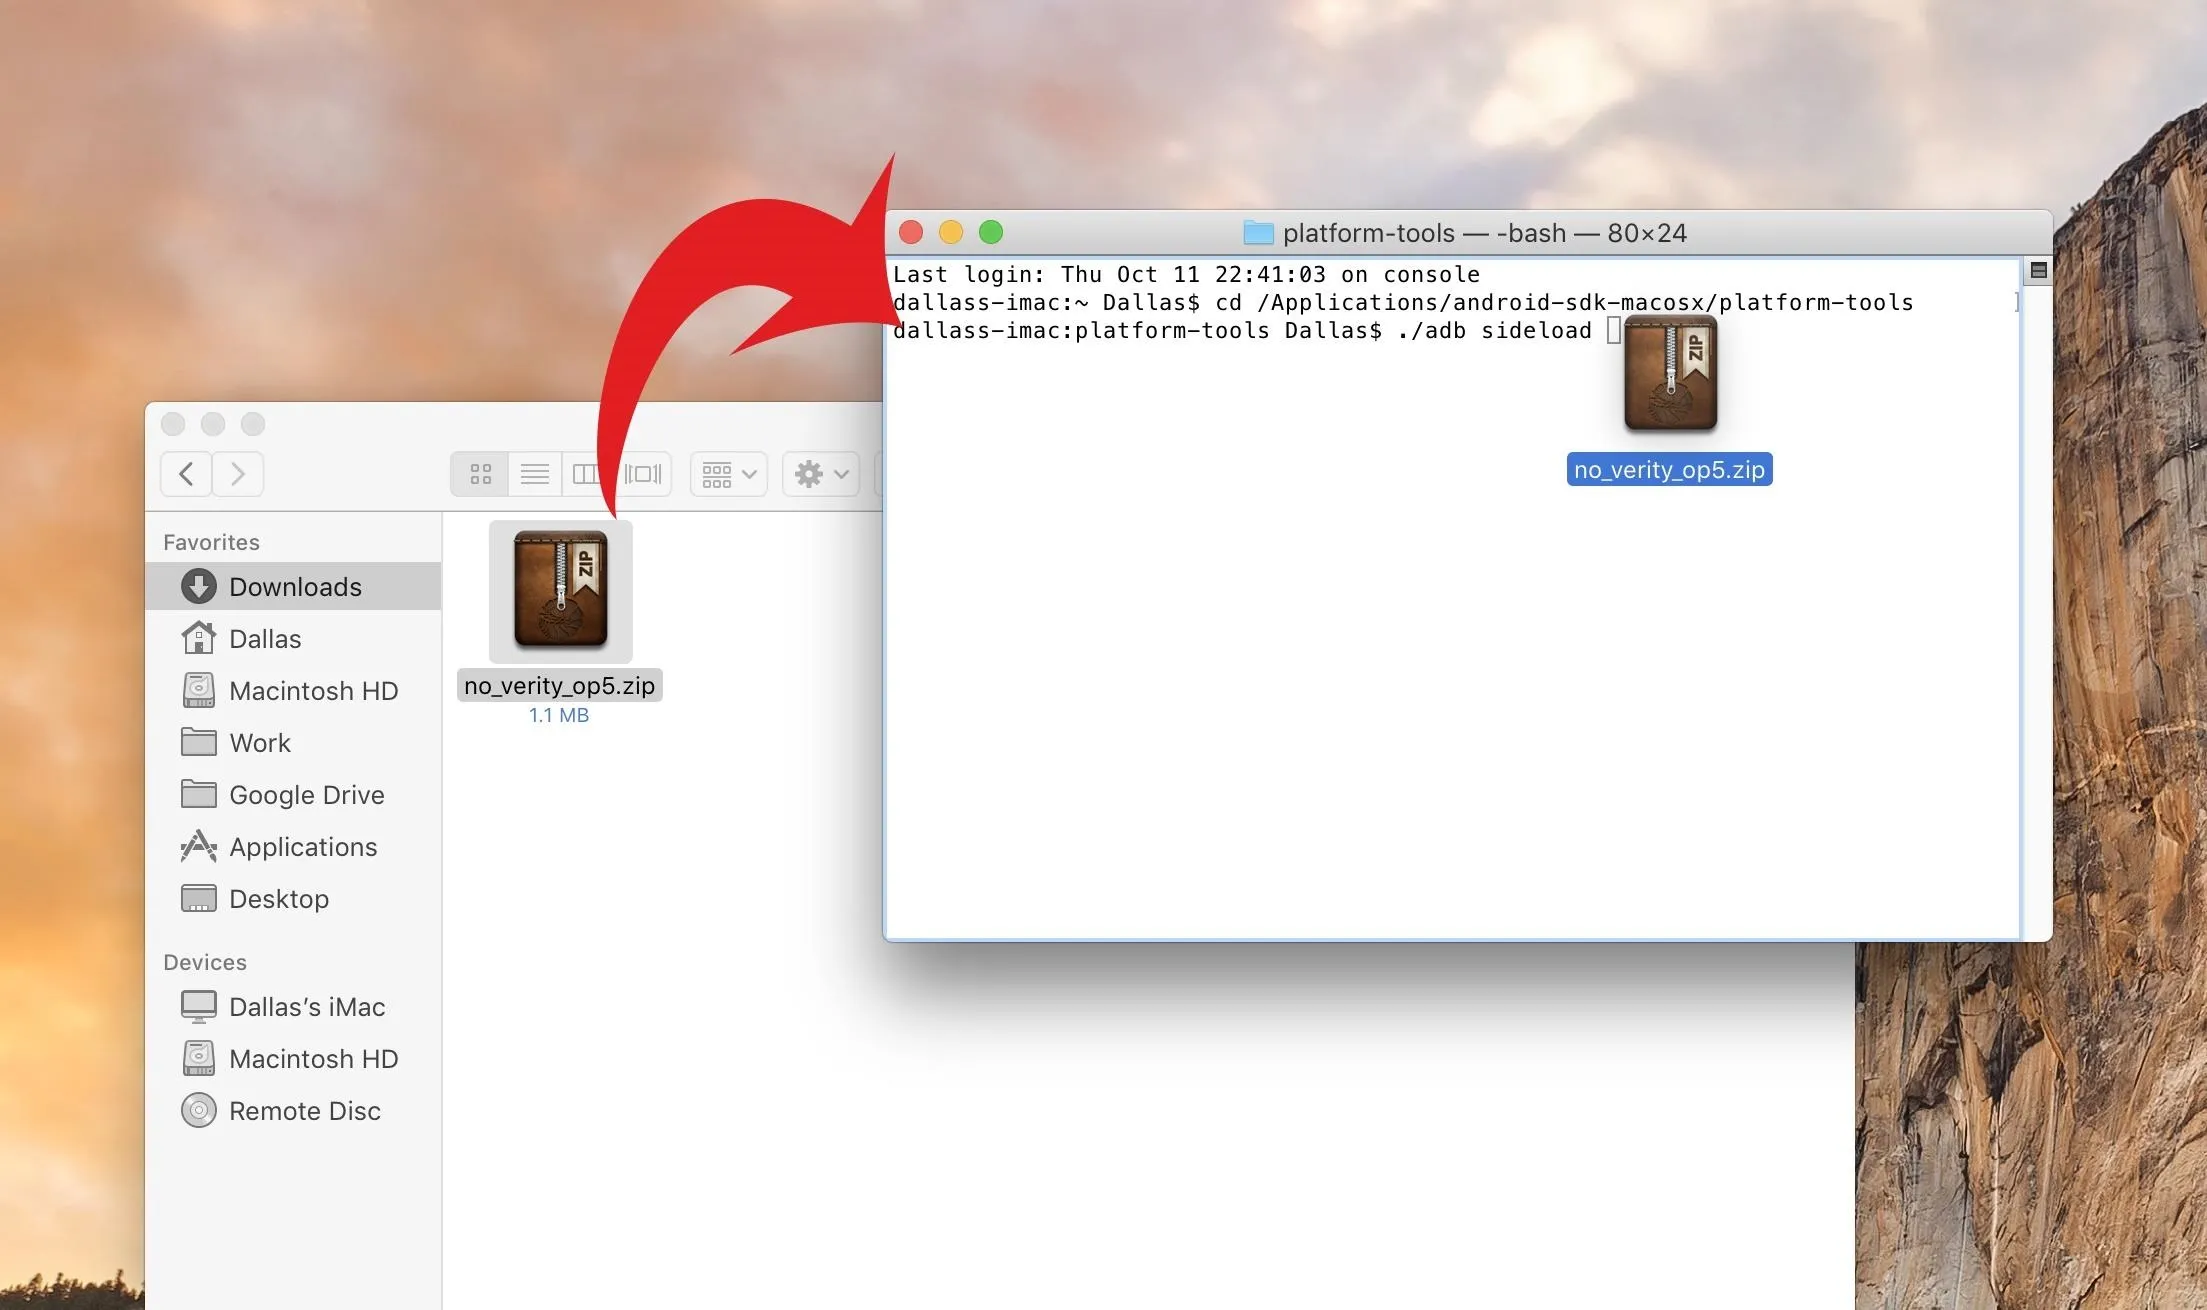
If you're using Mac or Linux, you'll need to use ADB to sideload the ZIP. So open a Terminal window, then change directories to your platform-tools folder as outlined in Step 1. Type "./adb sideload" into the terminal, then add a space. Next, drag and drop the No Verity ZIP file into the command window, which will populate its full file location. From there, tap "Advanced" in TWRP, then choose "ADB Sideload." Swipe the slider on the screen, then press enter on your computer's keyboard to send the sideload command. When it's finished, reboot your phone.
Now you'll be able to use TWRP to flash any ZIP file — including the Magisk ZIP, which will root your phone and give you access to Magisk modules to make easy modifications to your phone's software.
- Follow Gadget Hacks on Pinterest, Twitter, YouTube, and Flipboard
- Sign up for Gadget Hacks' daily newsletter or weekly Android and iOS updates
- Follow WonderHowTo on Facebook, Twitter, Pinterest, and Flipboard
Cover image and screenshots by Kevin M./Gadget Hacks


Comments
Be the first, drop a comment!