


Spam calls are one of the most annoying things to happen in the world of smartphones for more than one reason. Not only are they bothersome, but they can also be dangerous to people who don't know any better. Google has come up with a crafty solution known as "Call Screen" to let the Google Assistant handle the call for you while you listen in on the caller like a stealth ninja.
You can issue commands to the Assistant to interact with the caller without ever actually picking up the phone — it's ingenious, really. If you ever get a real human scammer on the other side, it's pretty awesome to waste their time and give them the run-around. Not answering unknown callers is still going to be your best bet, but it's a great tool to fall back on in case you're curious.
Now, onto the real reason you're here — you want to learn how you can get the Google Pixel exclusive Call Screen feature on your OnePlus phone. Developer stealth658 of XDA has put together a method to get the Call Screen feature working on OnePlus phones. It's a combination of multiple Magisk modules with a few other steps to make it all work, but once done, it acts exactly like a Pixel phone.
Requirements
Download the Call Screening Module
To kick things off, you'll need to grab the Call Screening Magisk module from the link below. Make sure to tap this link from your phone.
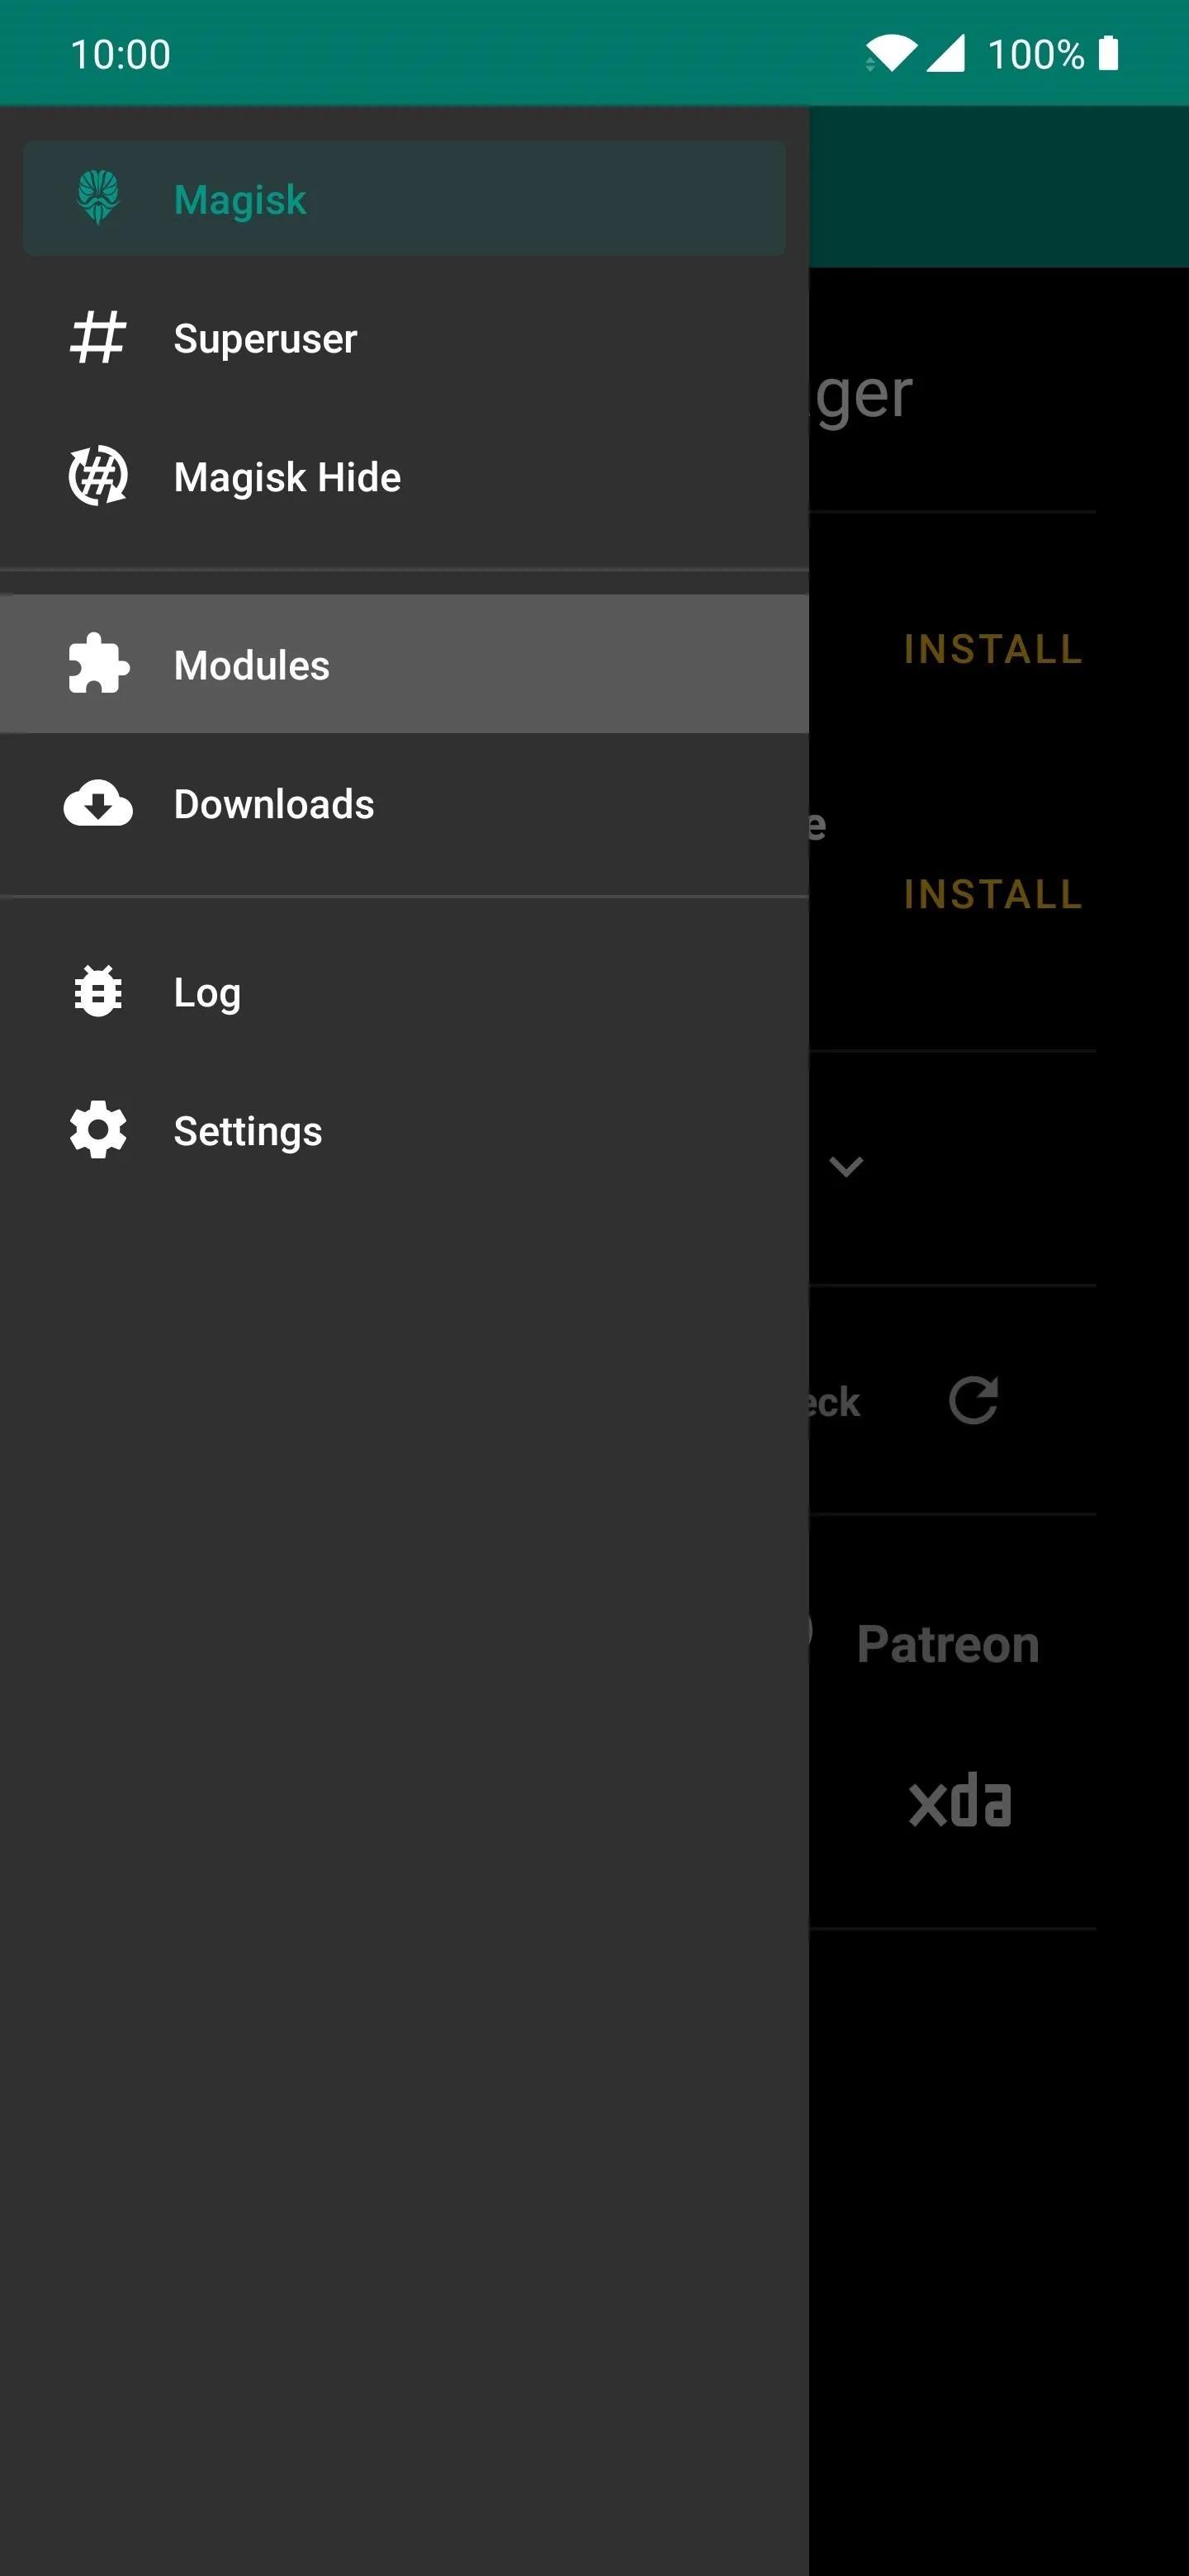
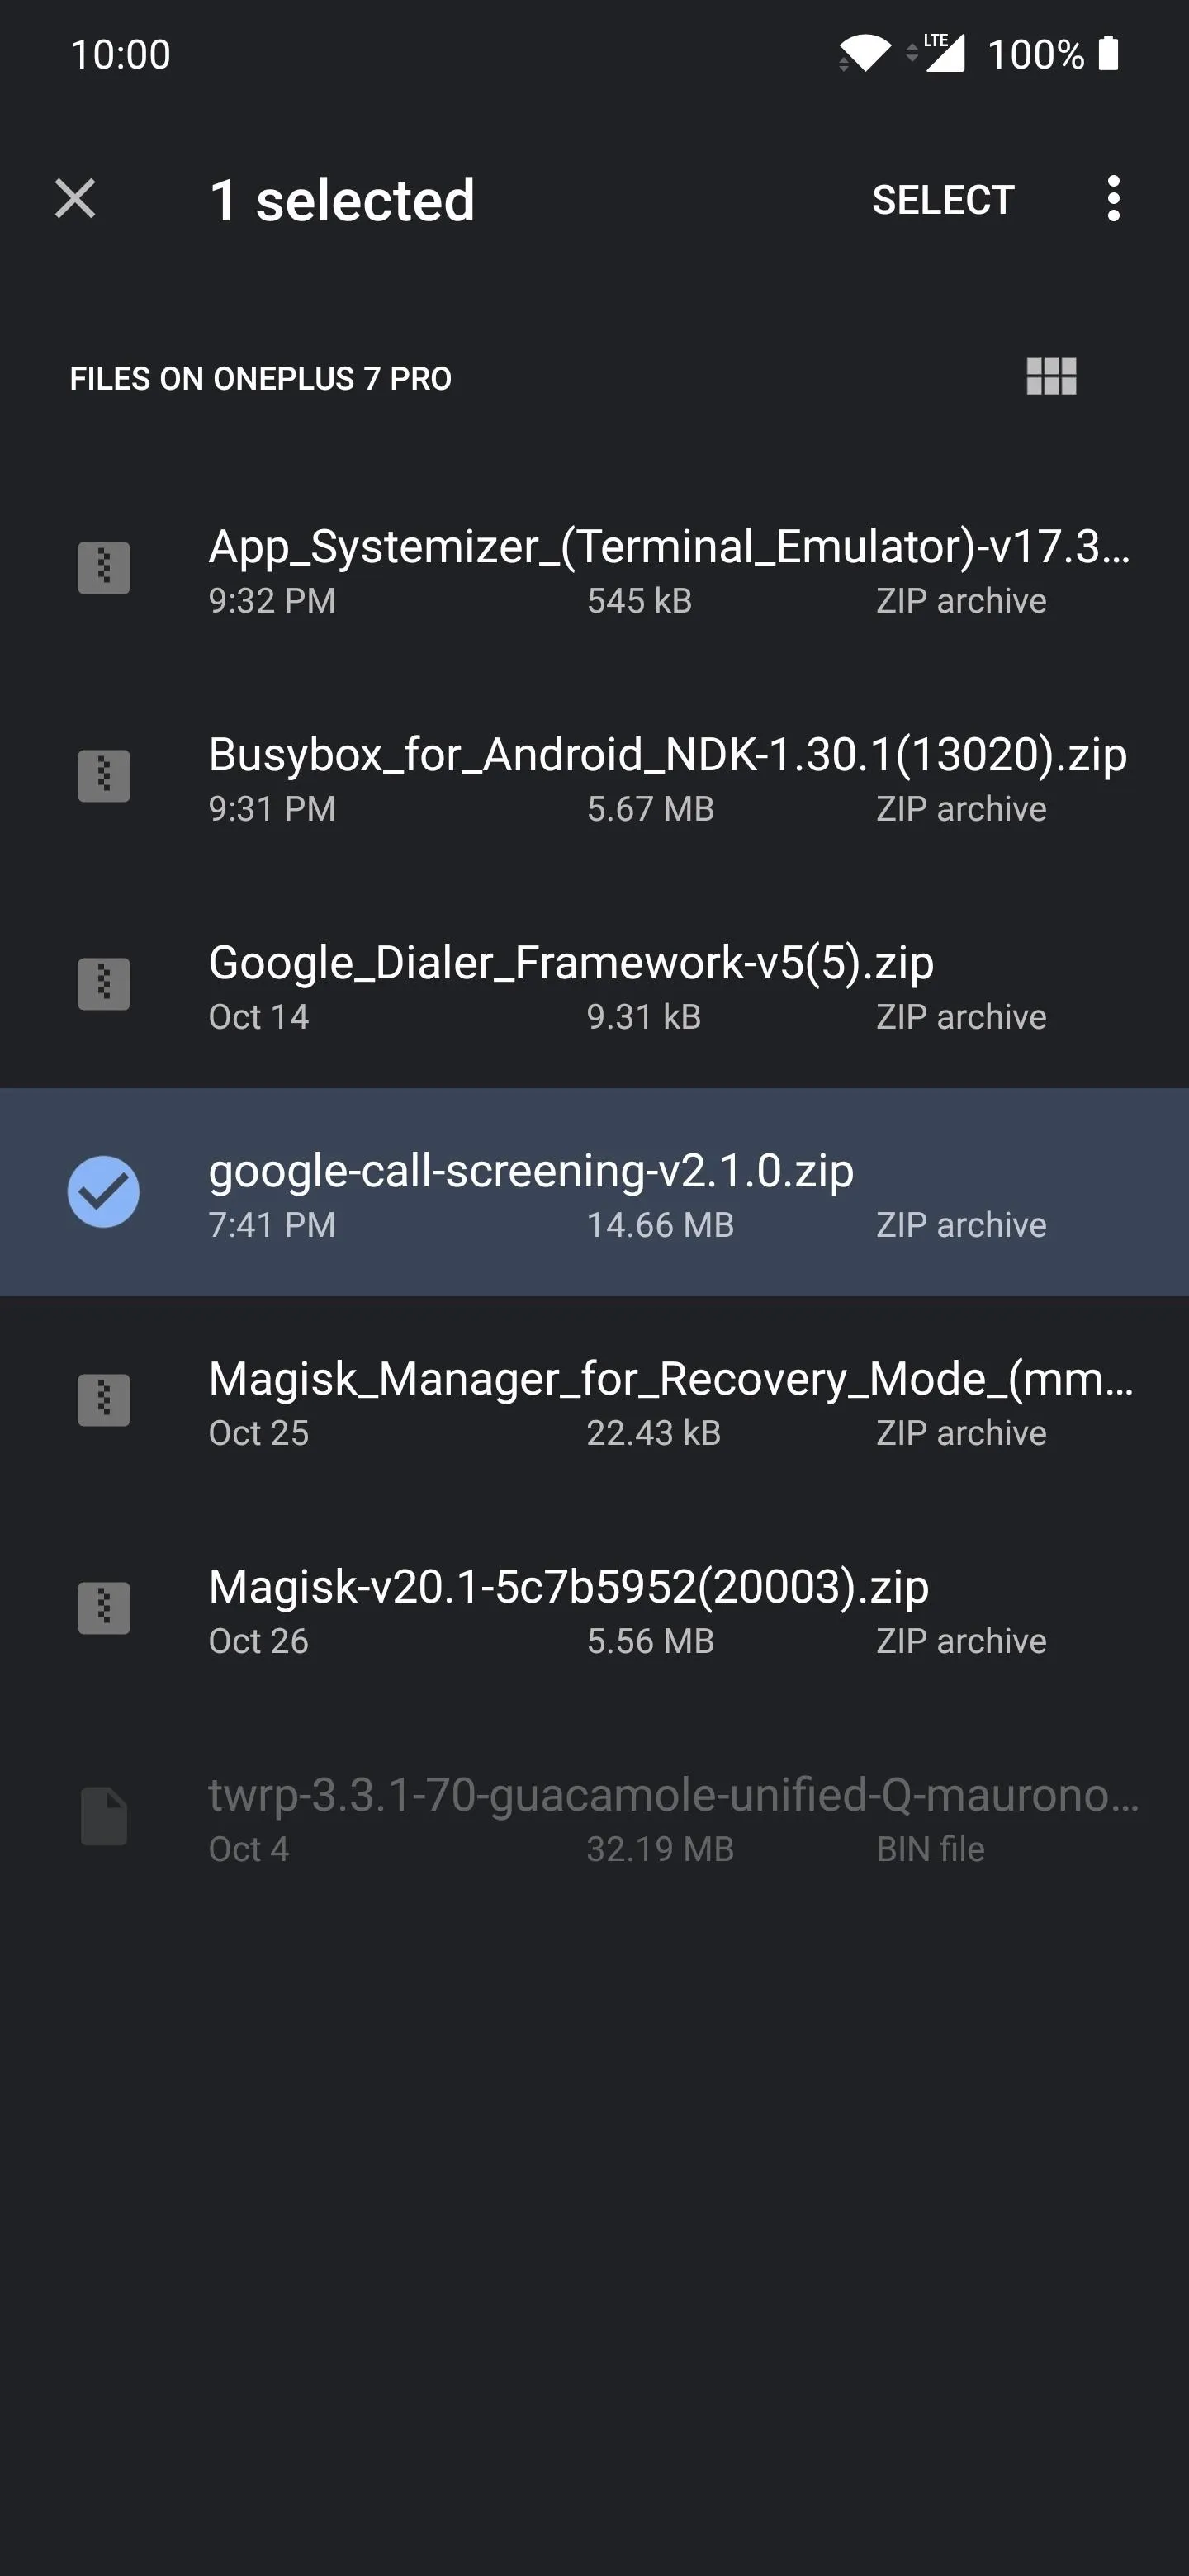
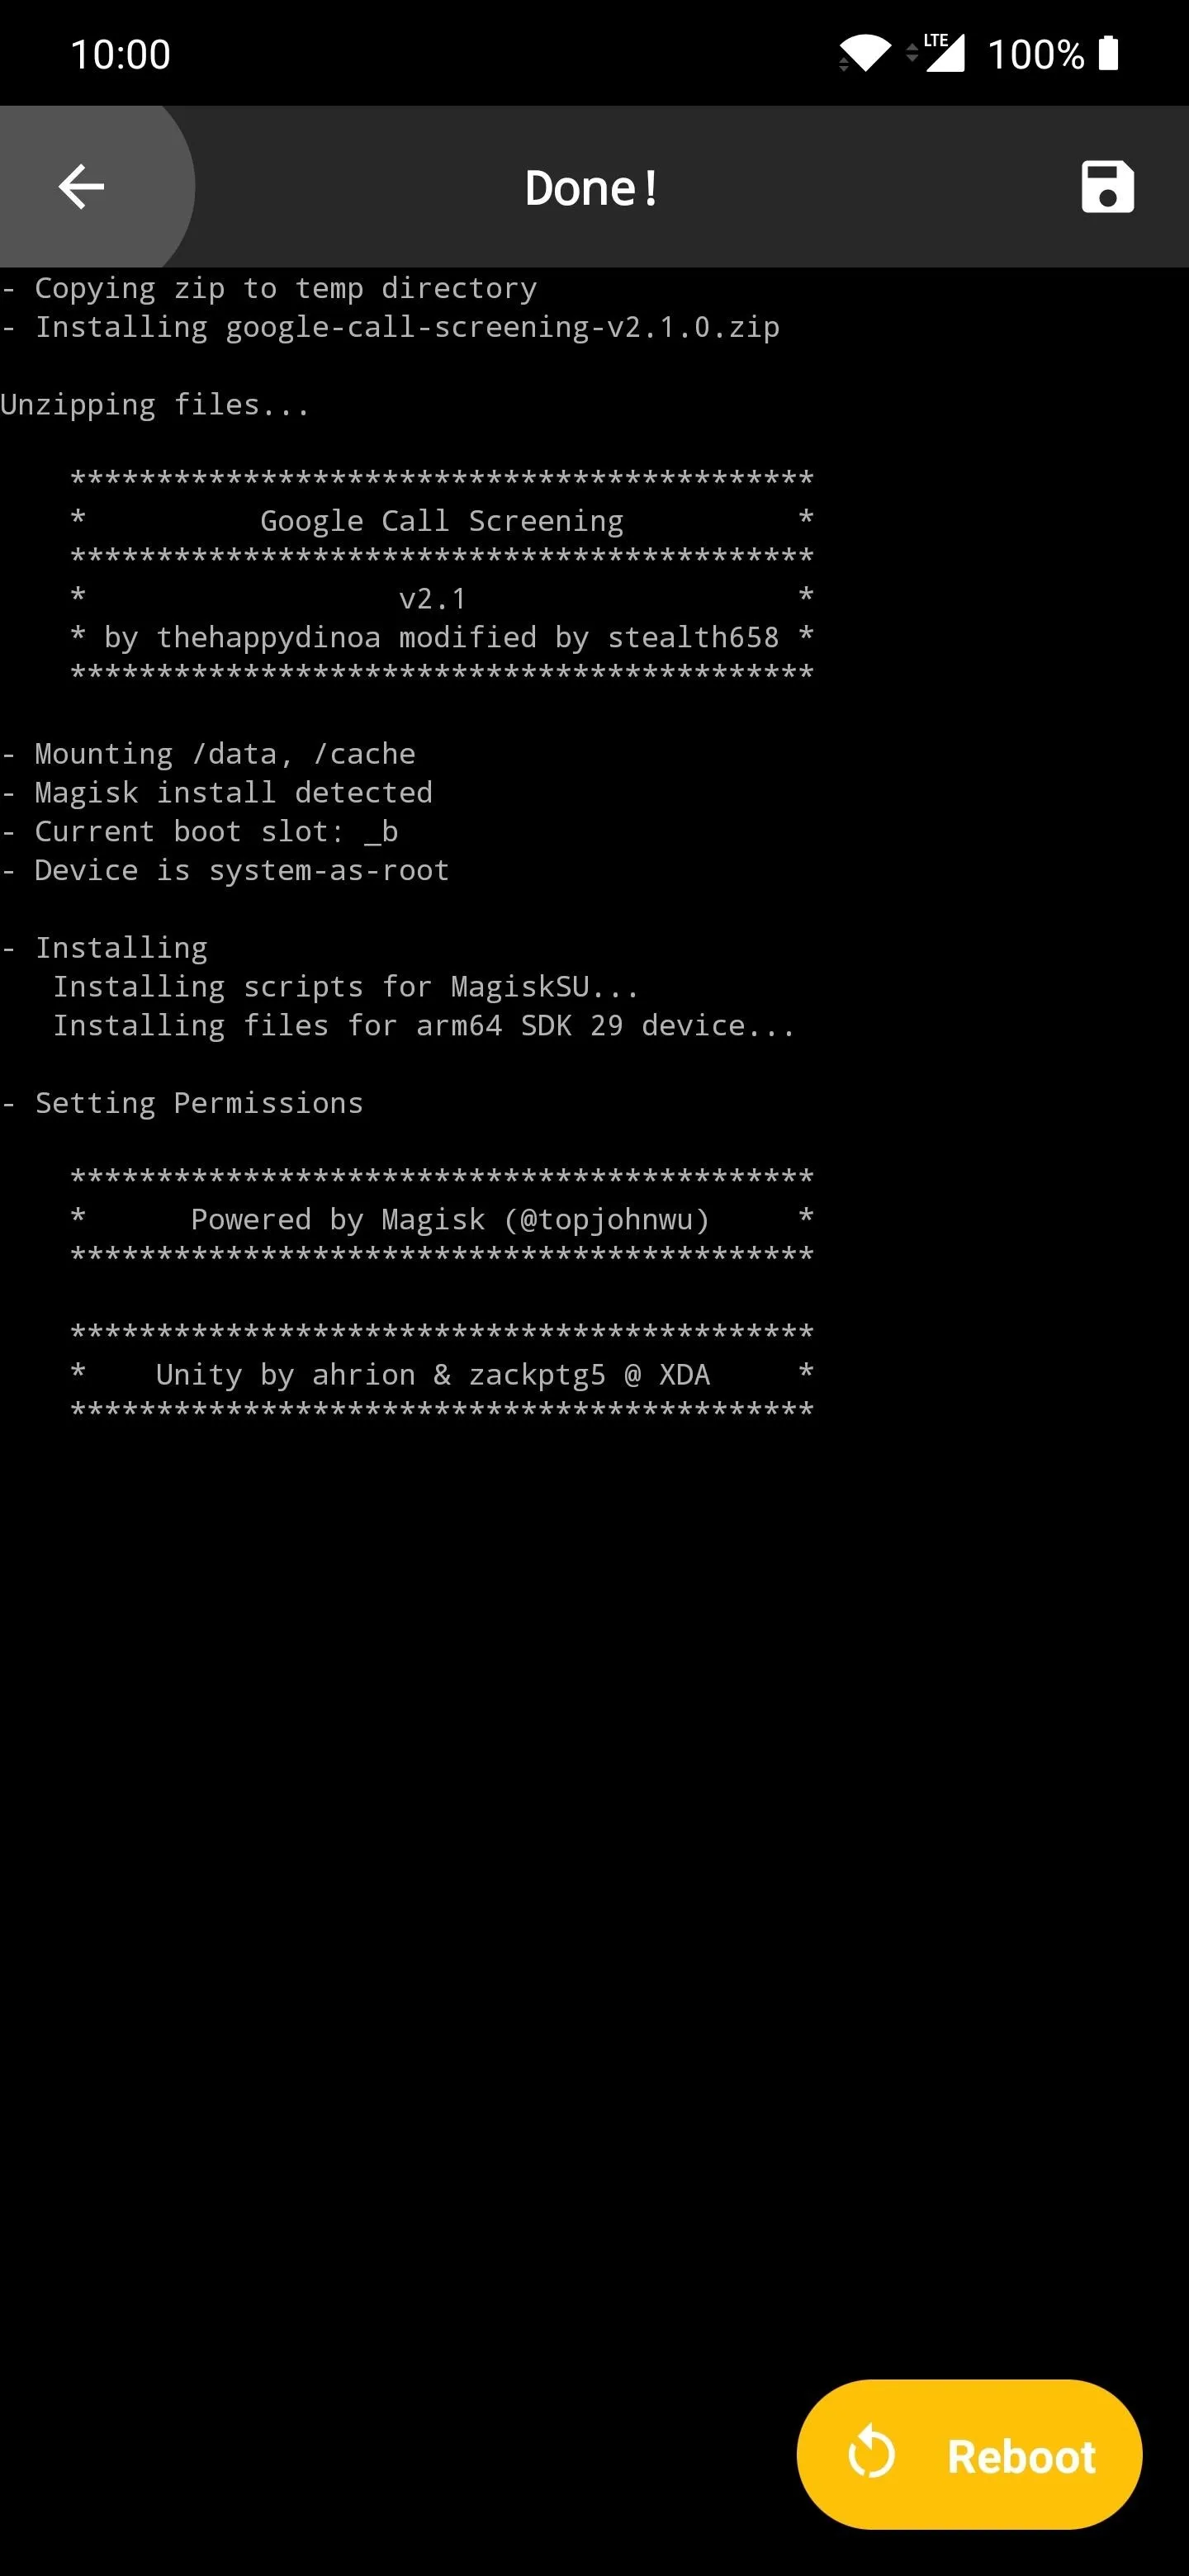
Now, open Magisk Manager to the main screen and tap the hamburger menu icon on the left, then head to "Modules." Hit the plus button at the bottom, allow the necessary permissions, then locate the Call Screening module ZIP file you downloaded. Tap the file once, and Magisk will start installing the module. Once finished, tap the back arrow to return to the previous screen.
Download the Busybox Module
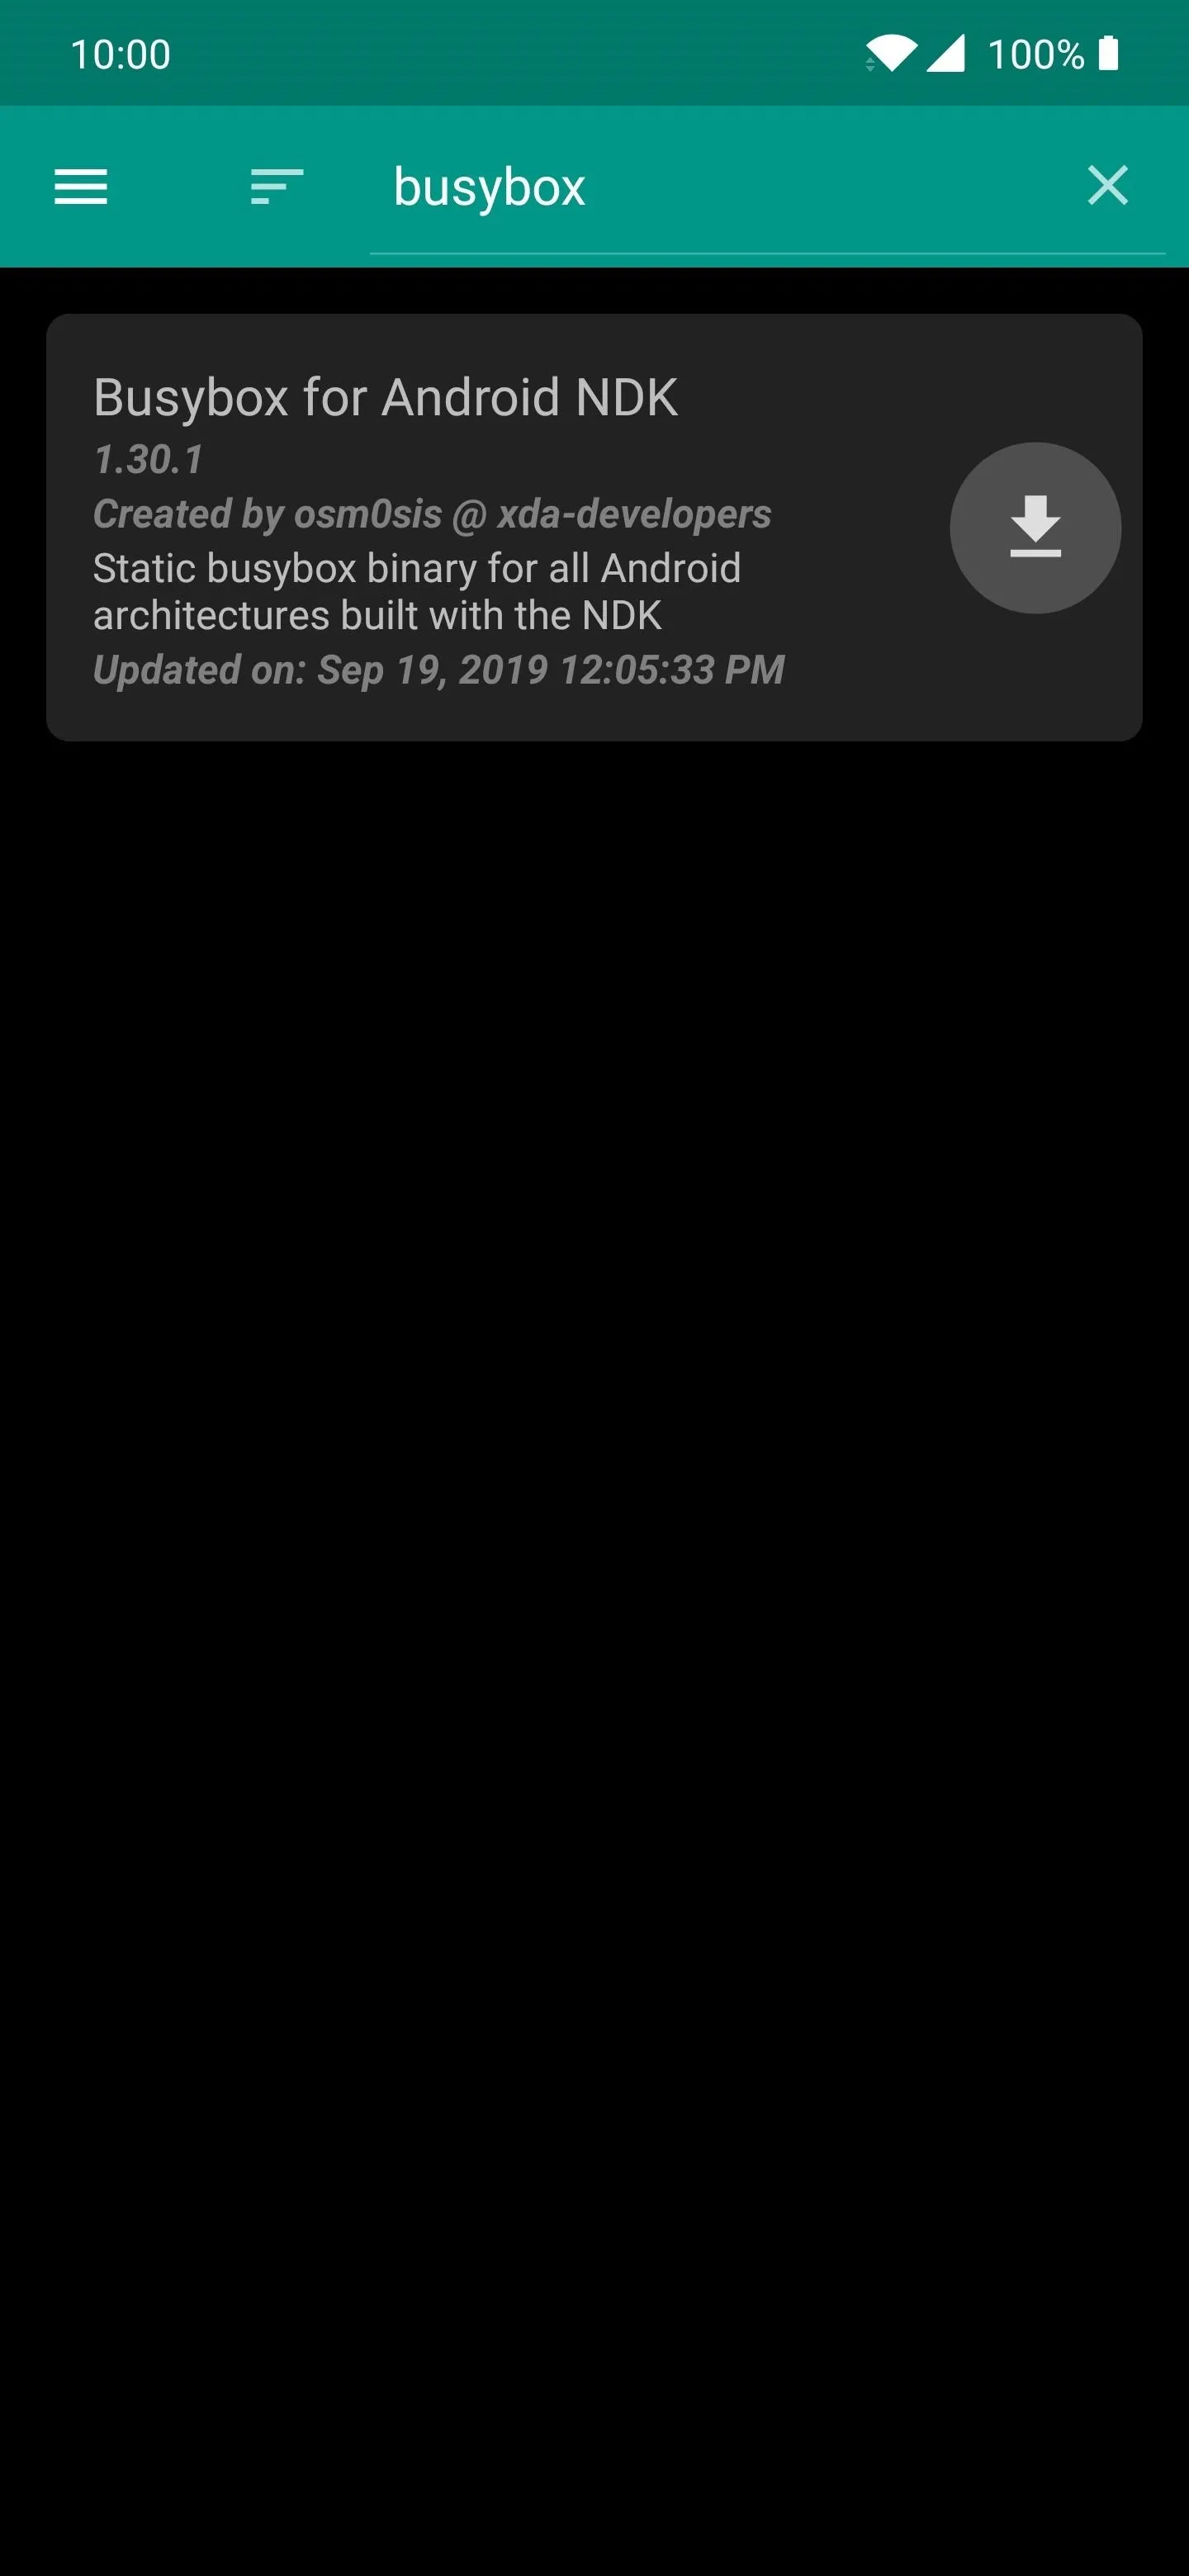
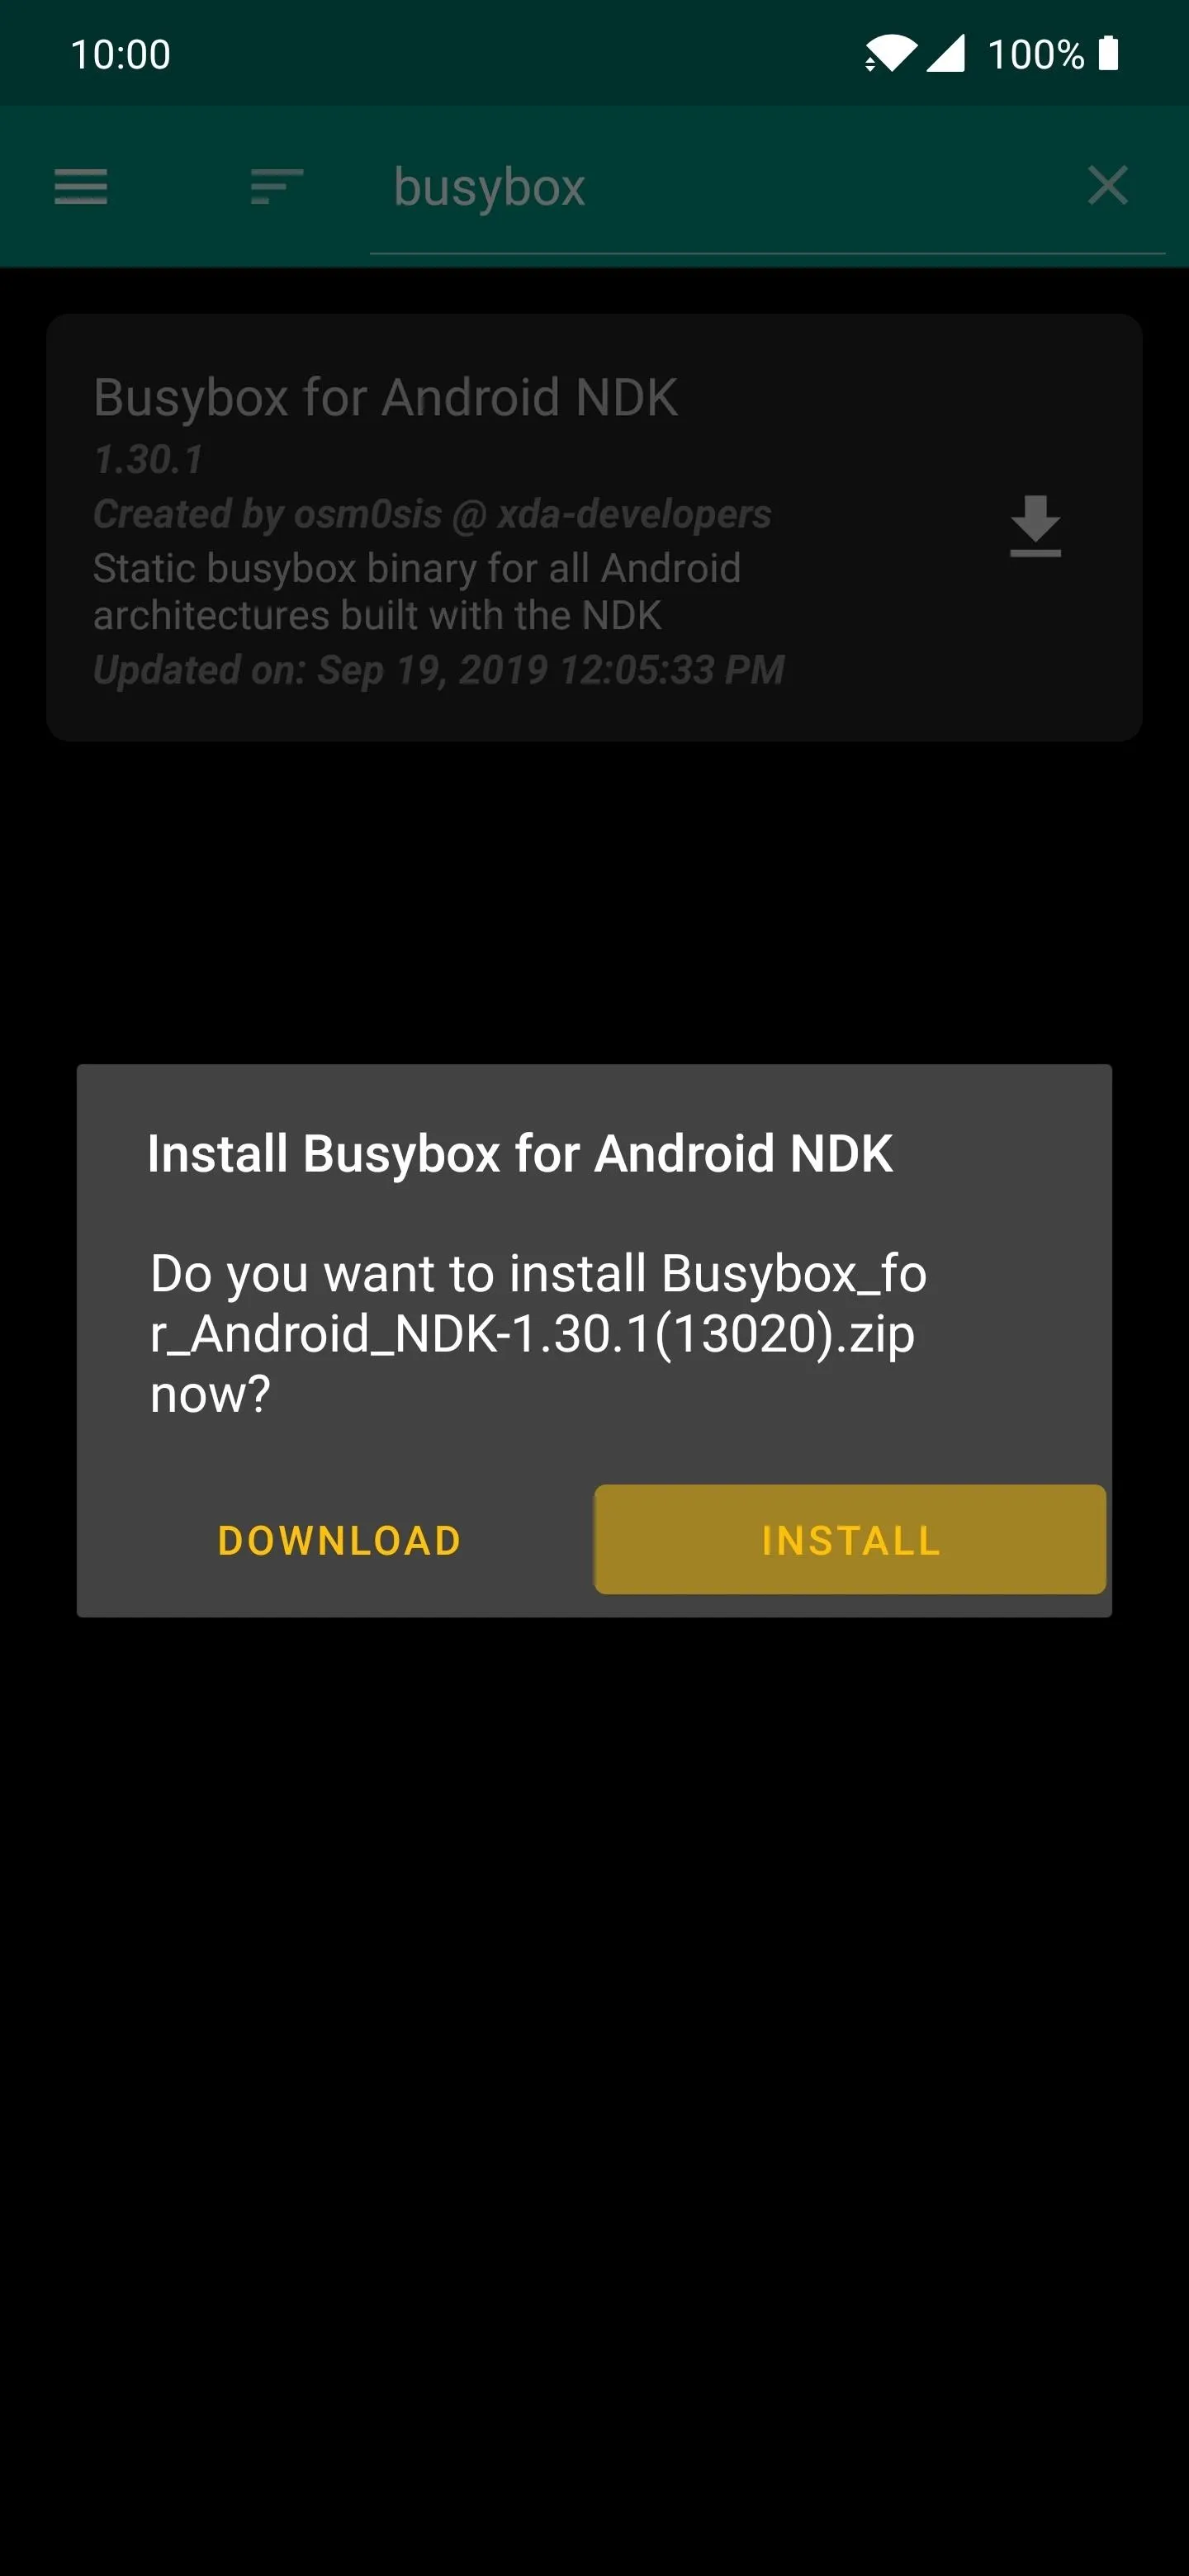
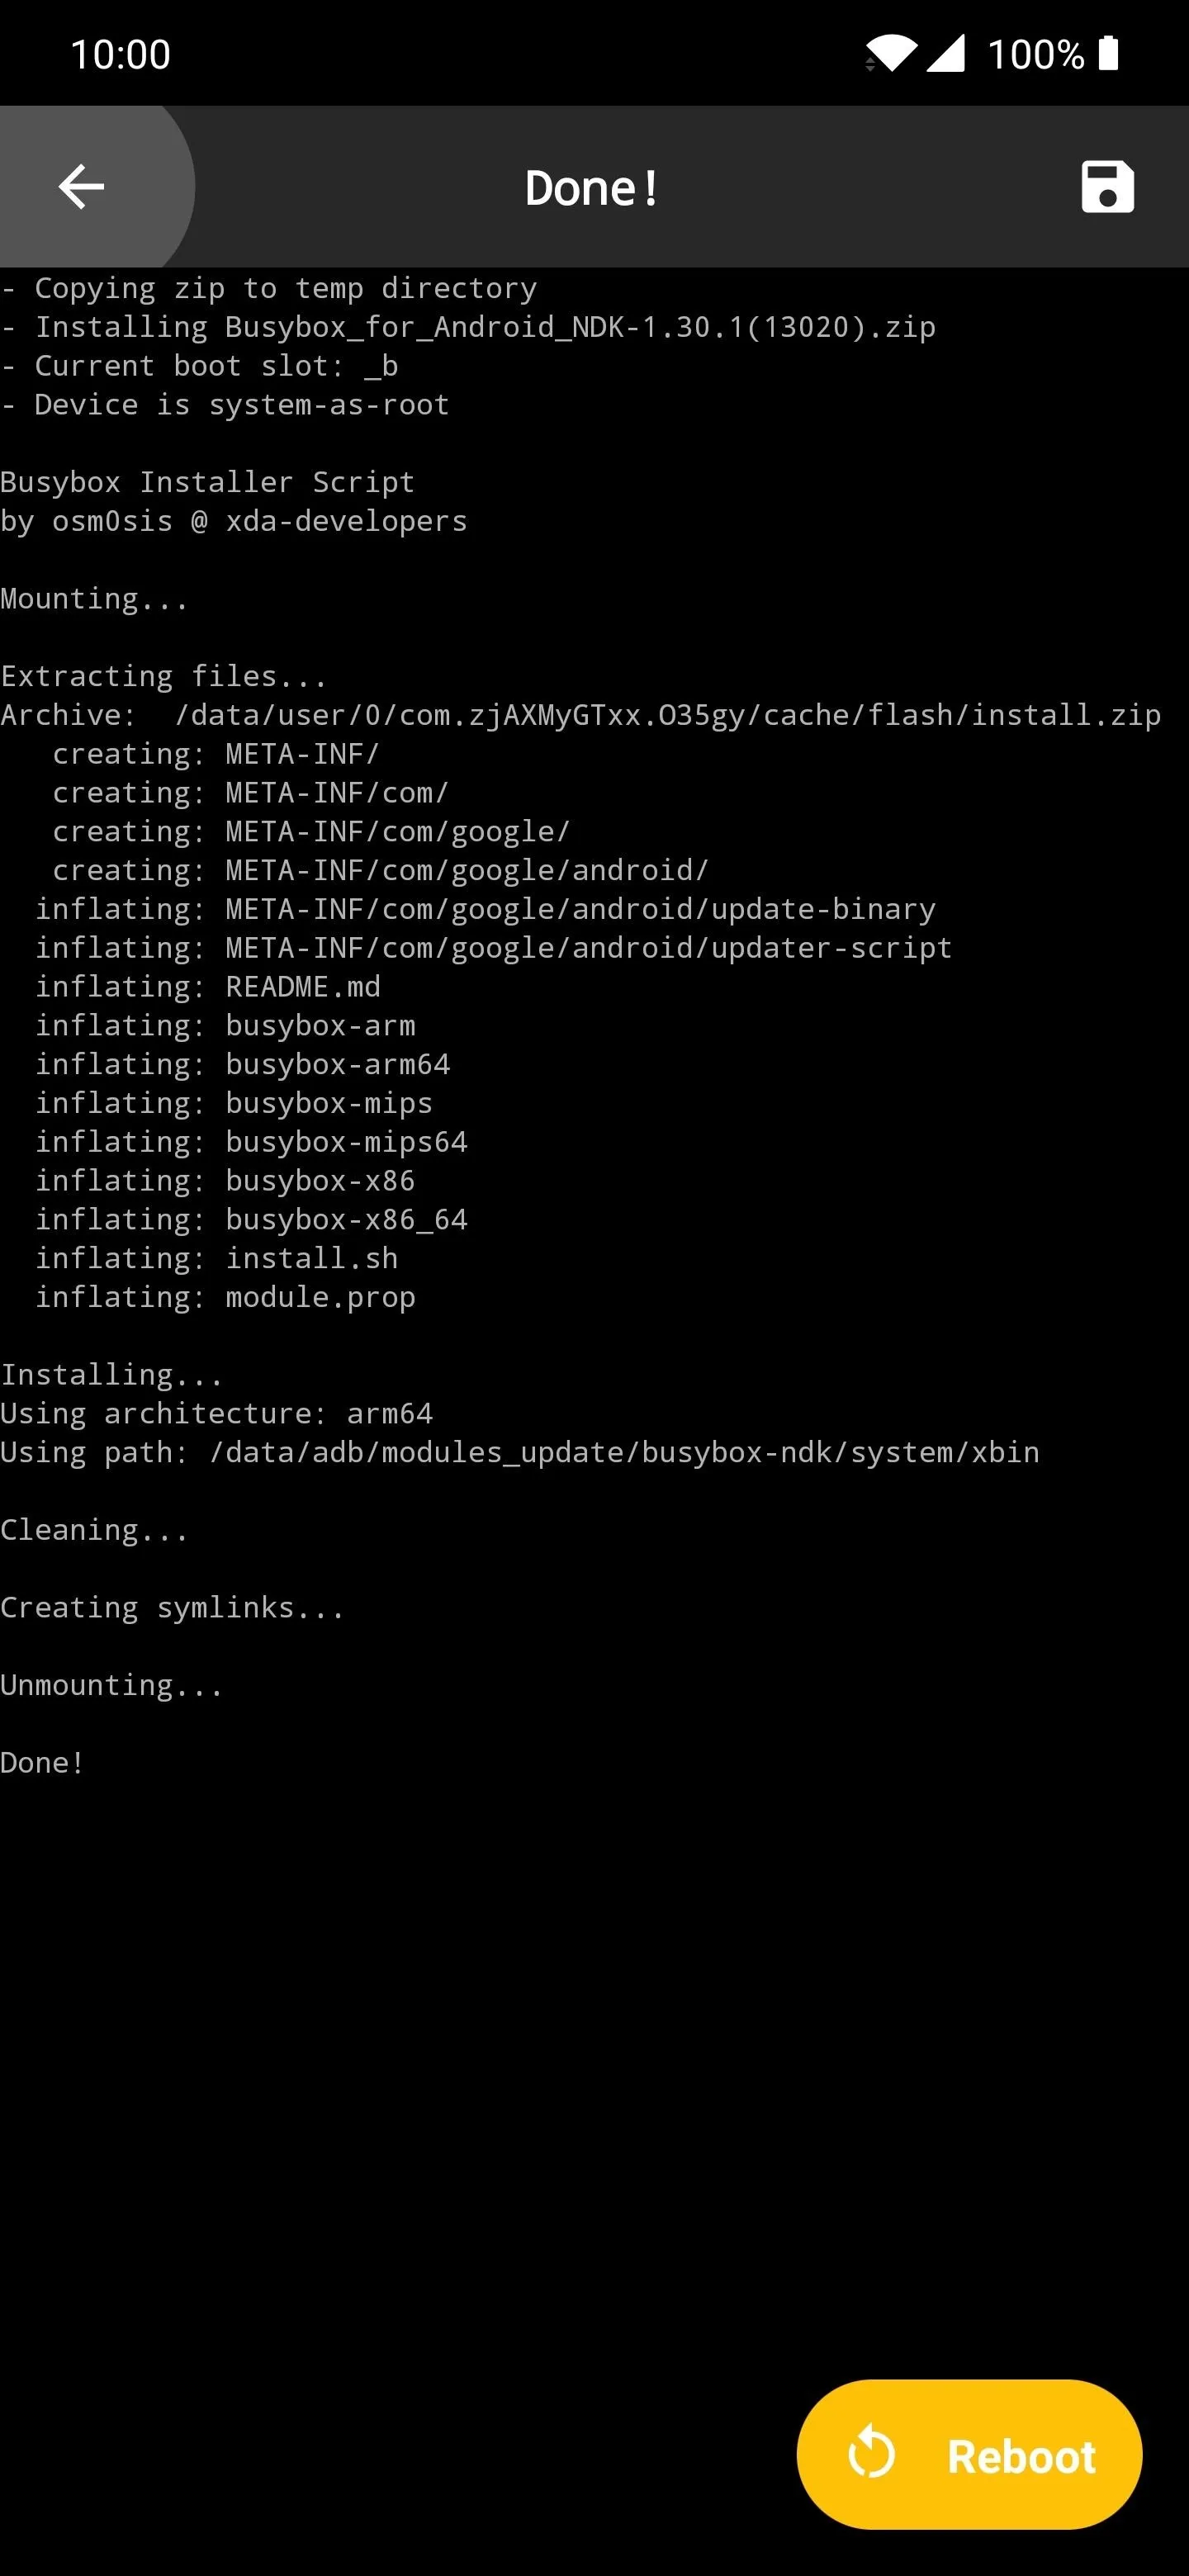
Open the hamburger menu again like before, then head to "Downloads." In the search bar, do a search for the term "busybox" to locate the next module for this guide. Tap the download arrow once, then go to "Install" to start the install process. Once finished, tap the back arrow to return to the previous screen.
Download the App Systemizer Module
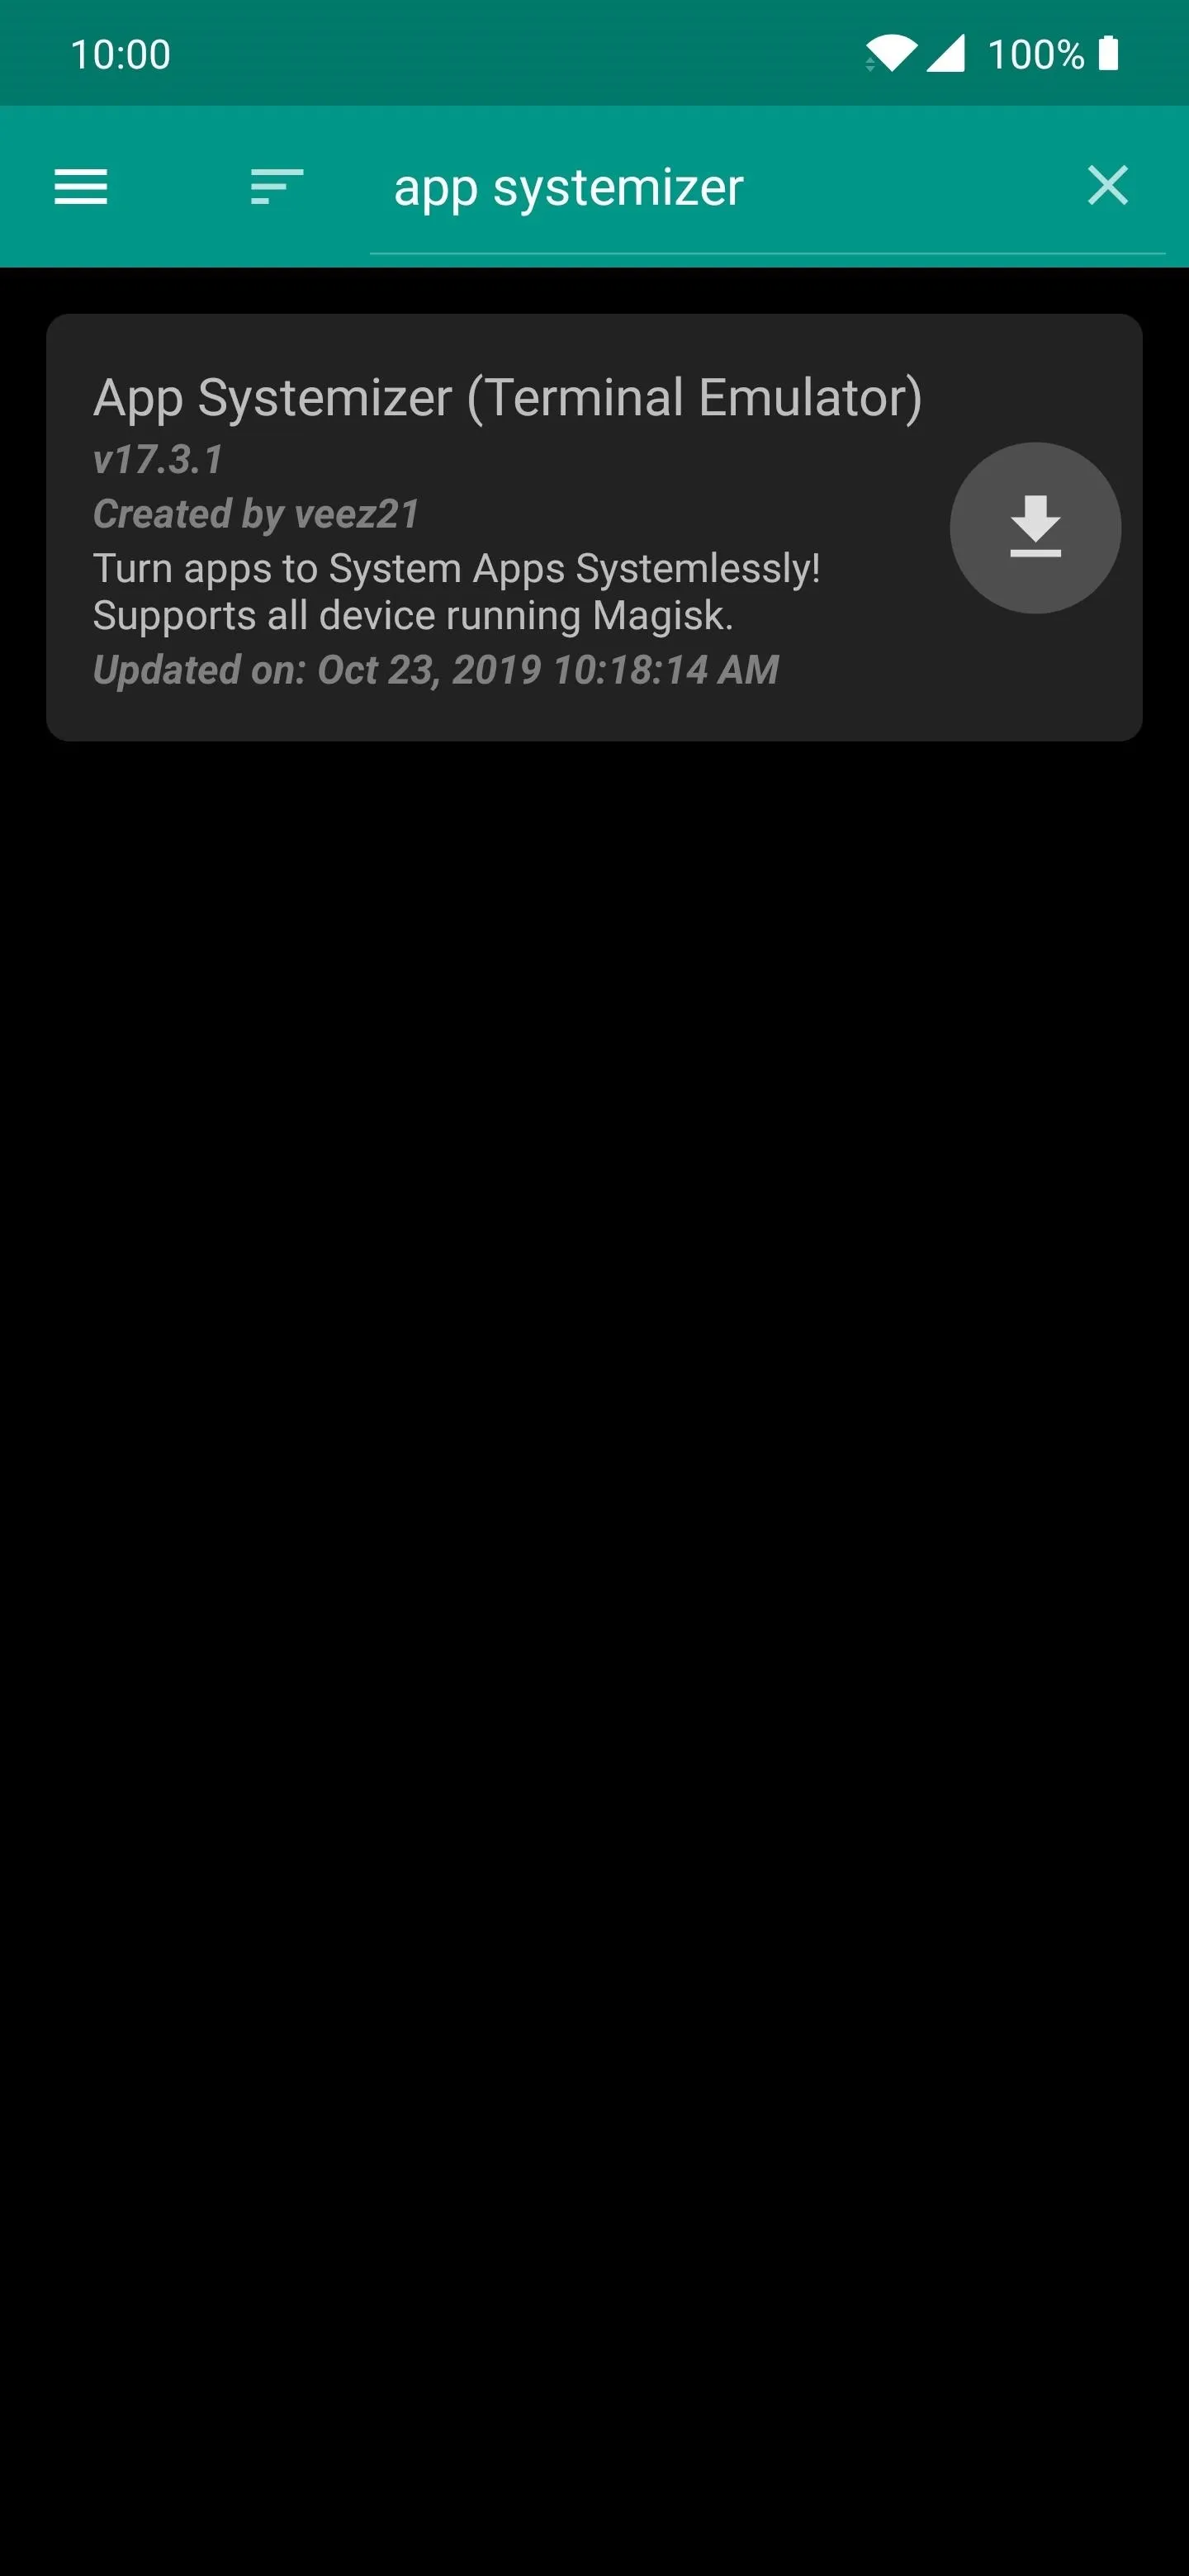
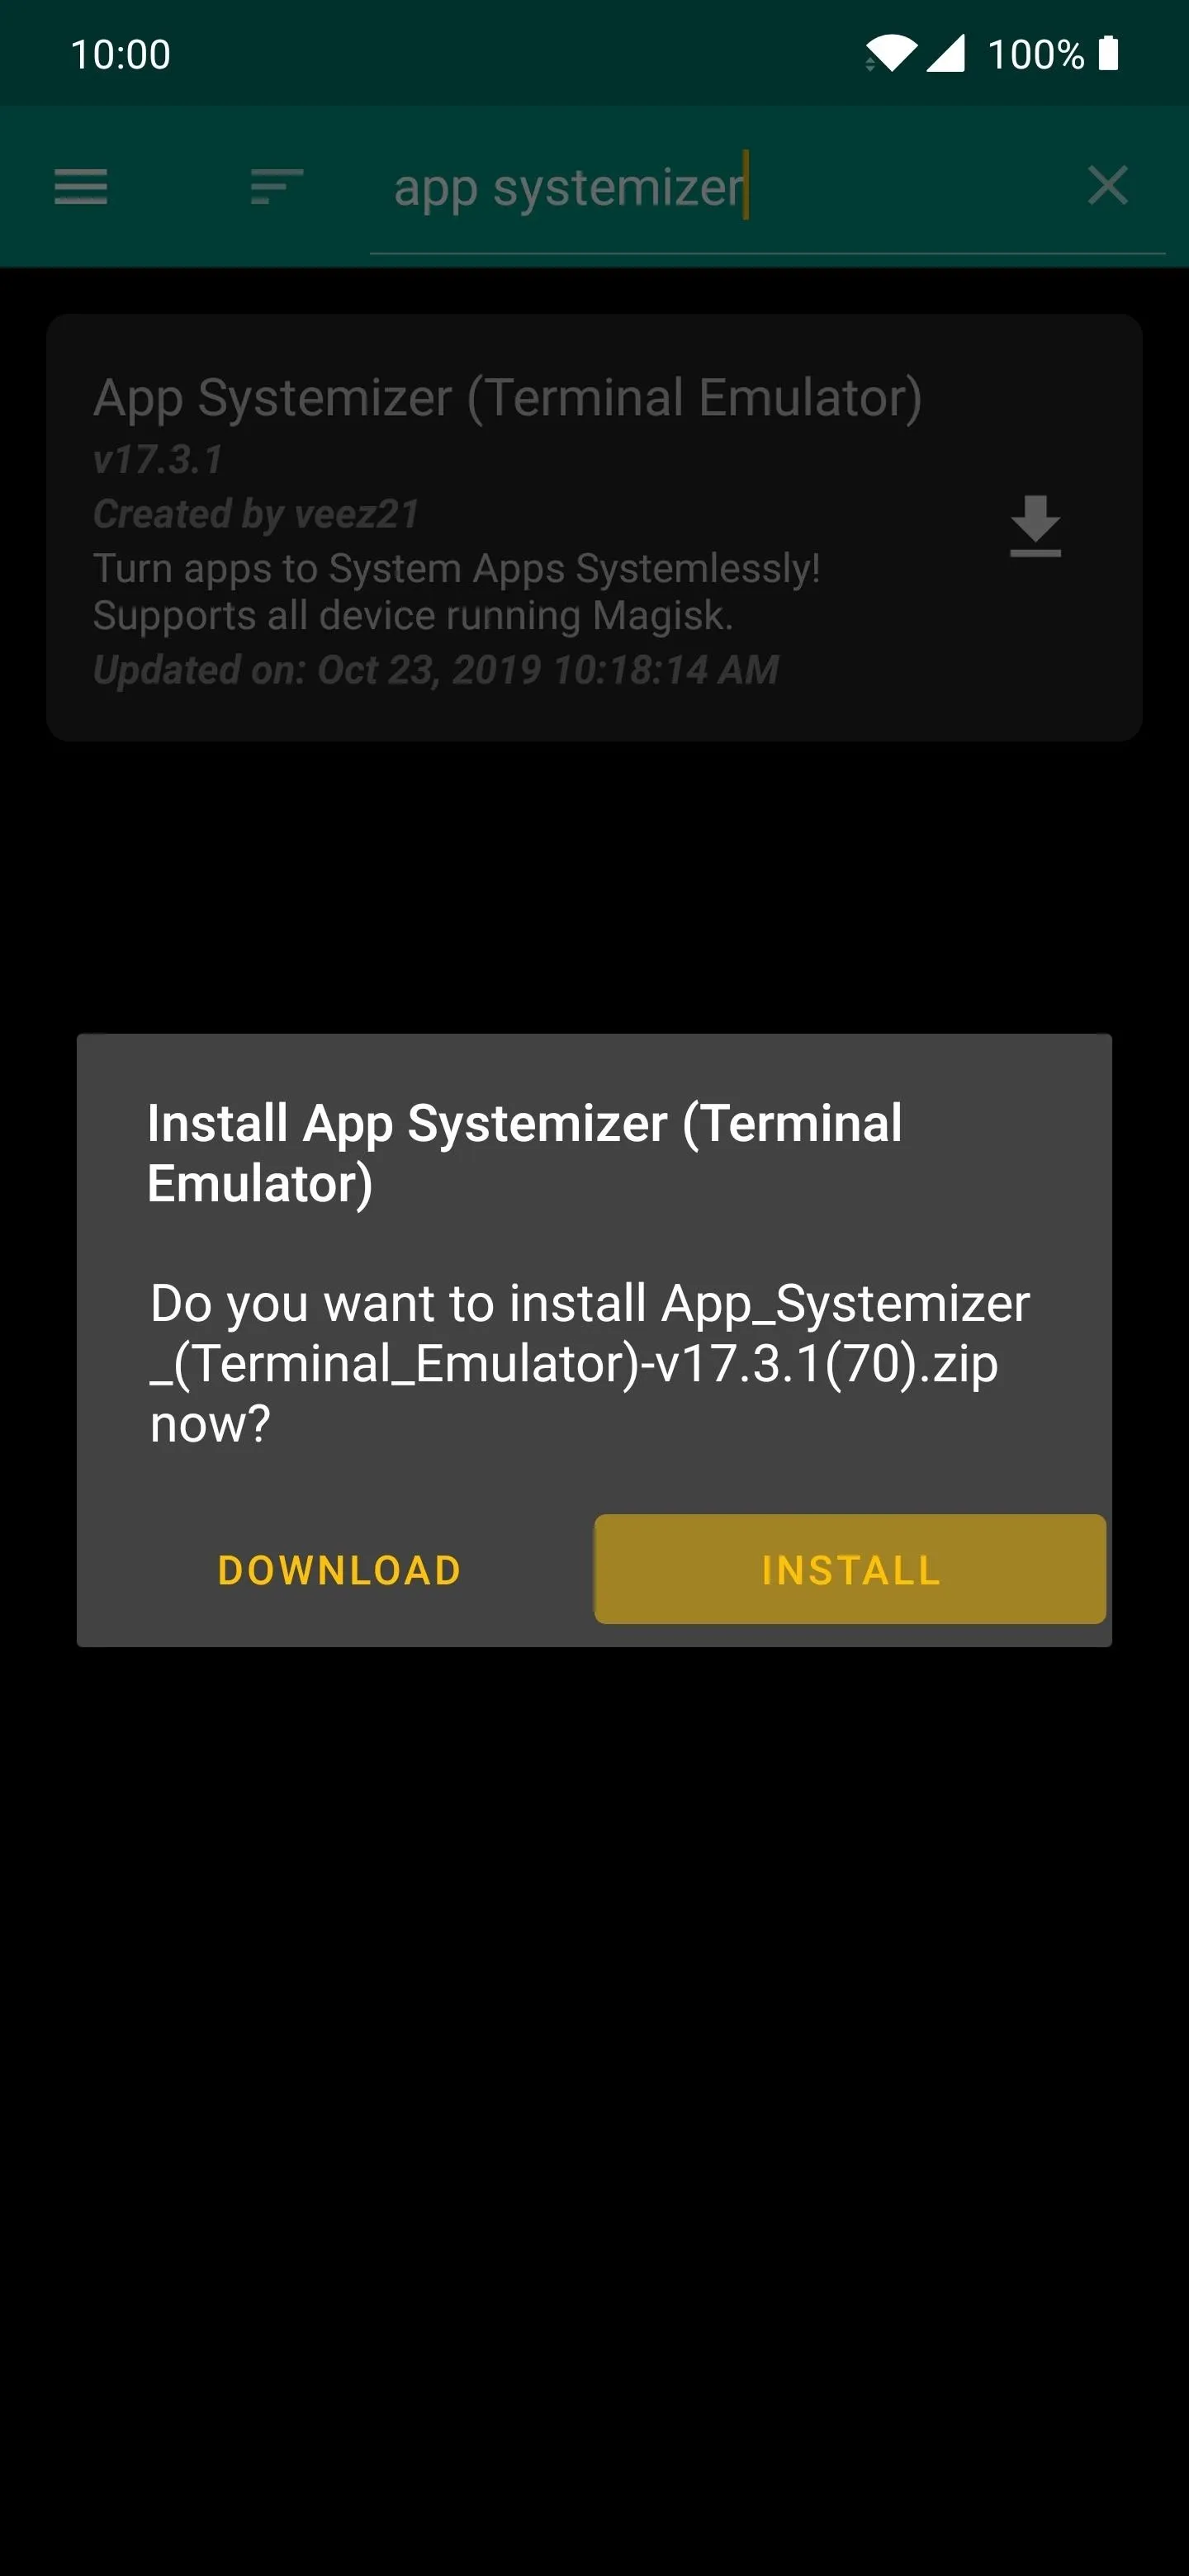
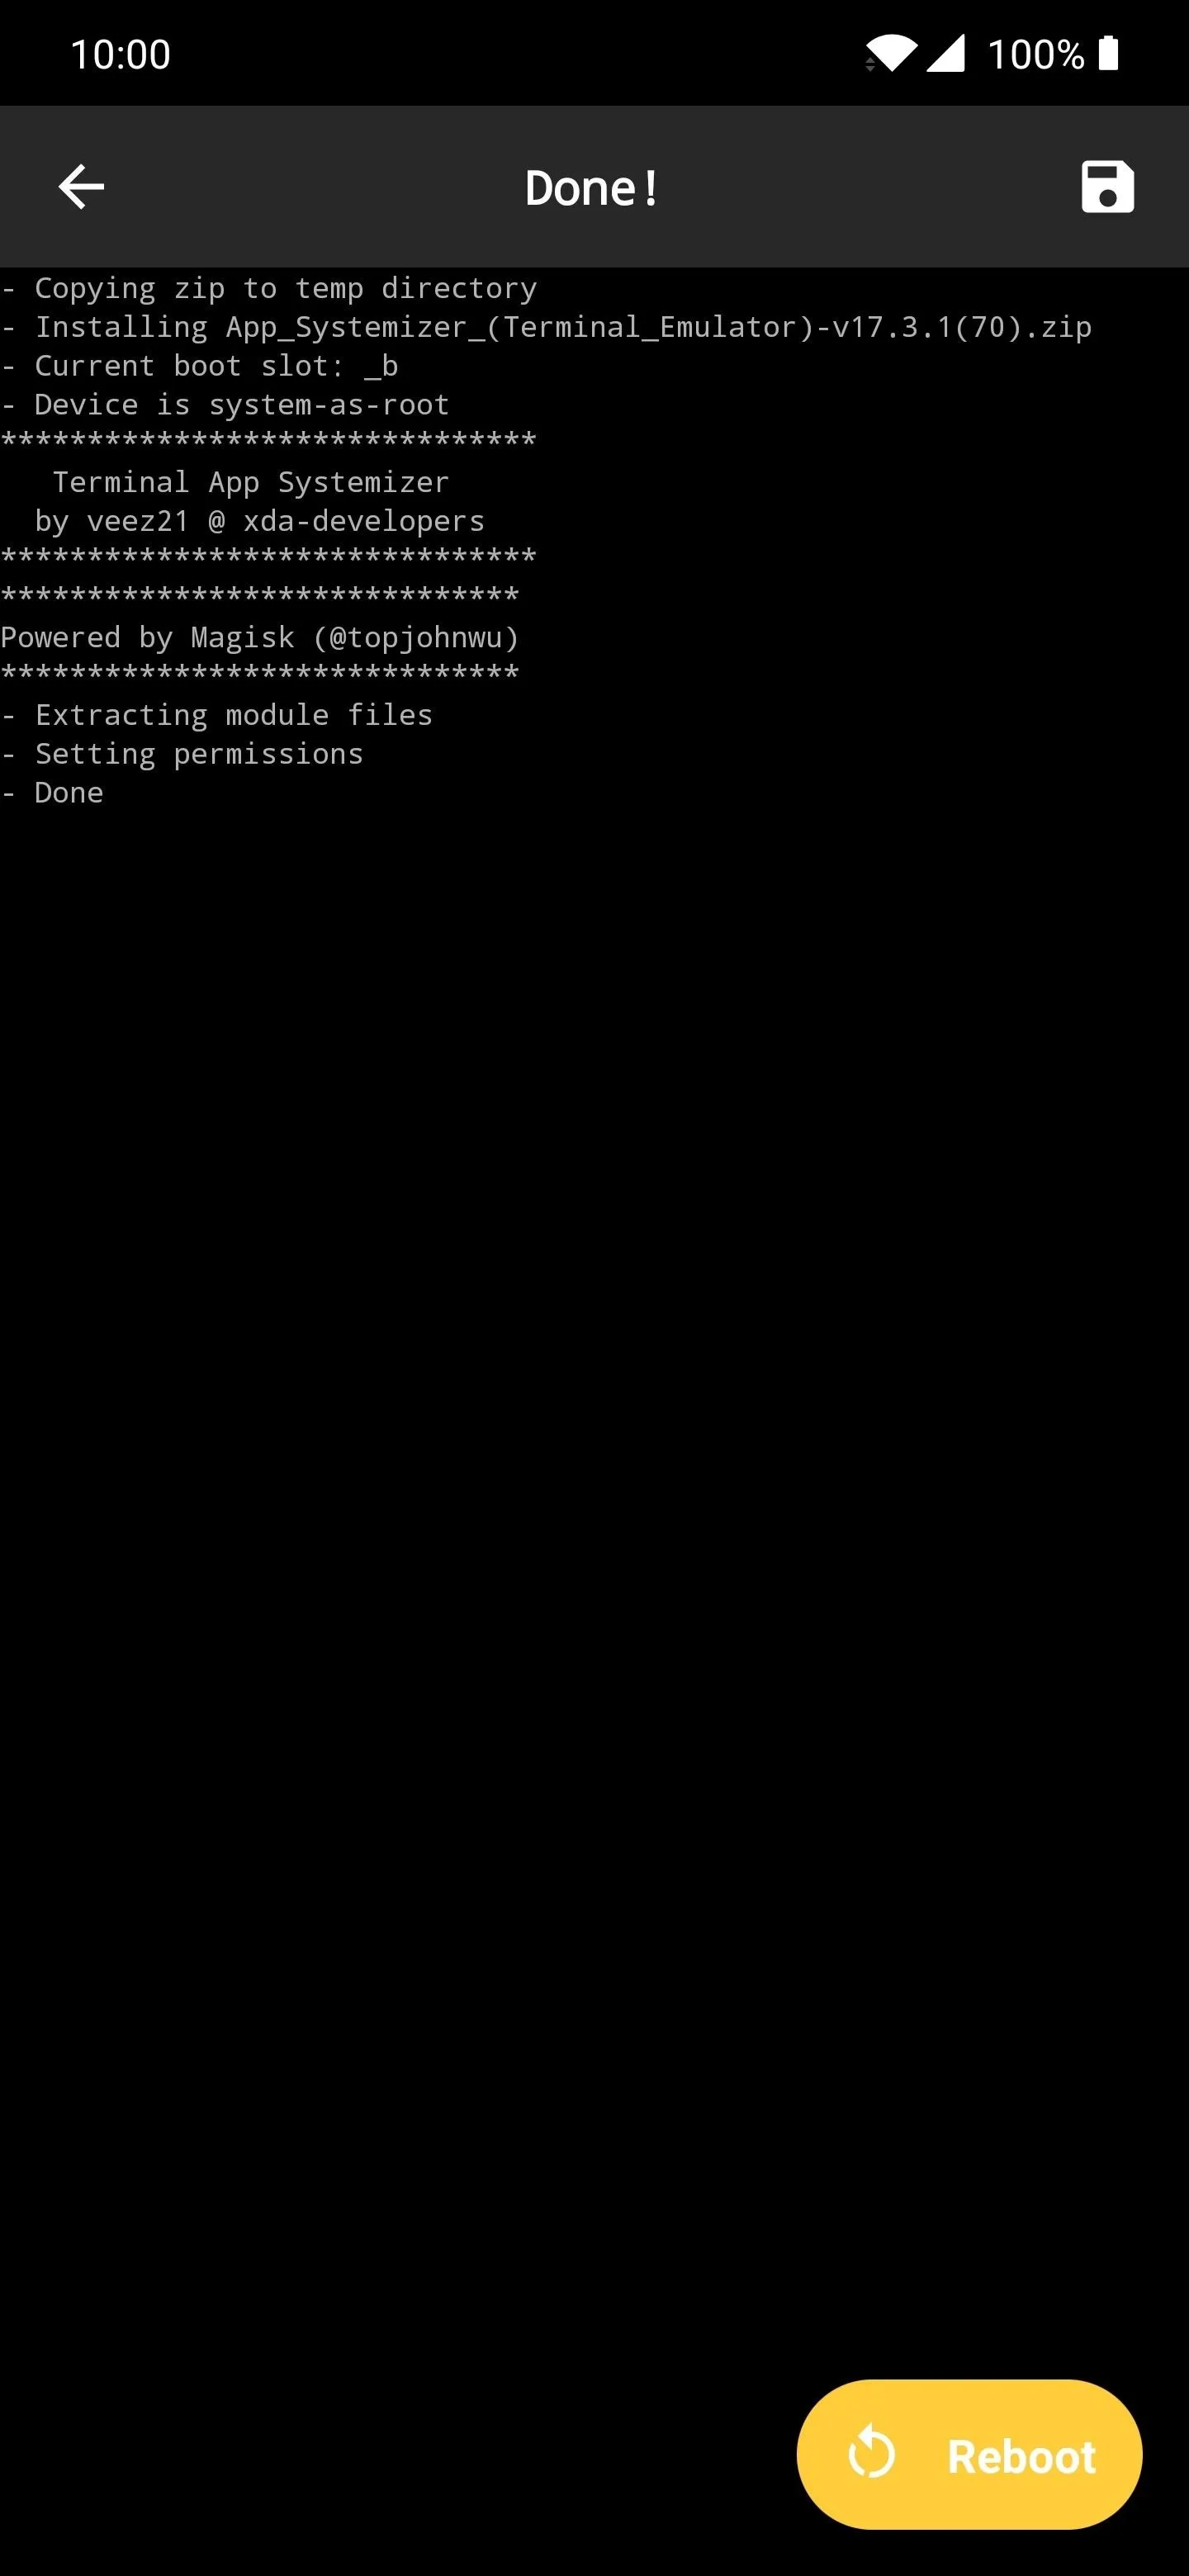
In the search bar for the "Downloads" section, do another search for the term "app systemizer," then repeat the process like before to get the module installed. Once this one finishes installing, you can go ahead and hit the "Reboot" button at the bottom to restart your device.
Install the Google Phone App
Now that you're back from a fresh reboot, it's time to install the final module to get Call Screen working. The framework from this module allows you to download the Google Phone app directly from the Play Store, just as if you were using a Pixel phone. This is the best method of getting the app and keeping it updated without having to jump through hoops or use any modded APK's.
- More Info: Get the Google Phone App on Any Android
Follow along with the guide above to get that all taken care of, then you're one step closer to using the Call Screen feature on your OnePlus phone! Don't forget to set the Google Phone app as your default dialer to avoid any potential issues in the future.
Install the Terminal App
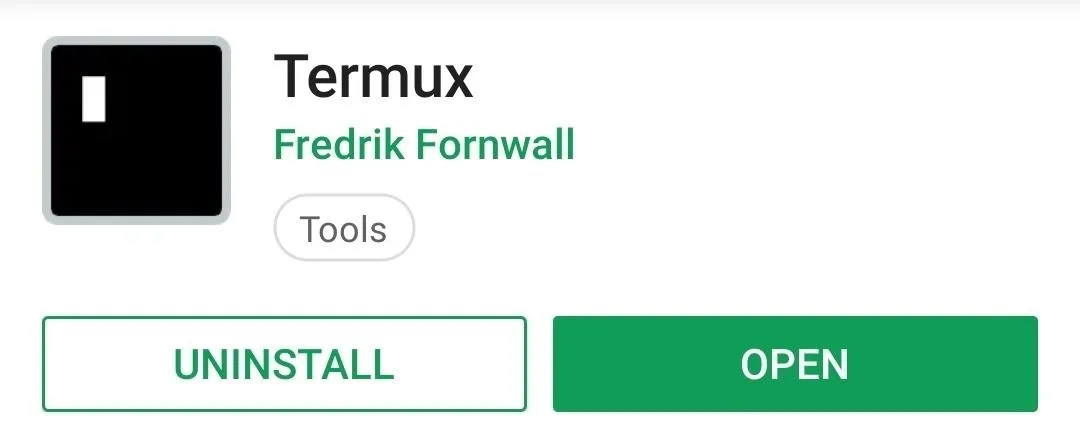
To use the App Systemizer module you downloaded in Step 3, you'll first need to access a terminal. The module is entirely command-line based, which is why you also needed the Busybox module — it allows you to use more advanced commands with superuser permissions. I always recommend Termux since it's very well built and from a trusted source.
- Play Store Link: Termux
Systemize the Google Phone App
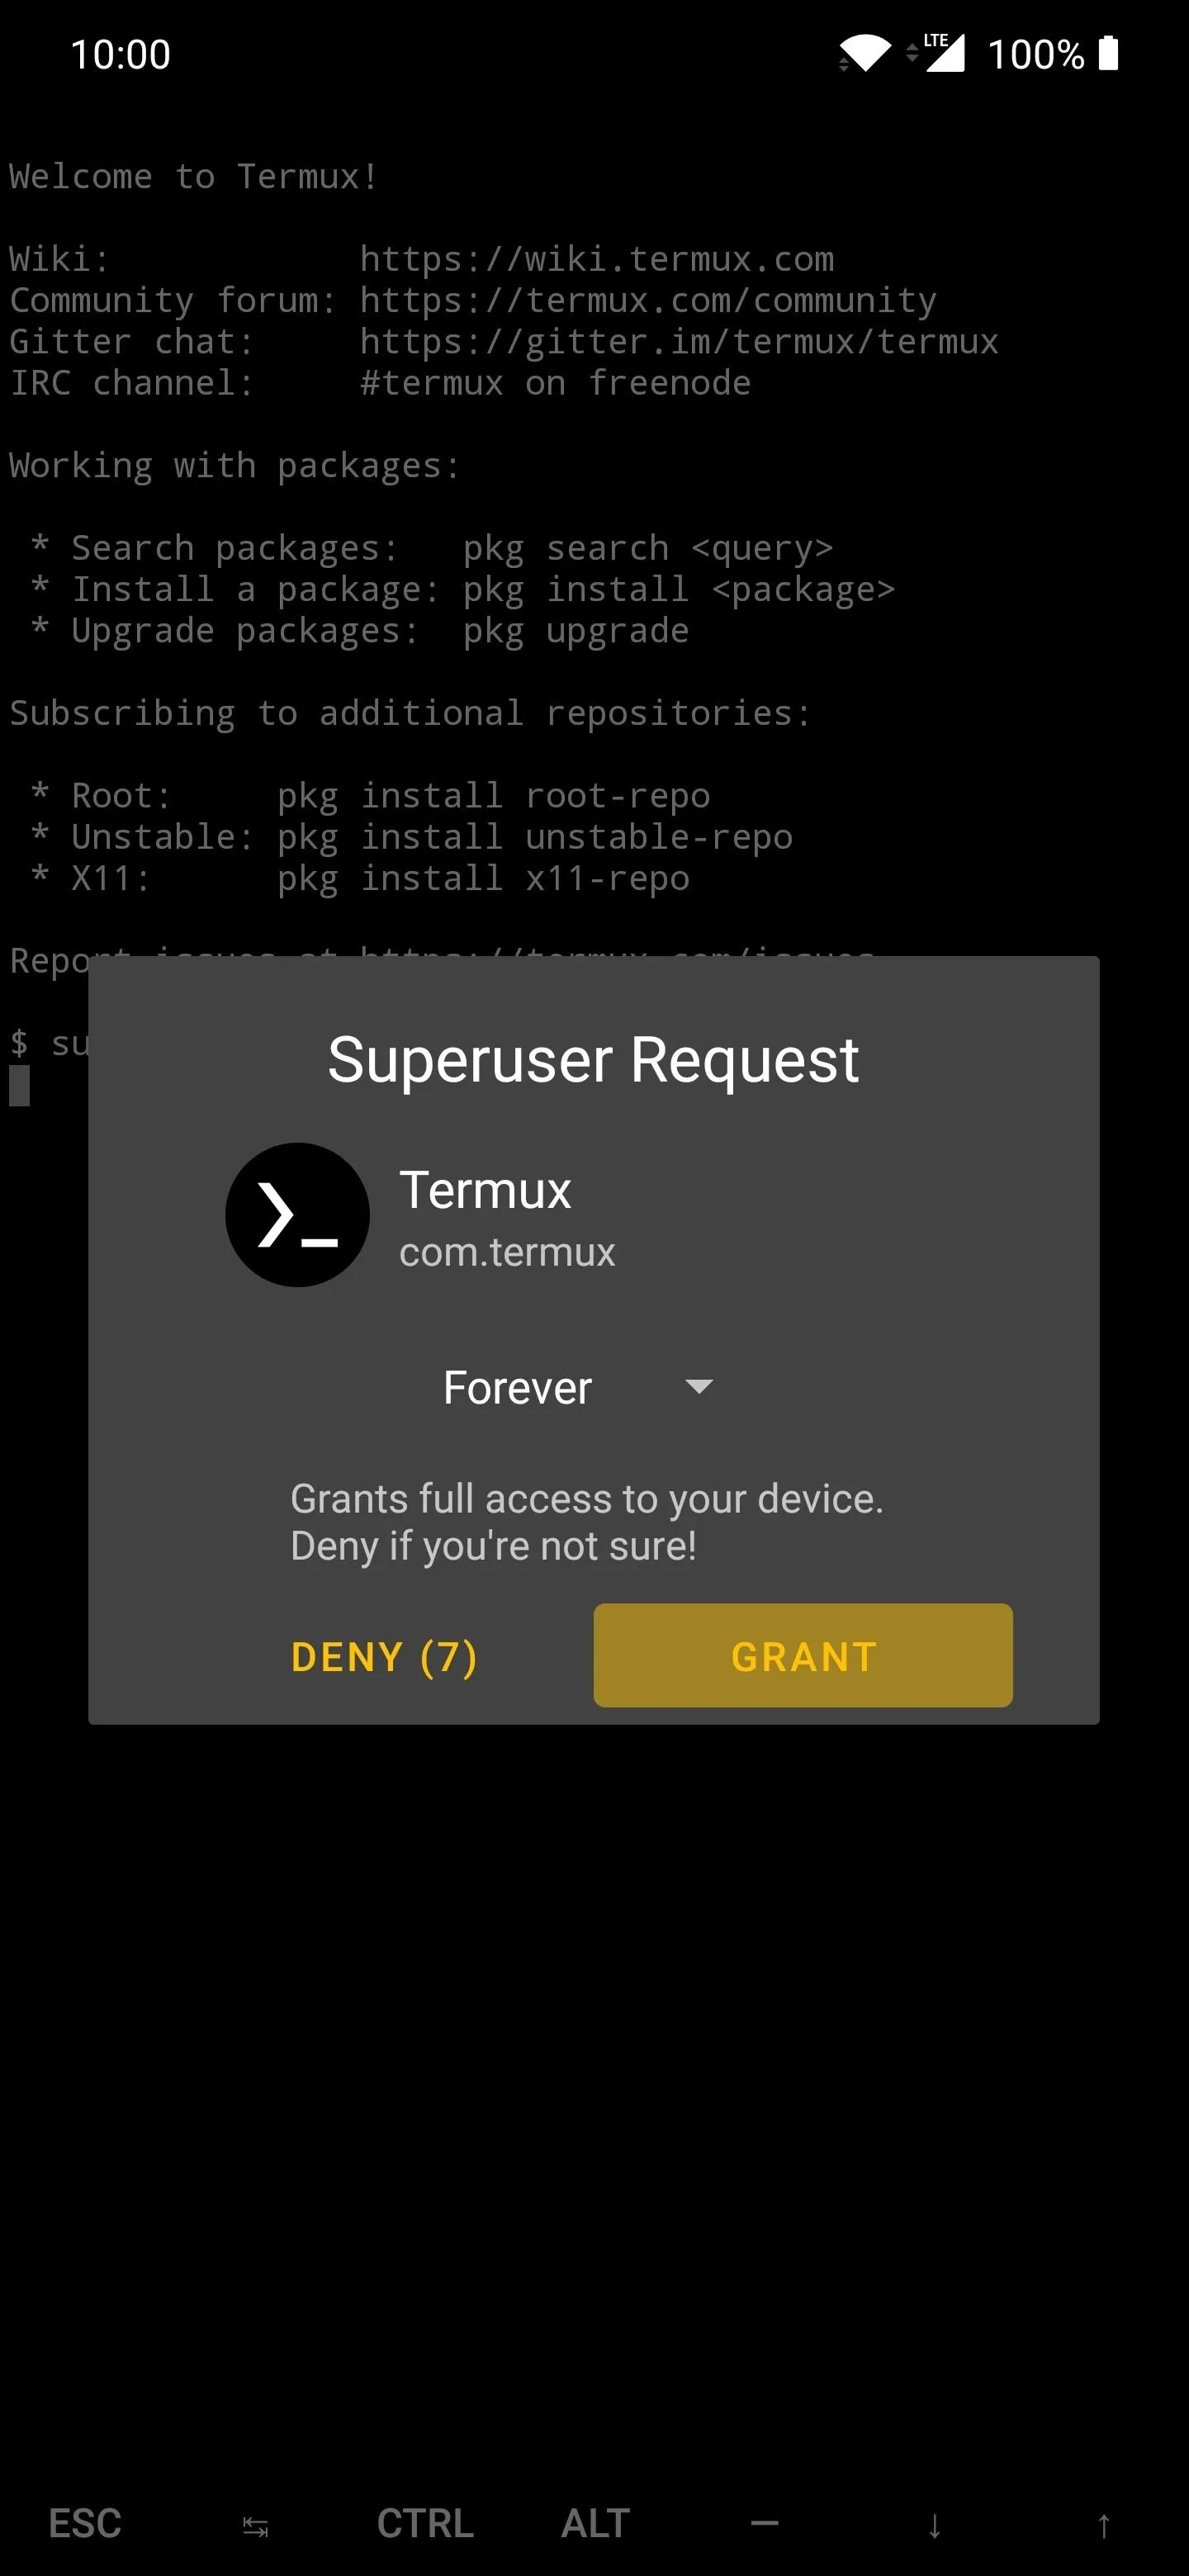
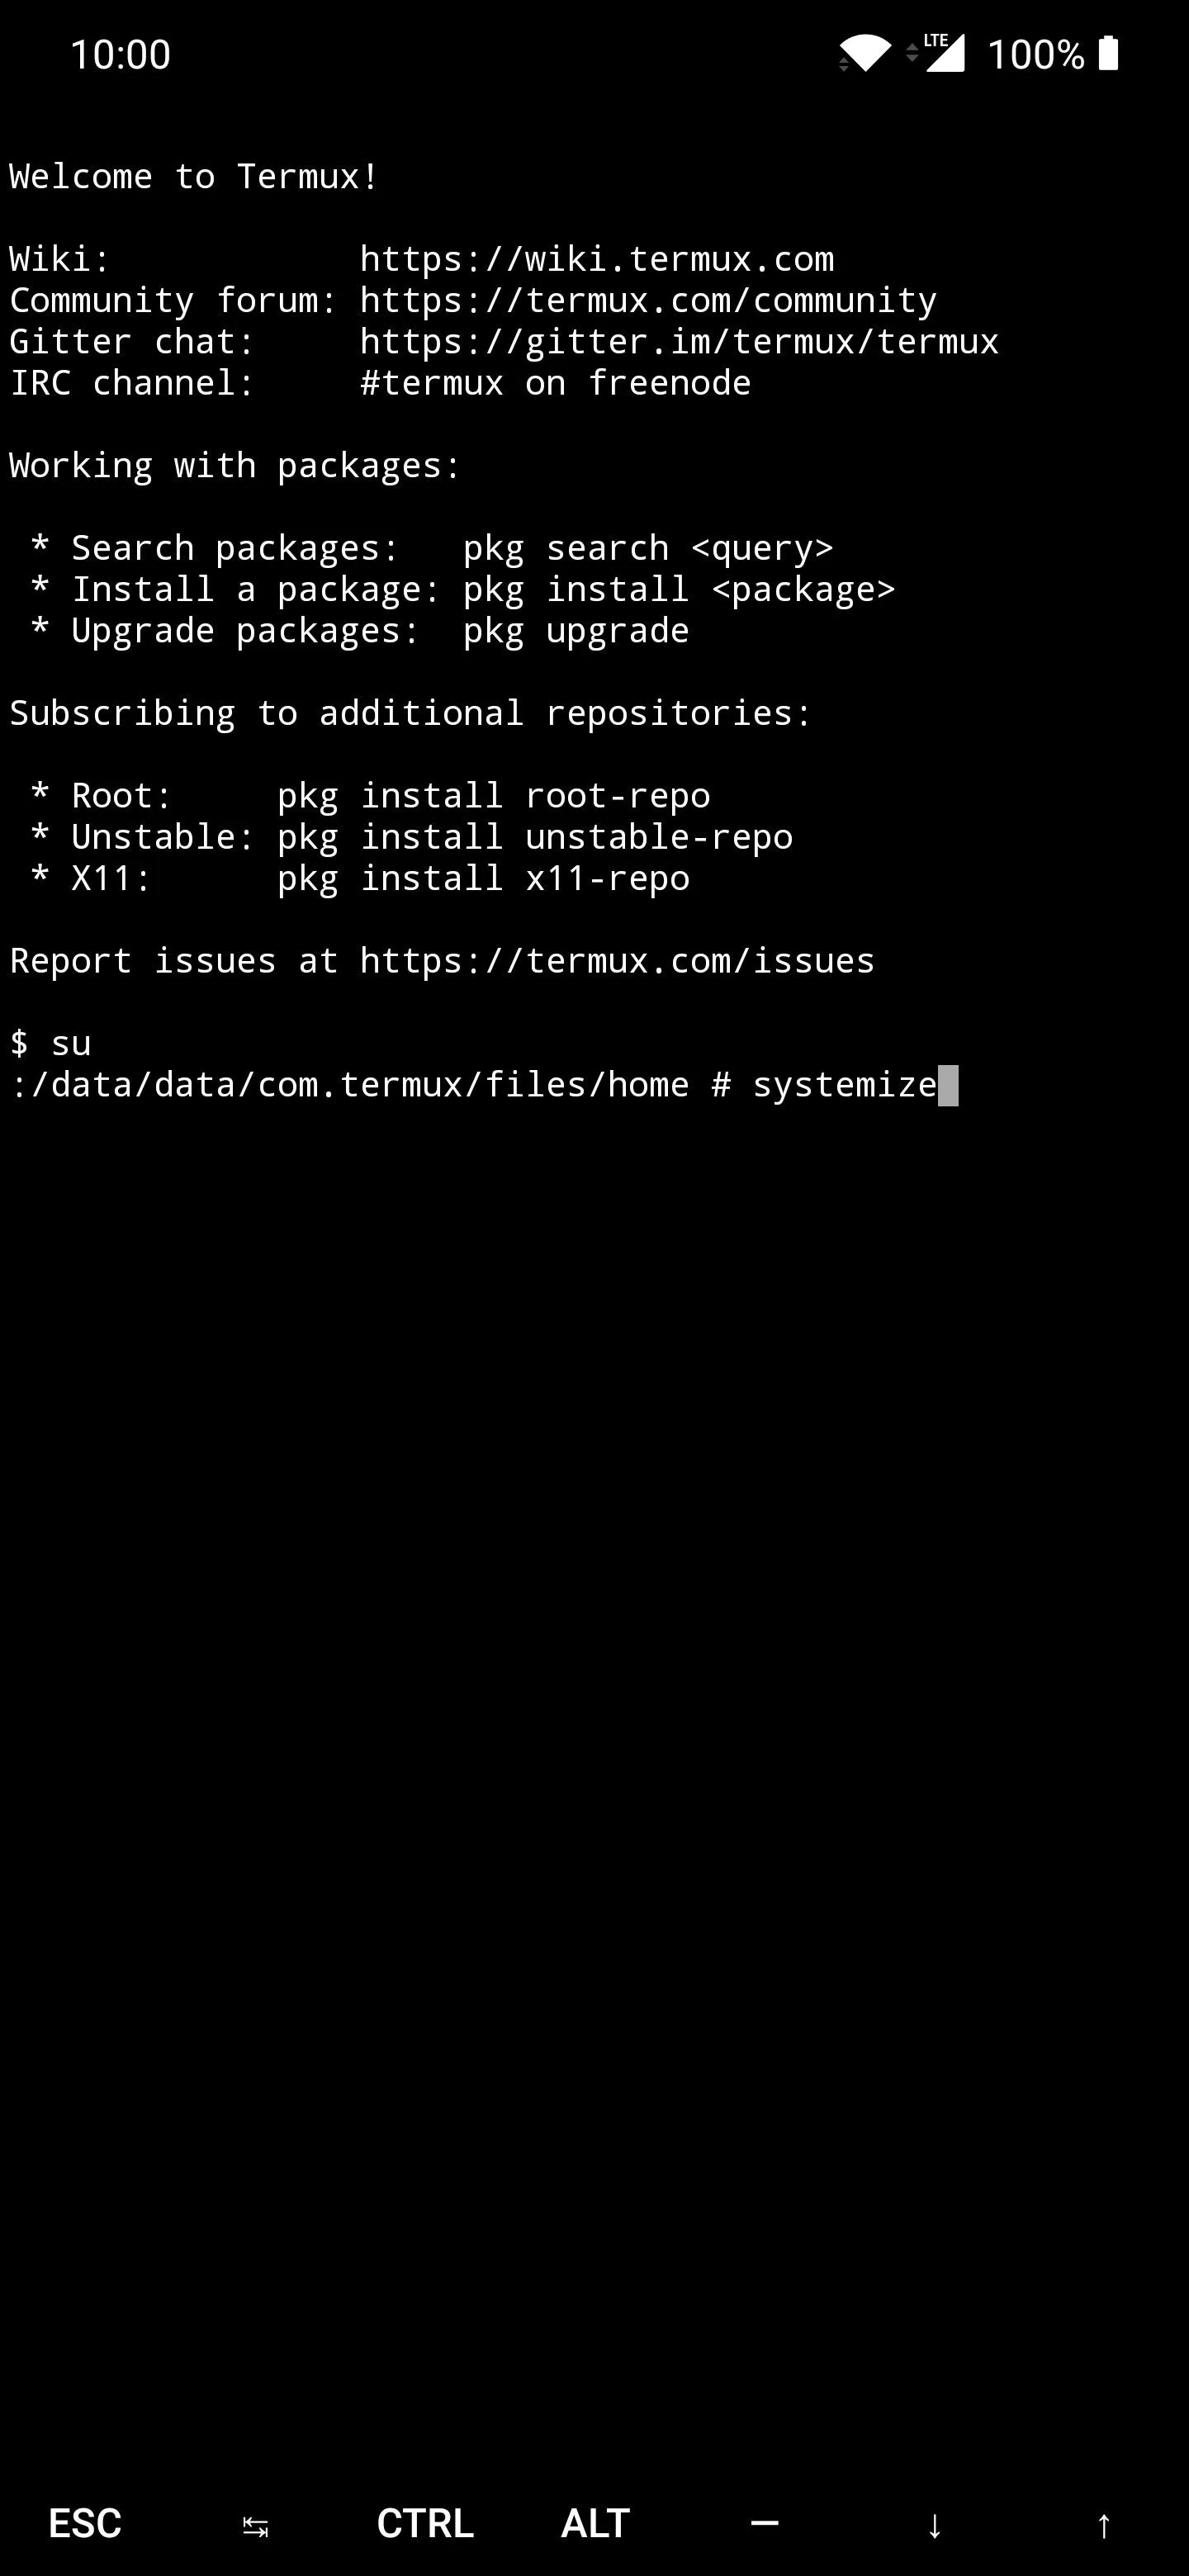
Now it's time to turn the Google Phone app into a system app so that it looks like it came preinstalled with your device, just like a Pixel phone. Open the Termux app, then type in the command below, followed by enter.
suWhen you're prompted to do so, tap the "Grant" option to give Termux full superuser privileges to your system.

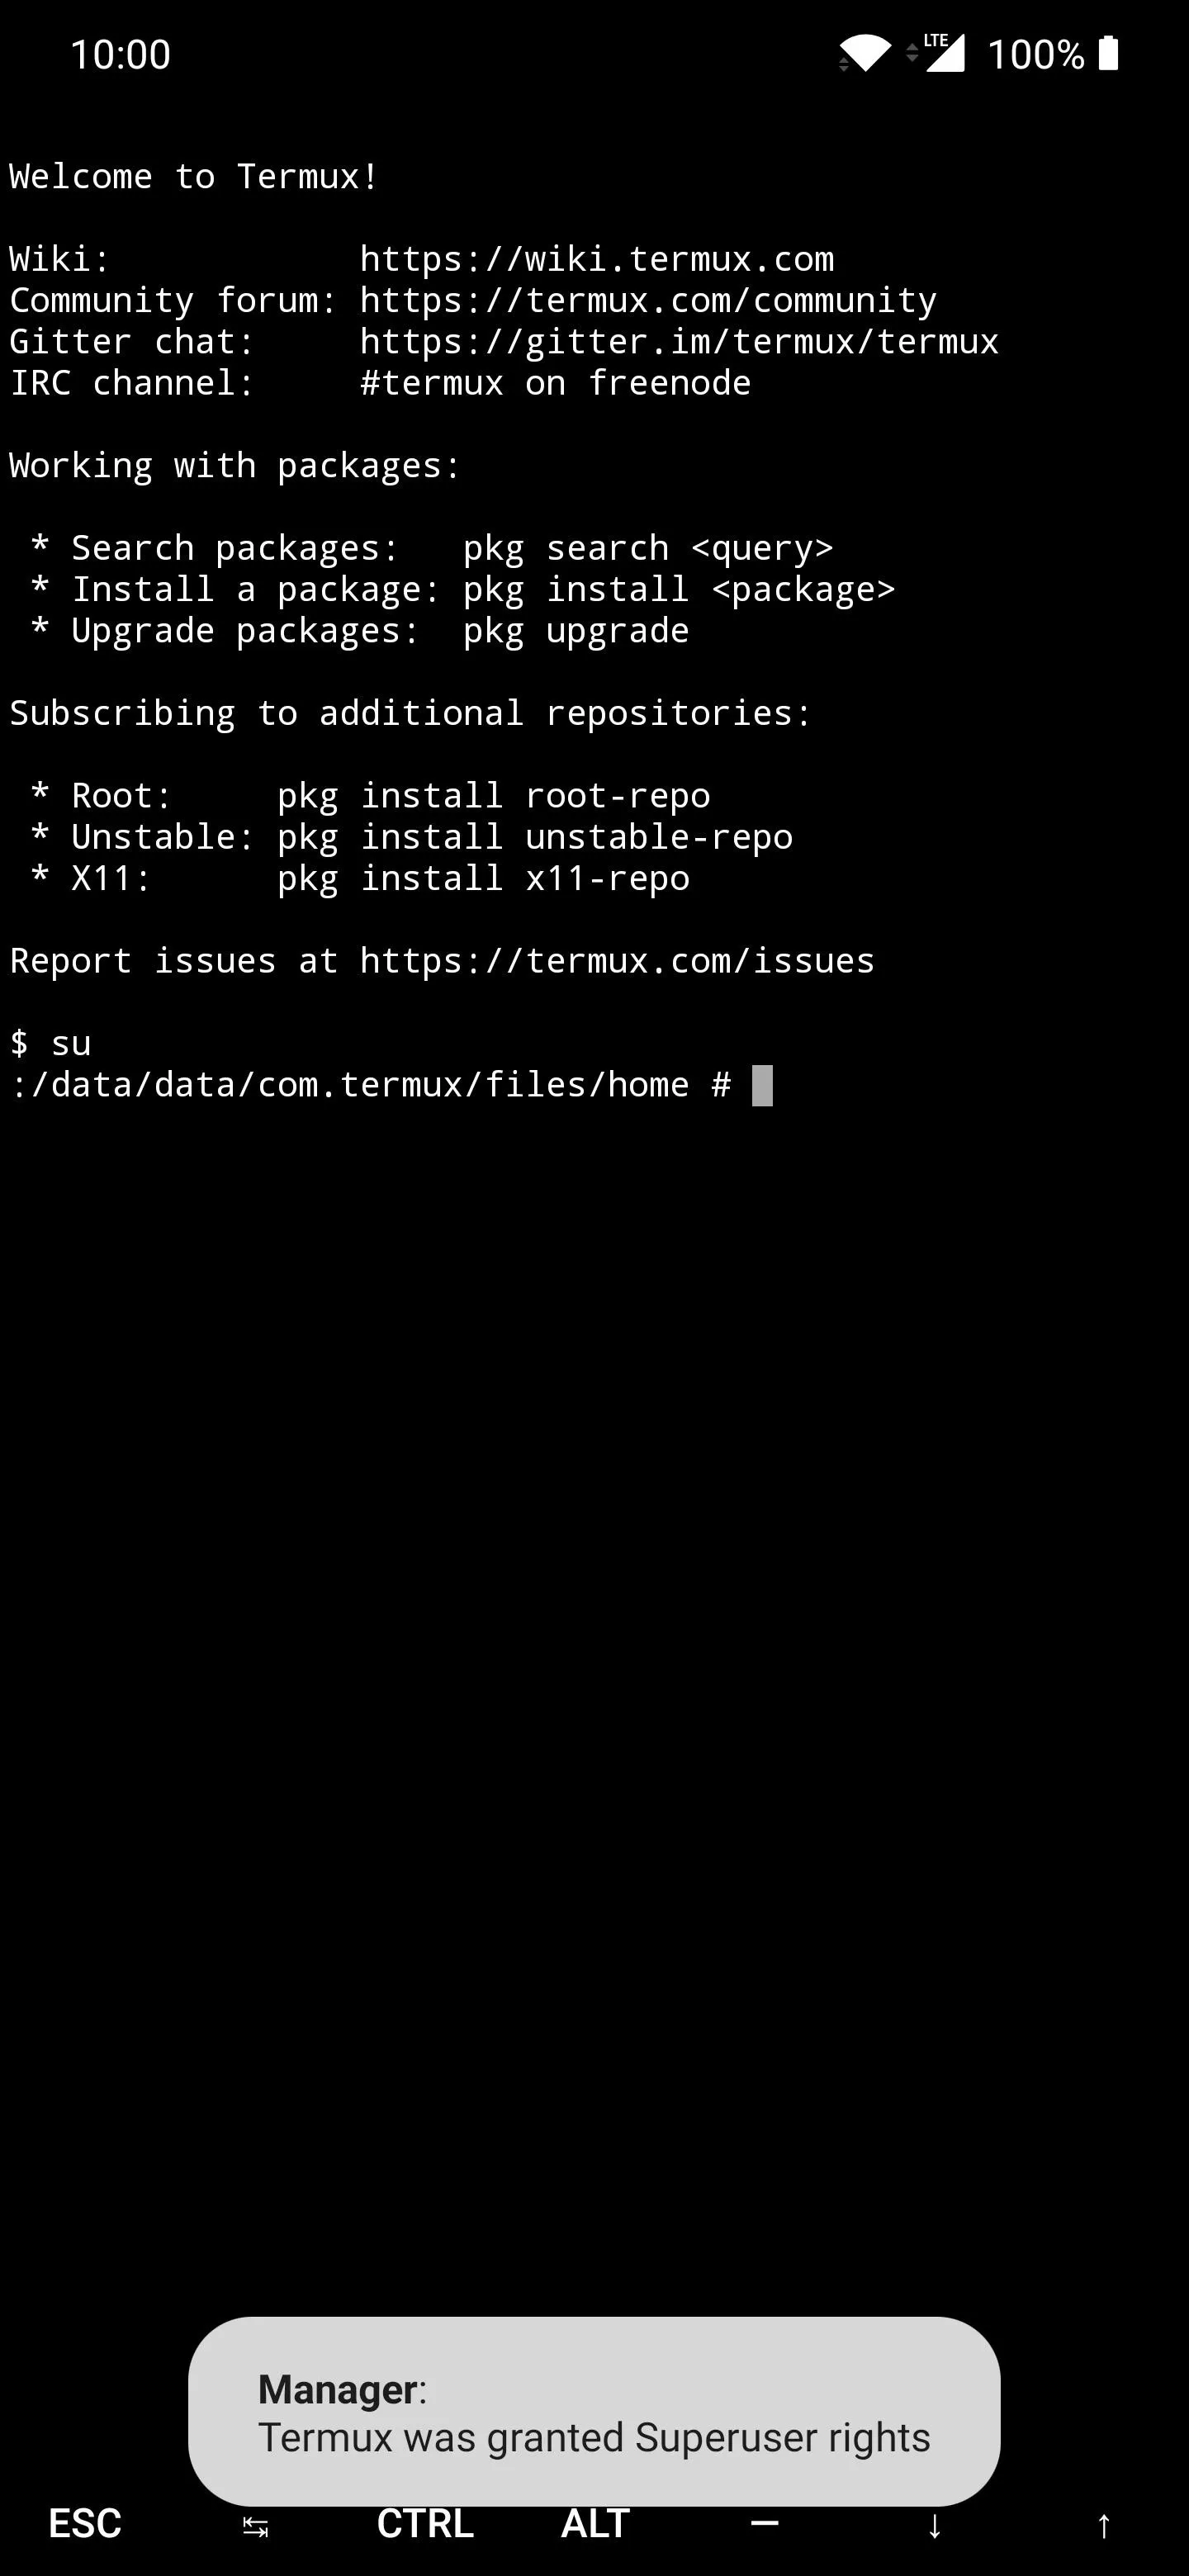
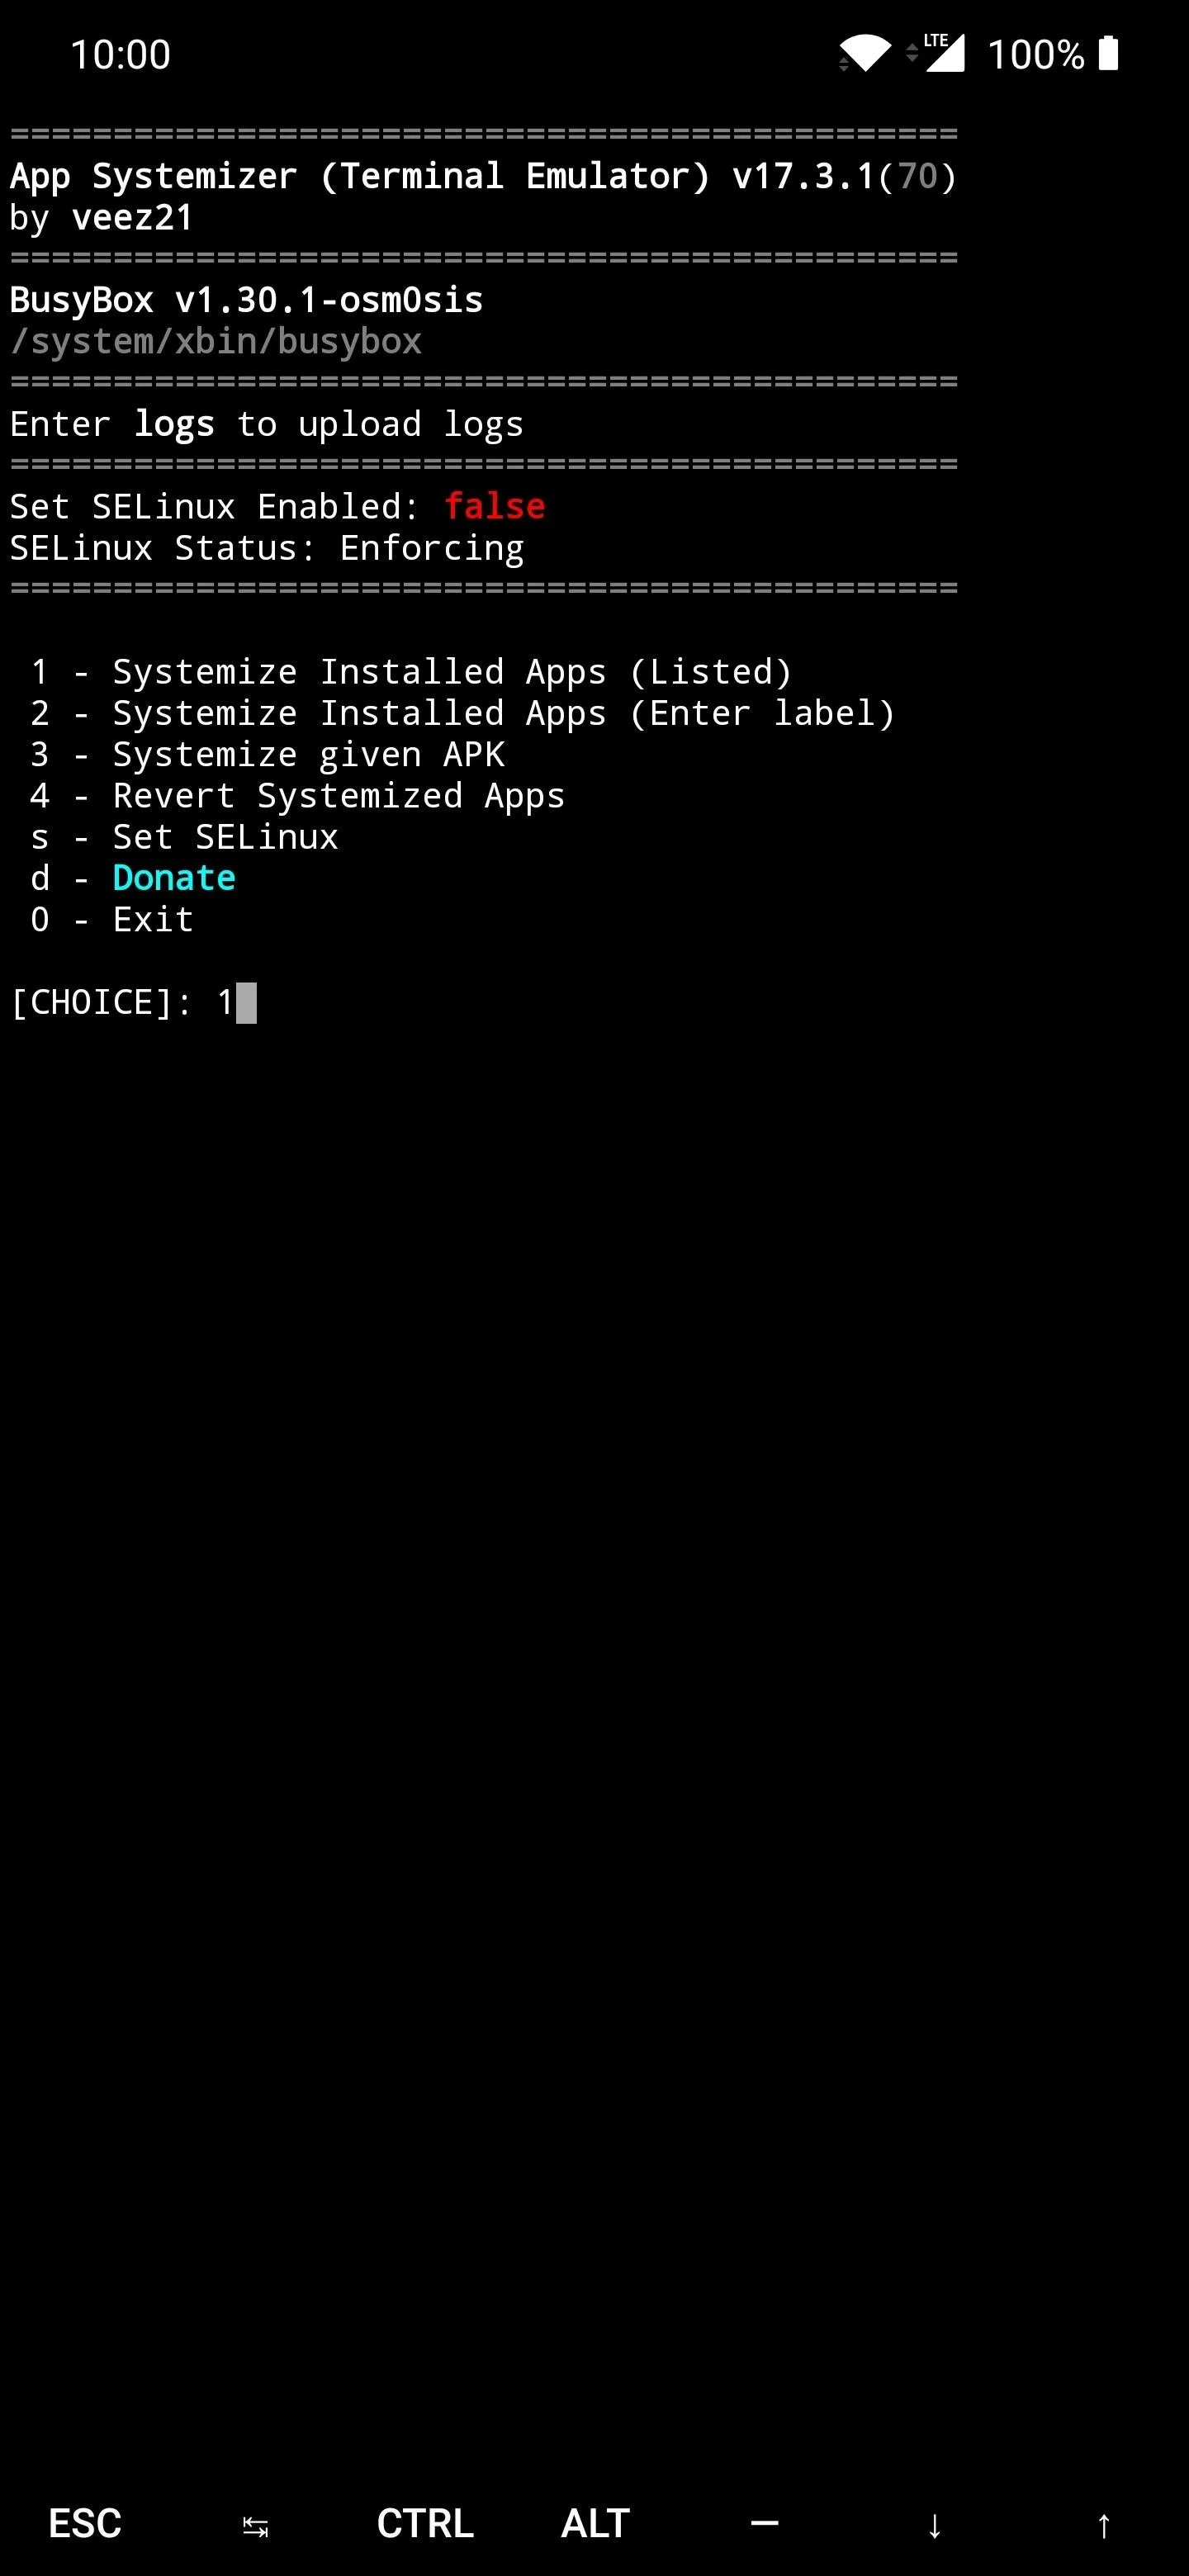
Now that your superuser permissions have been granted, type in the next command followed by enter.
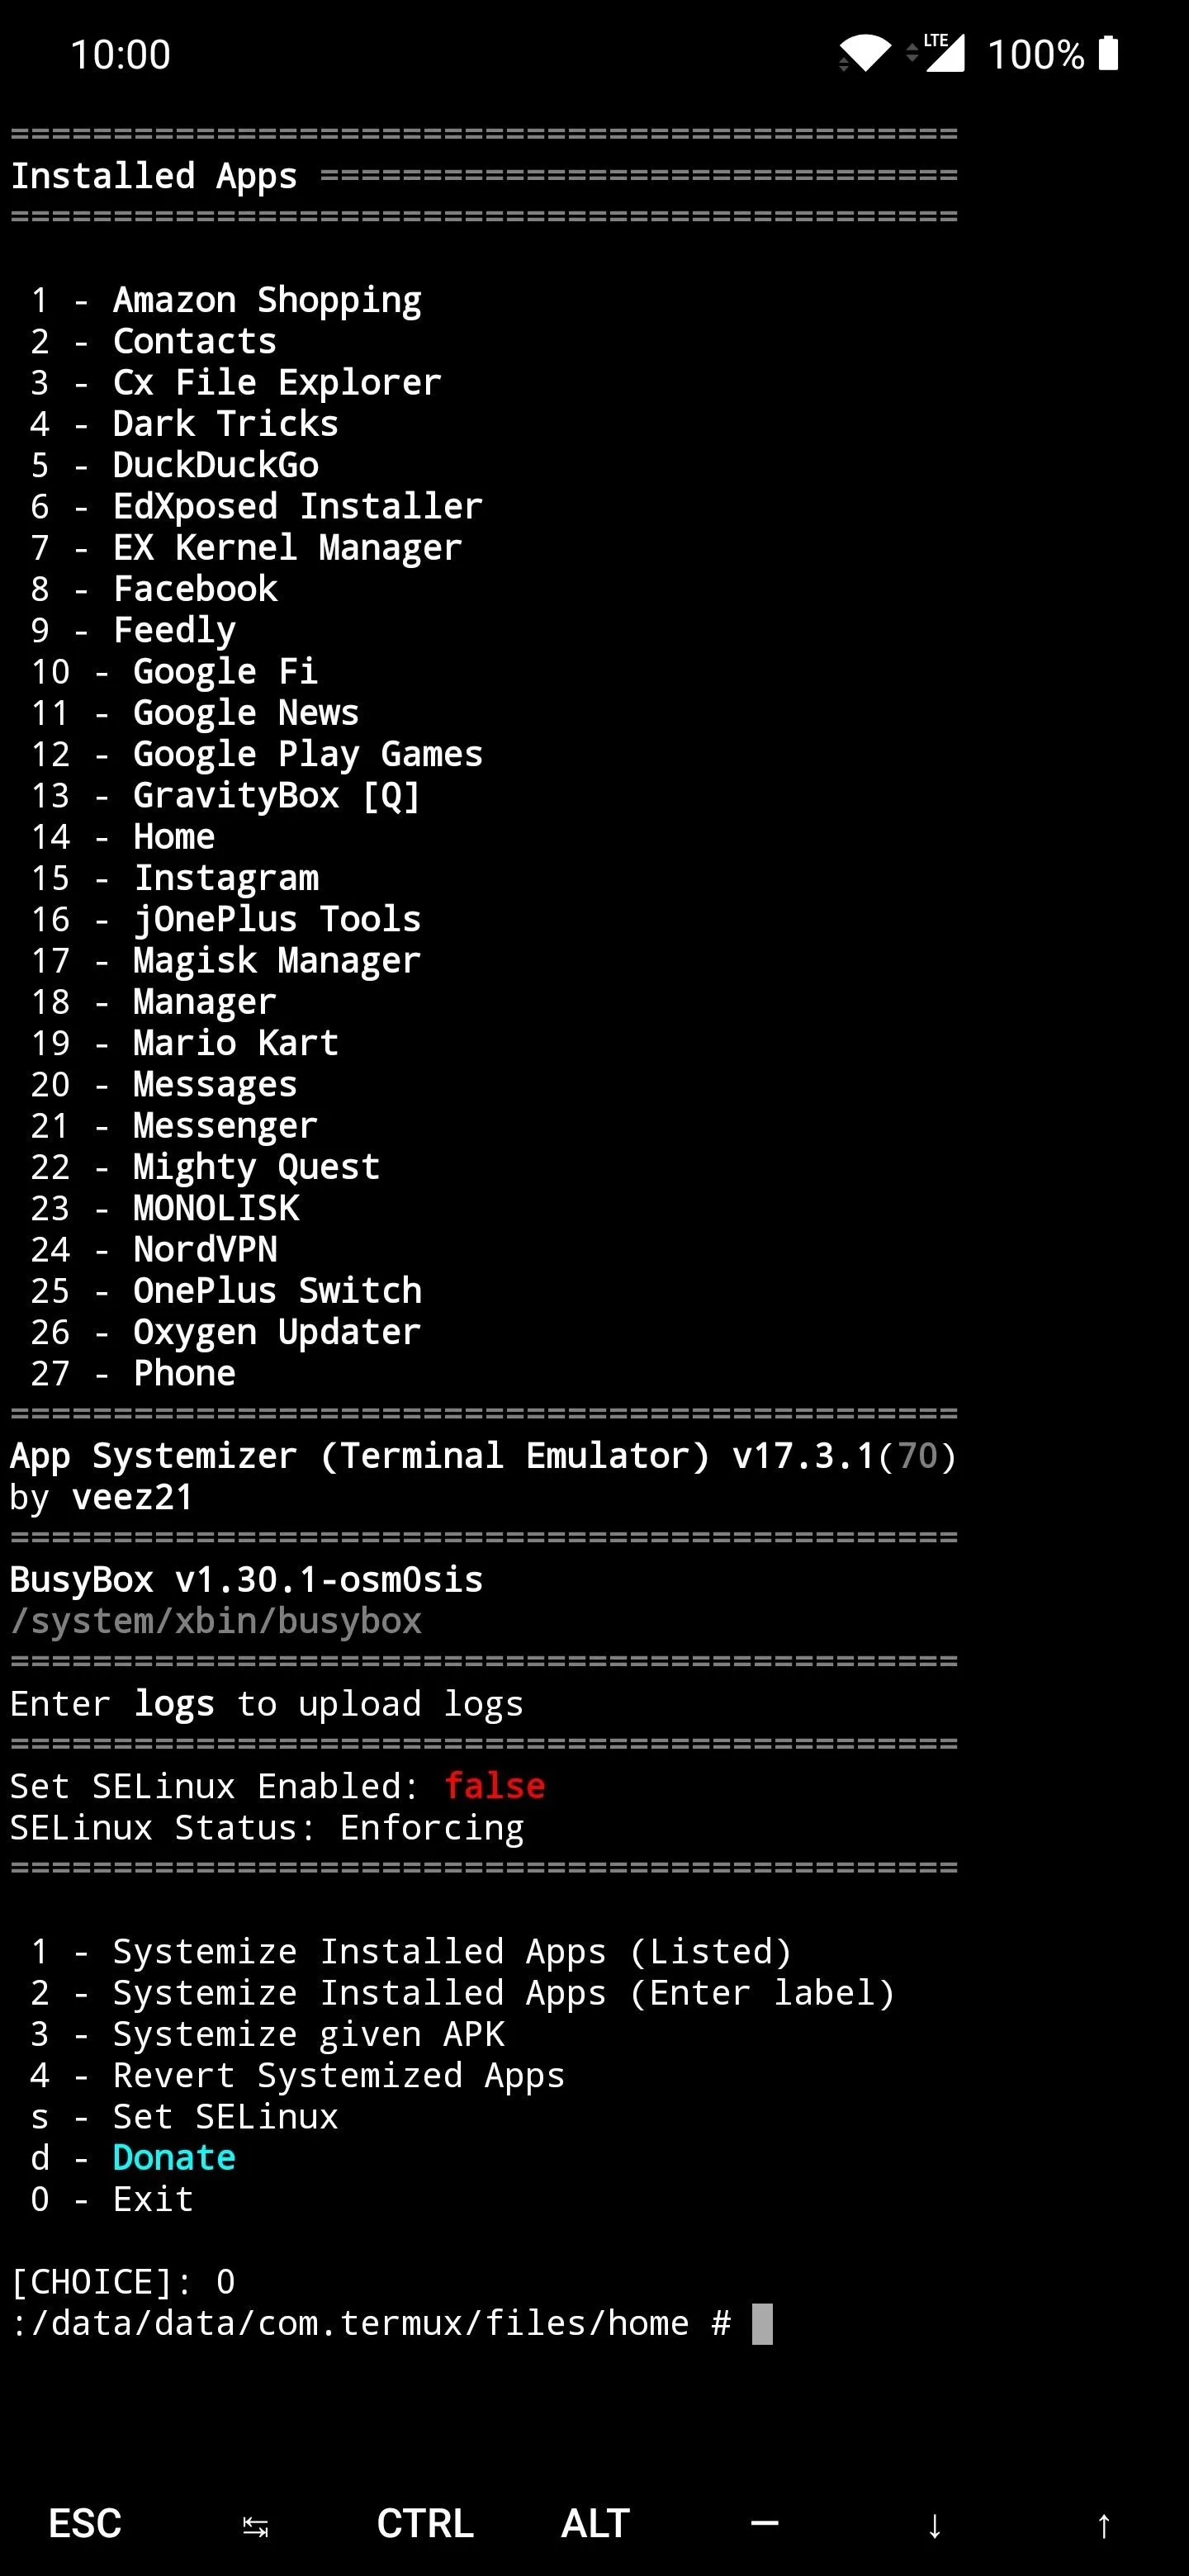
systemizeThis command will immediately launch the App Systemizer module interface for the first time. This is easily the best way you can turn any user-installed app into a system app with minimal effort.

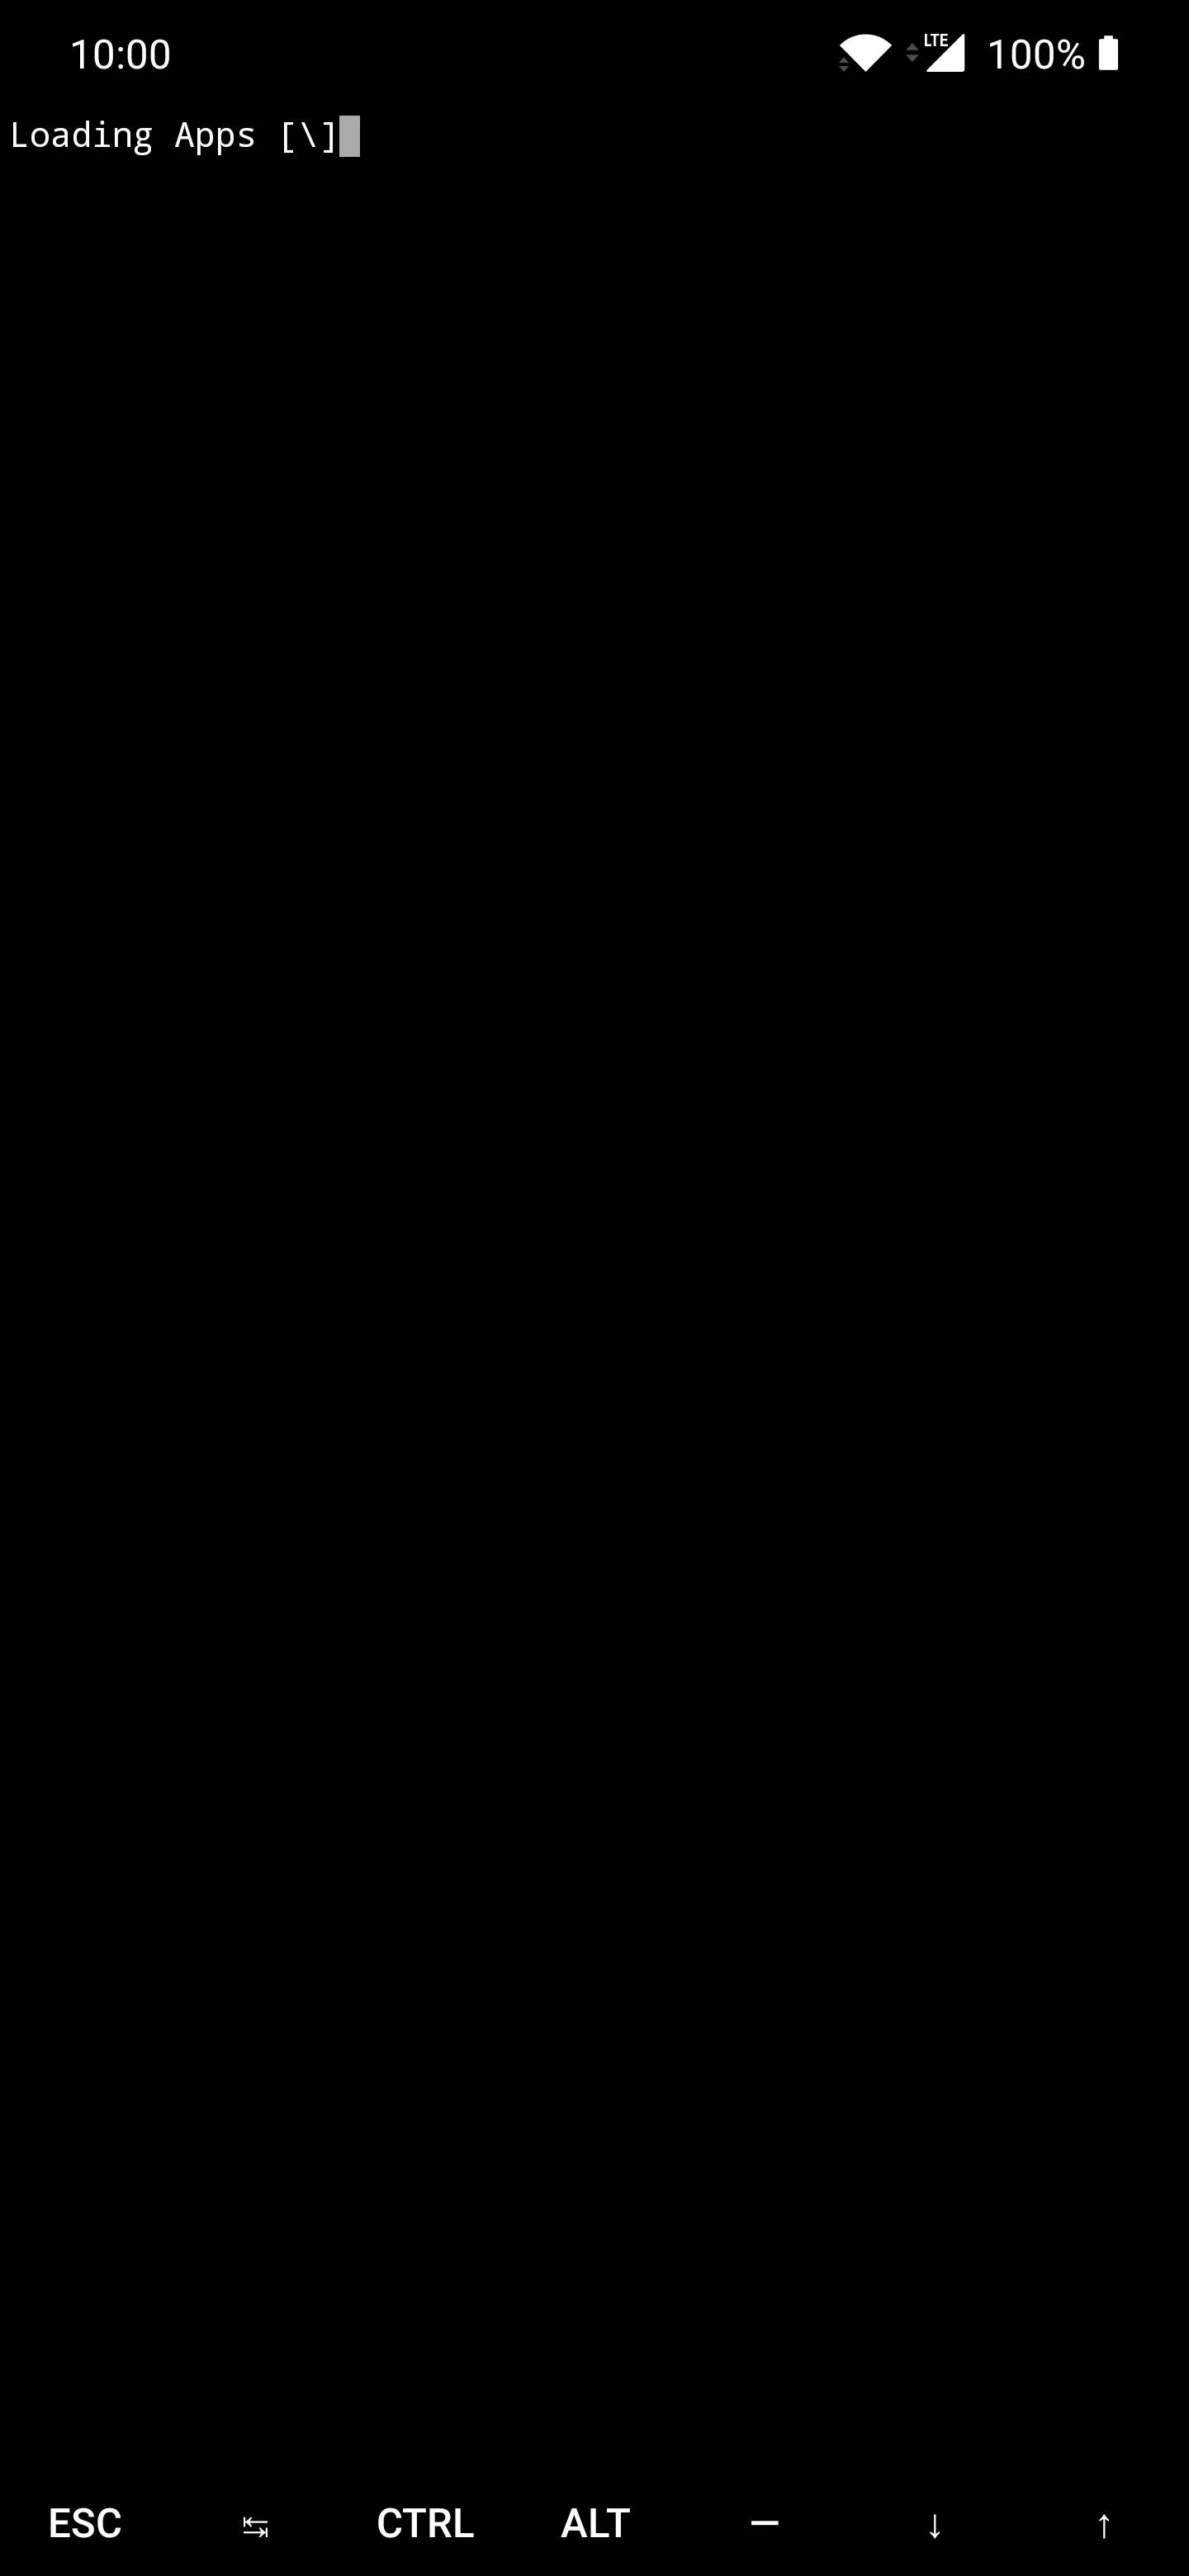
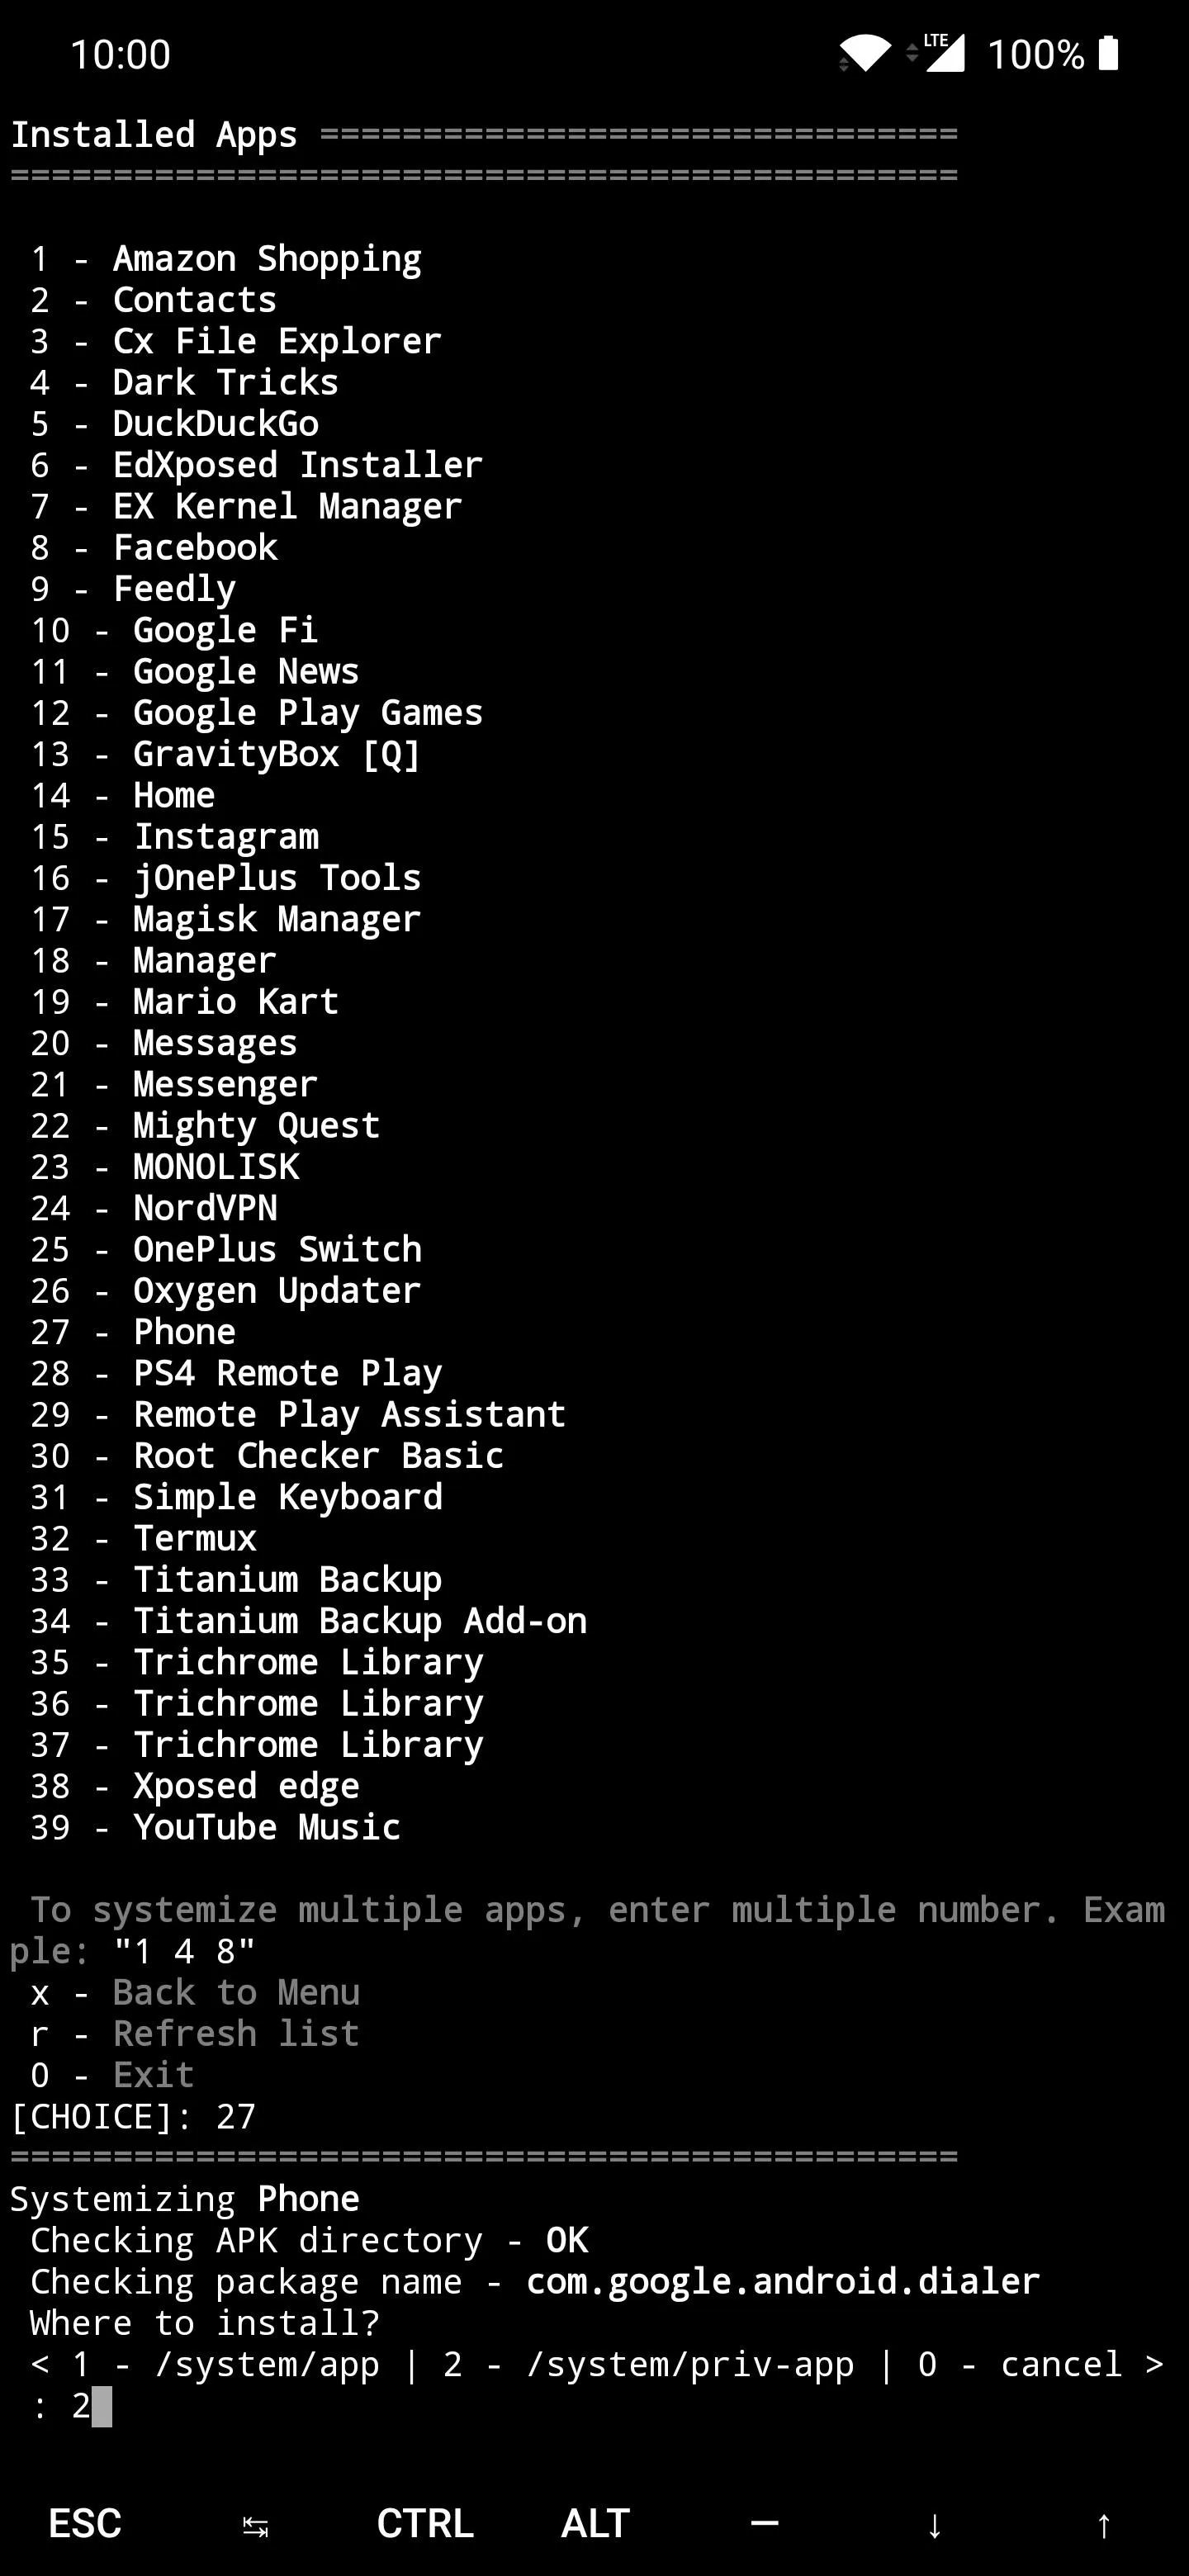
Now that you're sitting at the main screen of the module, type in "1" for the "Systemize Installed Apps" choice, then press enter to confirm your choice. It'll begin loading all of your currently installed apps and will compile them into a number list automatically. Once it finishes creating your apps list, locate the "Phone" app, type in the corresponding number, then press enter to confirm it.
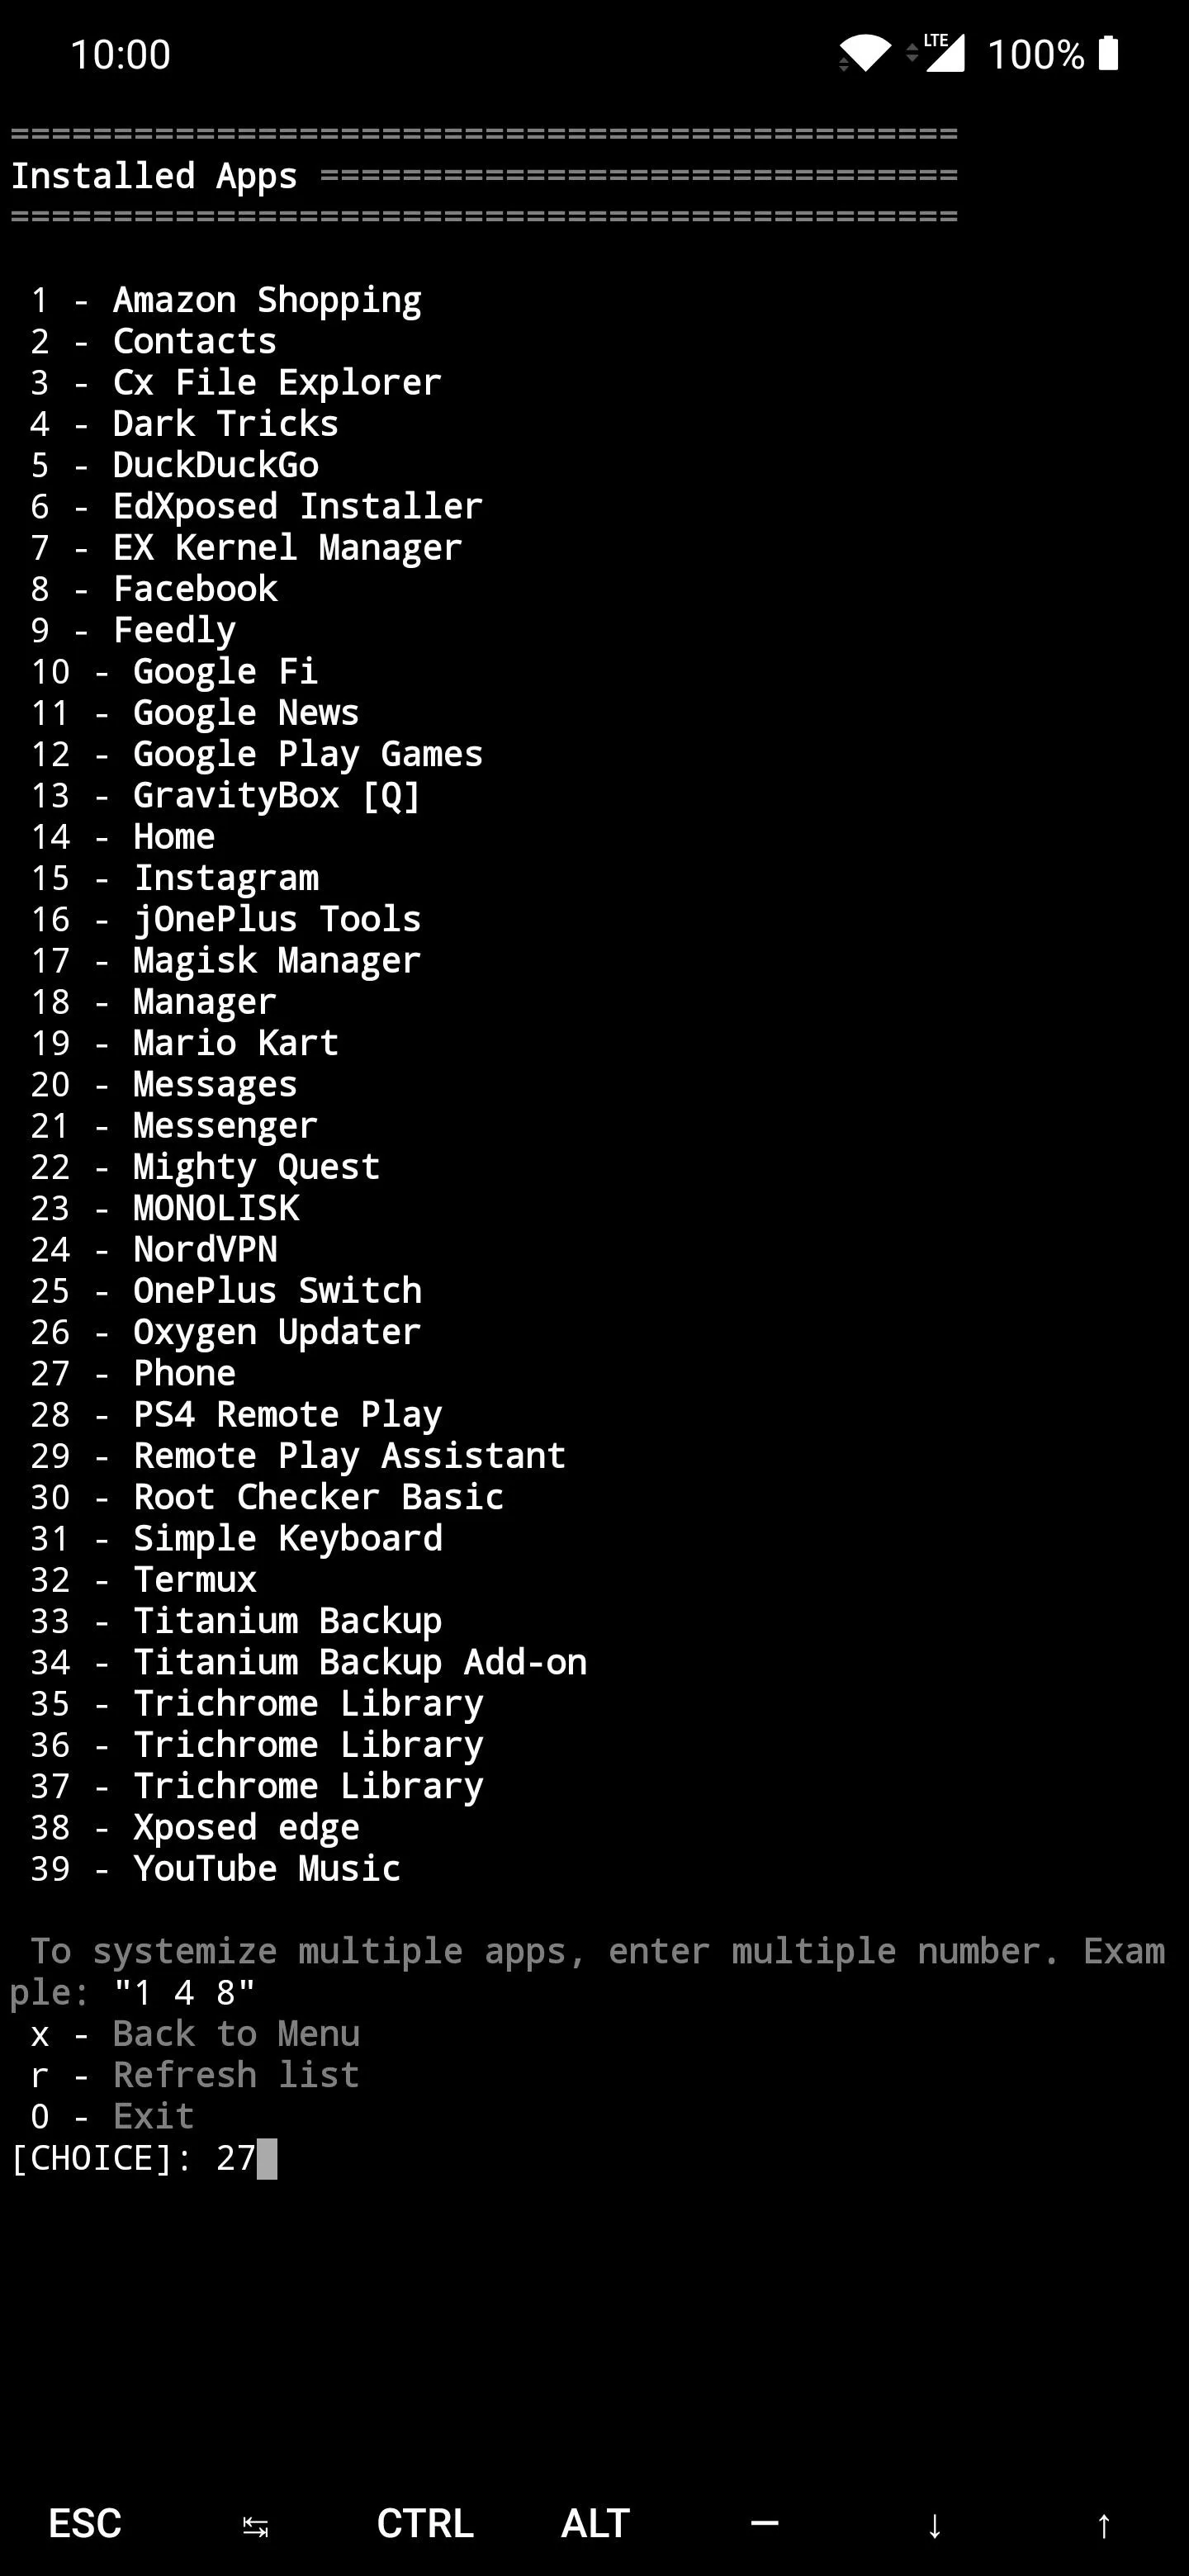
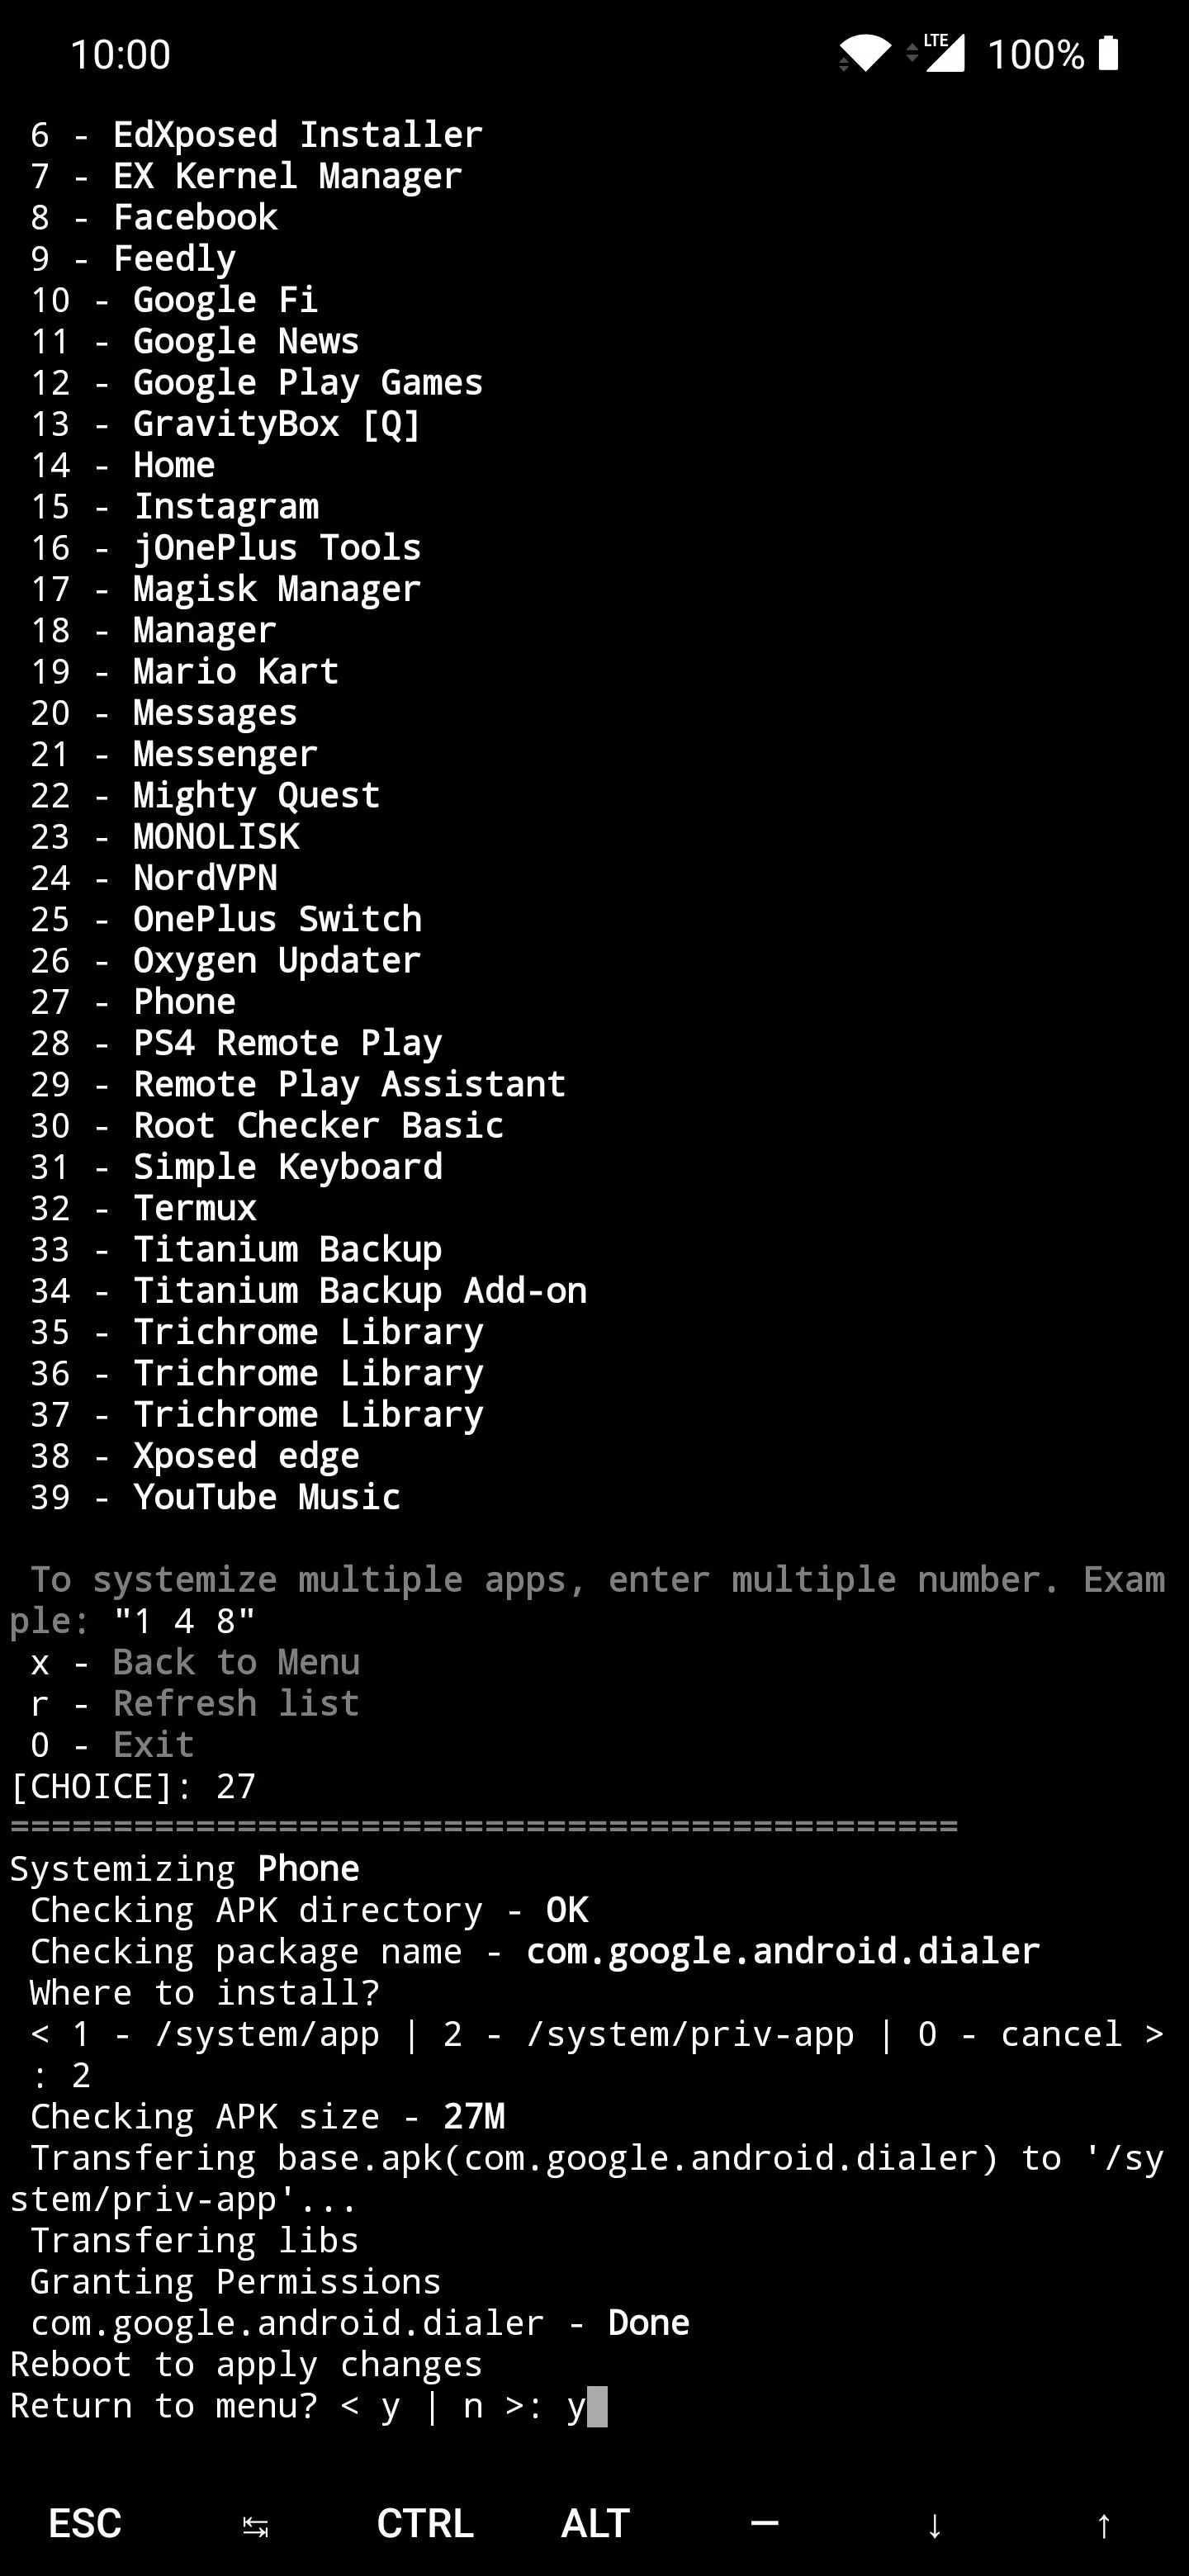
In the "Where to install" prompt, type "2" and press enter to send the Phone app to the "/system/priv-app" directory of your device. Once that's finished, press "y" then enter to return to the main menu. Press "0" (zero) then enter to close out the App Systemizer module. Now you can also exit the Termux app too since you're finished with the command line part of the guide.
Disable the Built-in Phone App
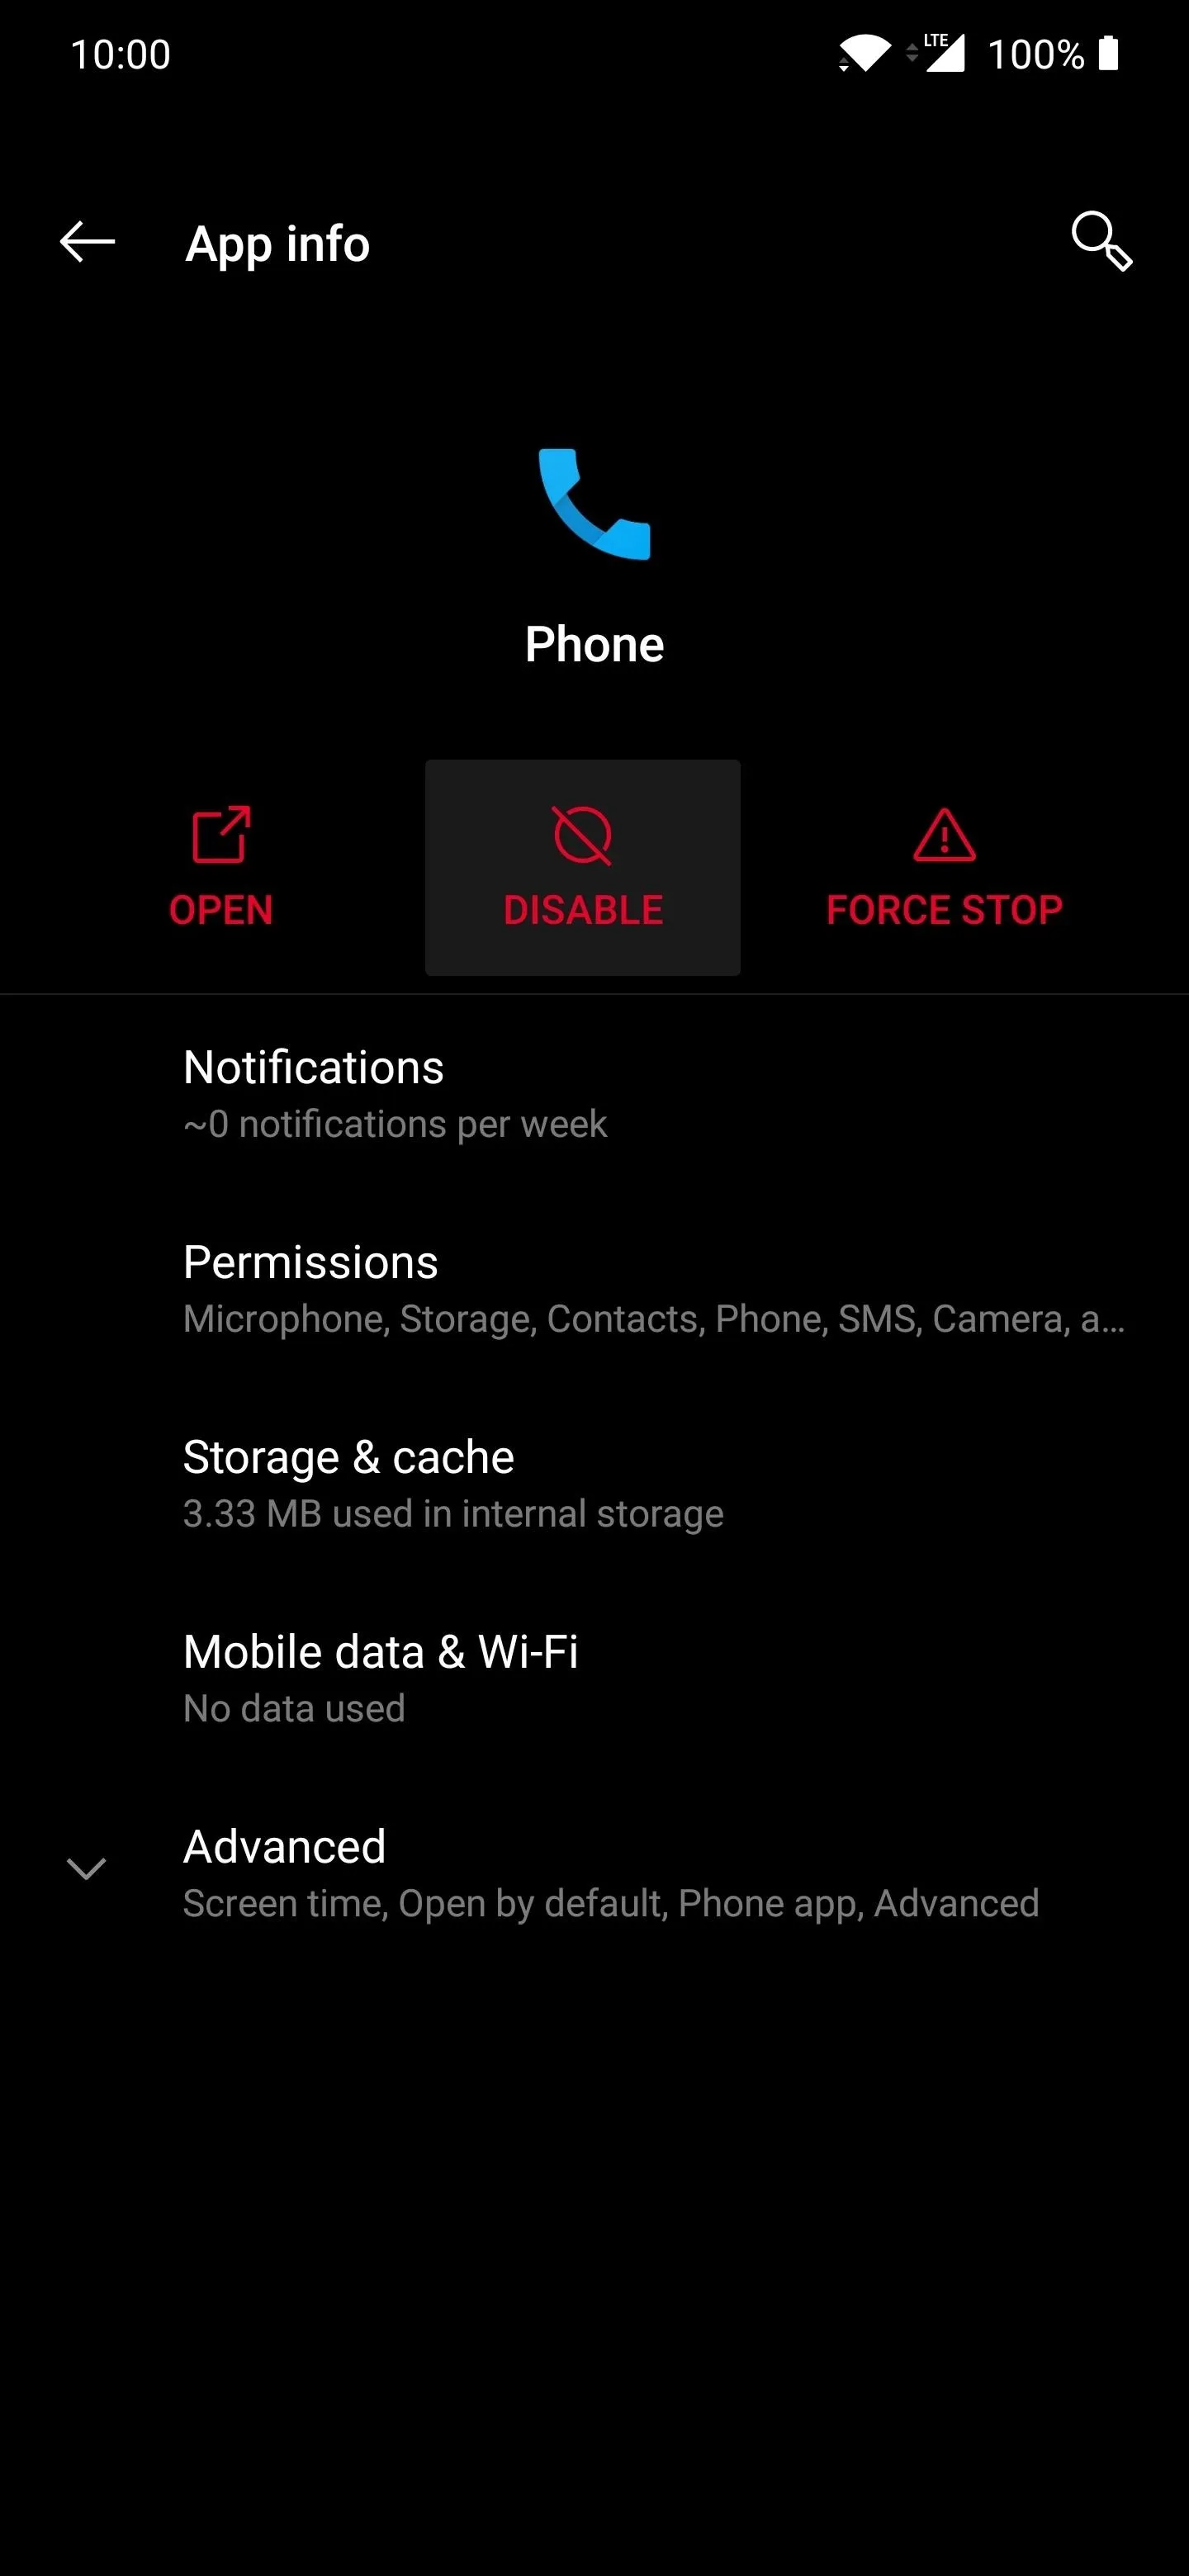
To get the Call Screen option to show up in the Google Phone app, you'll have to disable the OnePlus dialer that came preinstalled with your phone.
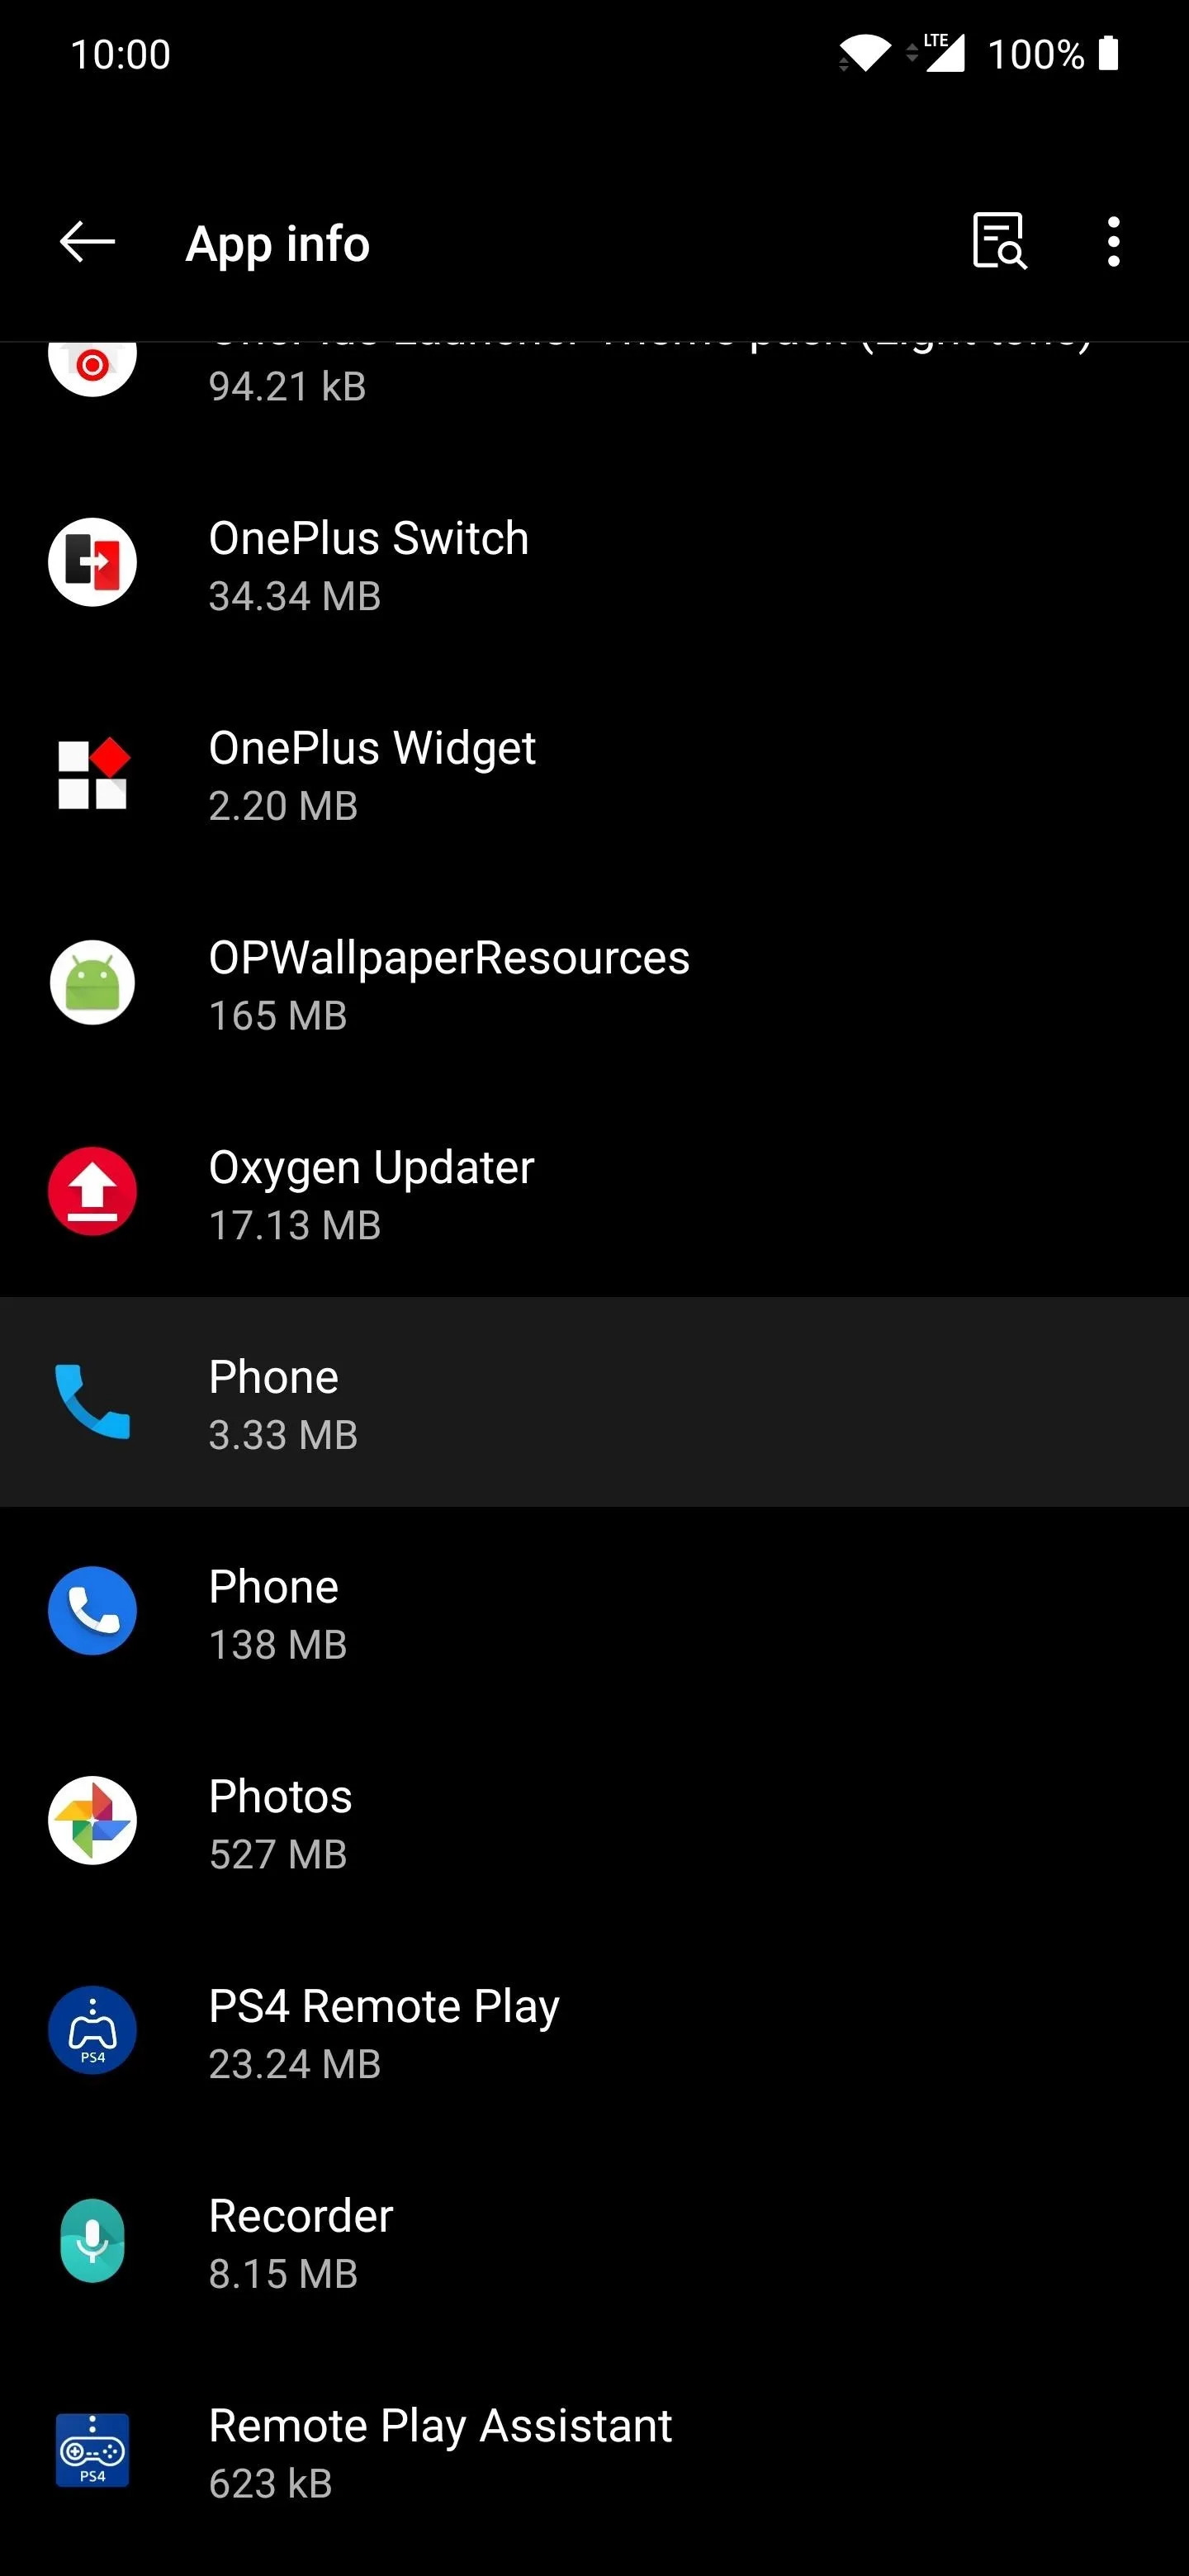
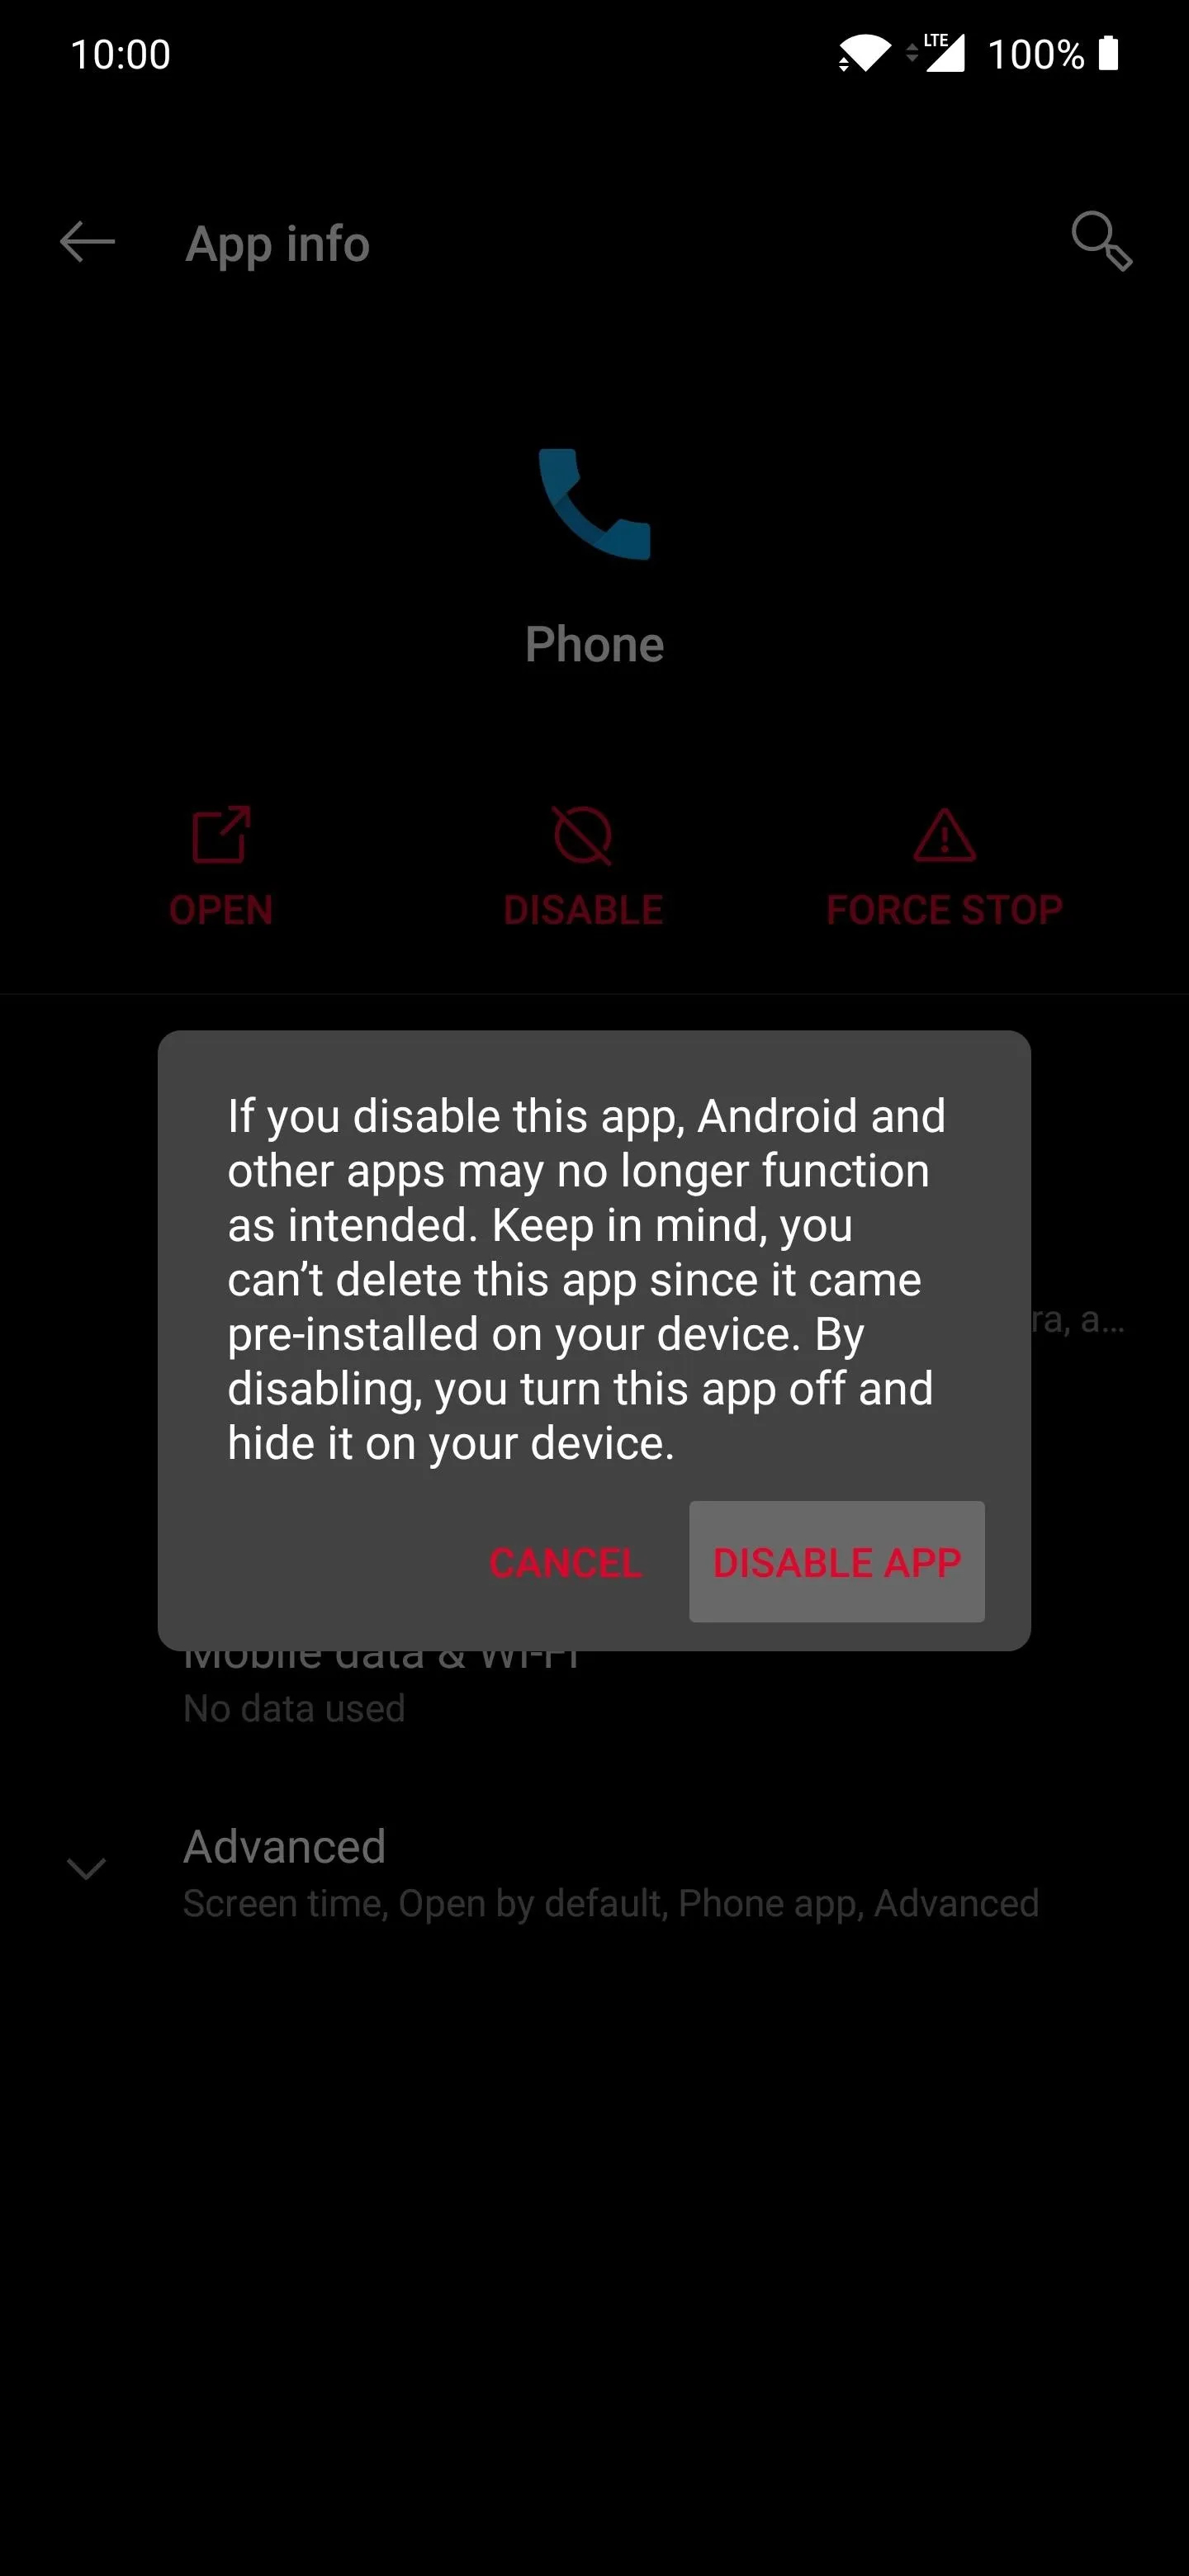
Settings -> Apps & notifications -> See All [X] Apps -> PhoneGo to the above location in your system settings and tap the "Phone" icon (not the round icon, but the other one). Hit the "Disable" option, then "Disable App" when the warning message pops up. You can always enable it again later should you ever want to go back to the OnePlus dialer in the future.
From here, you should reboot your device now to make sure all of the changes you've made so far take effect. There are so many things that can go wrong with all of the modules being used for this Call Screen method, so it's always a good habit to reboot after making any significant changes to the system.
Activate Call Screen
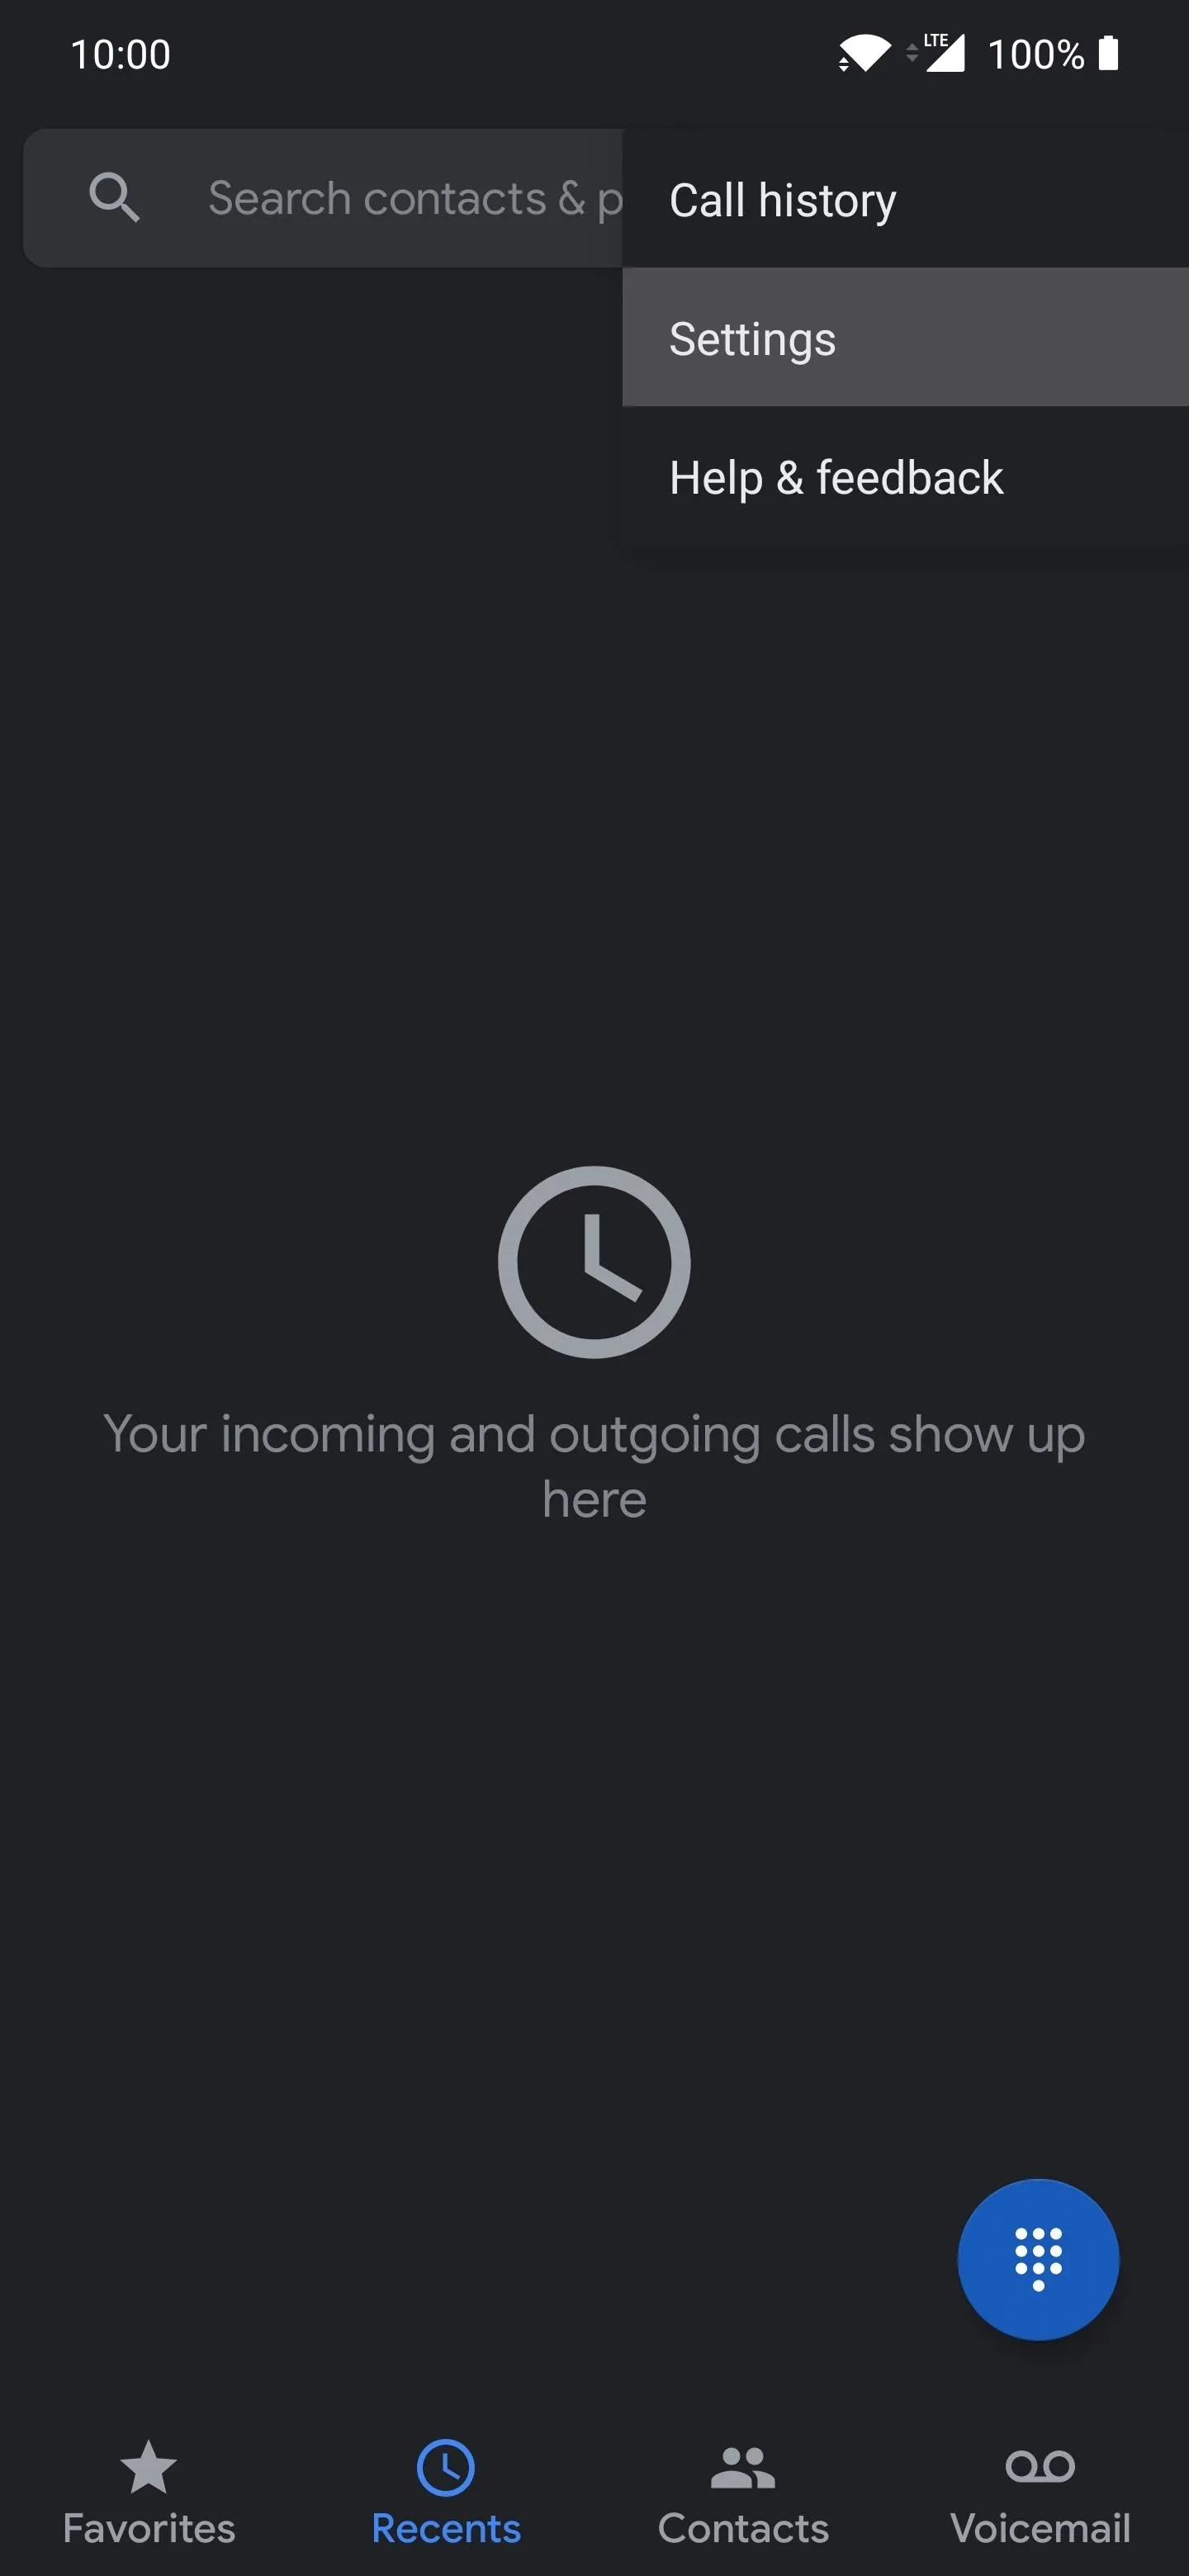
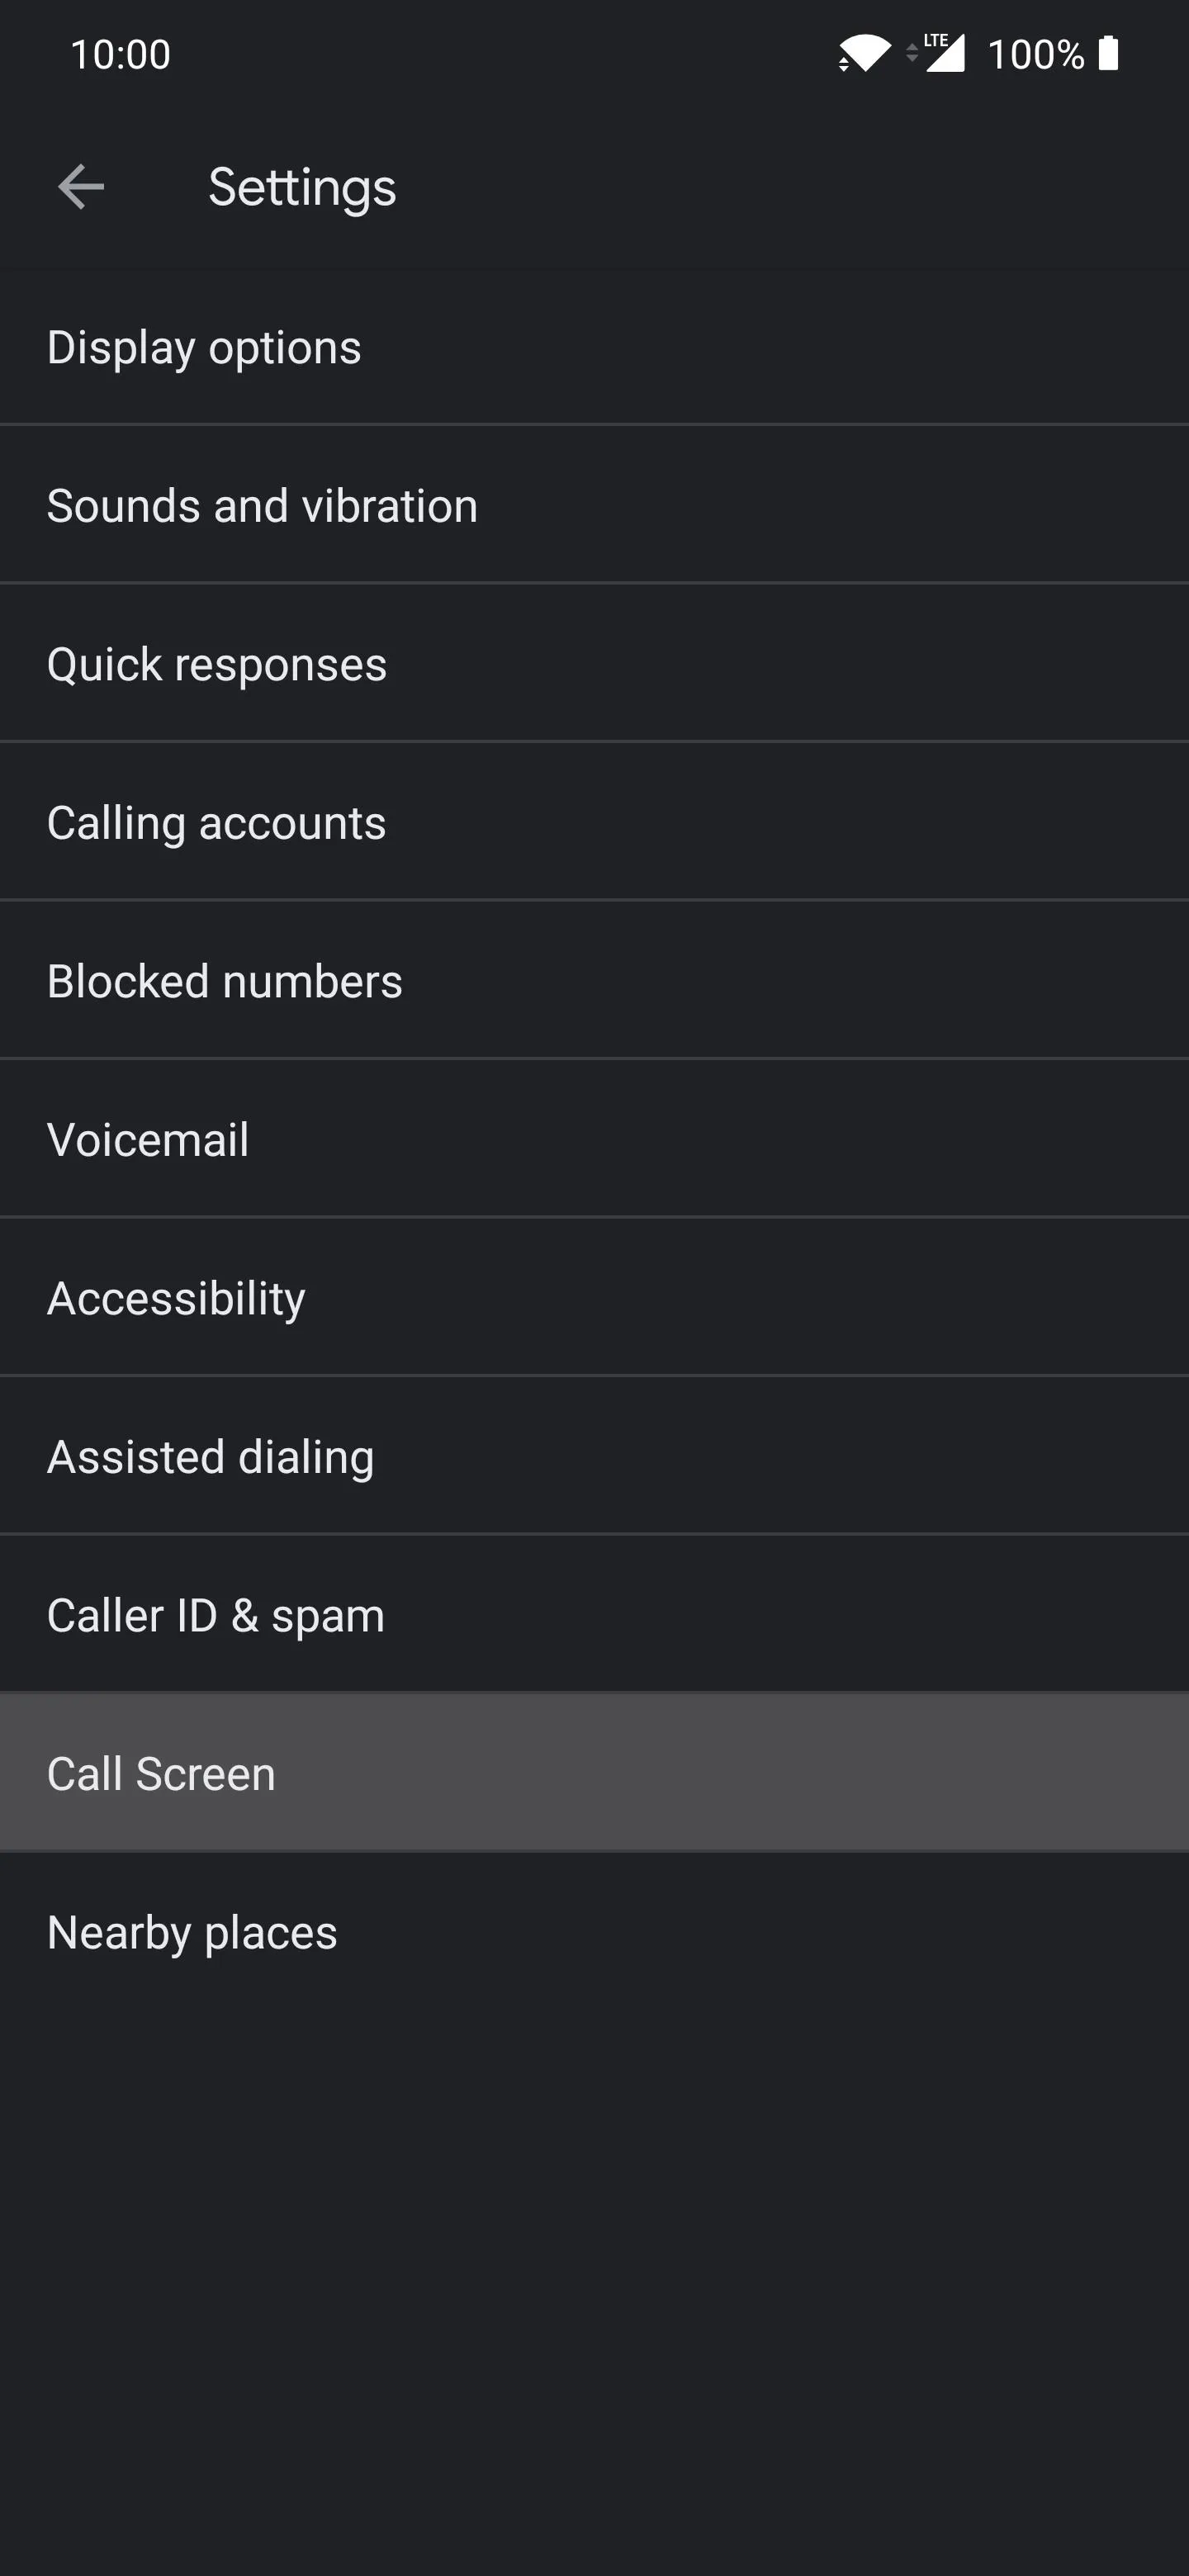
Once you're back up from your reboot, you can open the Google Phone app and tap the three-dot menu on the right. Go to "Settings," and if all went well, you should now see the new "Call Screen" option towards the bottom. When you go into the settings for Call Screen you should notice the "Activating Call Screen" message right away.
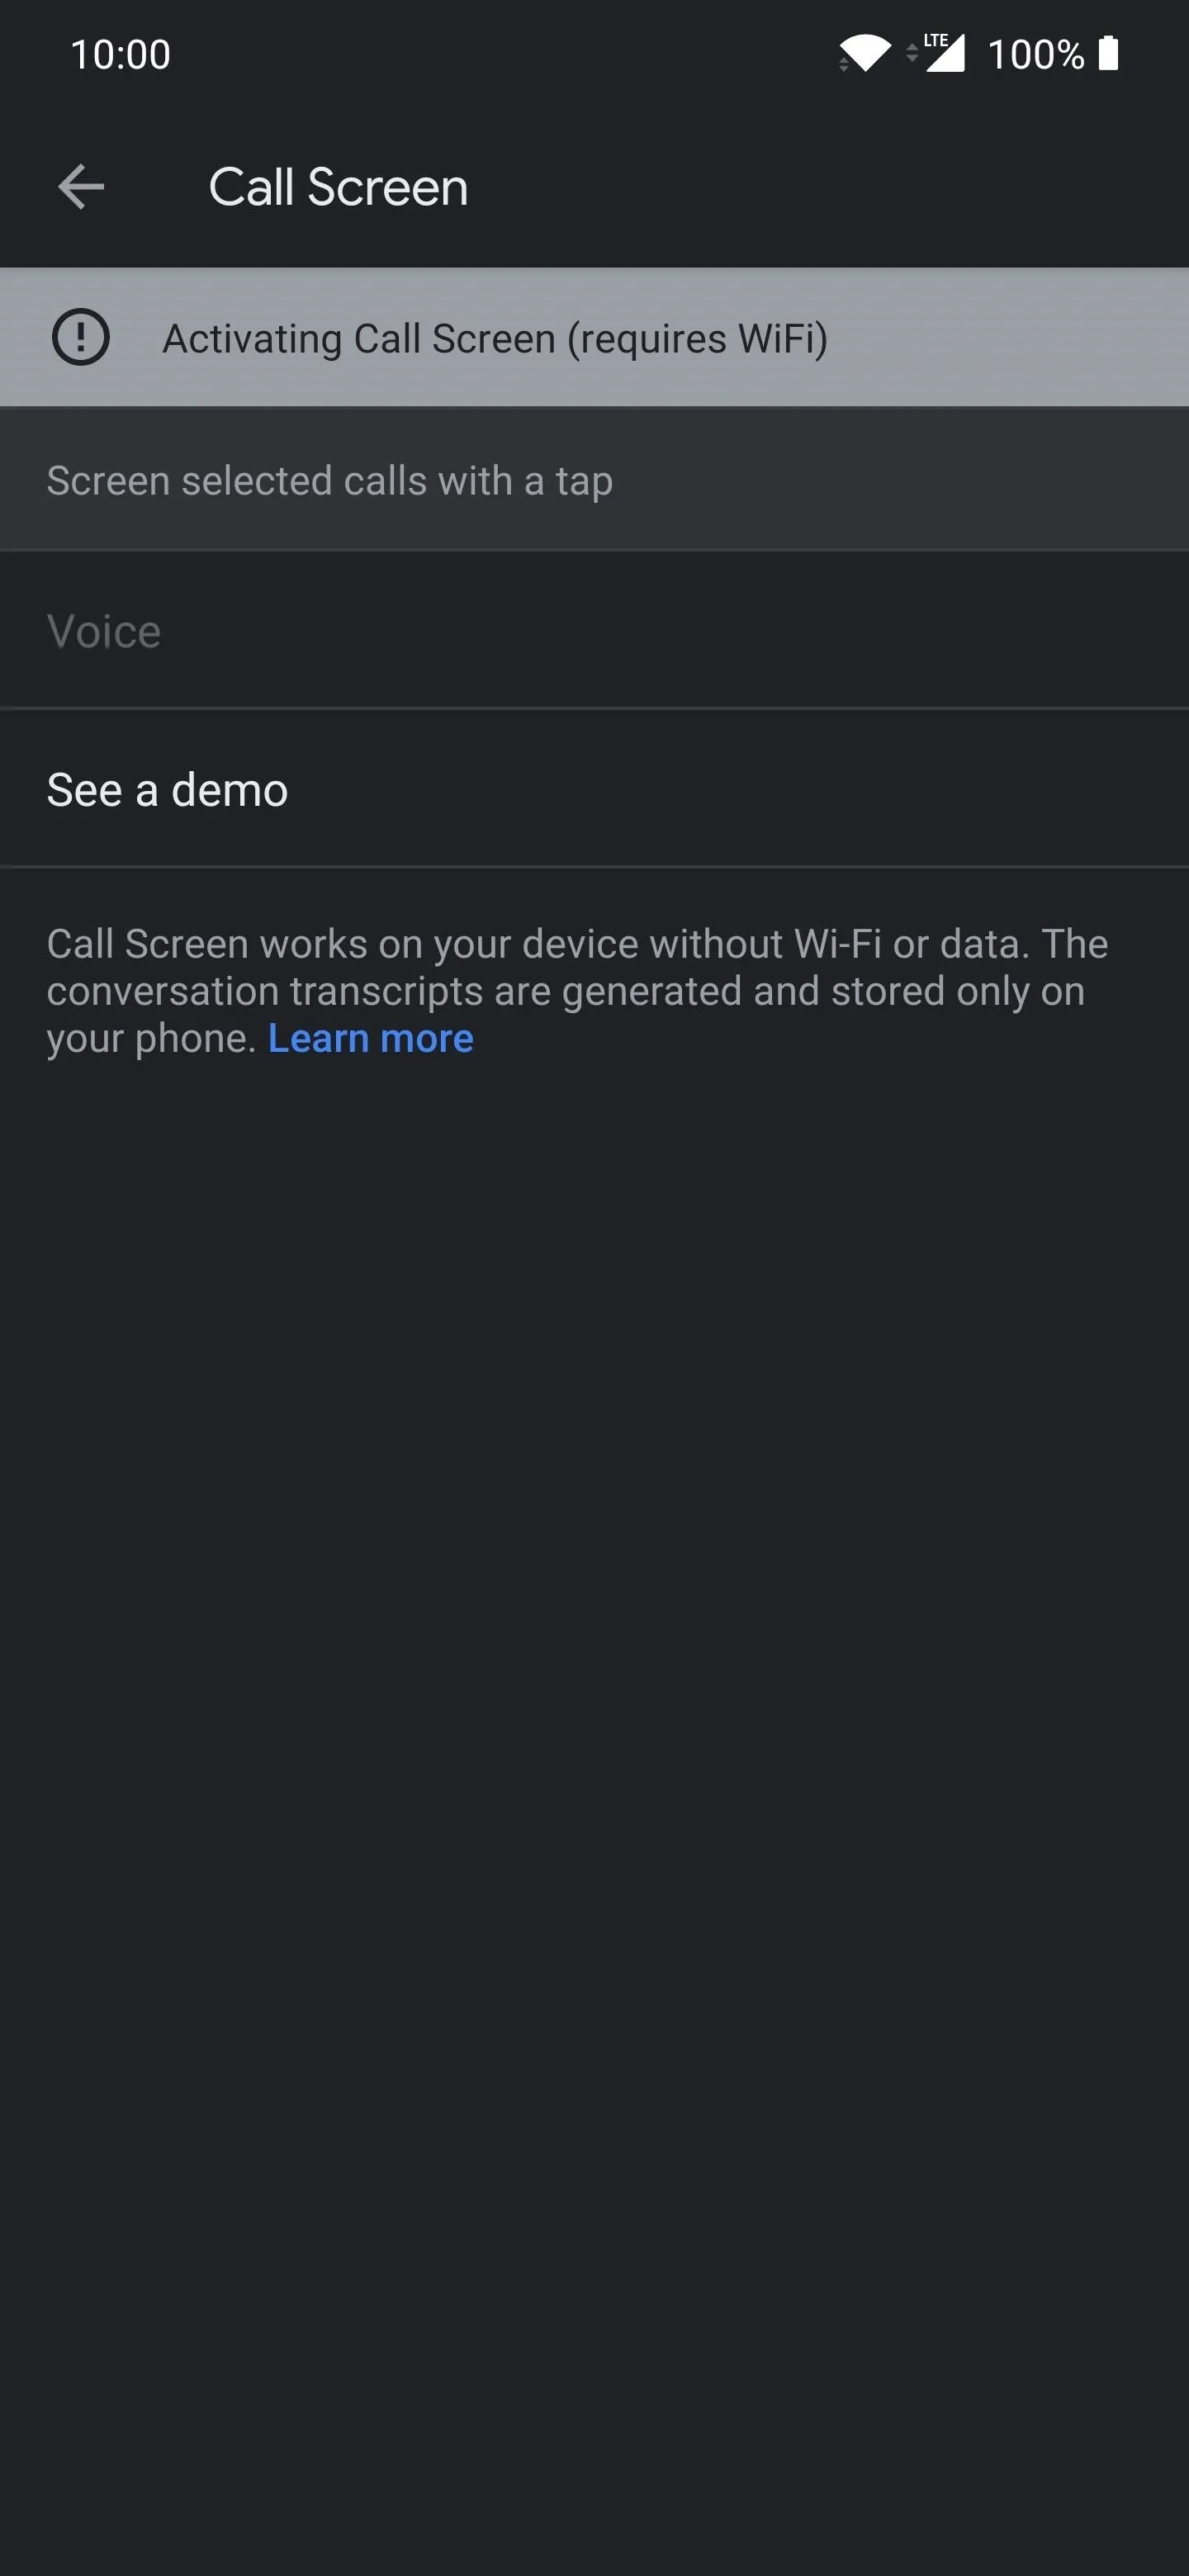
This part might be a bit tricky because you'll probably have to close out the Phone app and wait around for a few minutes for it to activate Call Screen. Some people get hung up here but keep coming back and checking on it while closing the app completely every time. If nothing else, maybe try disabling your Wi-Fi connection and turning it back on again to help kick-start things.
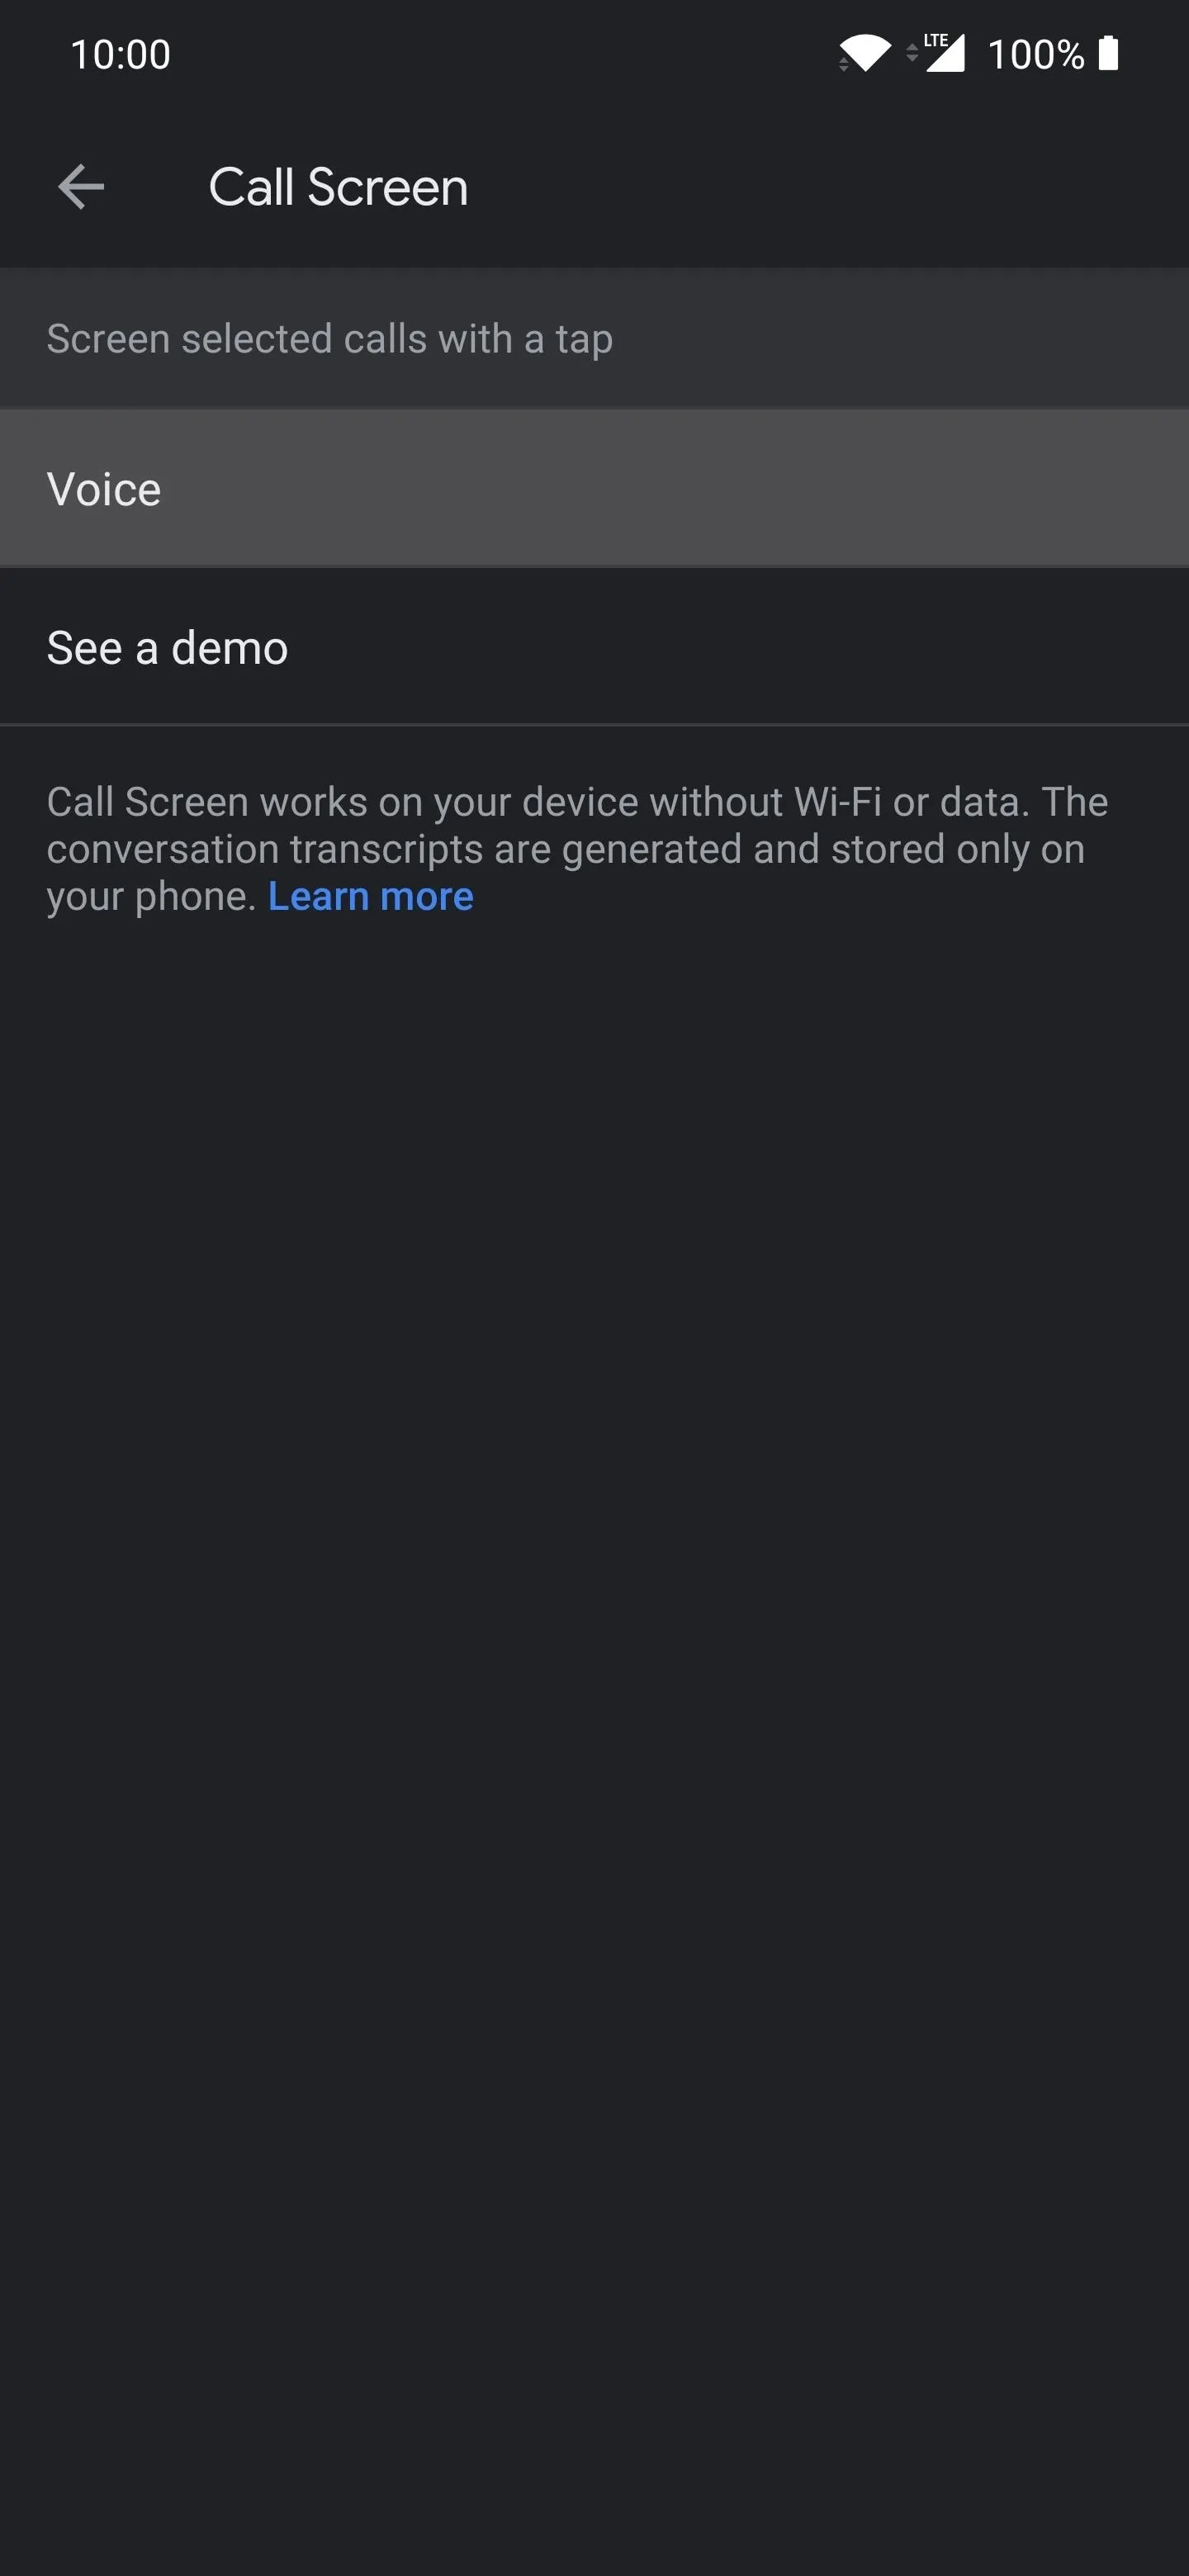
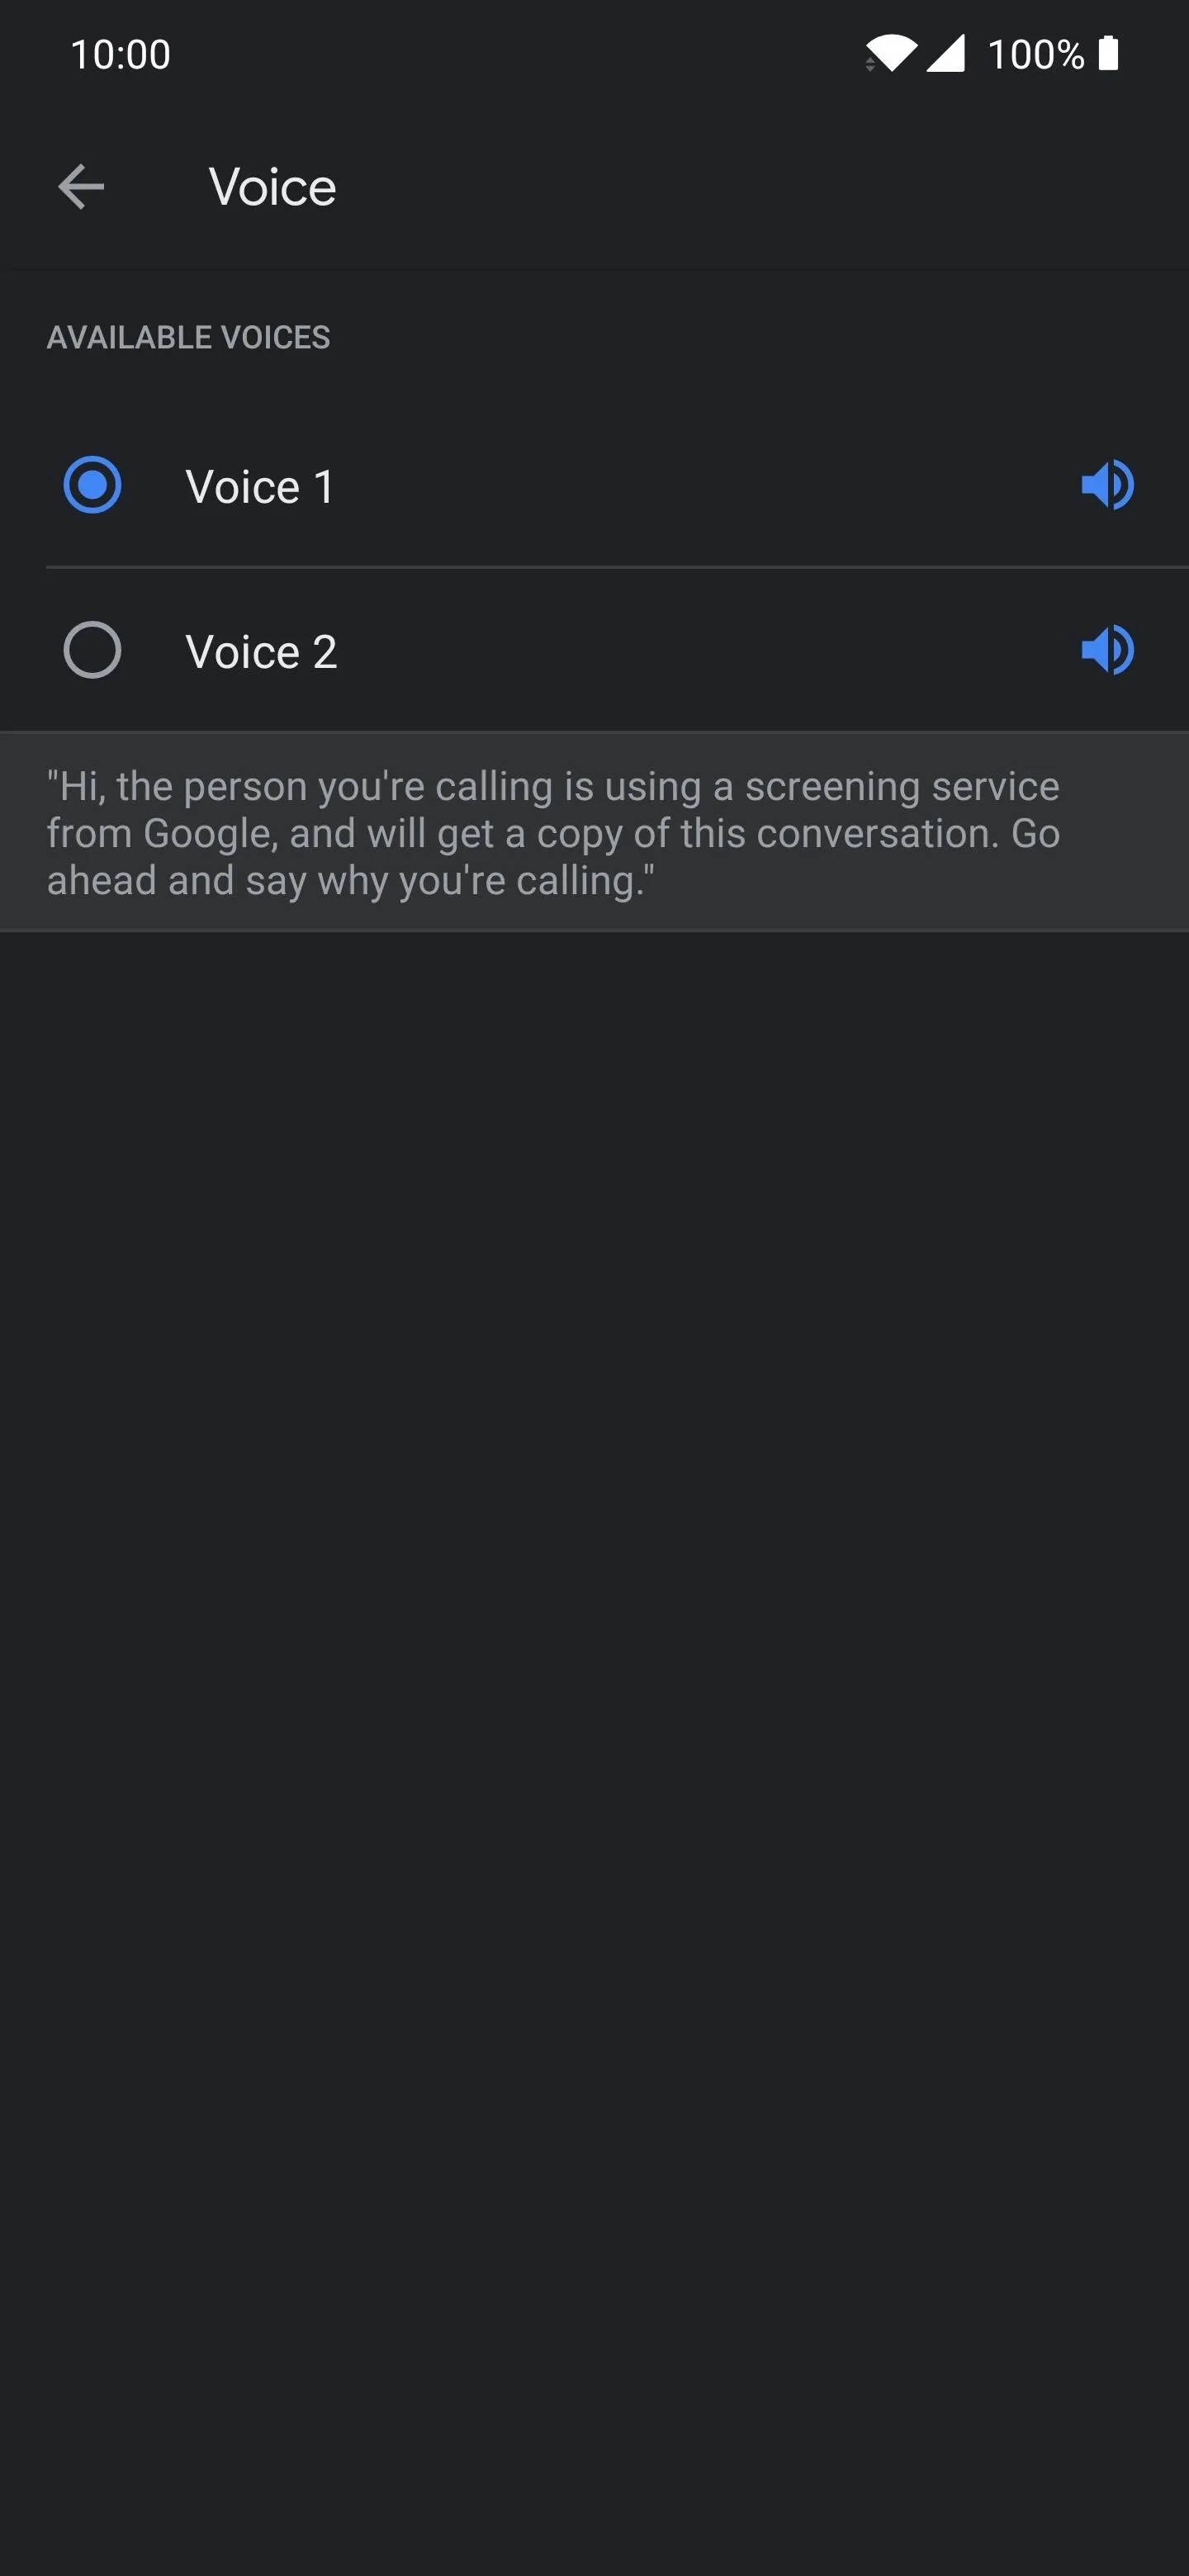
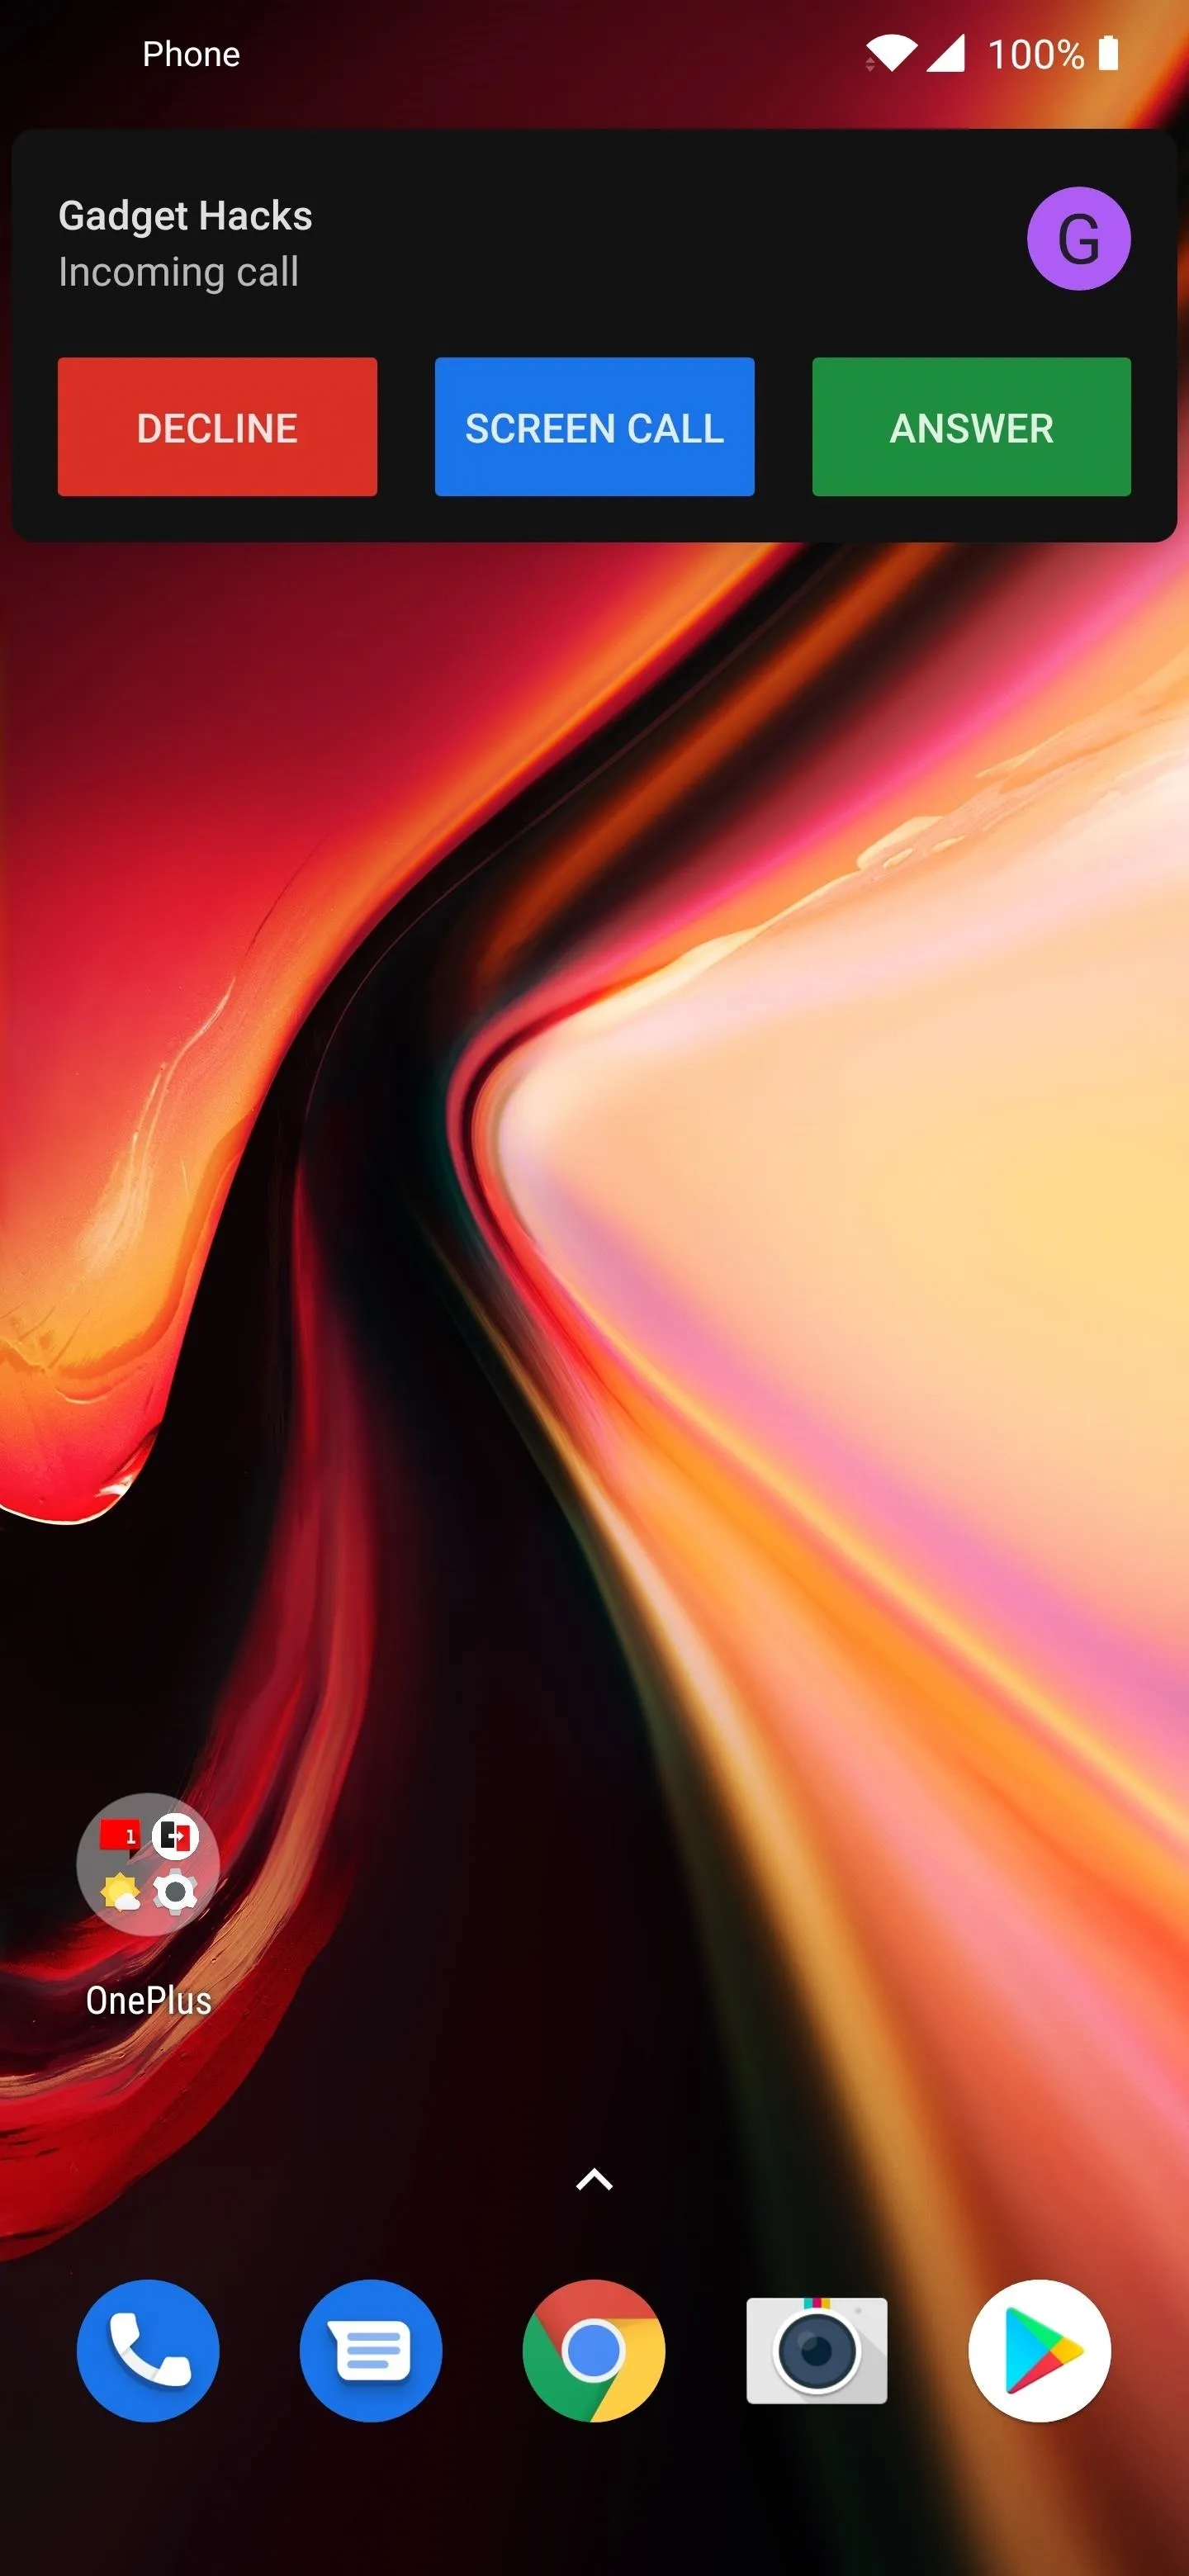
Eventually, it'll activate successfully, and you'll be able to see the "Voice" option is now available. You can choose from two different voice models for the time being. Whenever you receive your next phone call from any number, you'll see a new choice on the phone popup labeled as "Call Screen." Hitting that option will begin screening your phone calls, just like a Pixel phone!
Every time you reboot your device, you'll again have to activate the Call Screen feature in the Phone app for the time being. There might be a fix in the future, but this is what you have to do for now. It shouldn't take more than one attempt to close the Phone app and make it activate successfully after the first time. This really shouldn't be too much of an issue going forward. Piece of cake!
This article was produced during Gadget Hacks' annual Tweaks & Hacks Celebration week. Read all of the Tweaks & Hacks Celebration stories.
Cover photo and screenshots by Stephen Perkins/Gadget Hacks


Comments
Be the first, drop a comment!