


When it comes to modding Android, there's no better tool than Team Win's TWRP custom recovery. You can use it to root your phone, flash mods like Magisk or Xposed, and even replace the entire operating system with a custom ROM like LineageOS — honestly, there's not much this utility can't do.
TWRP will replace the stock recovery software on your OnePlus 6, but you won't be missing out on a thing. Instead of the gimped, ADB-powered recovery that came with your phone, you'll get a touch-based interface that lets you flash any image or ZIP. There are tons of extra features, too, like selective wiping and the ability to completely restore your phone with NANDroid backups. This guide will take about 20 minutes to follow, but when you're done, you'll definitely thank yourself.
Requirements
- Windows, Mac, or Linux computer
- ADB and Fastboot installed
- USB data cable
Unlock Your Bootloader
Before you can flash anything "custom" on your OnePlus 6, you'll need to unlock your bootloader. This will allow you to load unofficial software like TWRP. It's a somewhat involved process, so if you haven't already taken care of this step, use our full guide at the following link to get squared away.
- Don't Miss: How to Unlock the Bootloader on Your OnePlus 6
Download the TWRP Files
Now that your bootloader is unlocked, there are two files you'll need to download. One should be downloaded to your phone, and the other should be saved to your computer. To start, grab the bootable TWRP image file and save it to your computer:
Next, grab the TWRP ZIP on your phone:
Make Sure You Have a Password or PIN Set
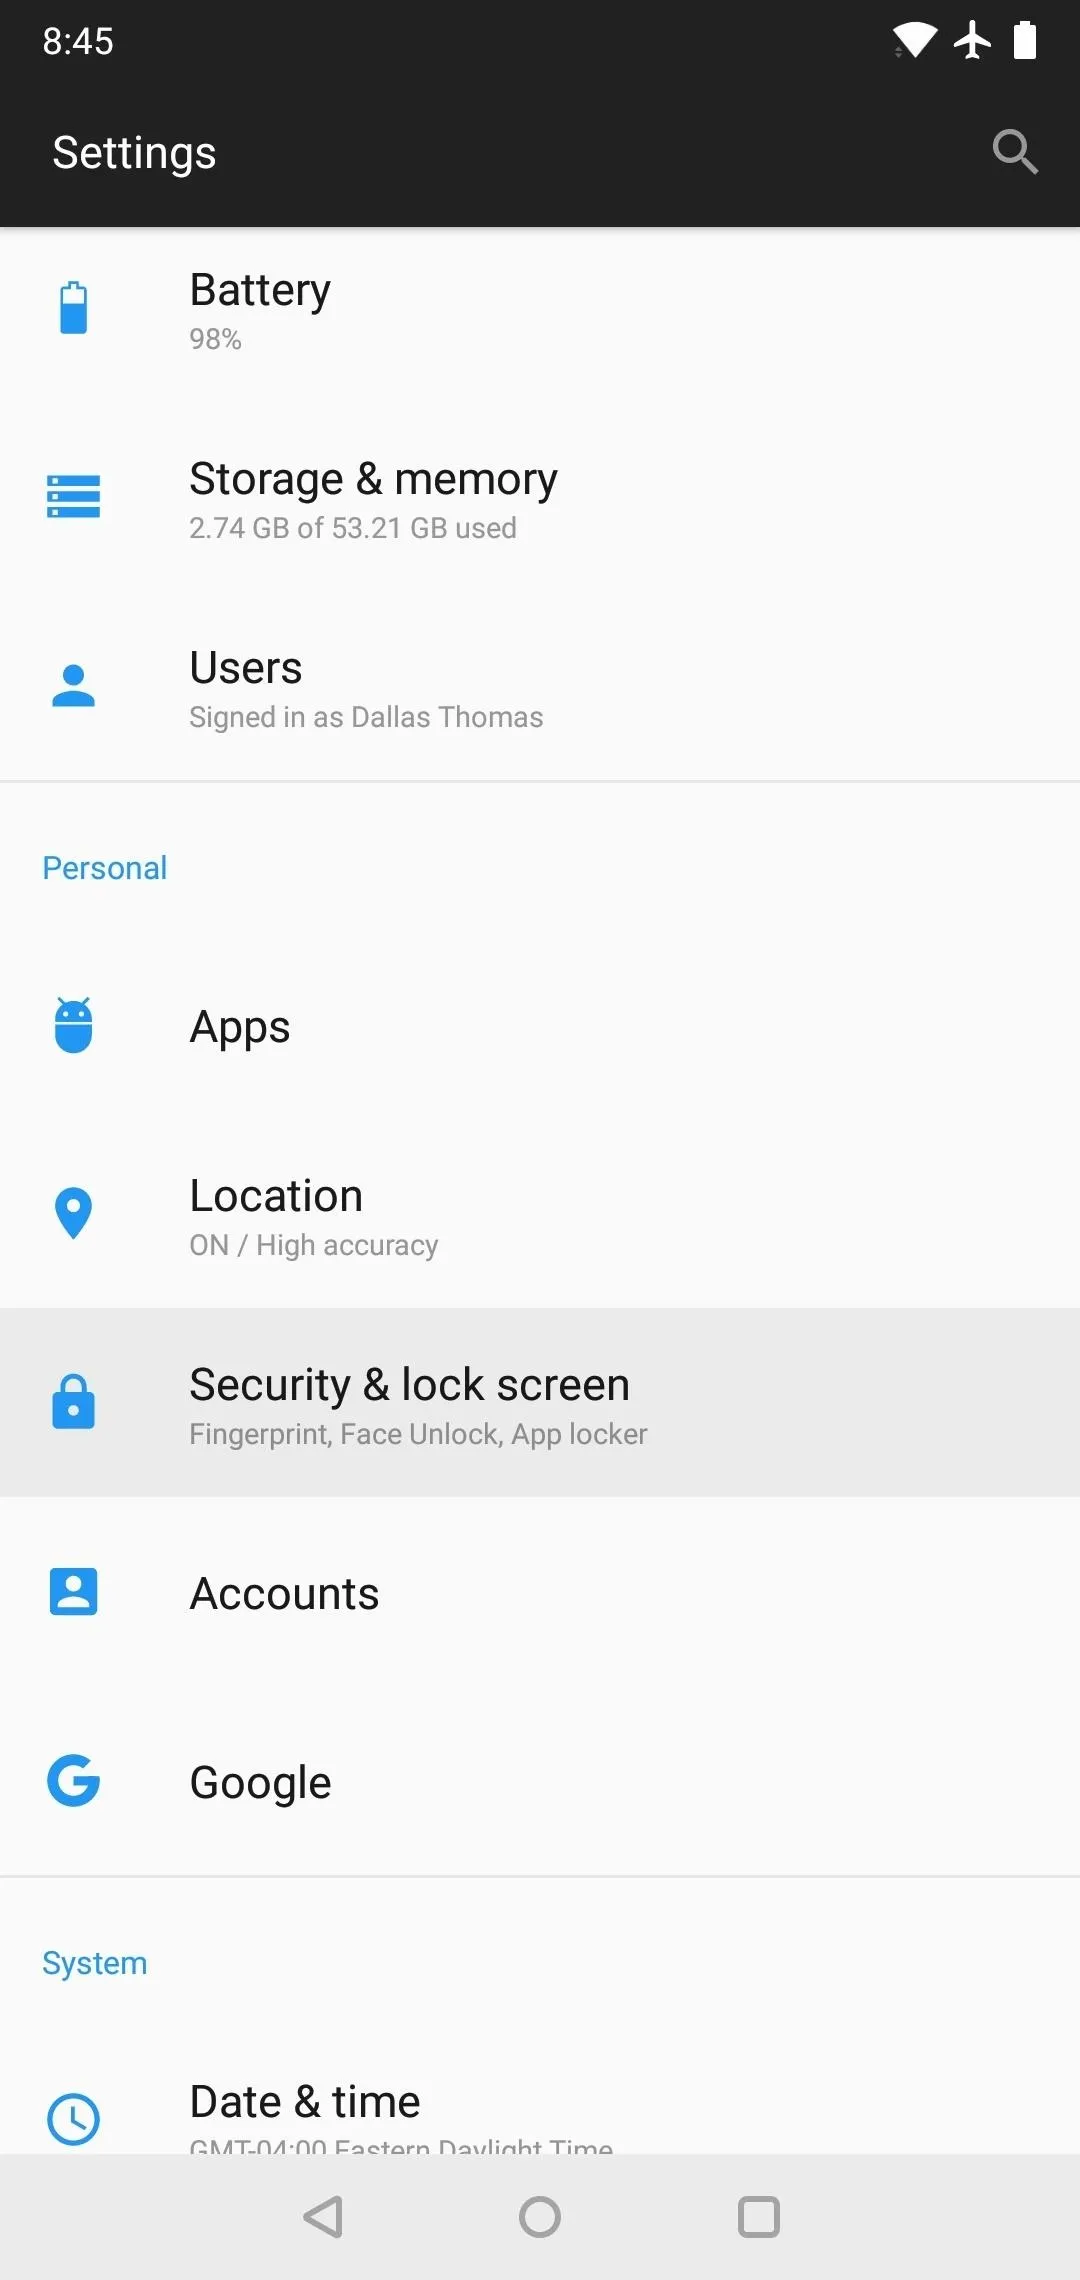
Next, there's a little prep work to do on your phone. First, you'll need to make sure you have either a password or a PIN set as your lock screen security.
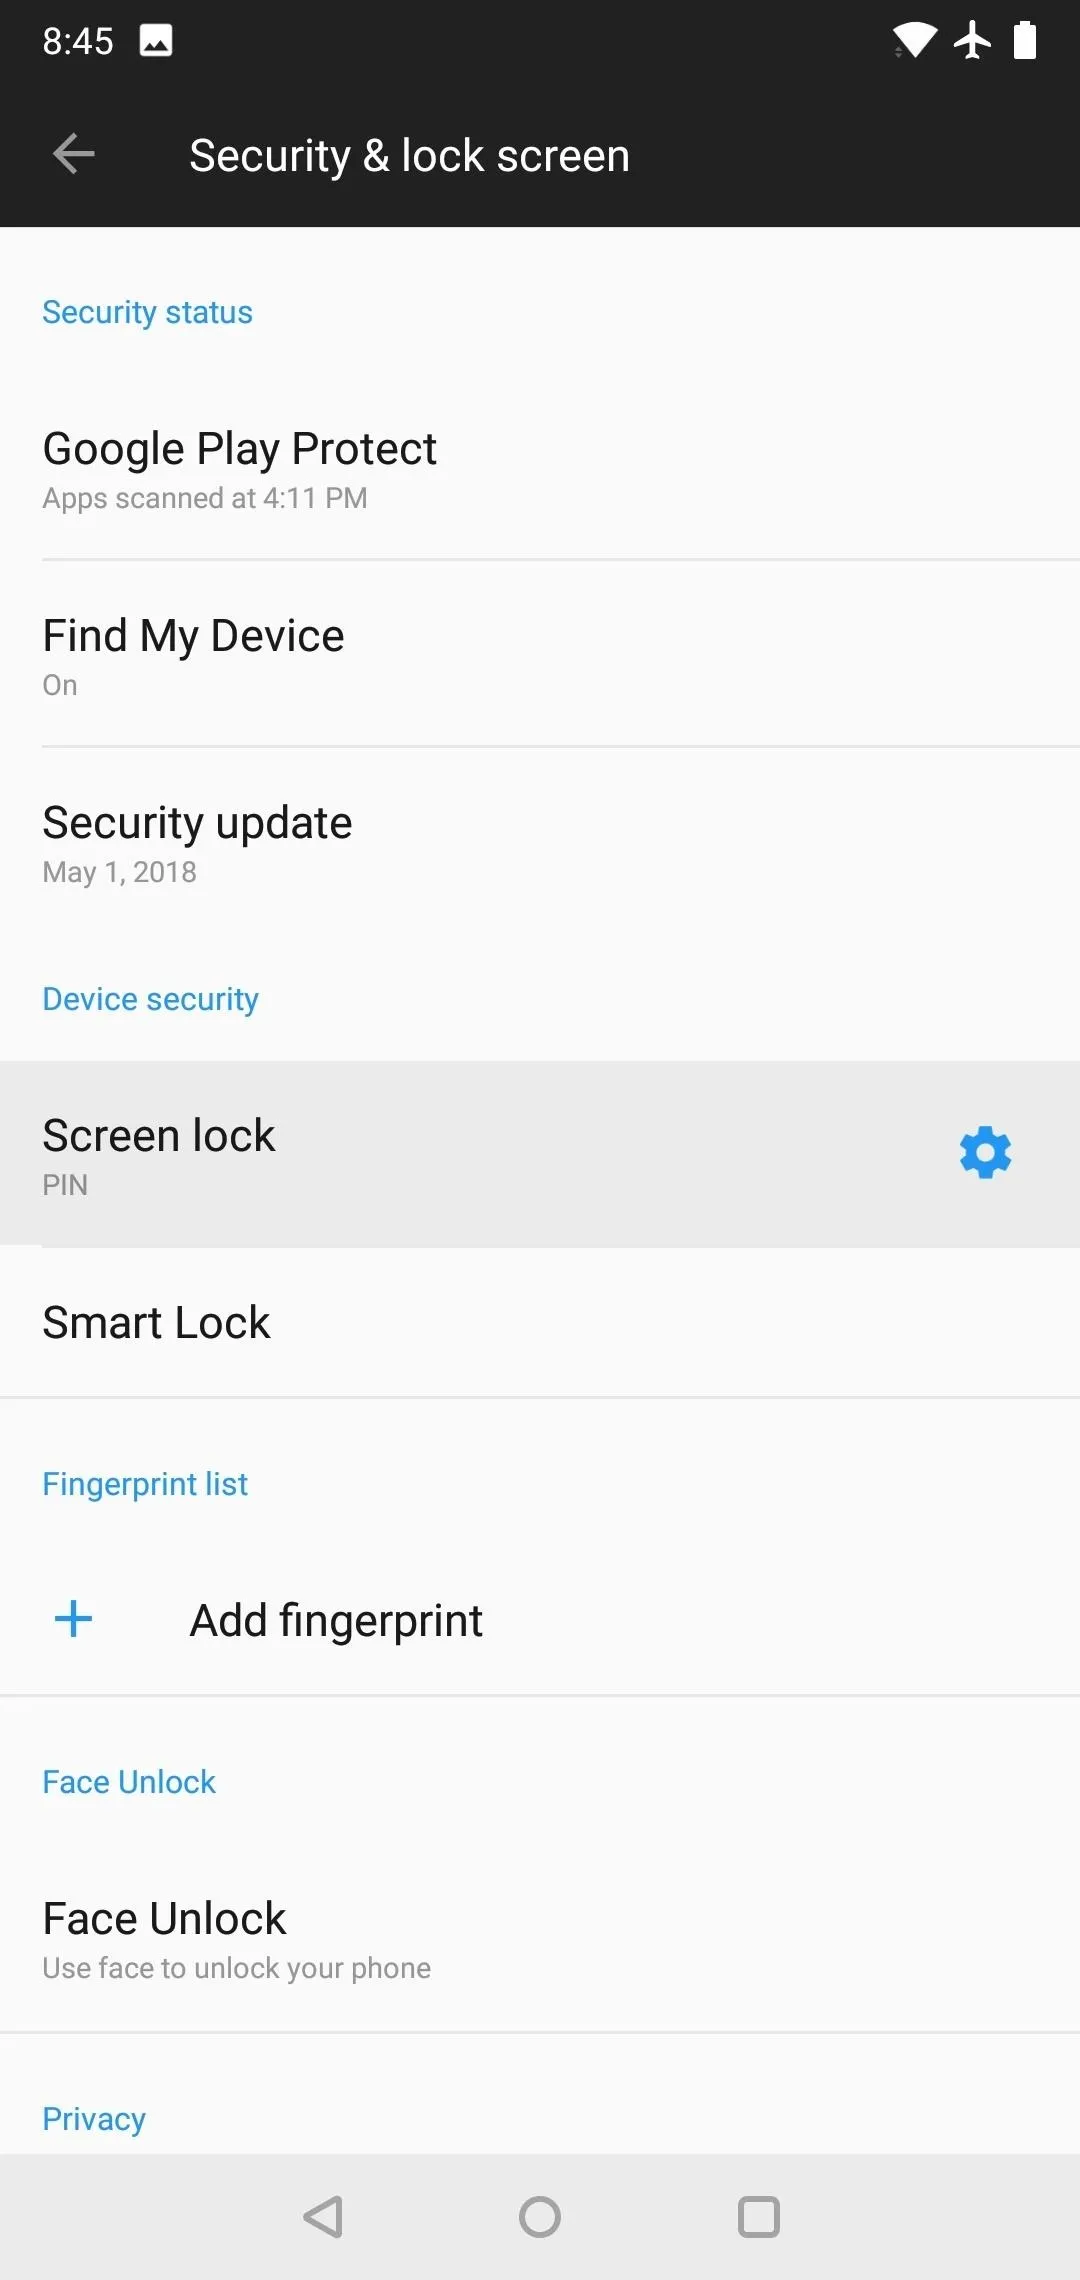
The reason for this is TWRP will need this PIN or password to decrypt your phone's storage partition. If your lock screen uses a pattern, it's a lot harder to enter that in TWRP with the keyboard they provide. So to simplify, head to Settings –> Security & Lock Screen, then make sure "Screen lock" is set to either PIN or password.
Enable Advanced Reboot
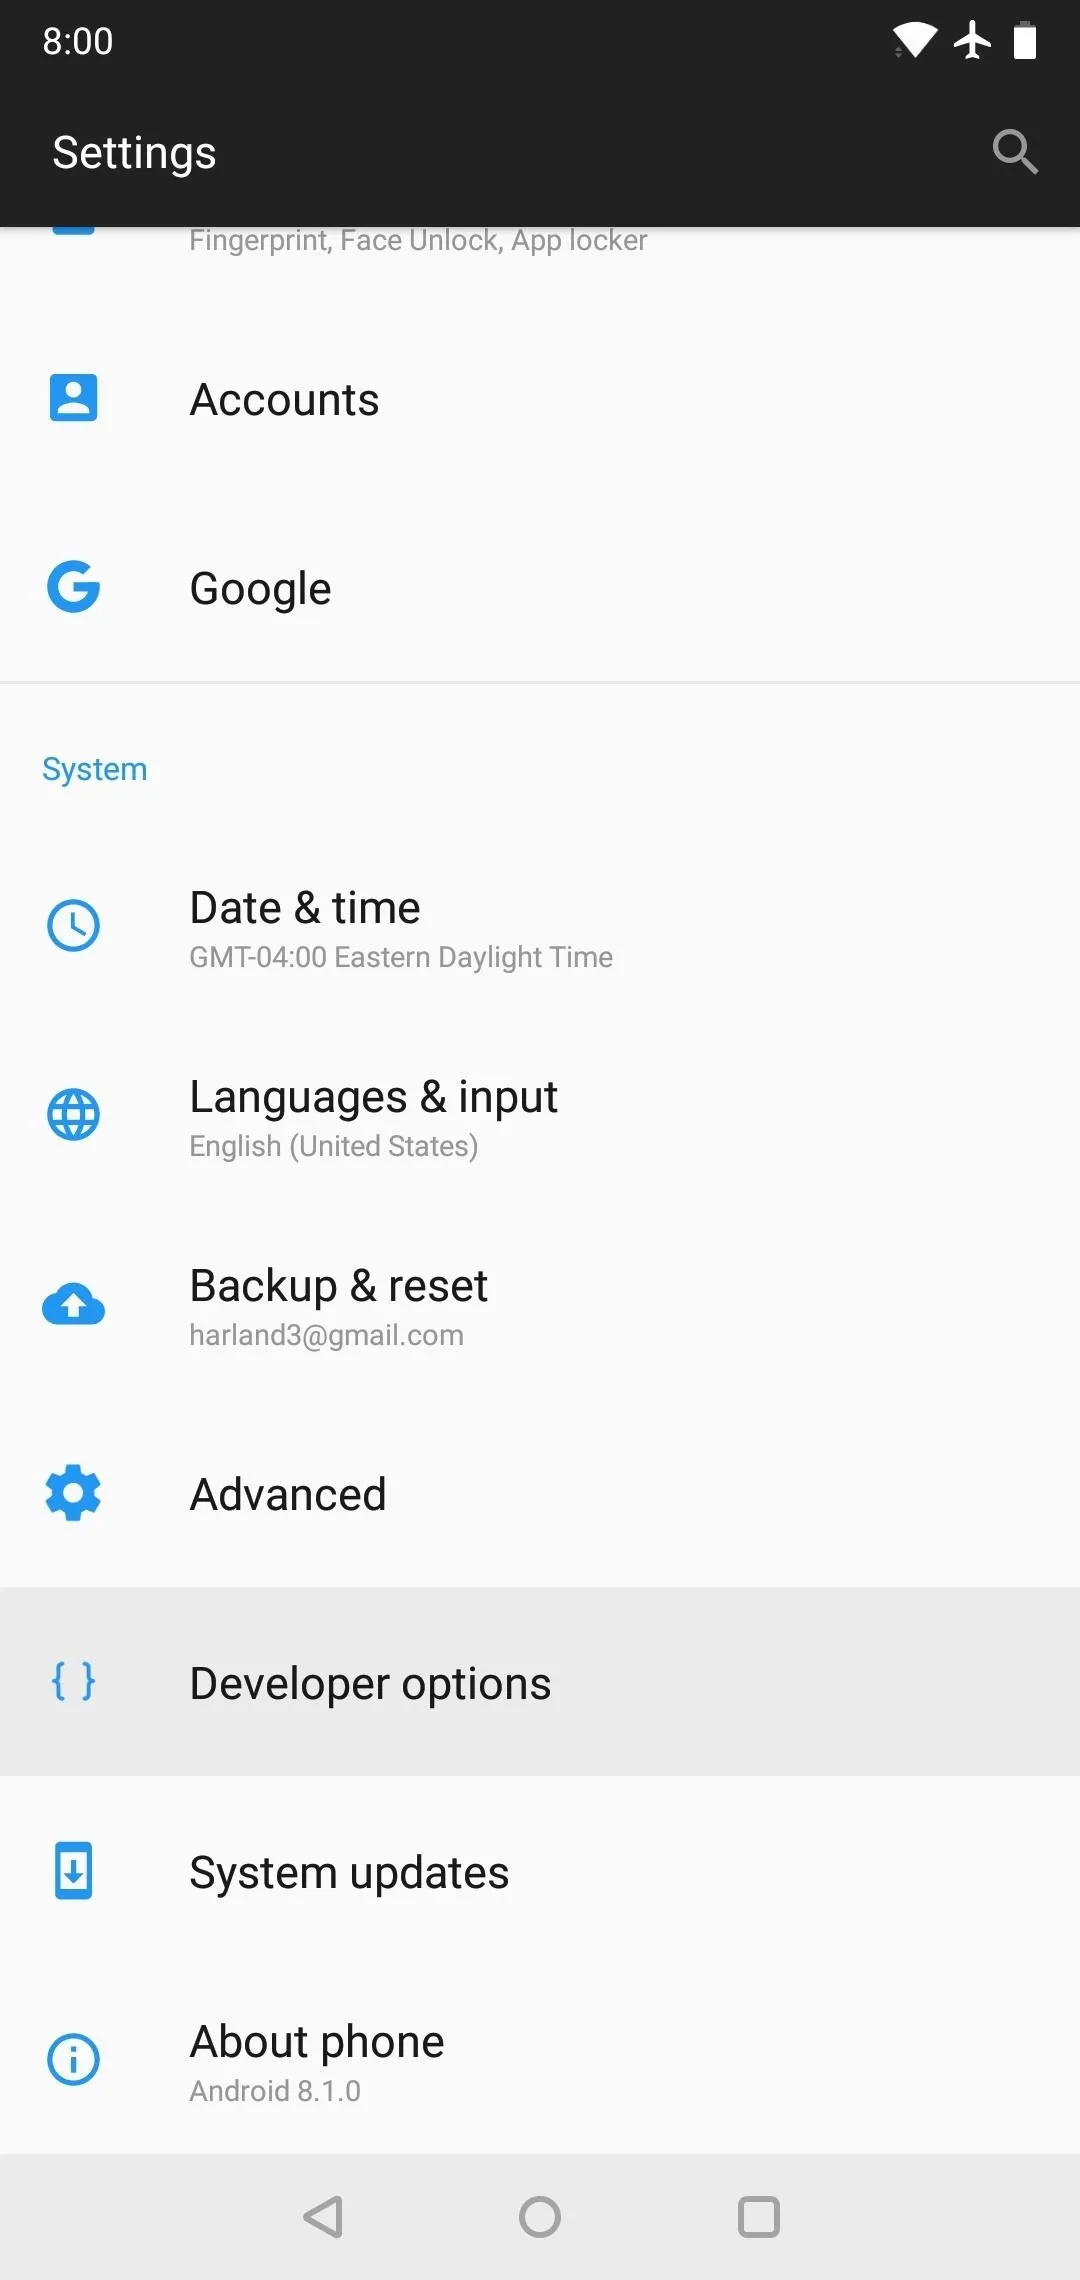
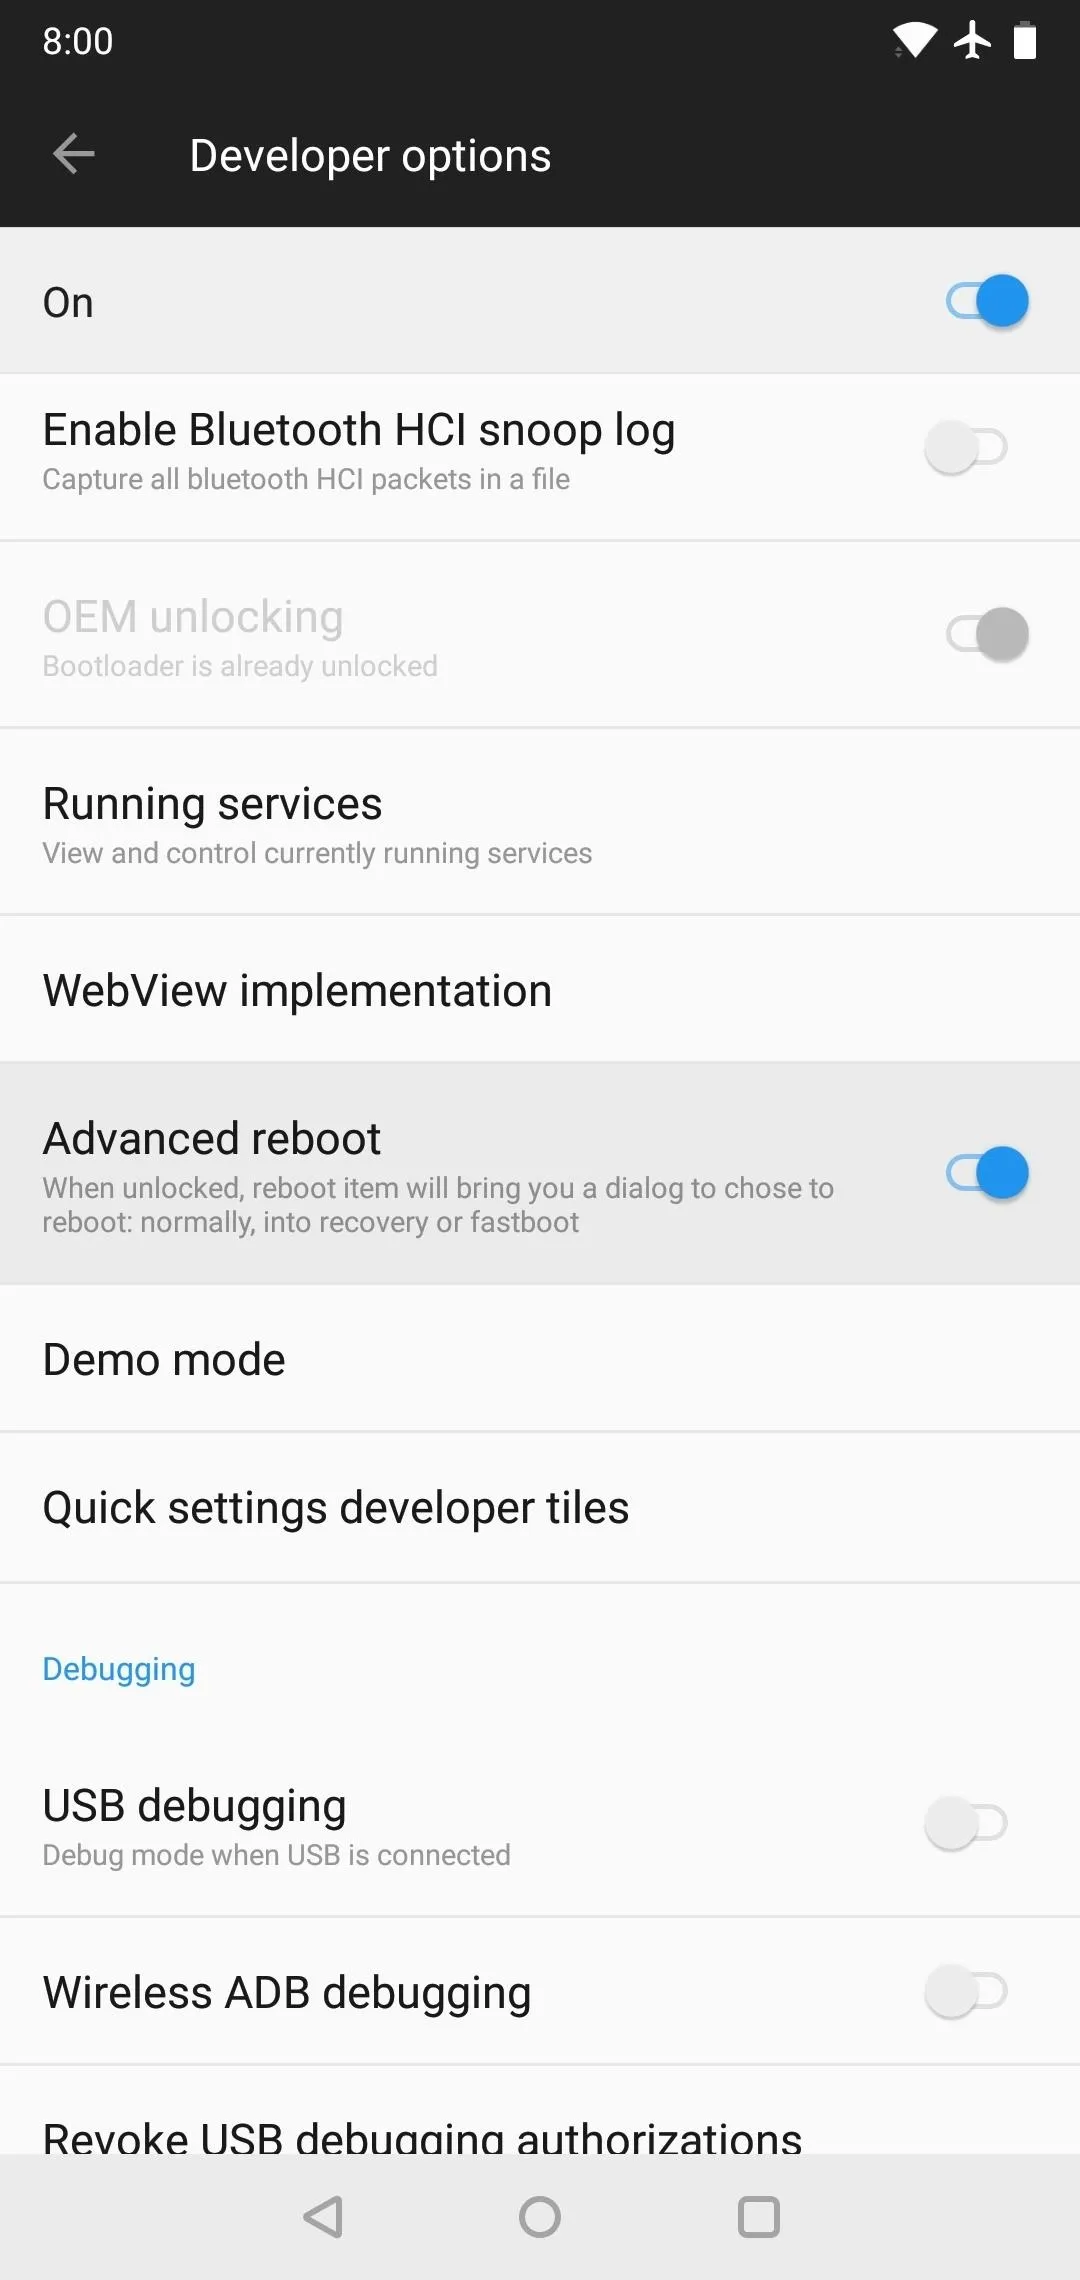
To make it easier to get into Fastboot mode to flash TWRP, and to make booting TWRP in the future simpler, we recommend enabling your OnePlus 6's Advanced Reboot menu. If you followed the guide in Step 1, you already have this setting enabled. But if not, head to Settings –> Developer Options, then enable the switch next to "Advanced reboot."
Boot into Fastboot Mode
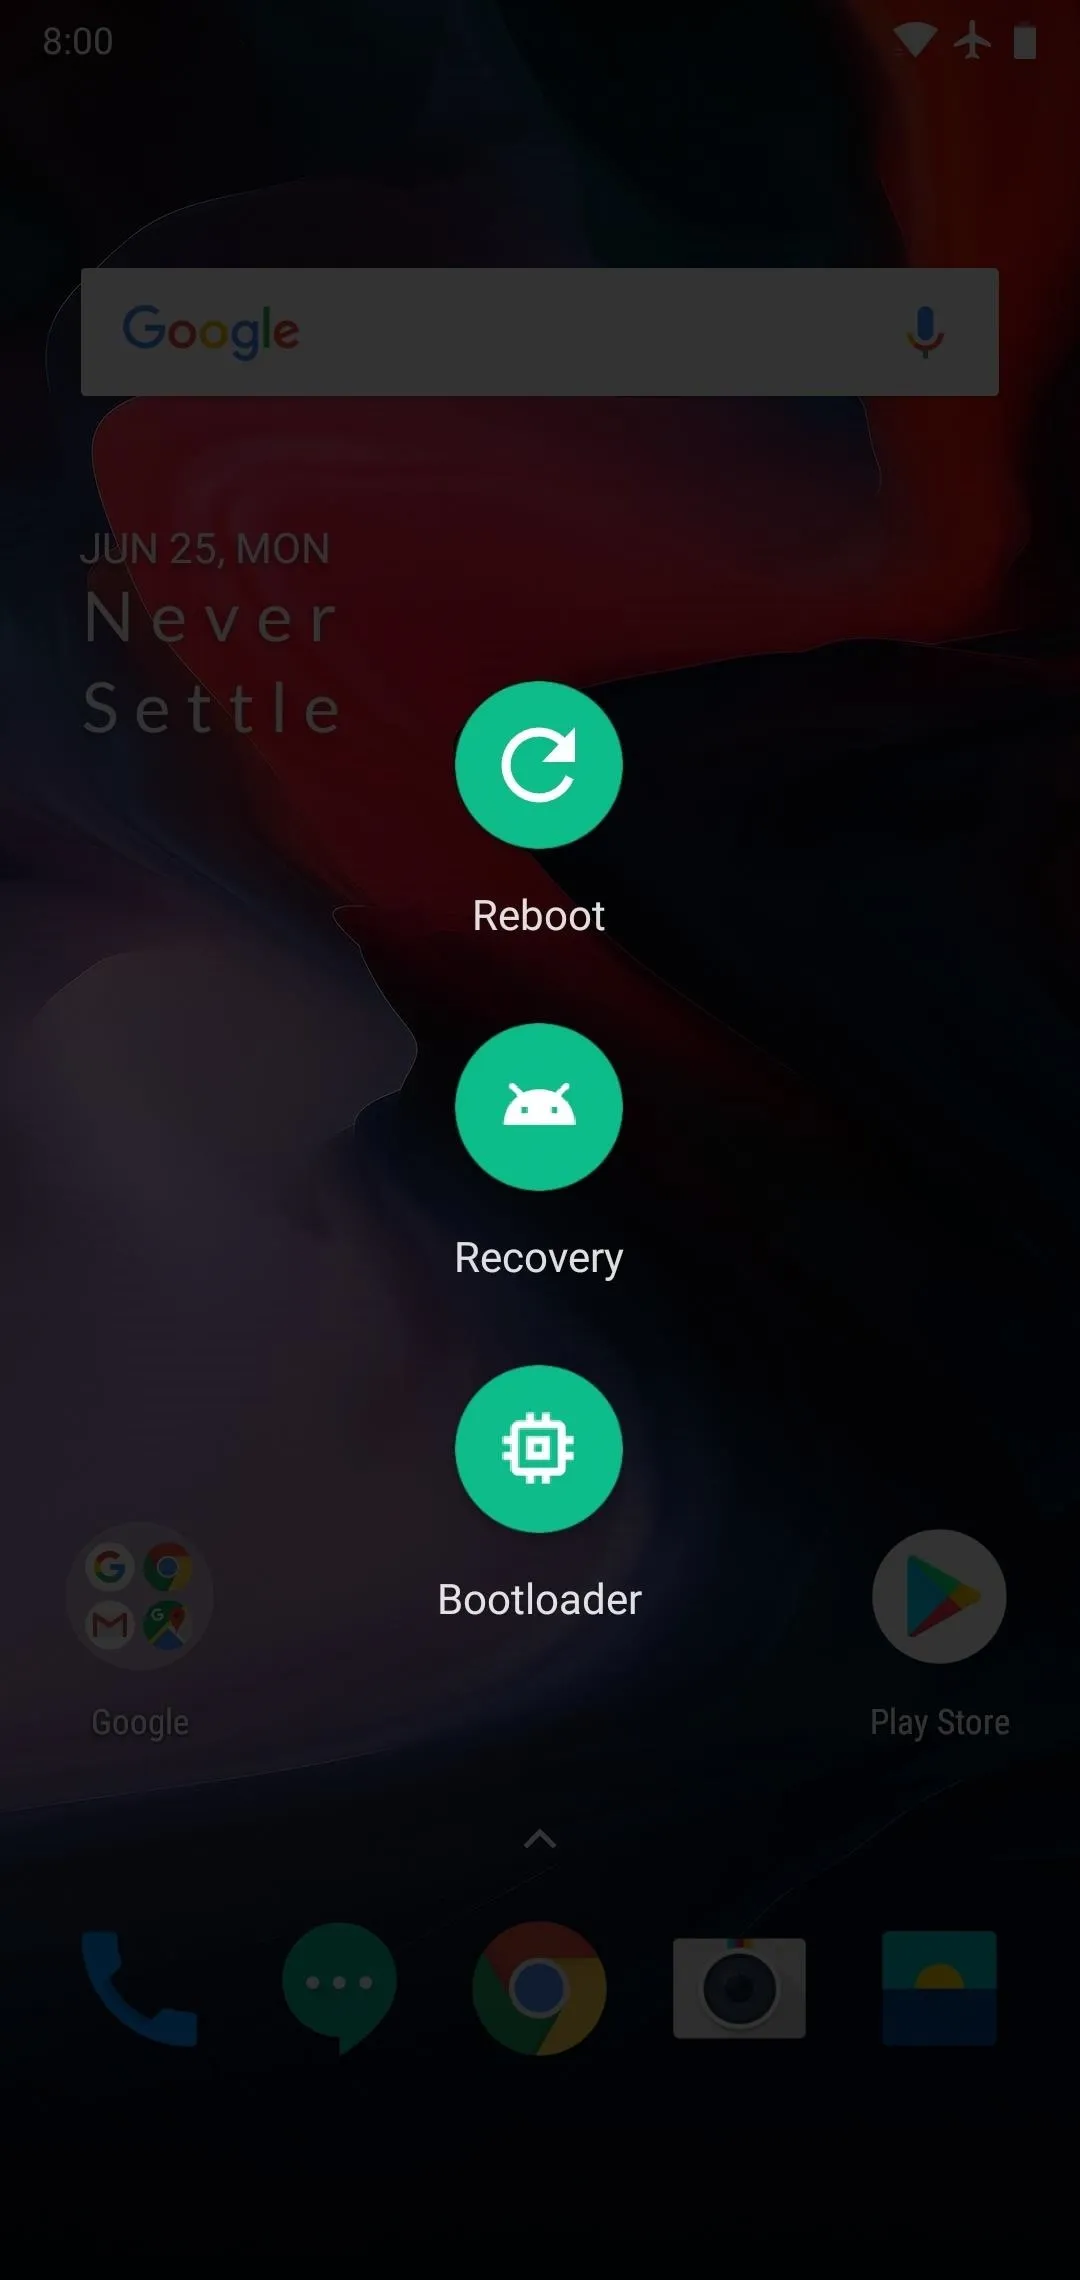
Next, long-press your power button to bring up the power menu, then select "Reboot." After that, choose "Bootloader" and confirm your choice. When your phone loads the Fastboot menu, connect it to your computer with a USB data cable.

Open a Command Window on Your Computer
Over on your computer now, you'll need to open a command prompt in the platform-tools folder inside of your Fastboot installation directory. For Windows users, this can usually be found at C:\Program Files (x86)\Android\android-sdk\platform-tools. For Linux and Mac users, the folder's location will vary, so use your computer's search function to find the platform-tools folder.
Once you've found the platform-tools folder, copy the location from the address bar at the top of your file browser (e.g., Windows Explorer). Then, open a command prompt or terminal window. To do that on Windows, press the Windows button on your keyboard, then type in "cmd" and hit enter. On Linux or Mac, open "Terminal" from your Applications folder.
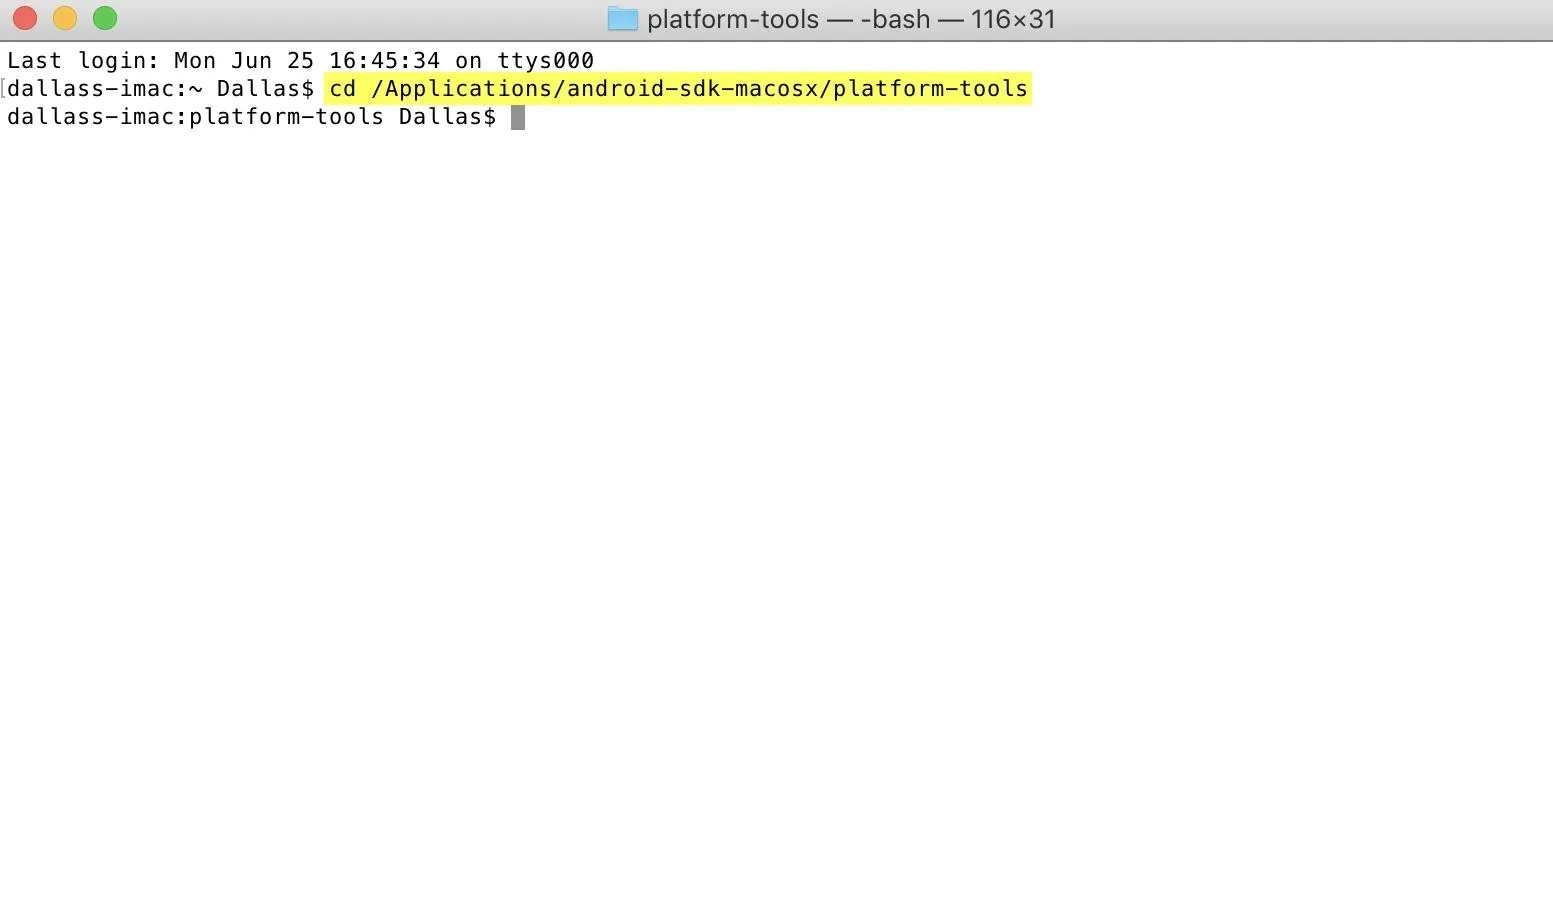
Once you've got the command window open, you'll need to change directories to the platform-tools folder before you can send the Fastboot command to boot TWRP. To do that, type "cd" (without the quotes) followed by a space, then paste in the full location for your platform-tools folder:
Verify the Connection
Now it's time to get down to business. To make sure everything's connected properly, type the following command into the command prompt or Terminal window, then hit enter:
fastboot devicesNote: Most Mac and Linux users will have to add a period and a slash to the front of all Fastboot commands (e.g., ./fastboot devices)
If the terminal window spits out a series of letters and numbers followed by the word "Fastboot," you're good to go. Otherwise, check your ADB and Fastboot installation and make sure your USB cable isn't faulty.

Temporarily Boot TWRP
You'll actually be using a temporary version of TWRP to permanently flash TWRP on your phone. It's a bit confusing, but the actual process is pretty simple.
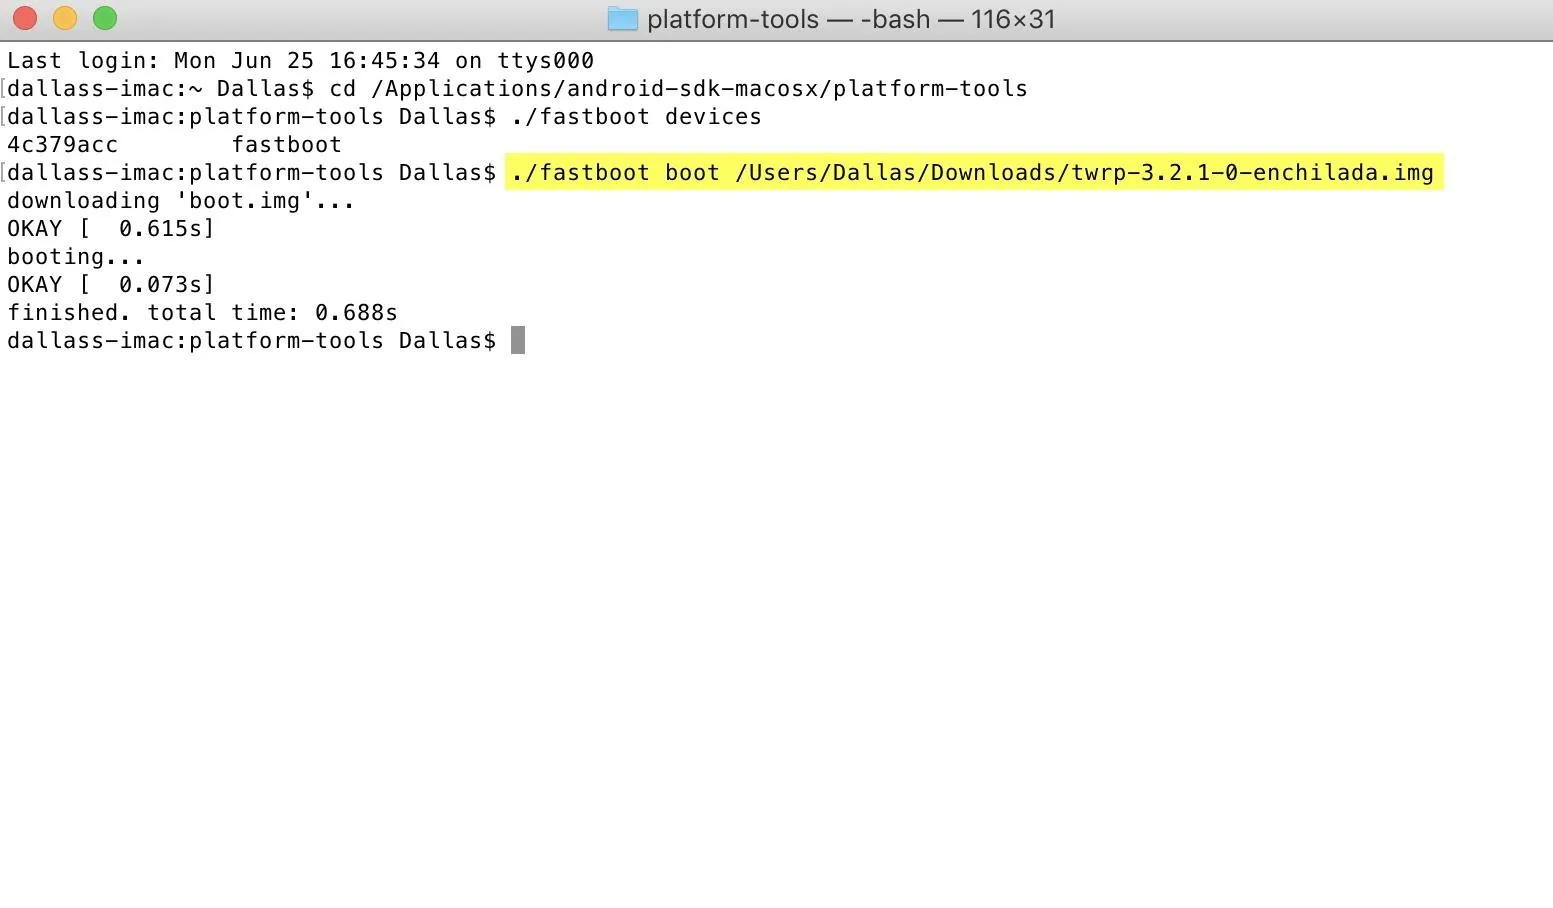
Start by typing the following command into the prompt. Then, add a single space after the command, but don't hit enter just yet.
fastboot bootNote: Don't forget the period and slash if you're on Mac or Linux.
Next, find the TWRP image file in your computer's download folder. Drag it over to the command window and drop it right in — this will populate the full file name and folder location for the TWRP image file.
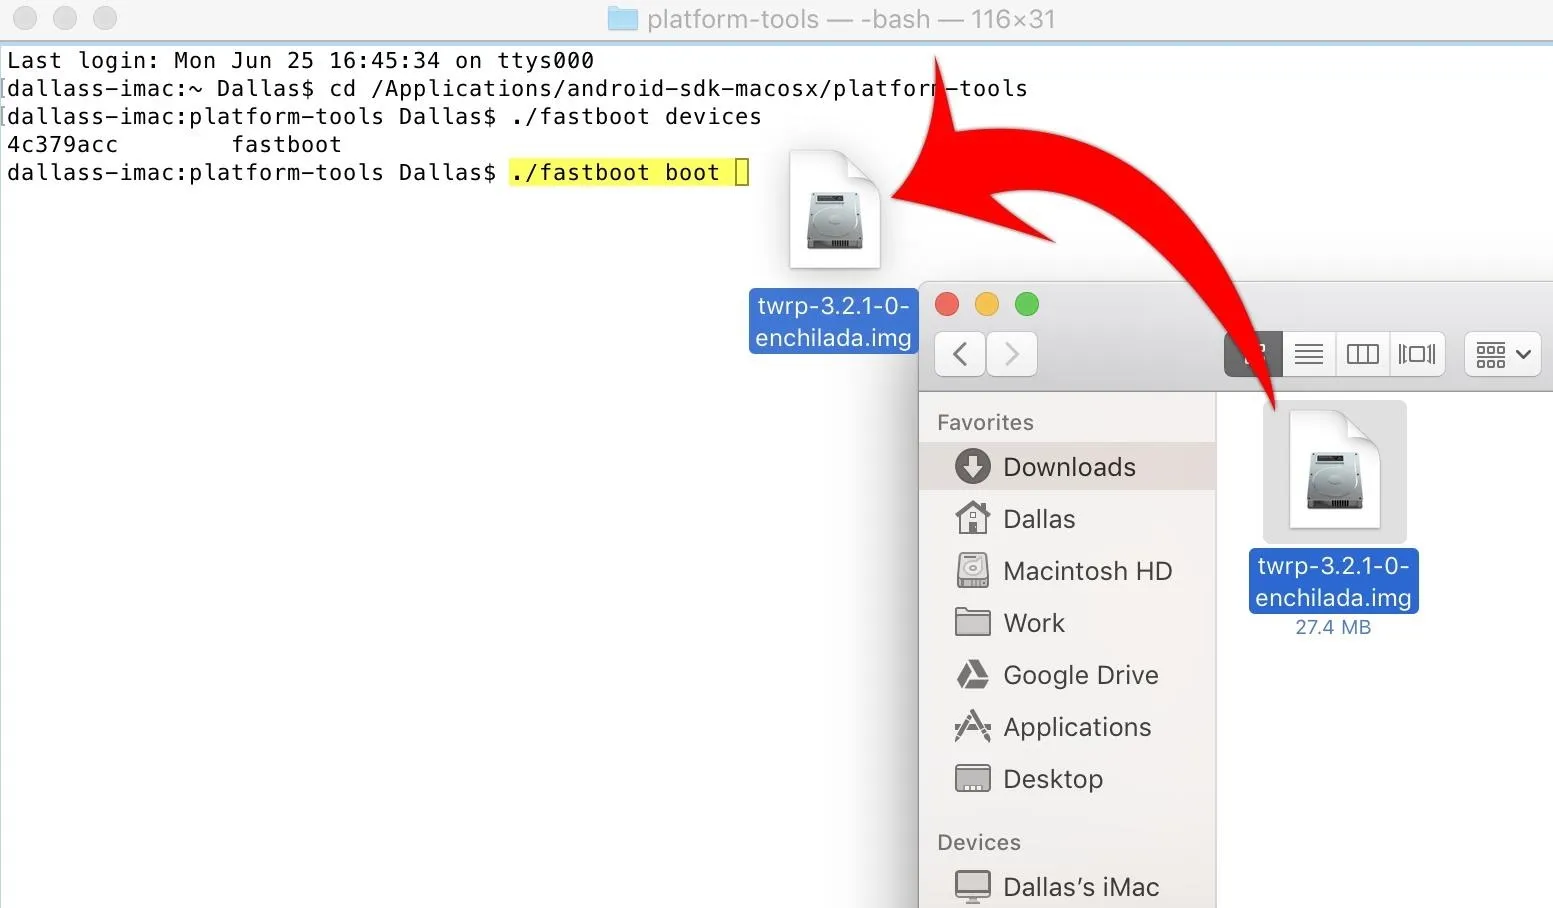
Once the command prompt looks something like what you can see below (complete with the file name and location), hit enter on your keyboard to temporarily boot into TWRP.
Permanently Flash TWRP
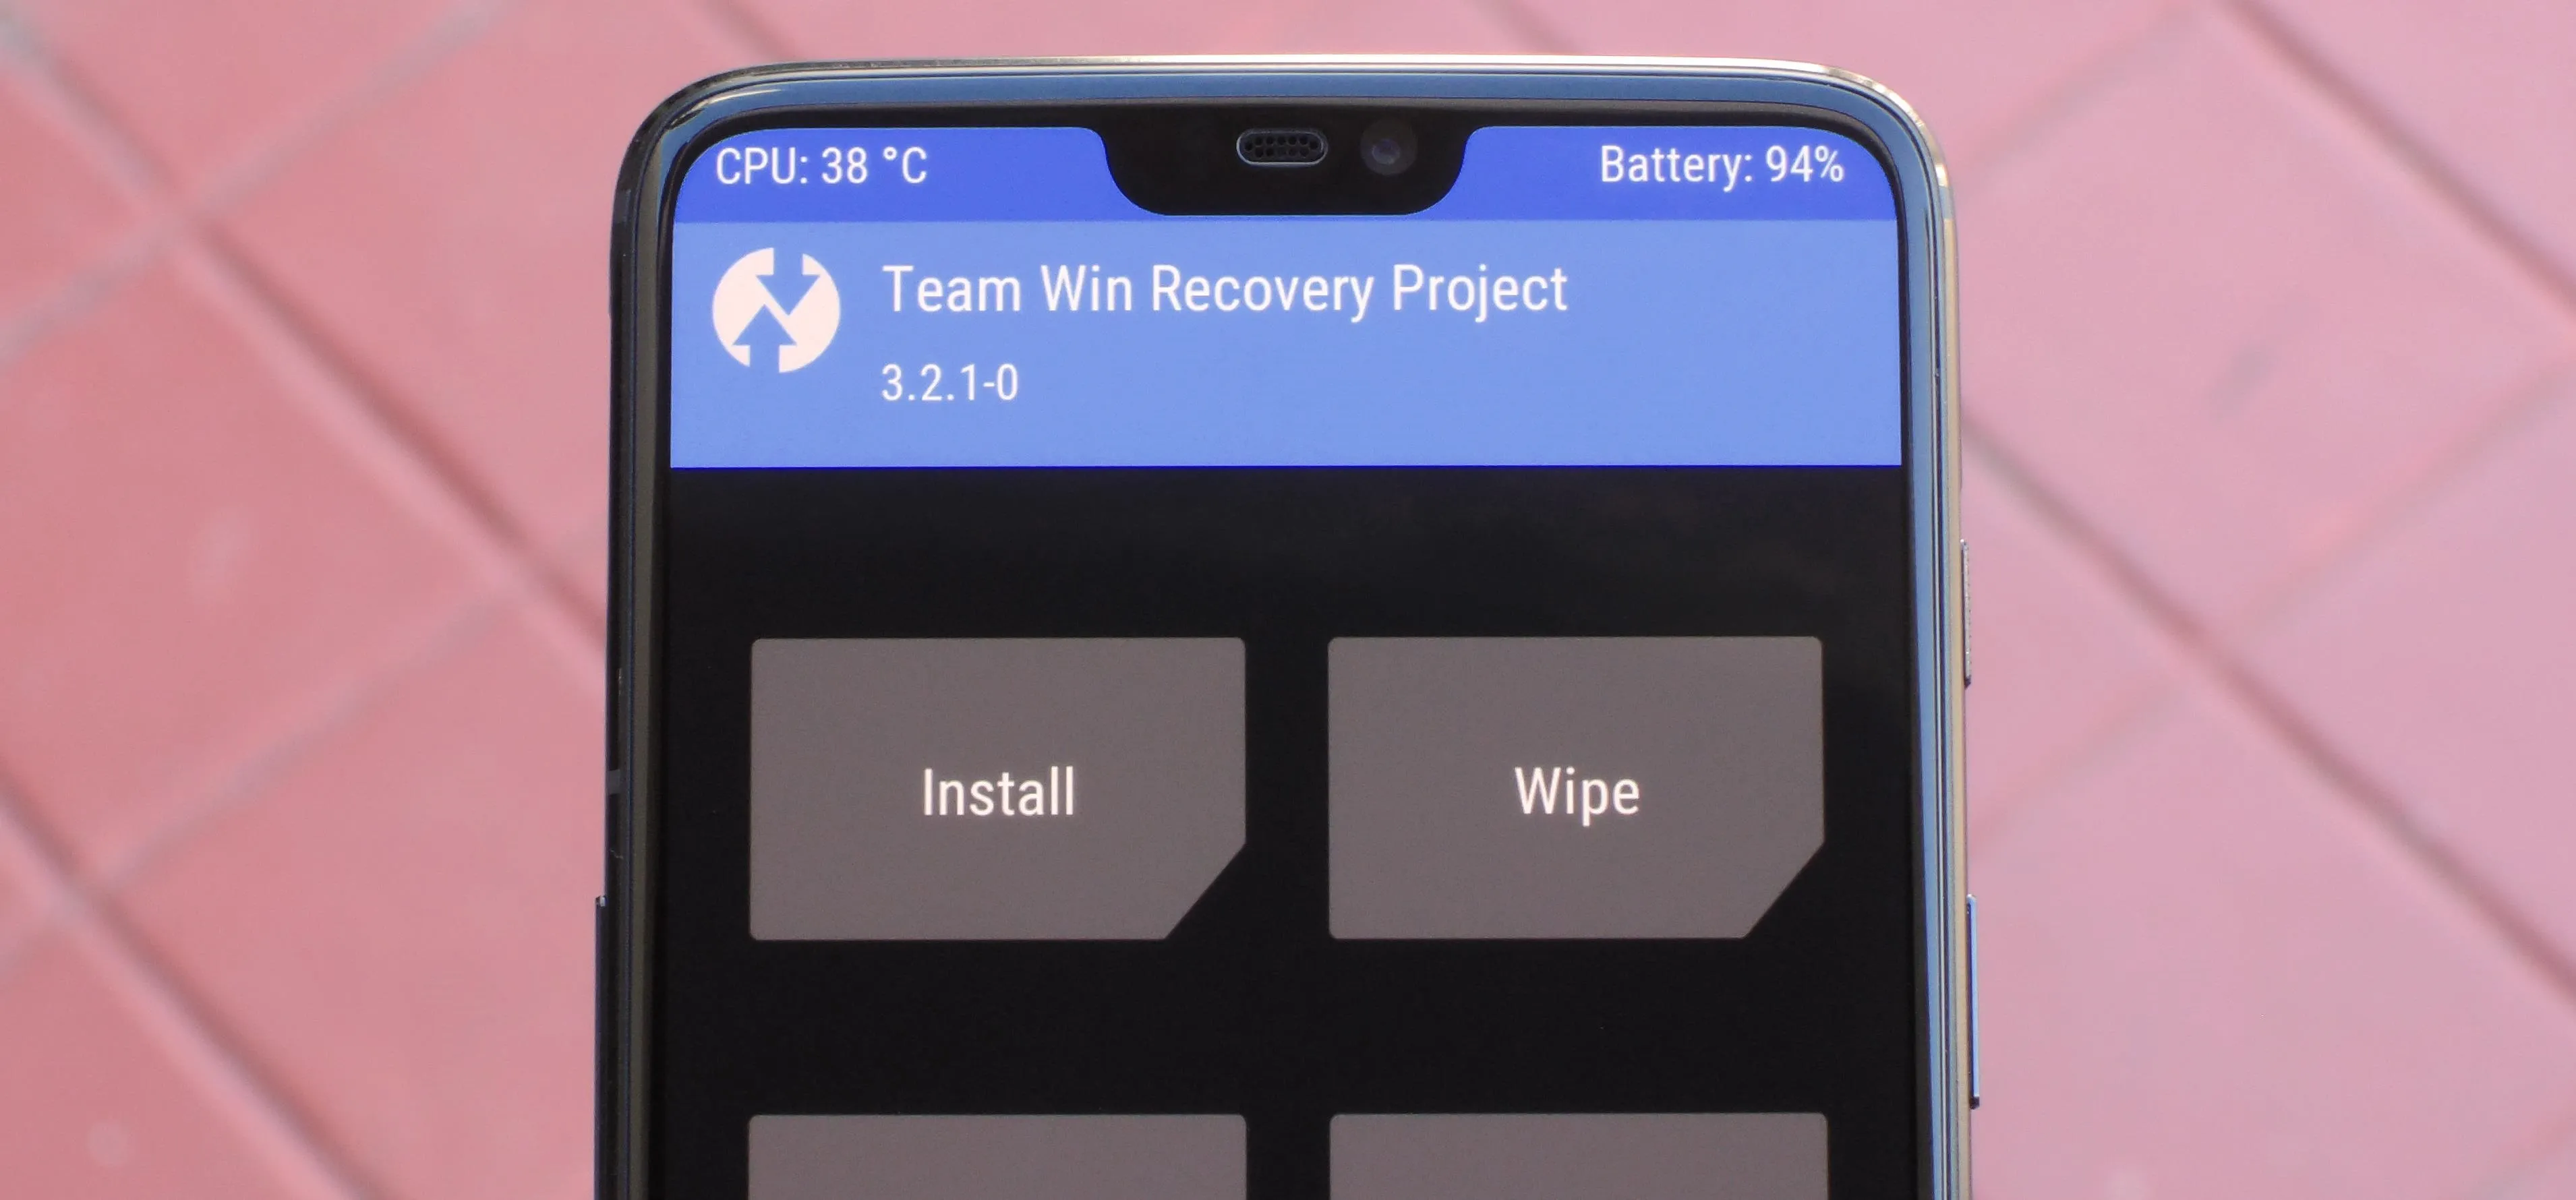
Over on your phone now, you'll see that TWRP booted up. It's safe to disconnect the USB cable at this point since the rest of the work will take place on your phone.
First, you'll have to enter your PIN or password on the prompt to decrypt your phone's storage. When you do, you'll be asked if you'd like to "Allow system modifications." This means changes you make with this temporarily-booted version of TWRP can be permanent, so swipe the slider at the bottom of the screen to do so.
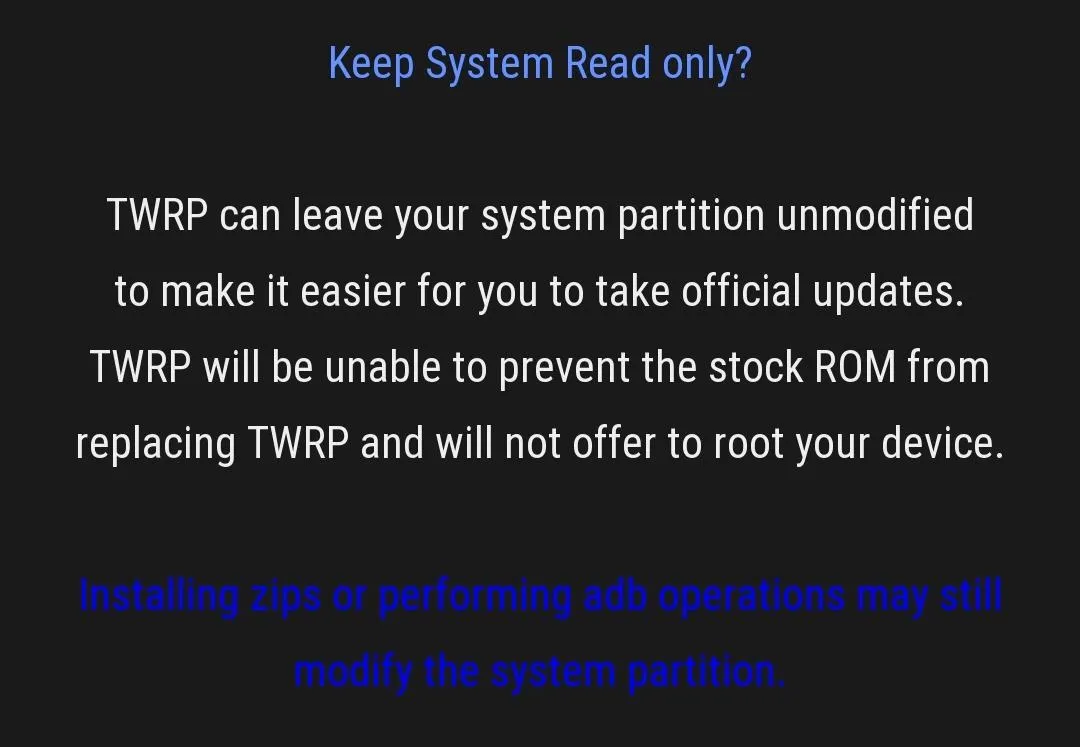
When you see this message, make sure to "Swipe to allow modifications."
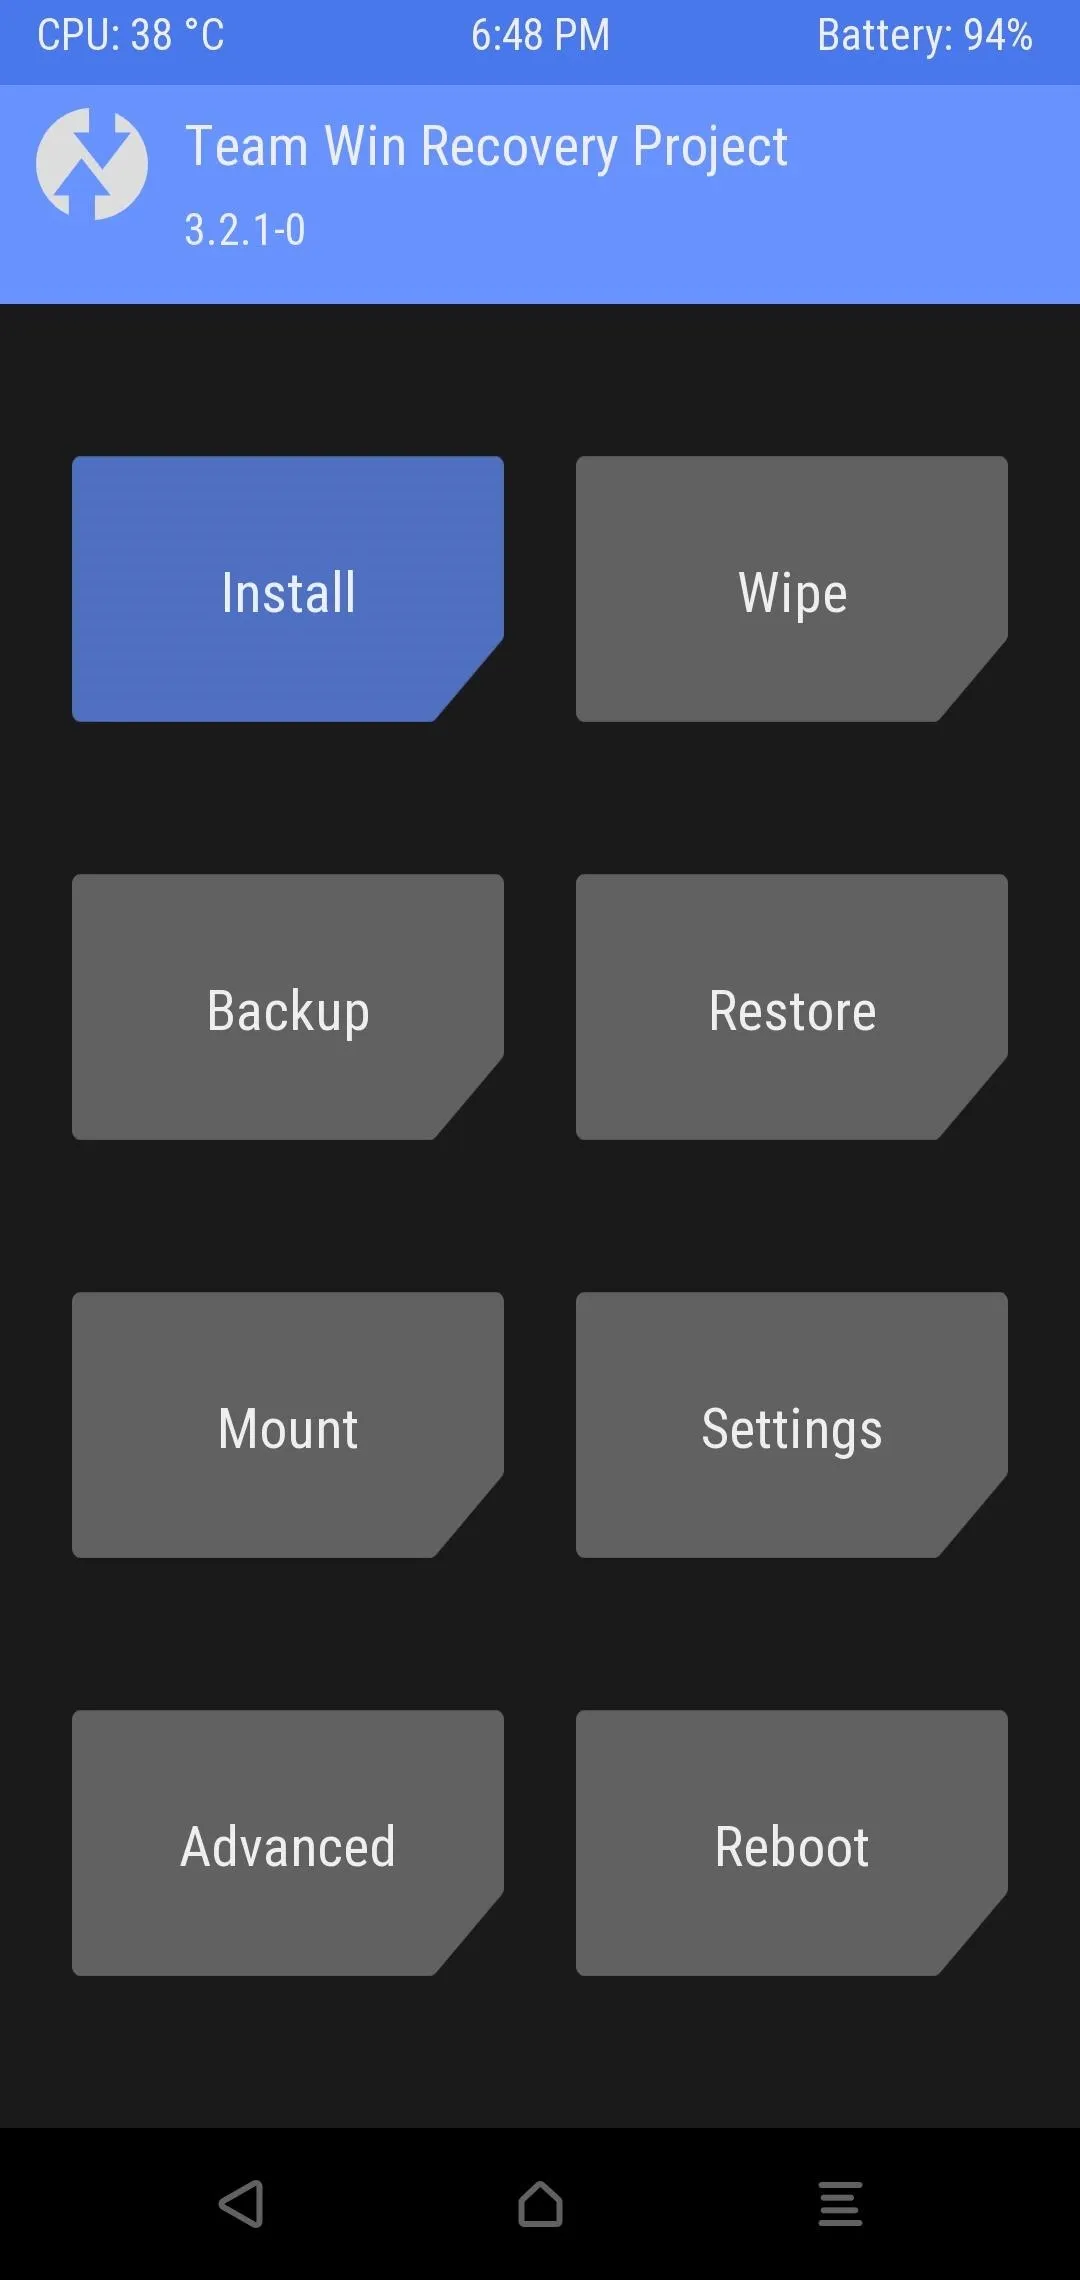
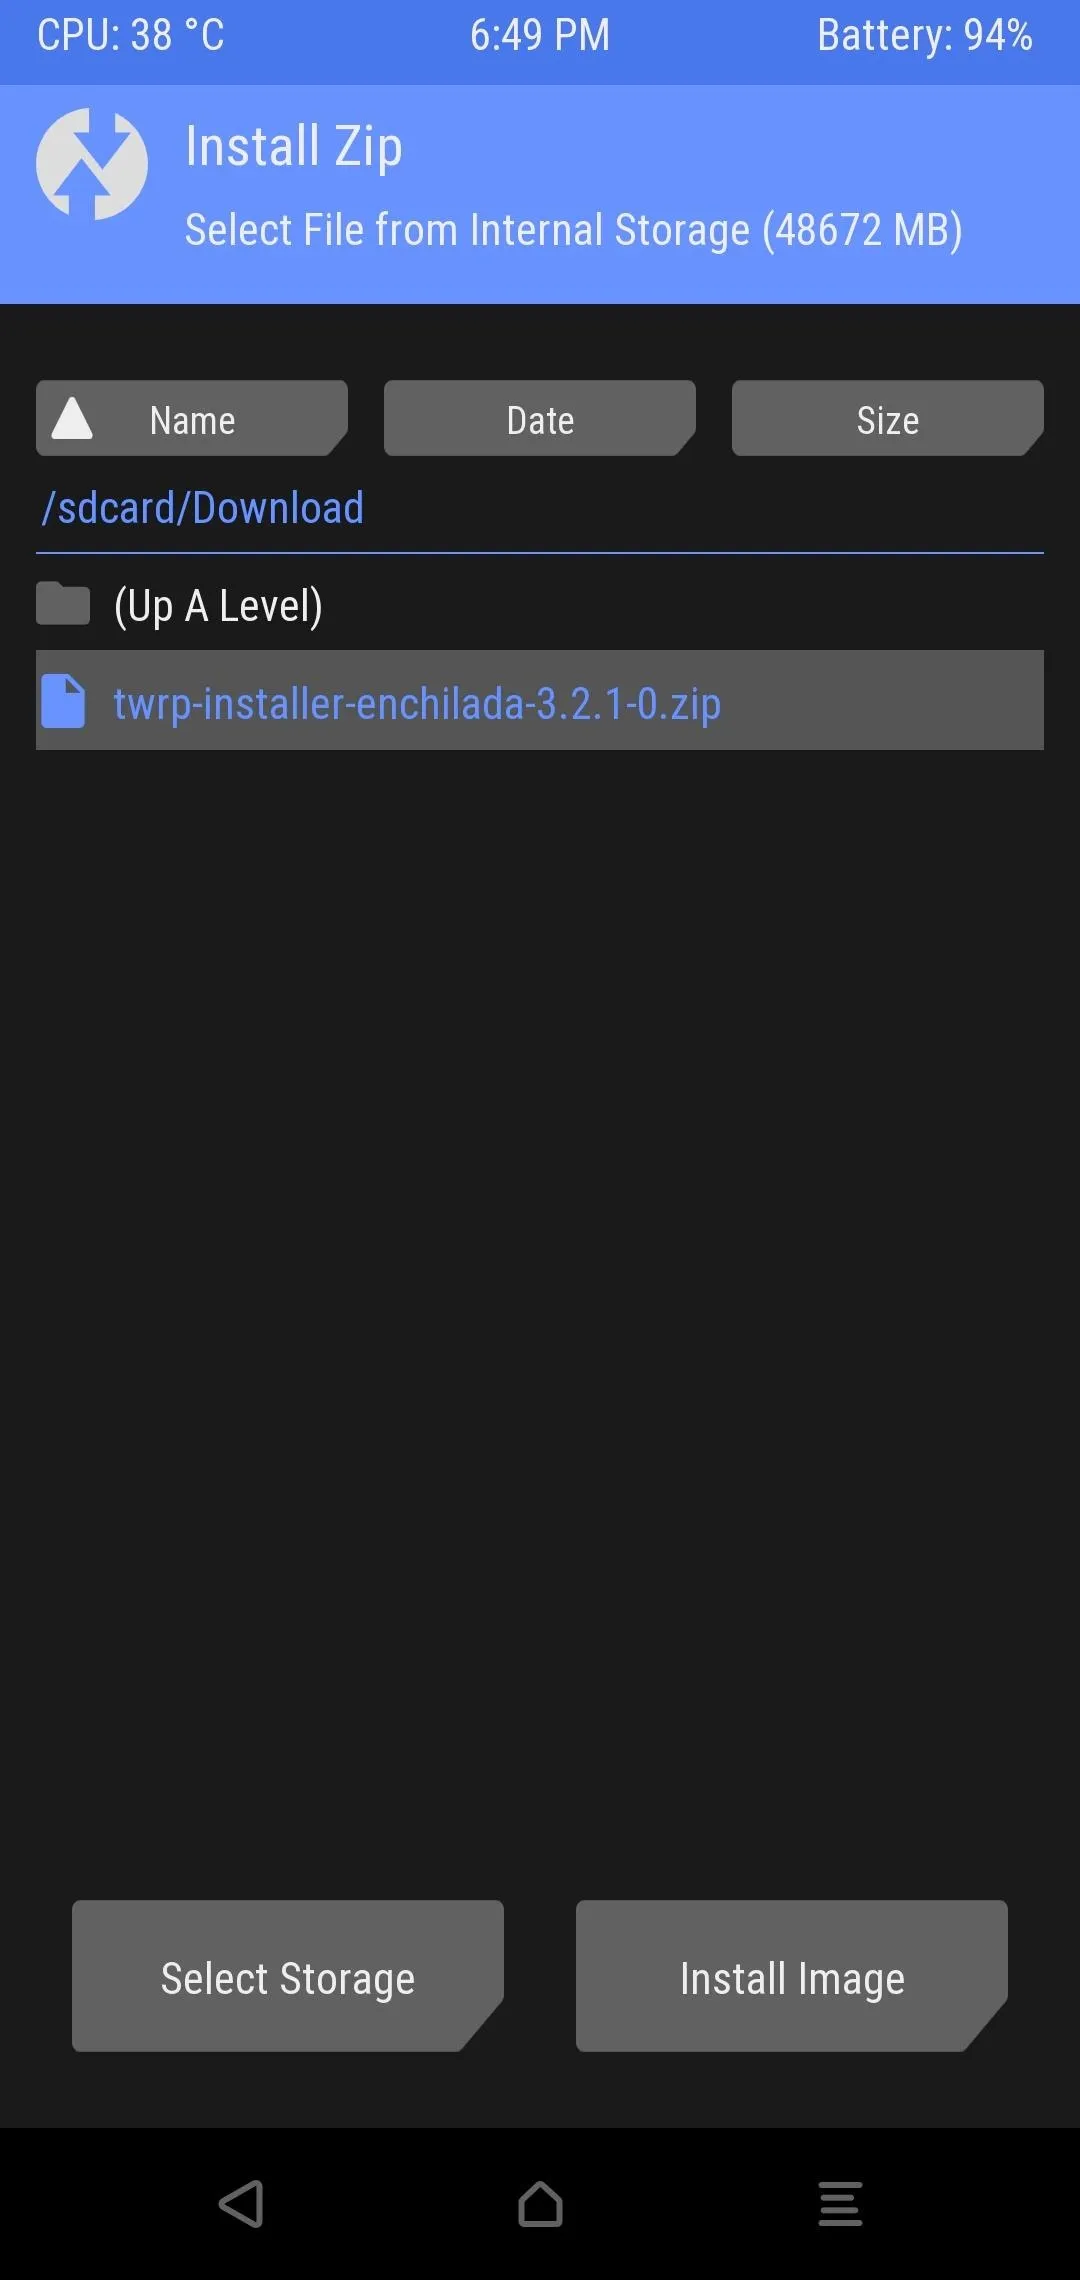
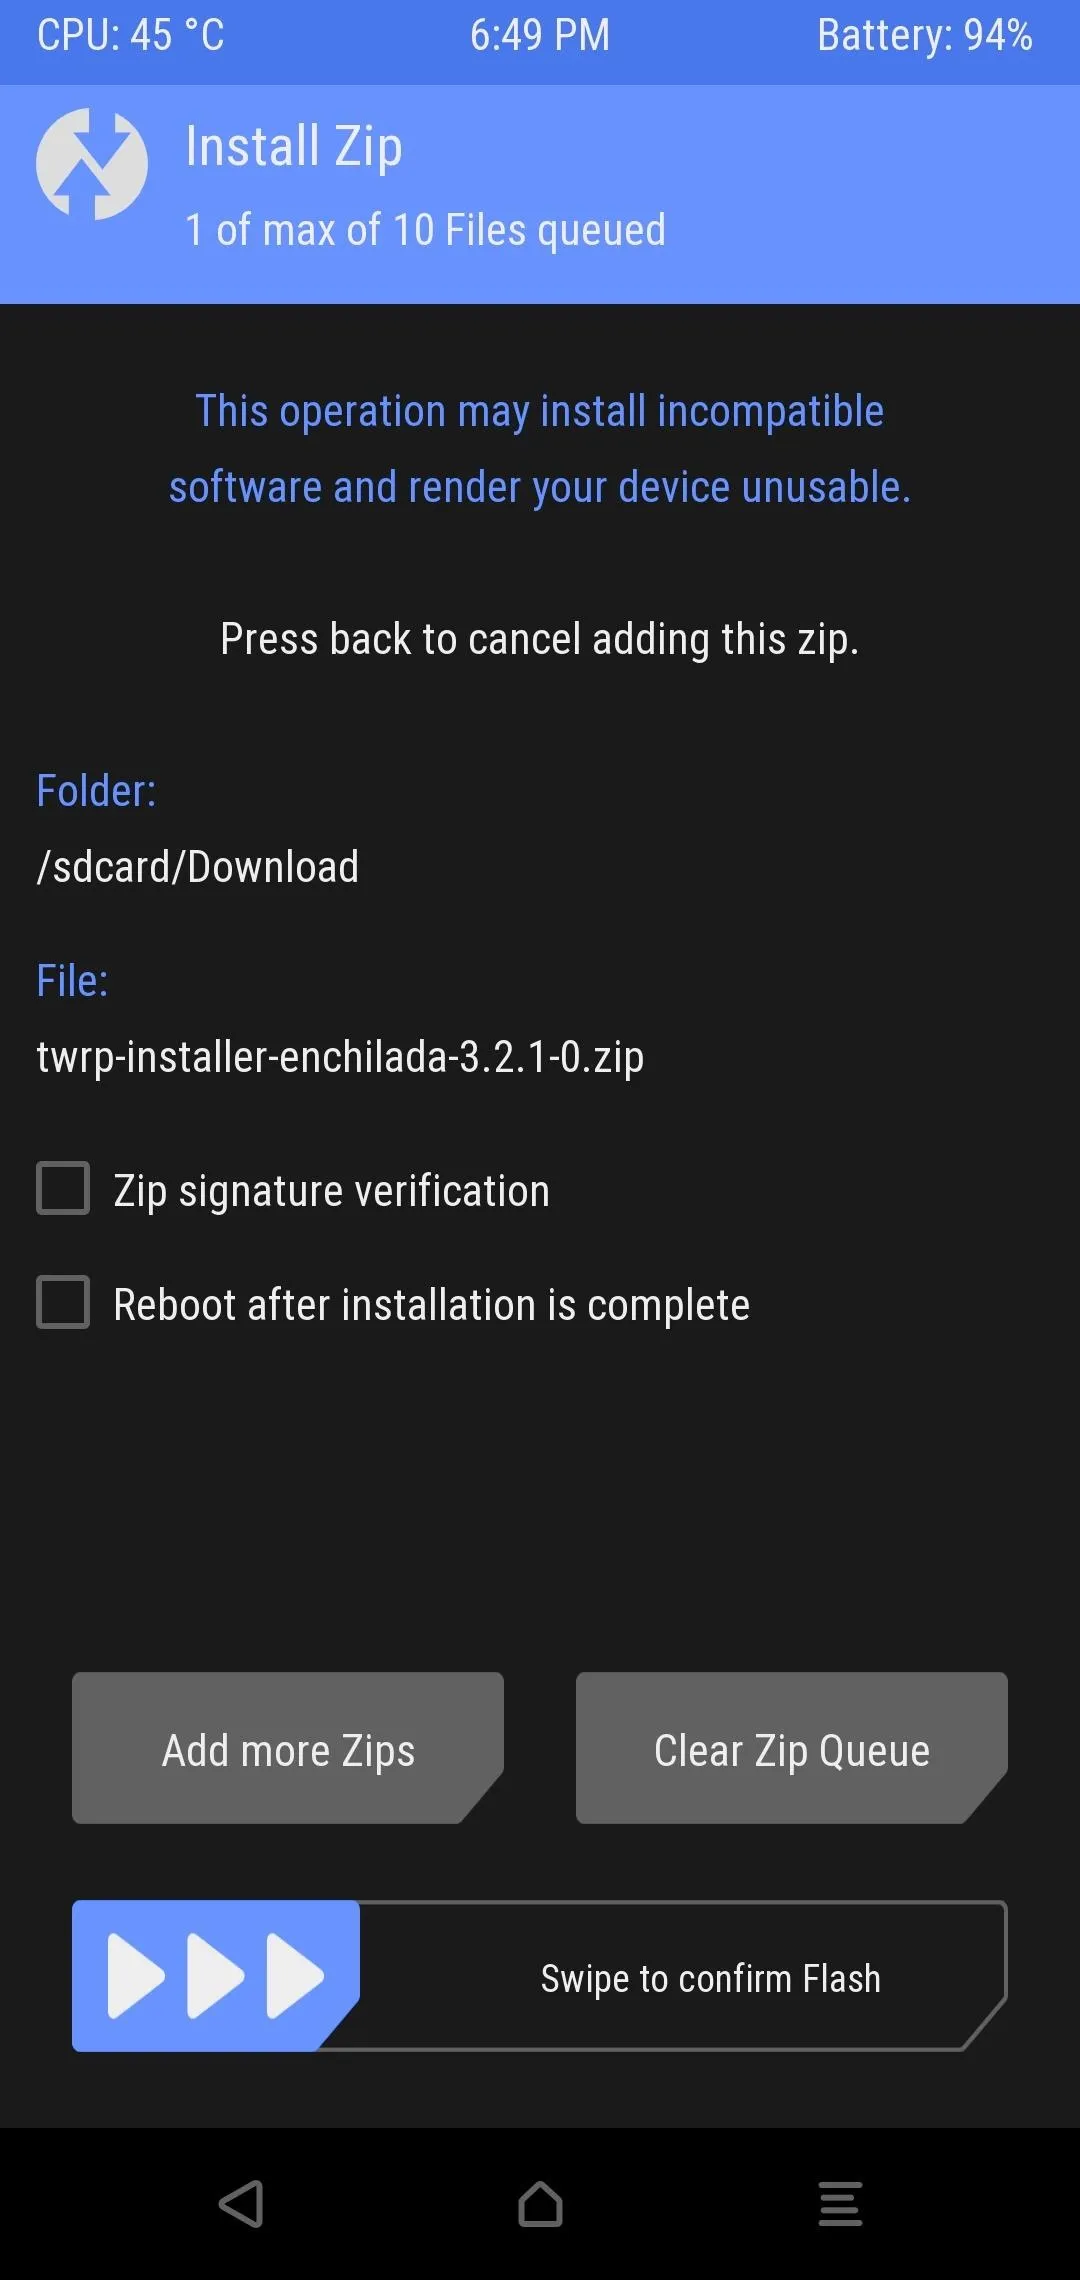
Next, tap the "Install" button on TWRP's main menu, then navigate to your device's Download folder and select the TWRP ZIP file you downloaded in Step 2. From there, swipe the slider at the bottom of the screen to make TWRP your new permanent recovery.
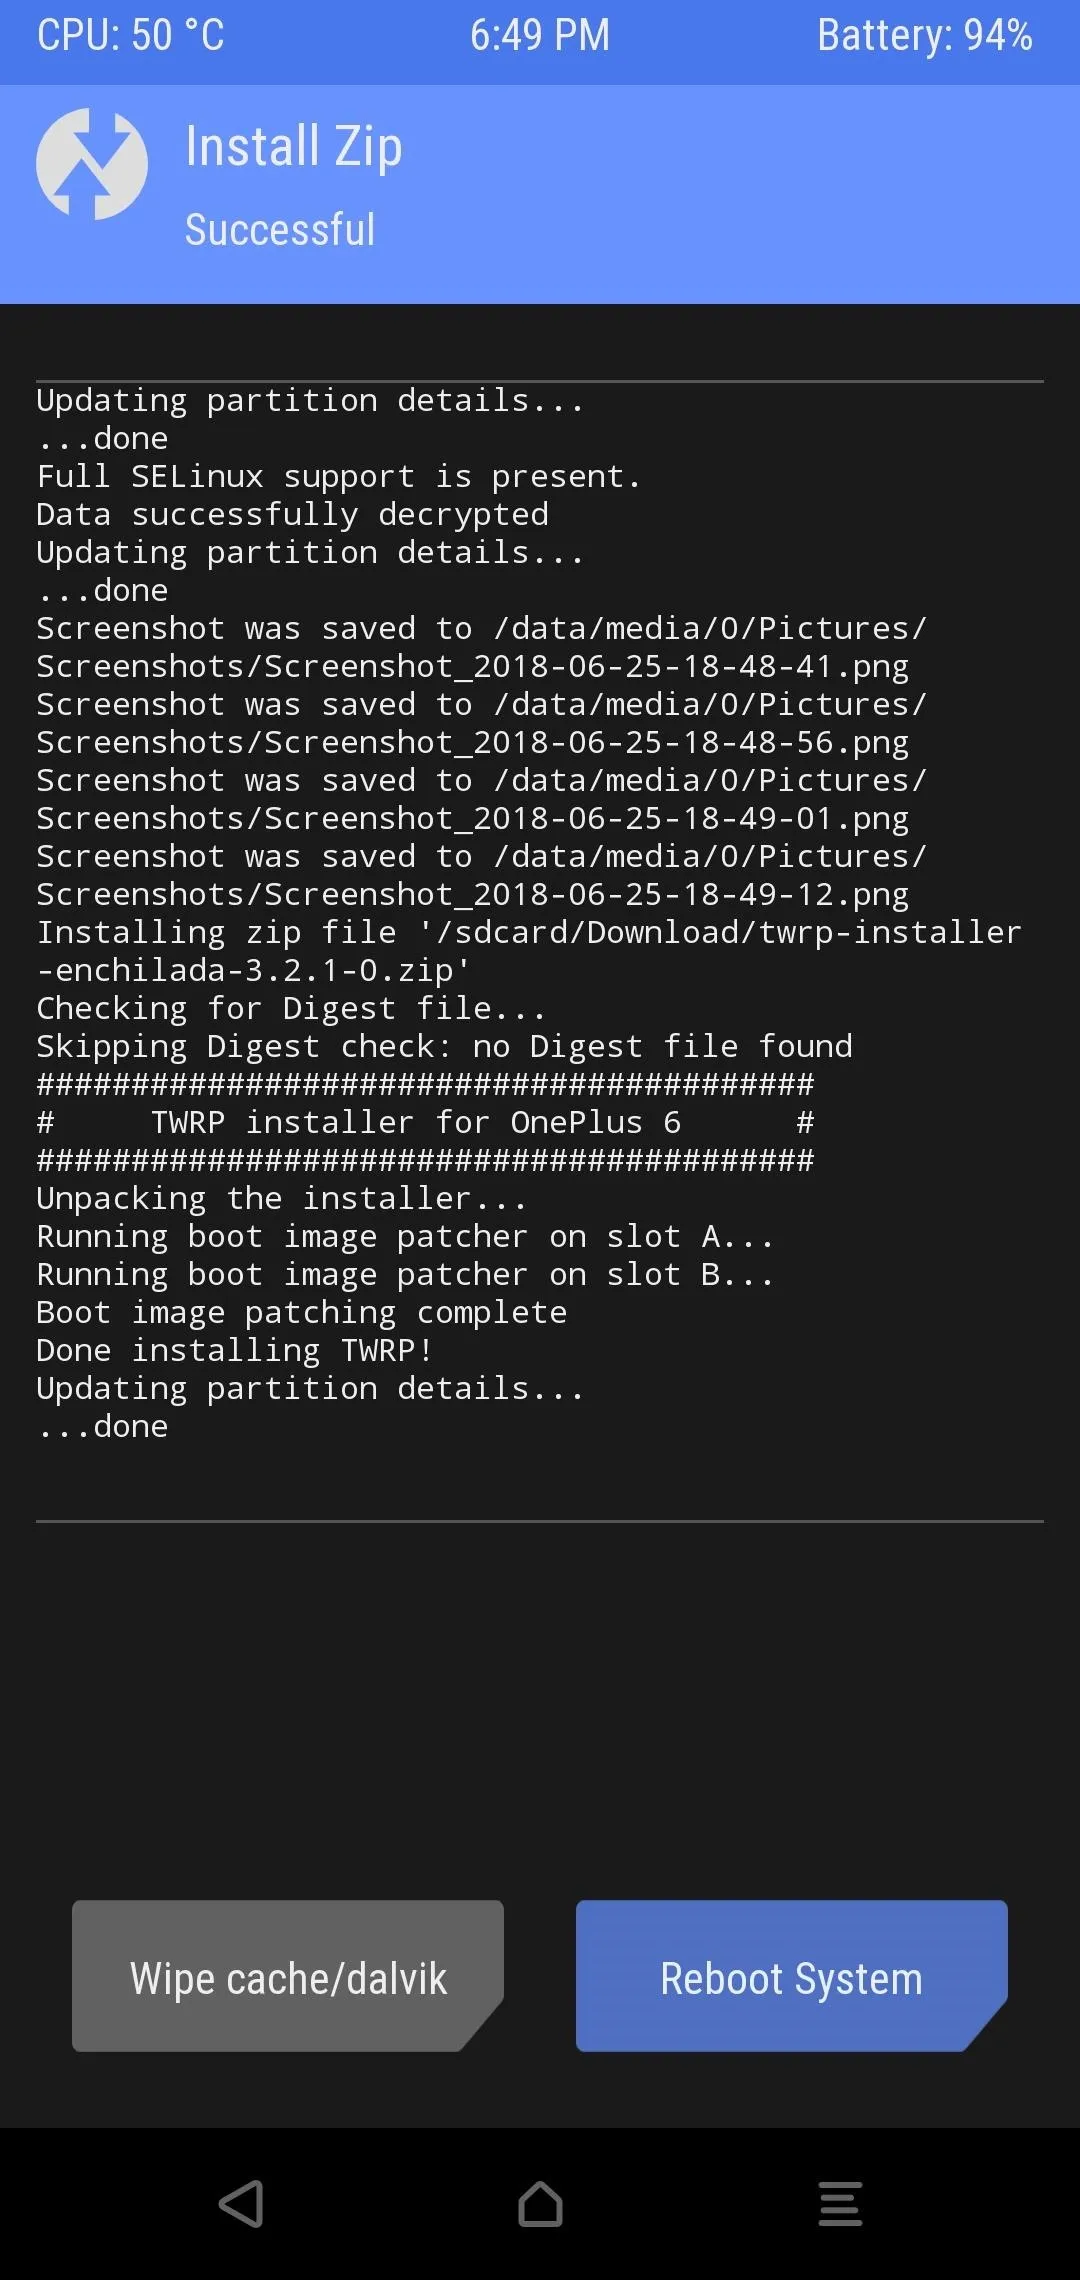
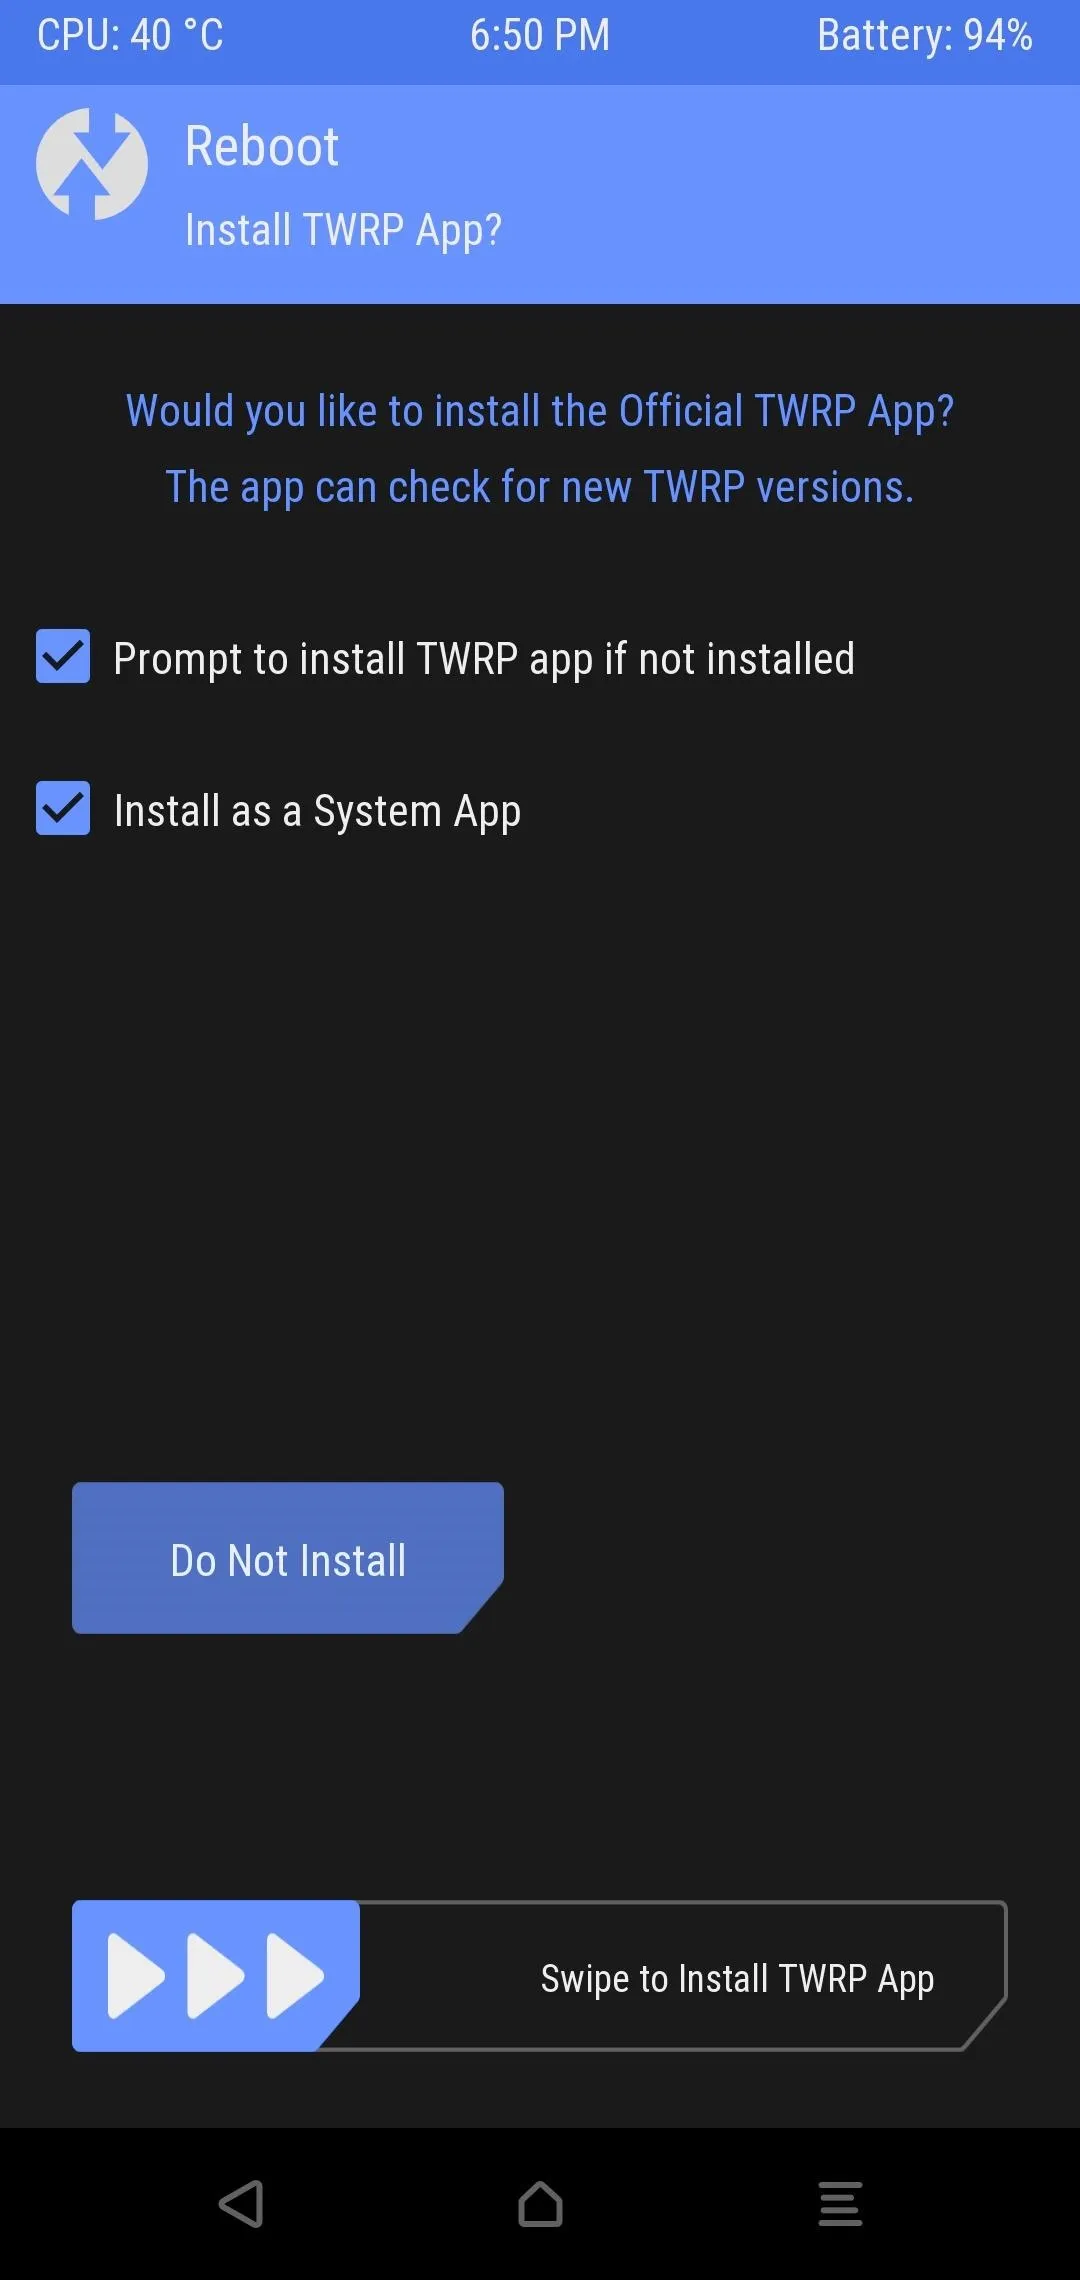
When the process is done, tap the "Reboot System" button. You'll be asked if you'd like to install the official TWRP app at this point. It's not needed, so my recommendation here is to disable the two check boxes and tap "Do Not Install."
And that's all there is to it — you now have TWRP permanently installed on your OnePlus 6! In the future, you can boot into TWRP at any time by selecting the "Recovery" option from the advanced reboot menu. What's the first mod you plan to flash? Let us know in the comment section below.
Cover image and screenshots by Dallas Thomas/Gadget Hacks


Comments
Be the first, drop a comment!