


When it comes to modding your Android device, you'll want to be familiar with the TWRP name and what it stands for. It's a tool that you'll be using to make NANDroid backups or to install just about any mod file you can think of — the number of uses is quite awesome. You'll mostly be after Magisk for root access and potentially a custom kernel as well.
Do all Android phones have a stock recovery by default, you might be thinking? Yes, they do, but they are severely limited and typically restrict you from flashing any third-party software. Installing TWRP onto your device gives you much more power and control over your recovery environment, which is the perfect solution for all the power users out there. Dive into the guide below to get started now.
Requirements
- Windows, Mac, or Linux computer
- USB data cable
Unlock Your Bootloader
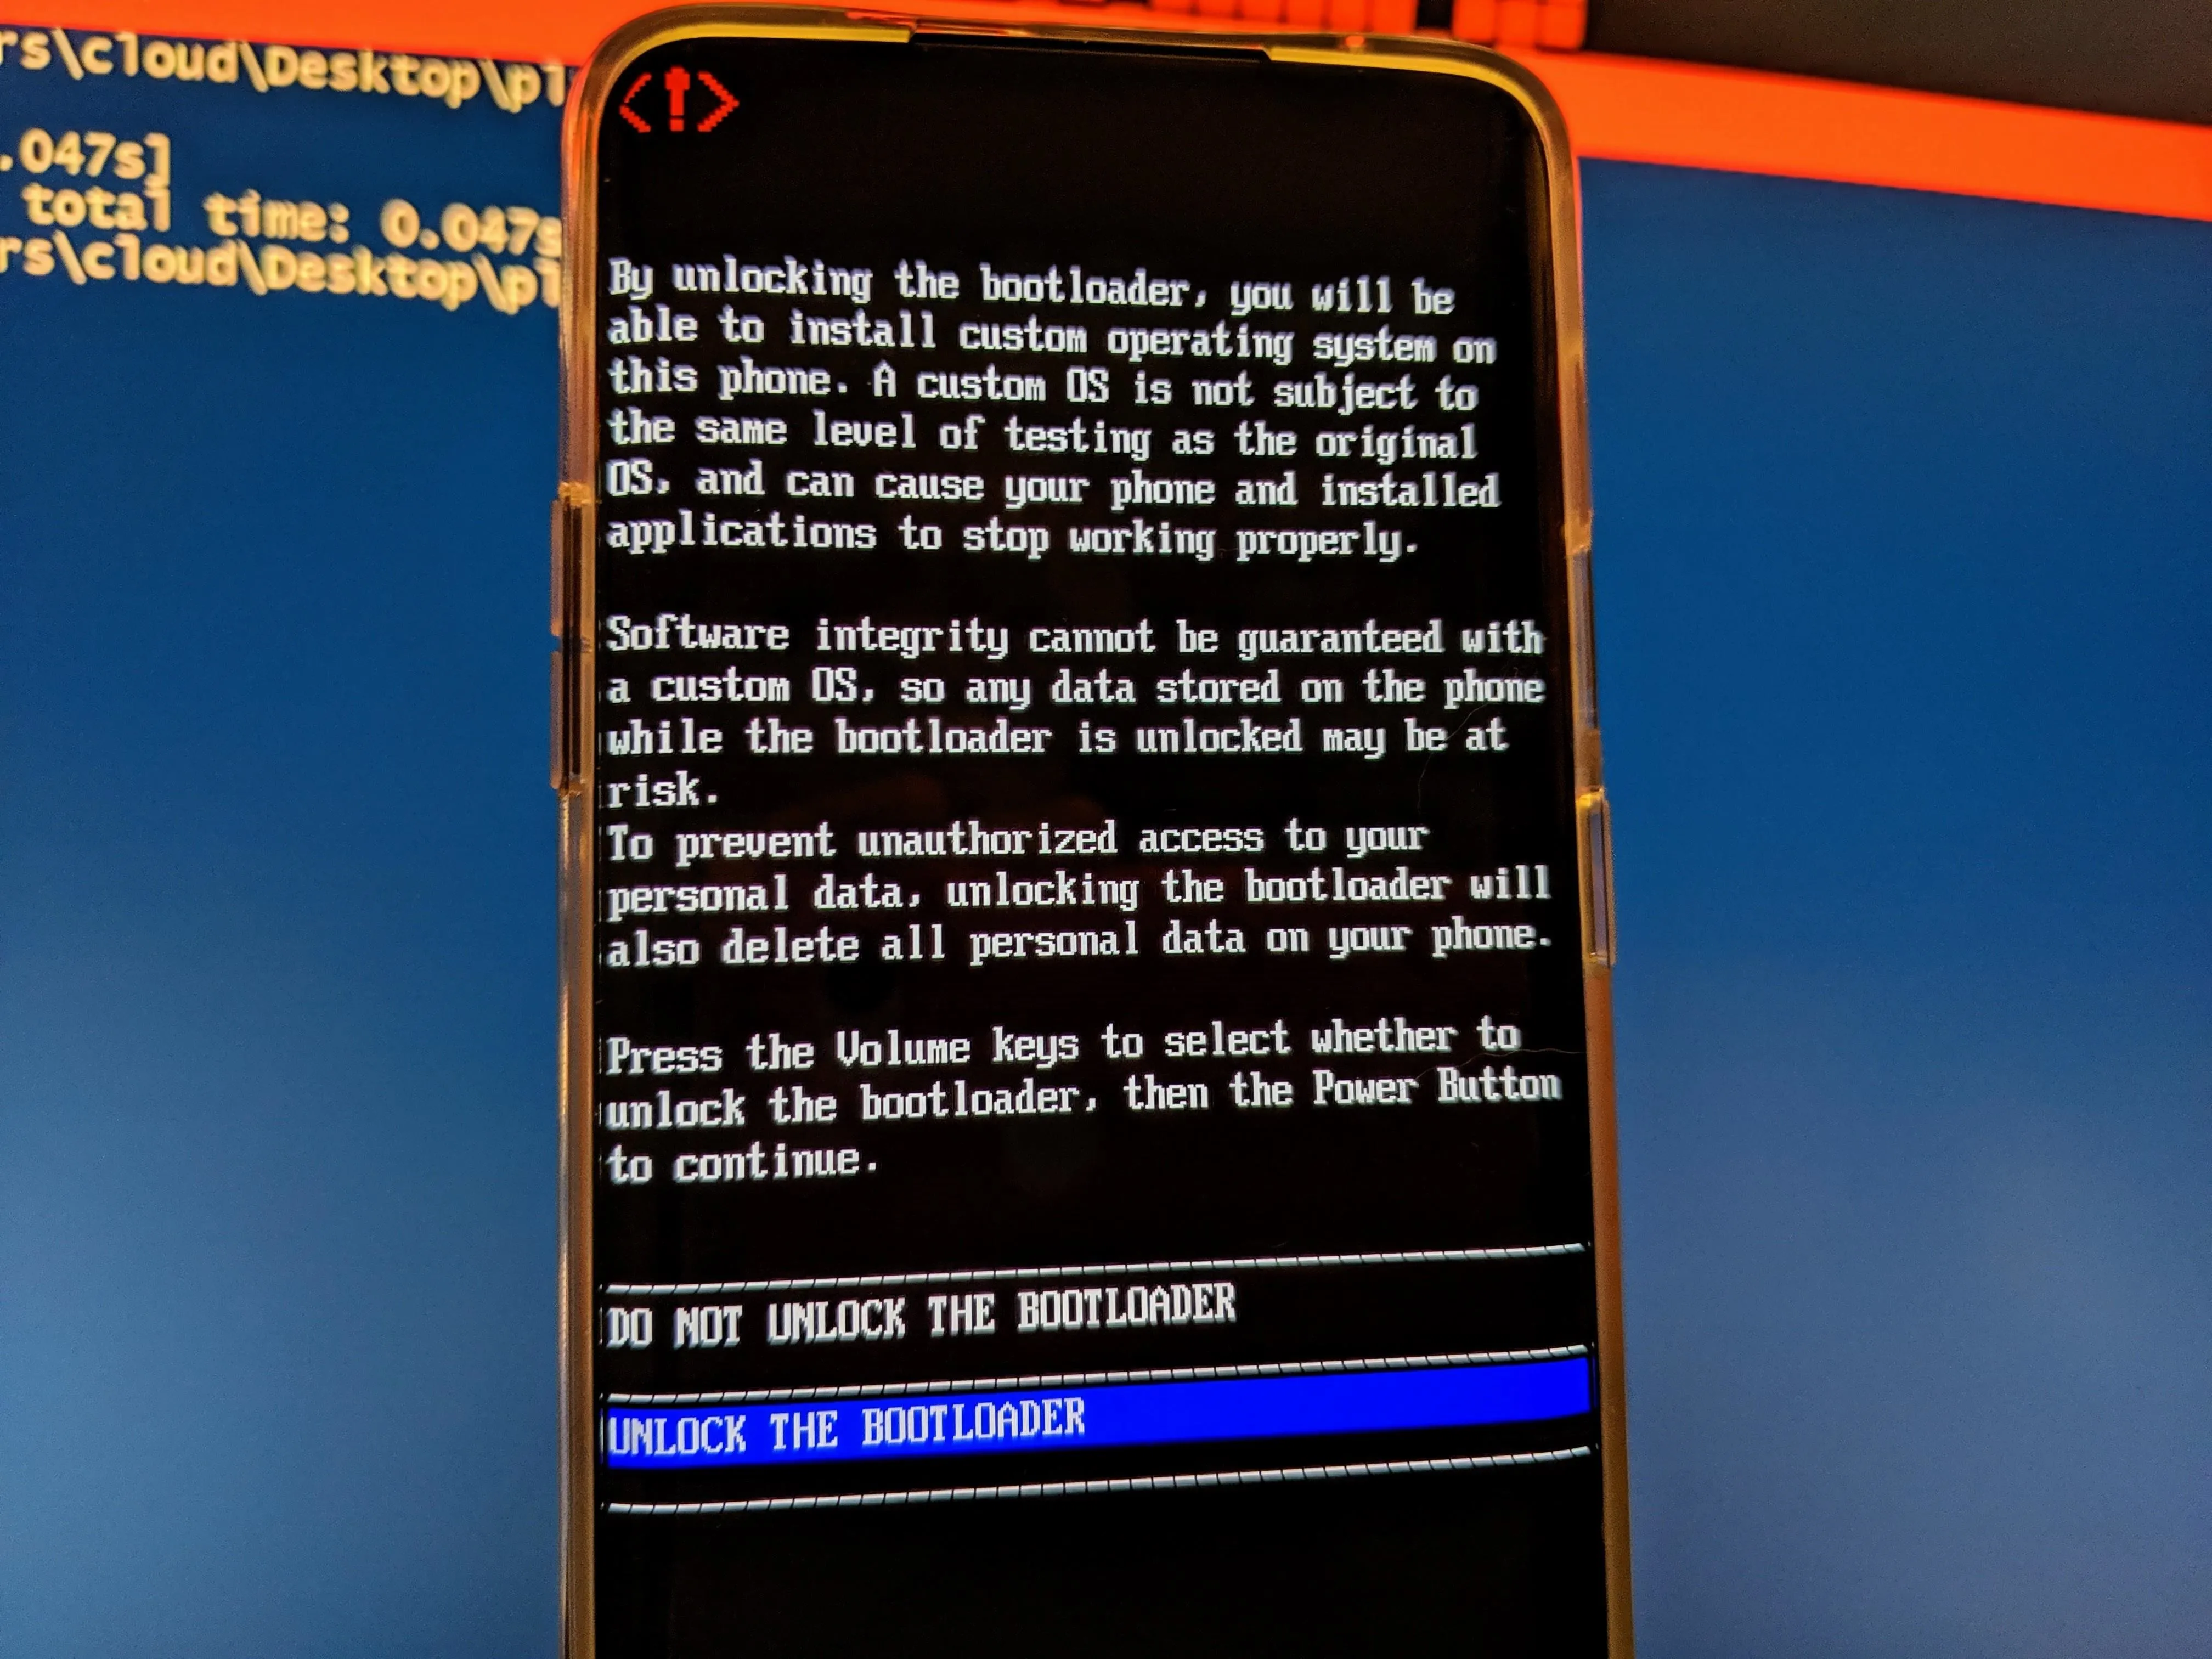
In order to flash any non-official images, such as TWRP, you need to unlock your bootloader. Doing so will allow you to install custom or unofficial software to help give you more precise control over what your device can do. If your bootloader is not unlocked yet, go ahead and visit the guide below to get that taken care of before moving on with the next steps.
Download the TWRP Image
After the bootloader is unlocked and ready to go, you'll need to grab the official image file required for installing TWRP. Once upon a time, you had to download the image file and the permanent flasher ZIP file, but that's not necessary anymore. With the newest versions of TWRP, you only need to keep track of the image file by itself, which means one less file to download.
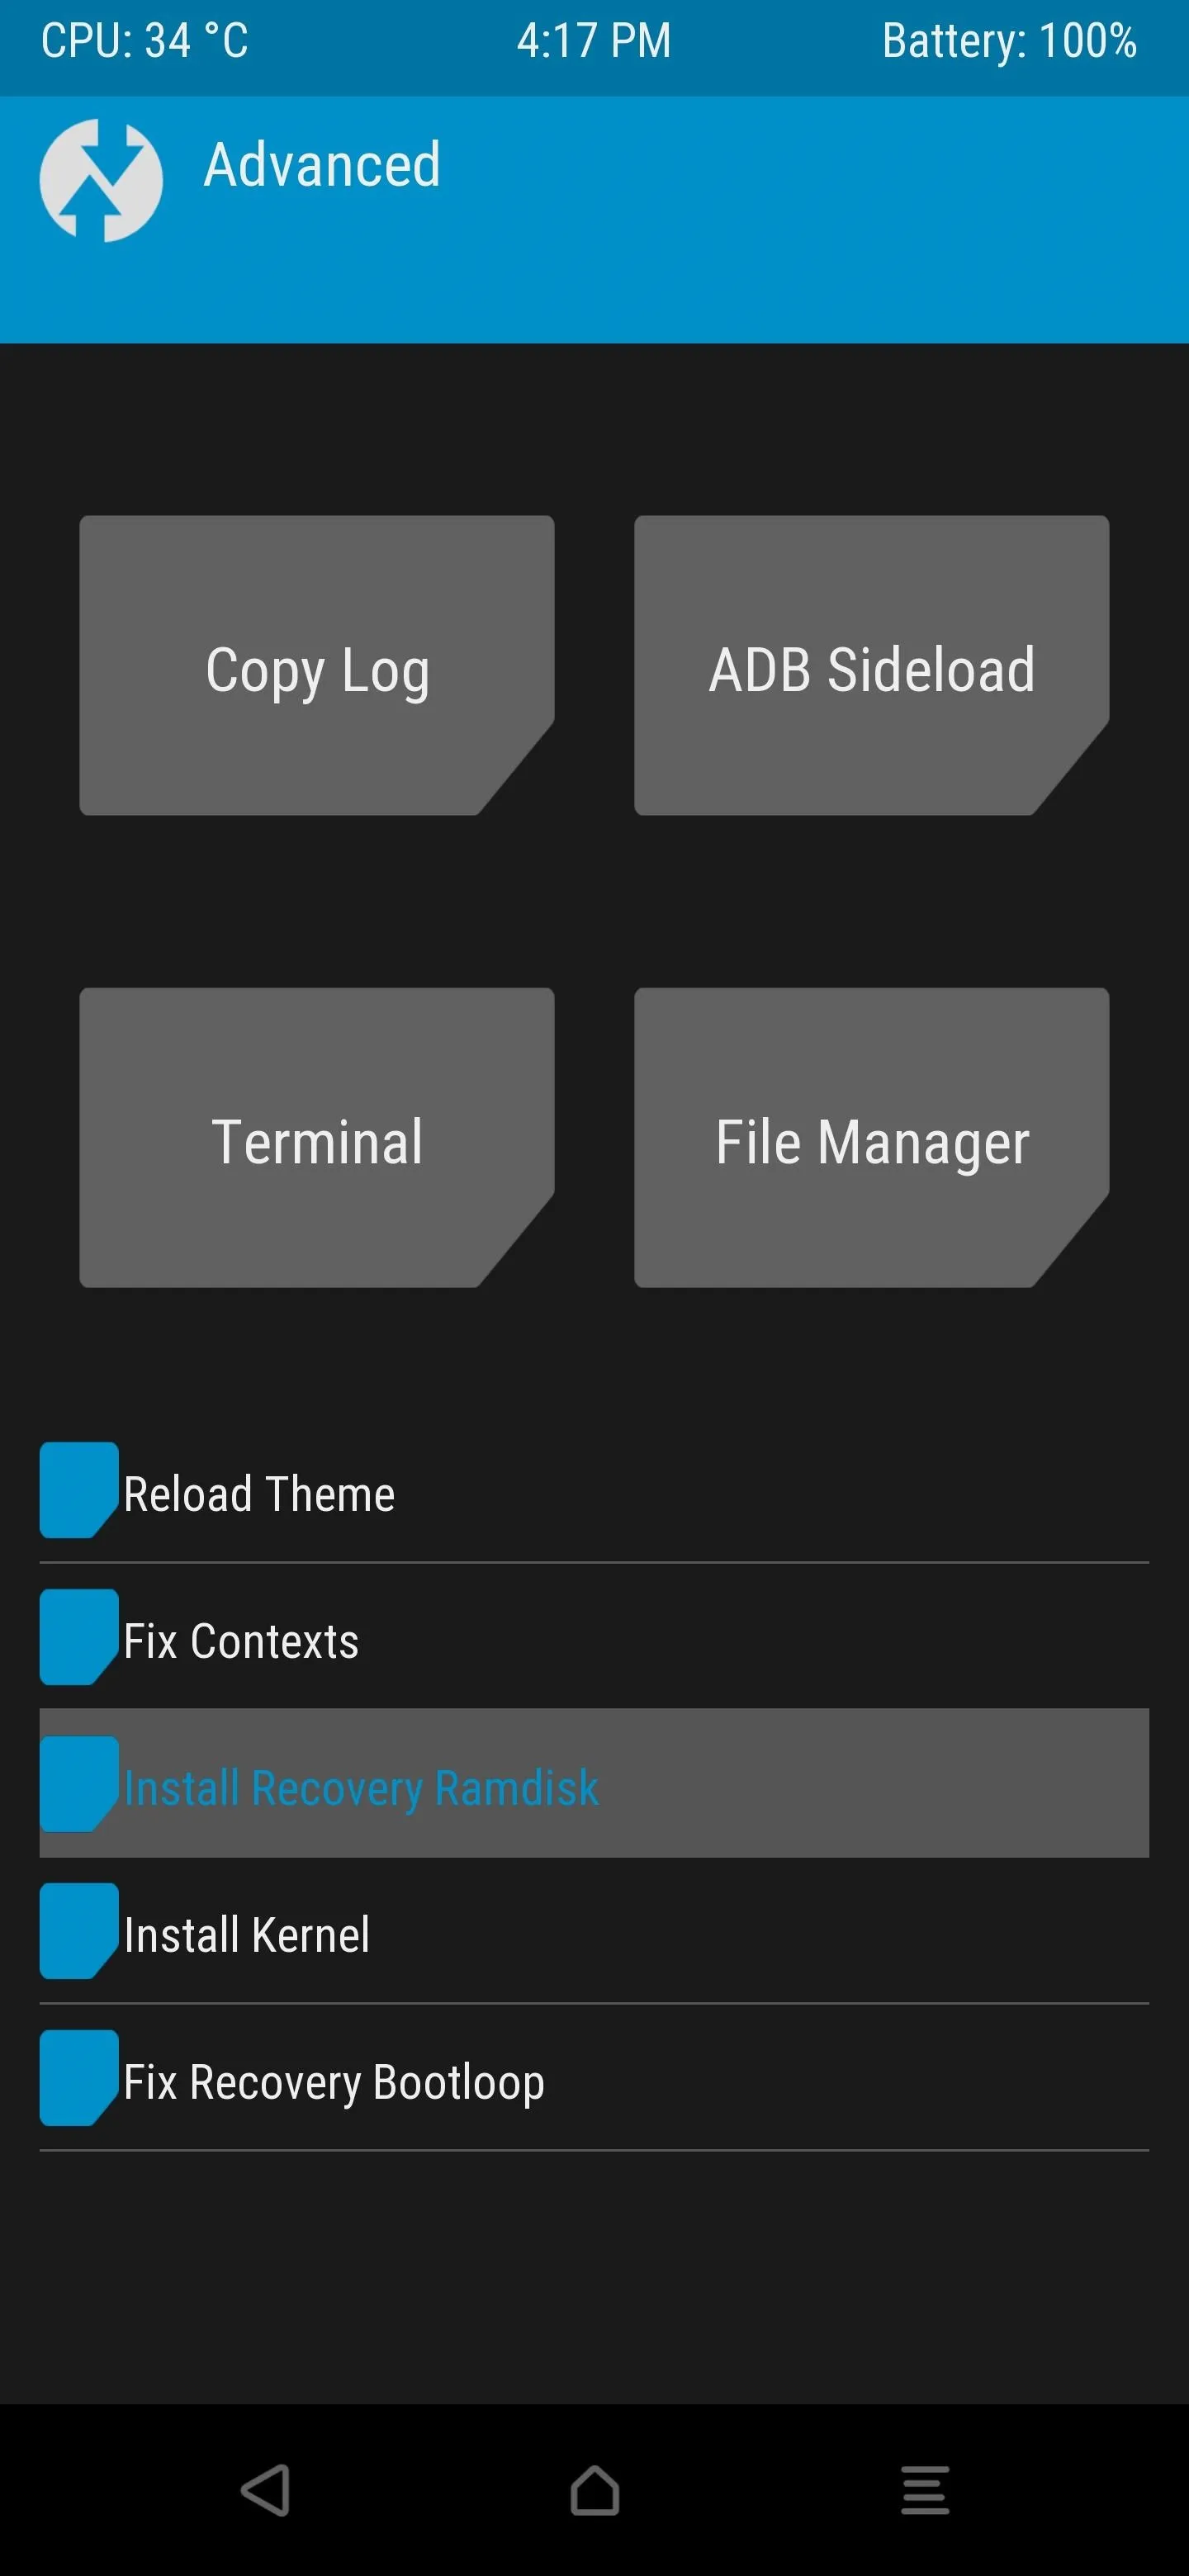
TWRP recently added a new option in the "Advanced" section that's known as "Install Recovery Ramdisk." This allows you to install the TWRP image file directly to your system partition without needing a computer! It also means you won't have to juggle multiple files like mentioned earlier. It doesn't sound like much, but it's very beneficial once you're made aware of the cool new feature.
- Download TWRP for OnePlus 7 Pro: Android 9 (TWRP 3.3.1-79) | Android 10 (TWRP 3.4.0-0)
Download the TWRP image file above that corresponds to your Android version, then rename the file to "twrp" (or "twrp.img" if your computer is set to show file extensions) to make things easier during the install process.
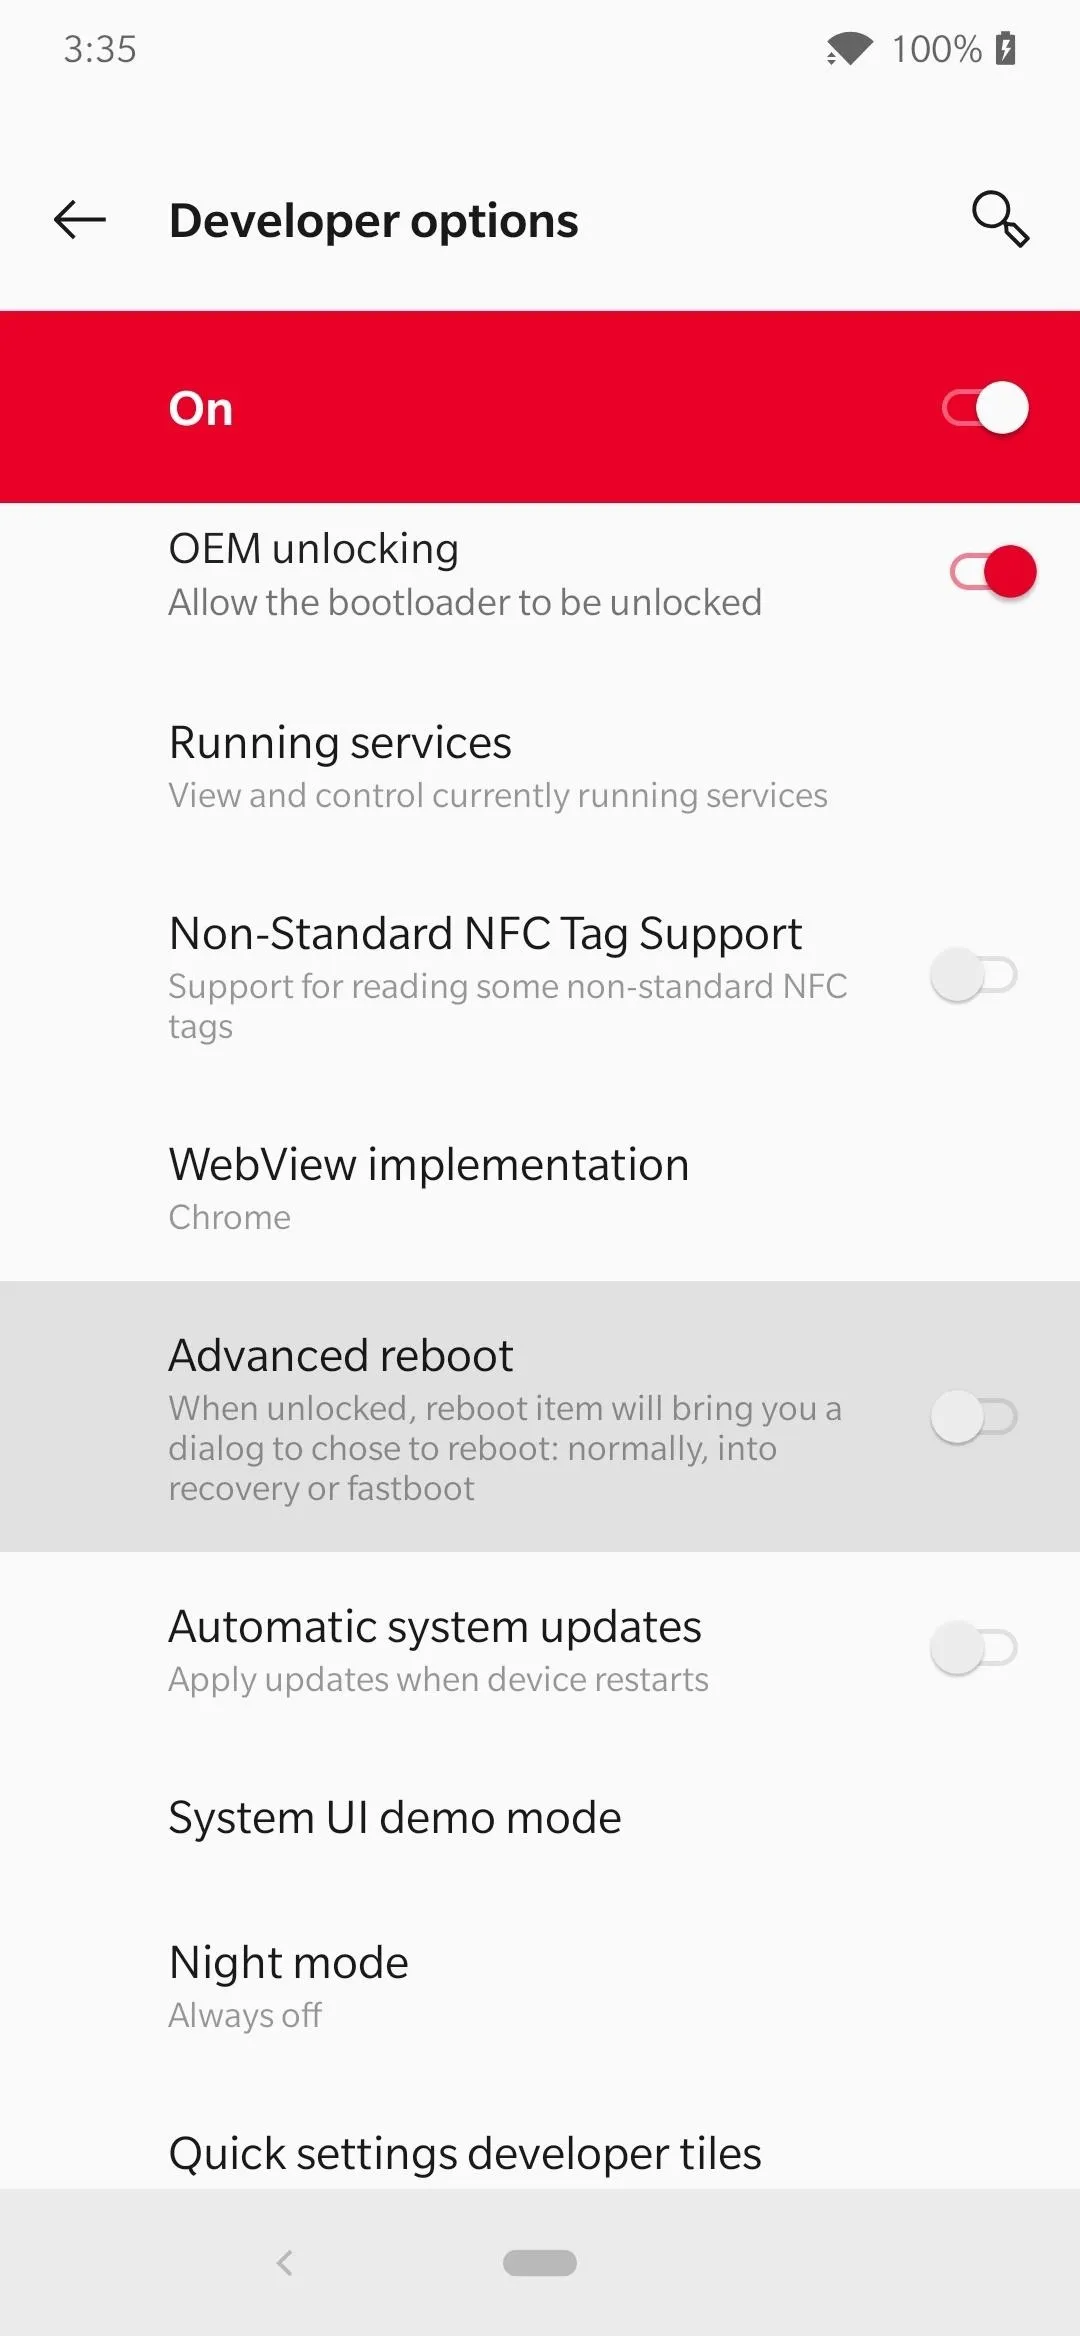
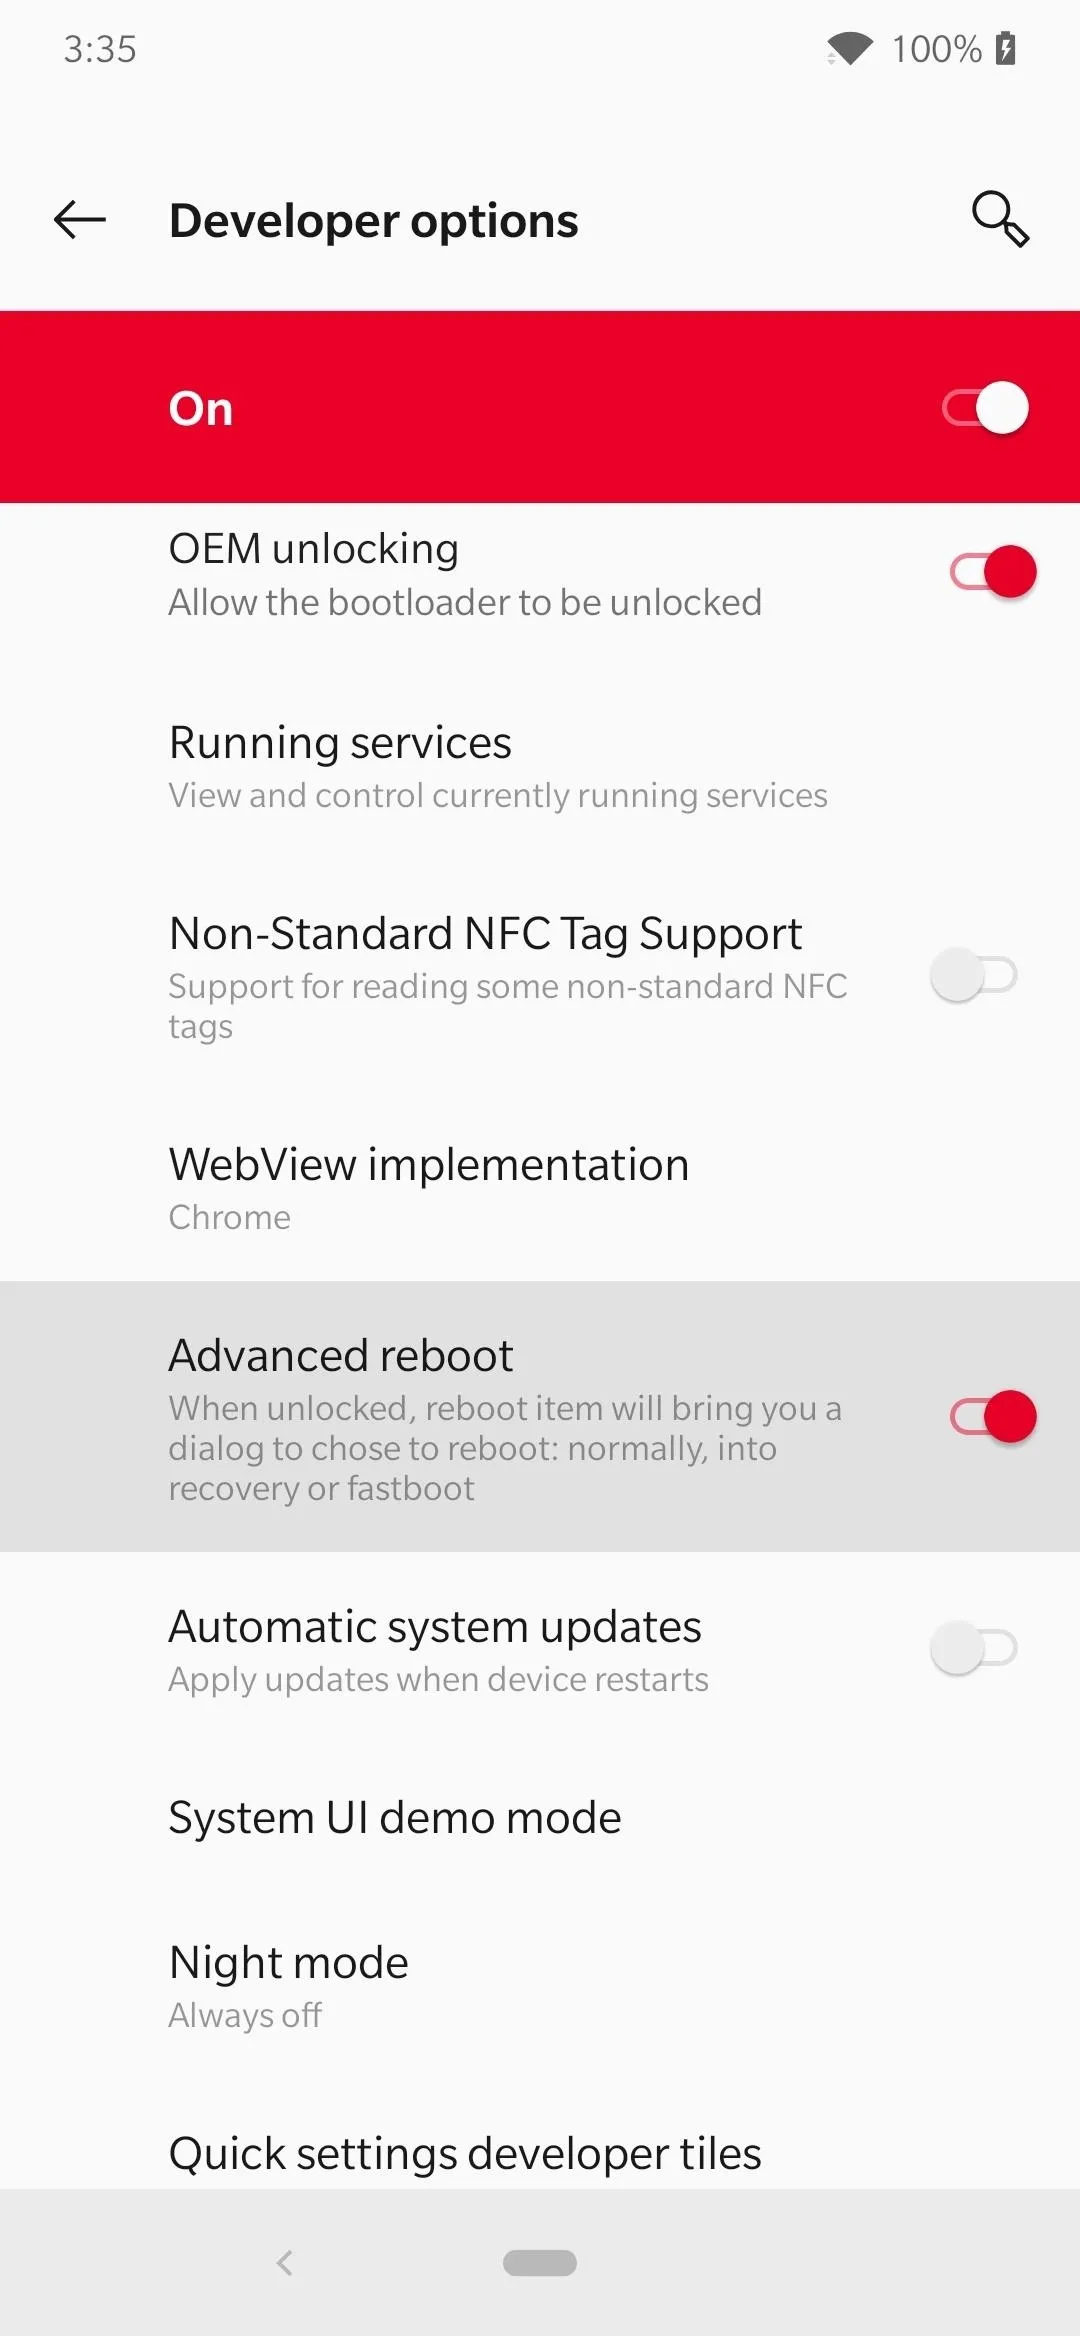
Enable Advanced Reboot
The fastest and easiest way to get to Fastboot Mode on the OnePlus phones is to enable the Advanced reboot setting from the developer options. Using this feature means you won't need to deal with button combinations or have to send a command from your computer to your phone. It's an effortless but beneficial little feature to have in your arsenal at all times.
Boot into Fastboot Mode
Now that you can access the Advanced reboot option, long-press the power button, then tap the "Bootloader" option to reboot your phone into Fastboot Mode. Leave it sitting on the main menu when it pops up, then connect your phone to your computer with a USB data cable. Once you've got that taken care of, you'll be set to move onto the next step that involves command line things from your computer.

Install ADB & Fastboot on Your Computer
To push the TWRP image file you downloaded from an earlier step onto the system partition of your phone, you'll need the framework that contains the ADB and Fastboot commands. Google offers the SDK Platform-Tools standalone package, which combines everything you need into one nice little folder to help keep things simple.
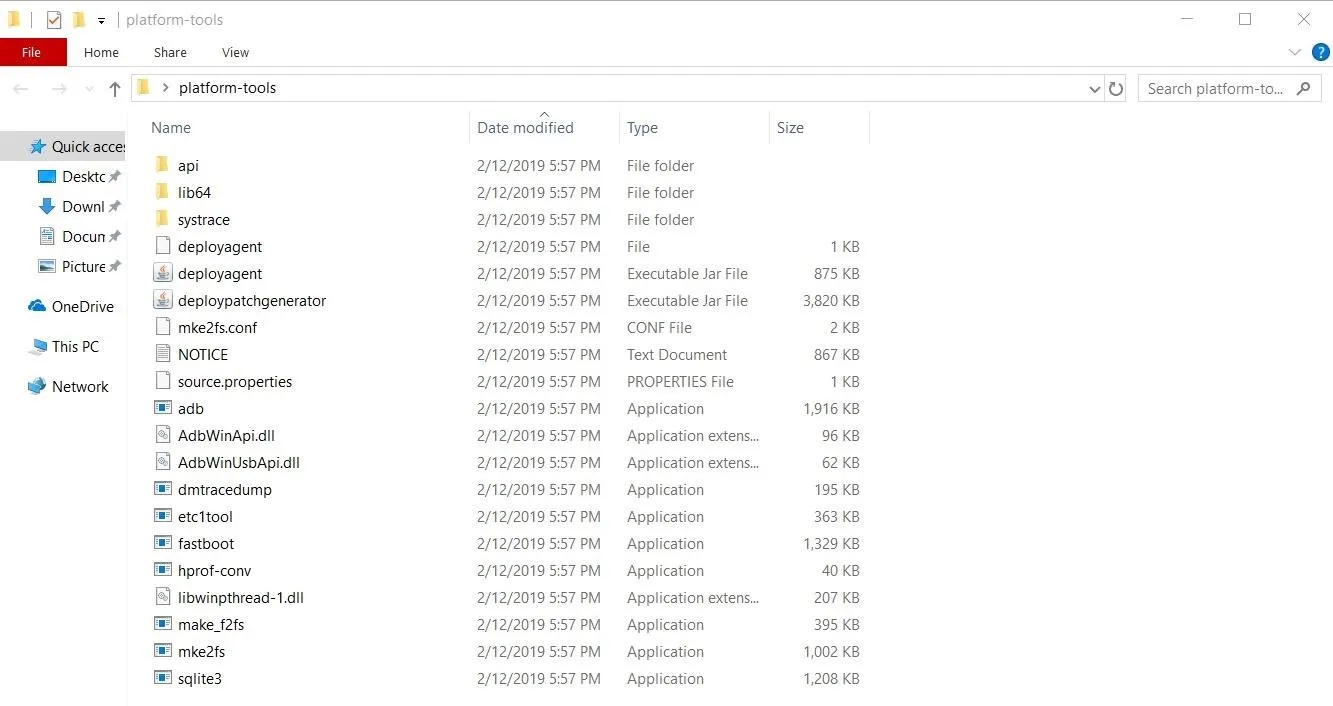
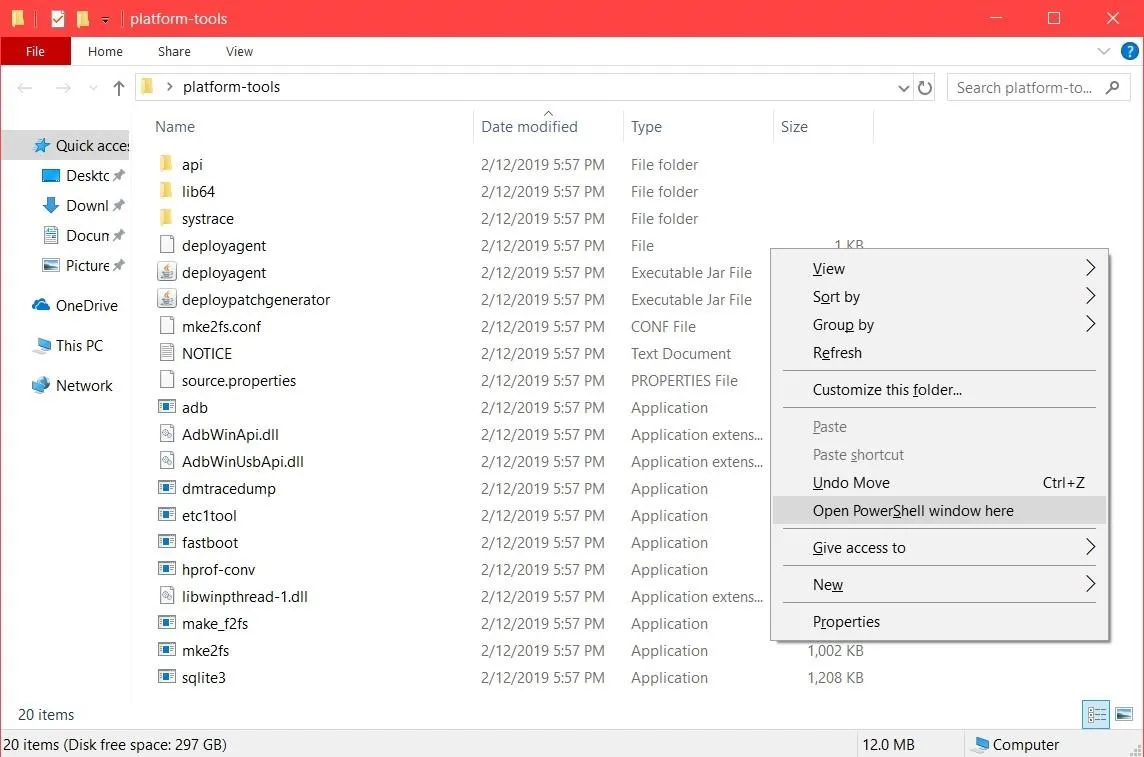
Open a Command Window in Platform-Tools
You'll need to make sure you open a command window in the platform-tools folder (from your ADB install) to be able to send commands over to your phone. If you don't do this, then there's no way you'll be able to install TWRP onto your the system partition of your phone without the proper command. Check out the guide below to get that all squared away before continuing with the next step.
Temporarily Boot into TWRP
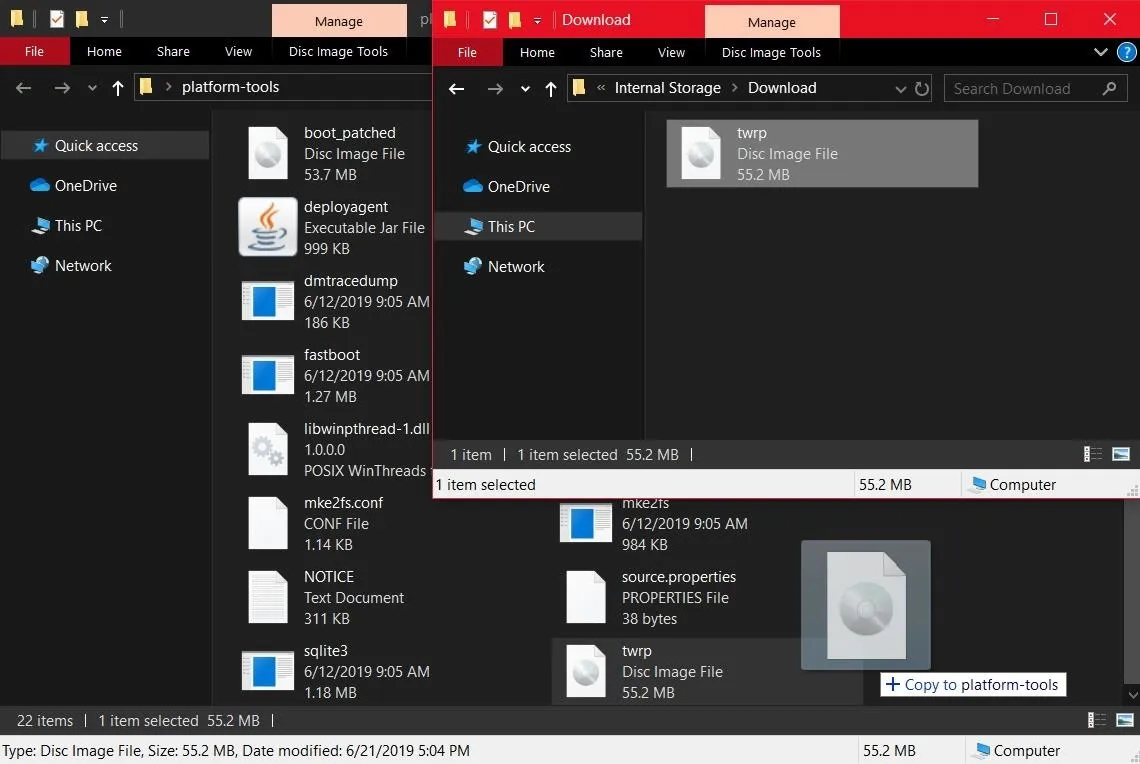
Now, you need to take the TWRP image file (twrp.img) you downloaded earlier and transfer it to the platform-tools folder on your computer. You also need to copy that same image file to the "Download" folder on your phone's internal storage. Once those are transferred to the correct locations, you then get to run a code that will temporarily boot you into TWRP.
With a command window opened up within the platform-tools folder, type the following command, then press enter.
fastboot boot twrp.imgNote: Mac, Linux, and Windows PowerShell users will likely have to add a period and a slash before entering any ADB or Fastboot commands (e.g., ./fastboot boot twrp.img).
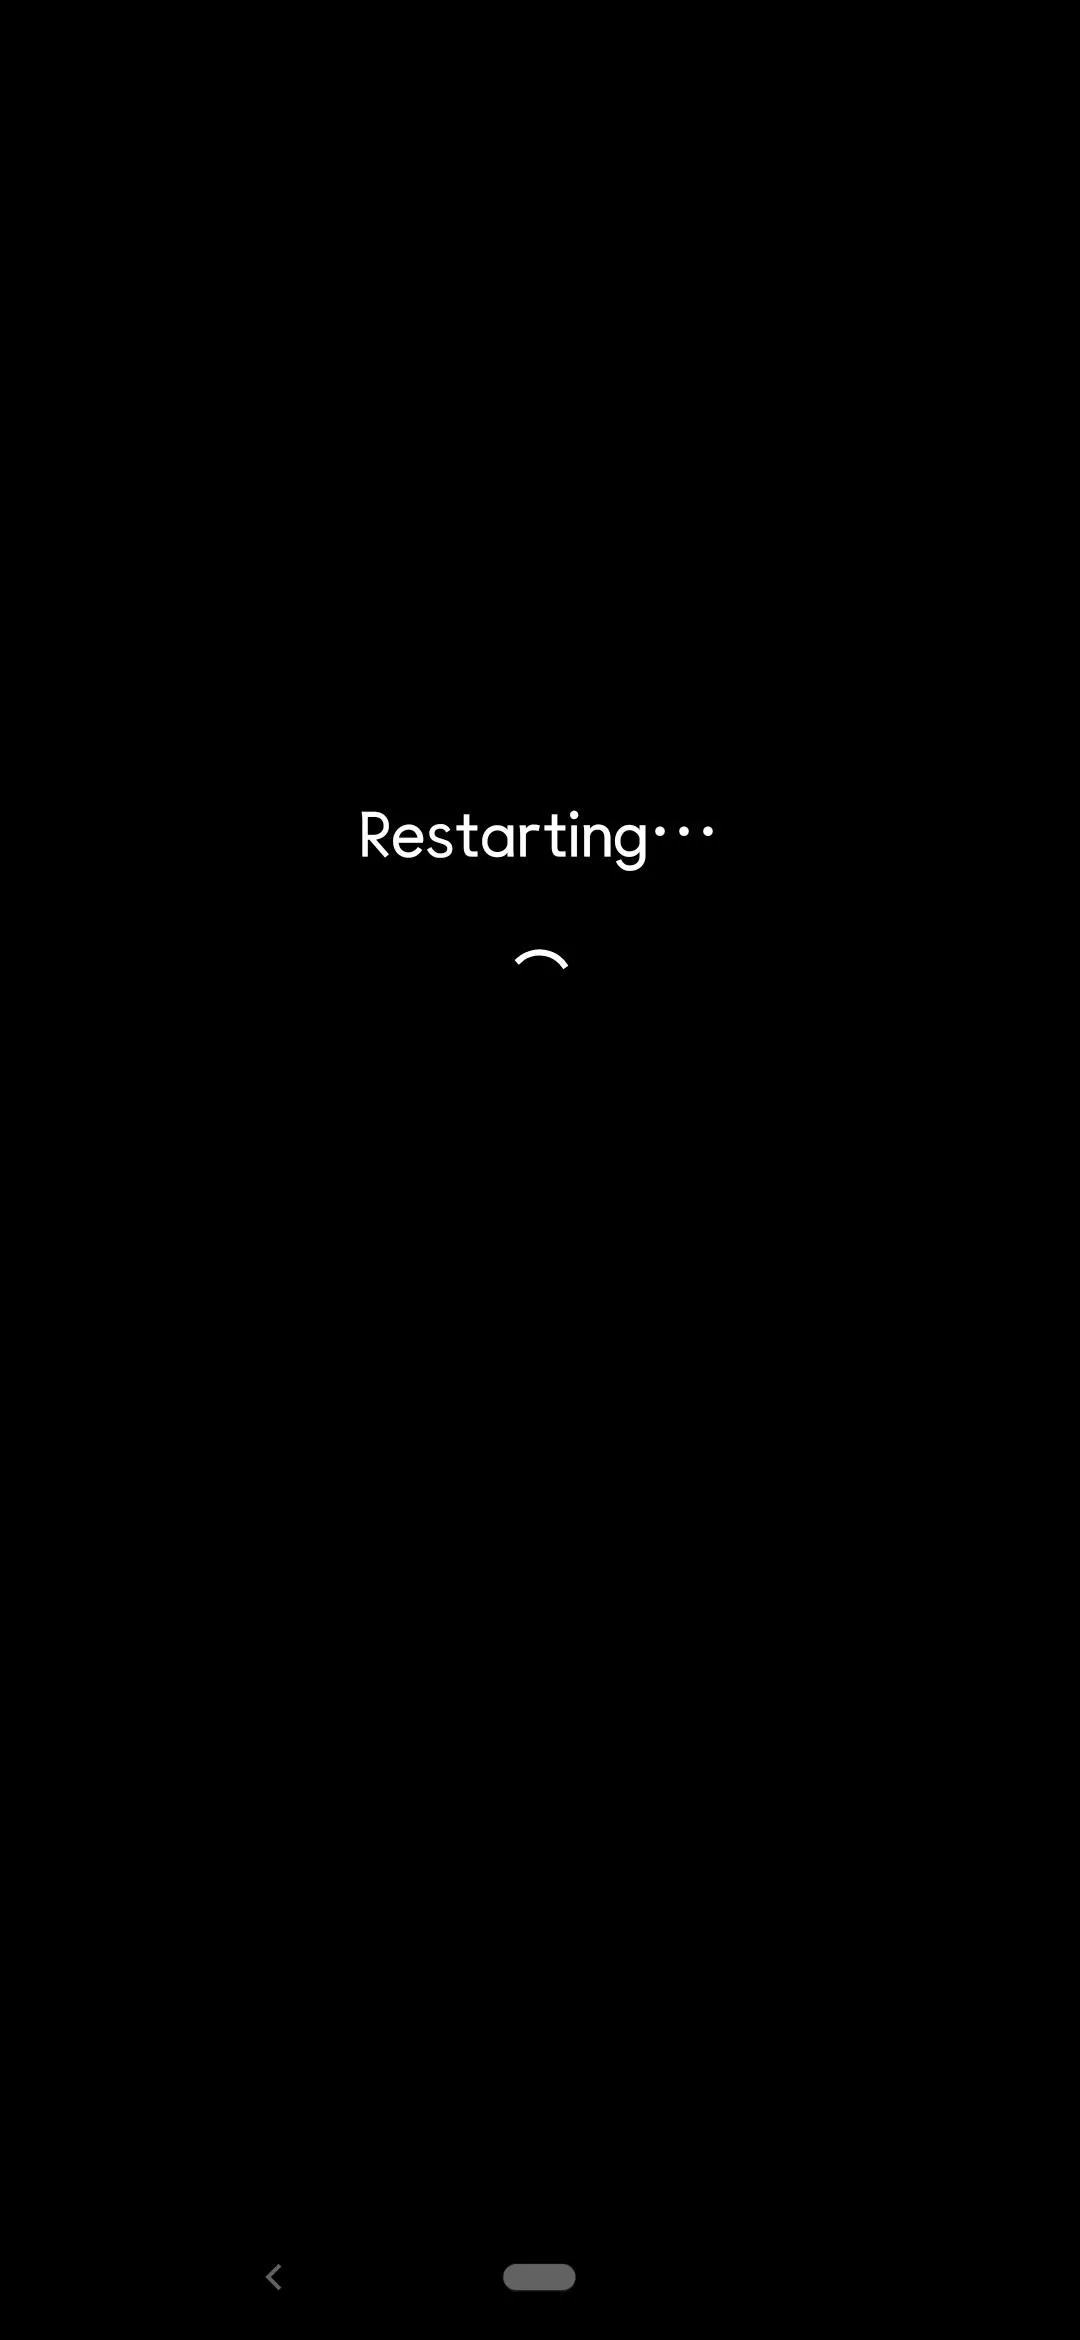
Once you enter the command, your phone should immediately respond and begin temporarily booting into TWRP for the first time. New devices like the OnePlus 7 Pro use the more current A/B system partition format, which is why you have to temporarily boot into TWRP the first time to install the permanent version from there.
Permanently Flash TWRP
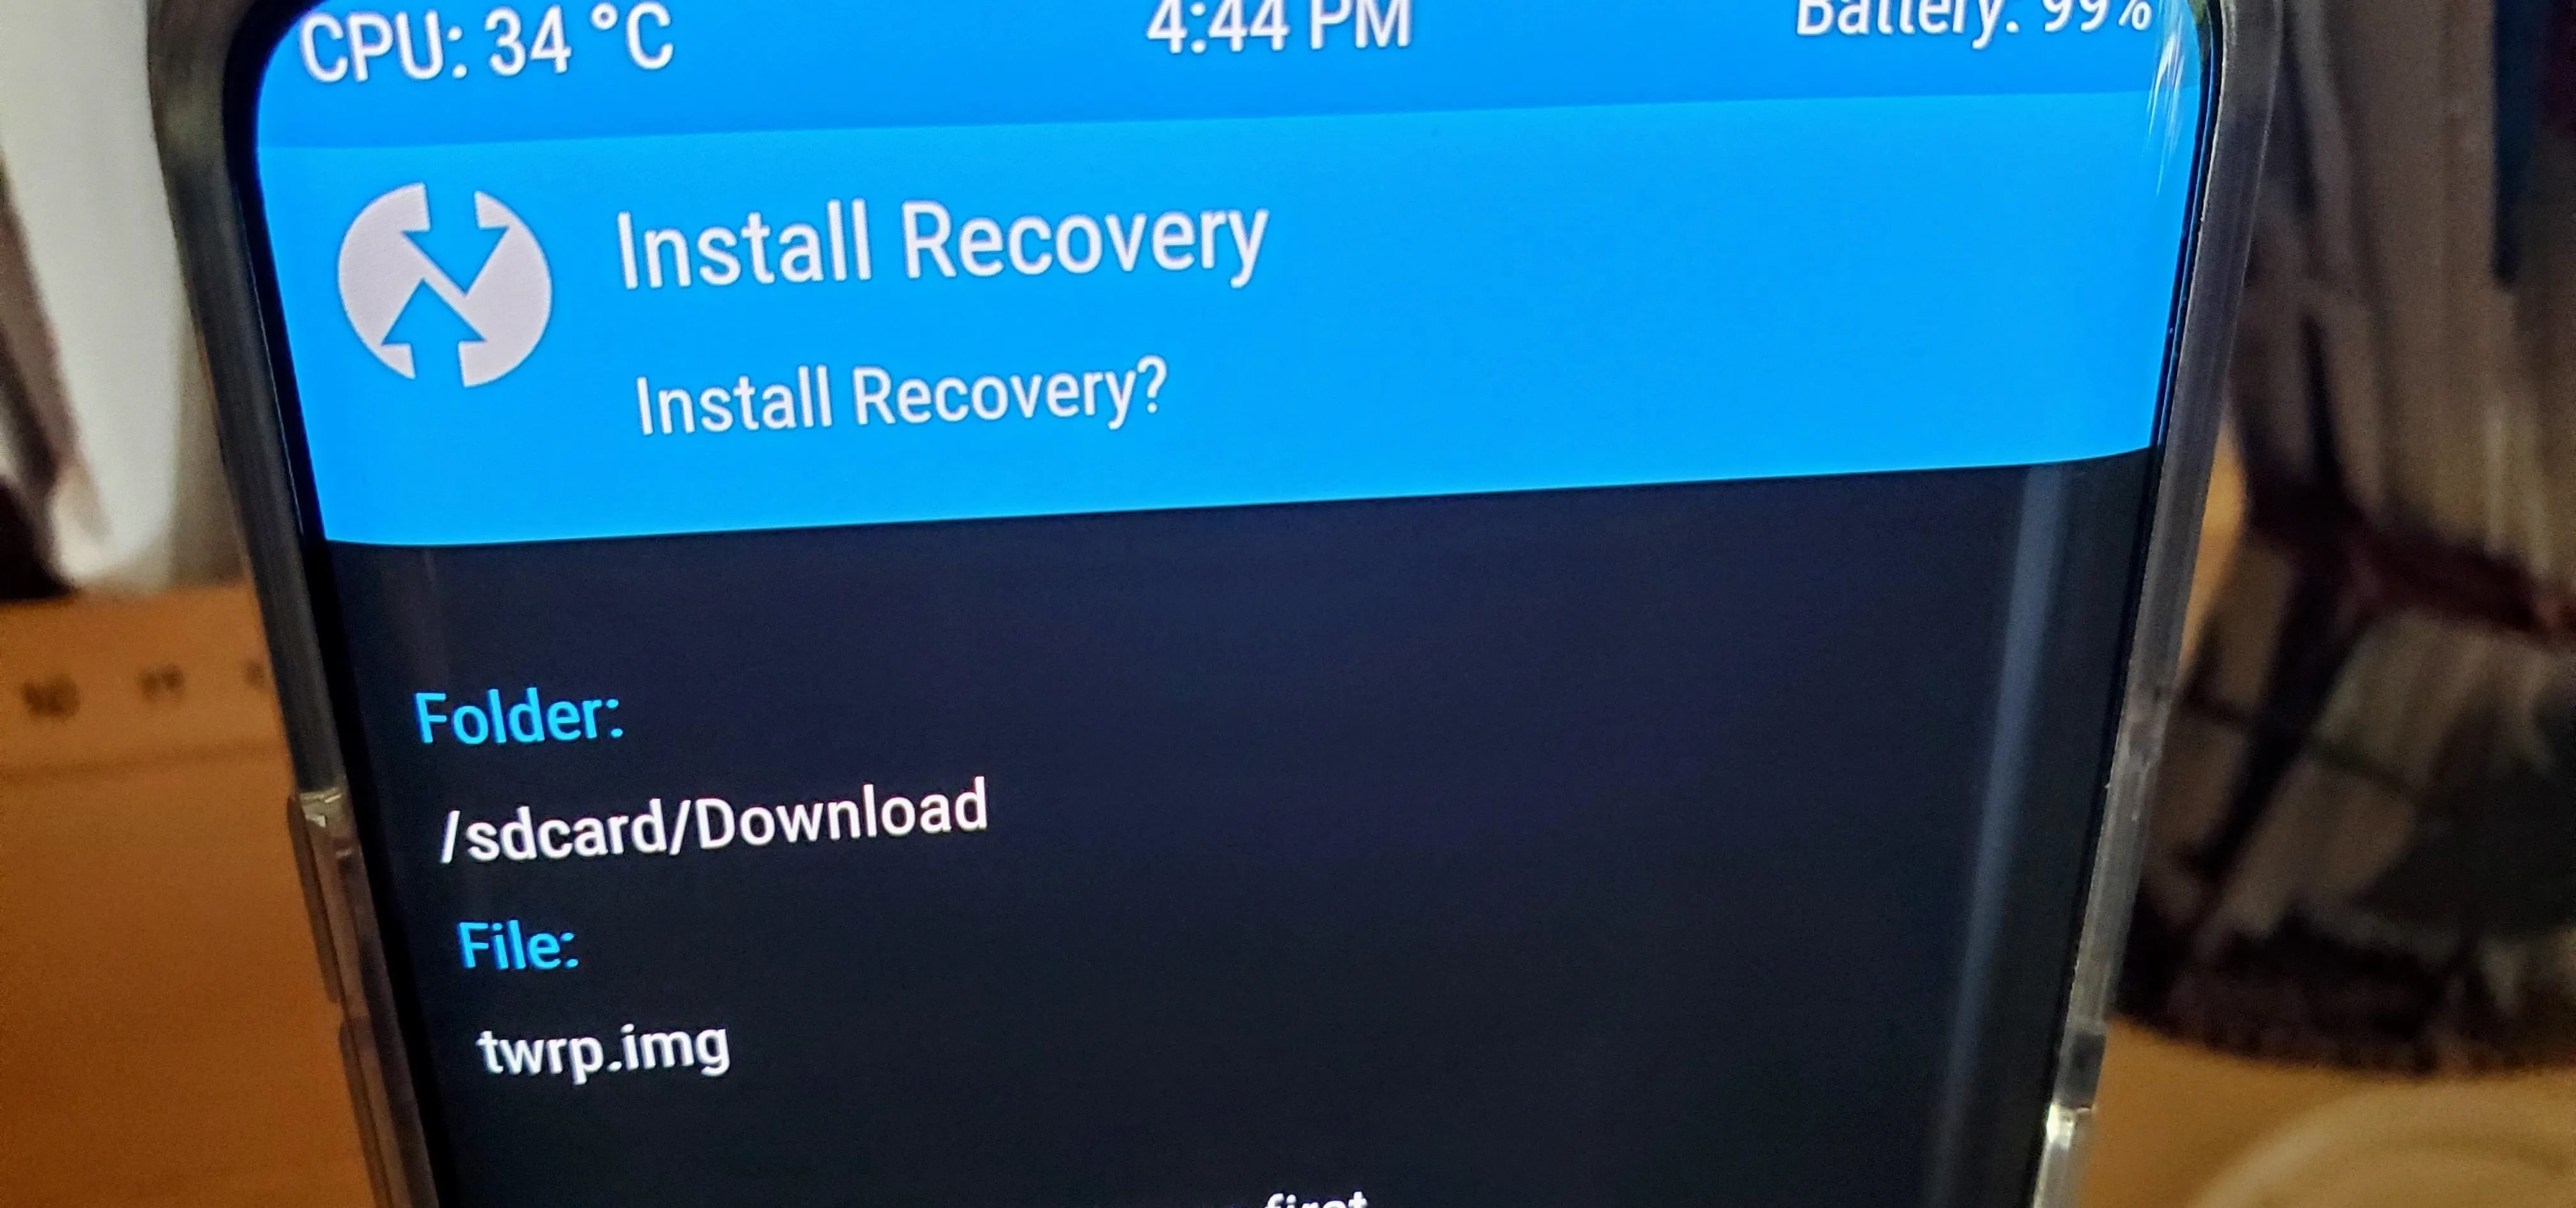
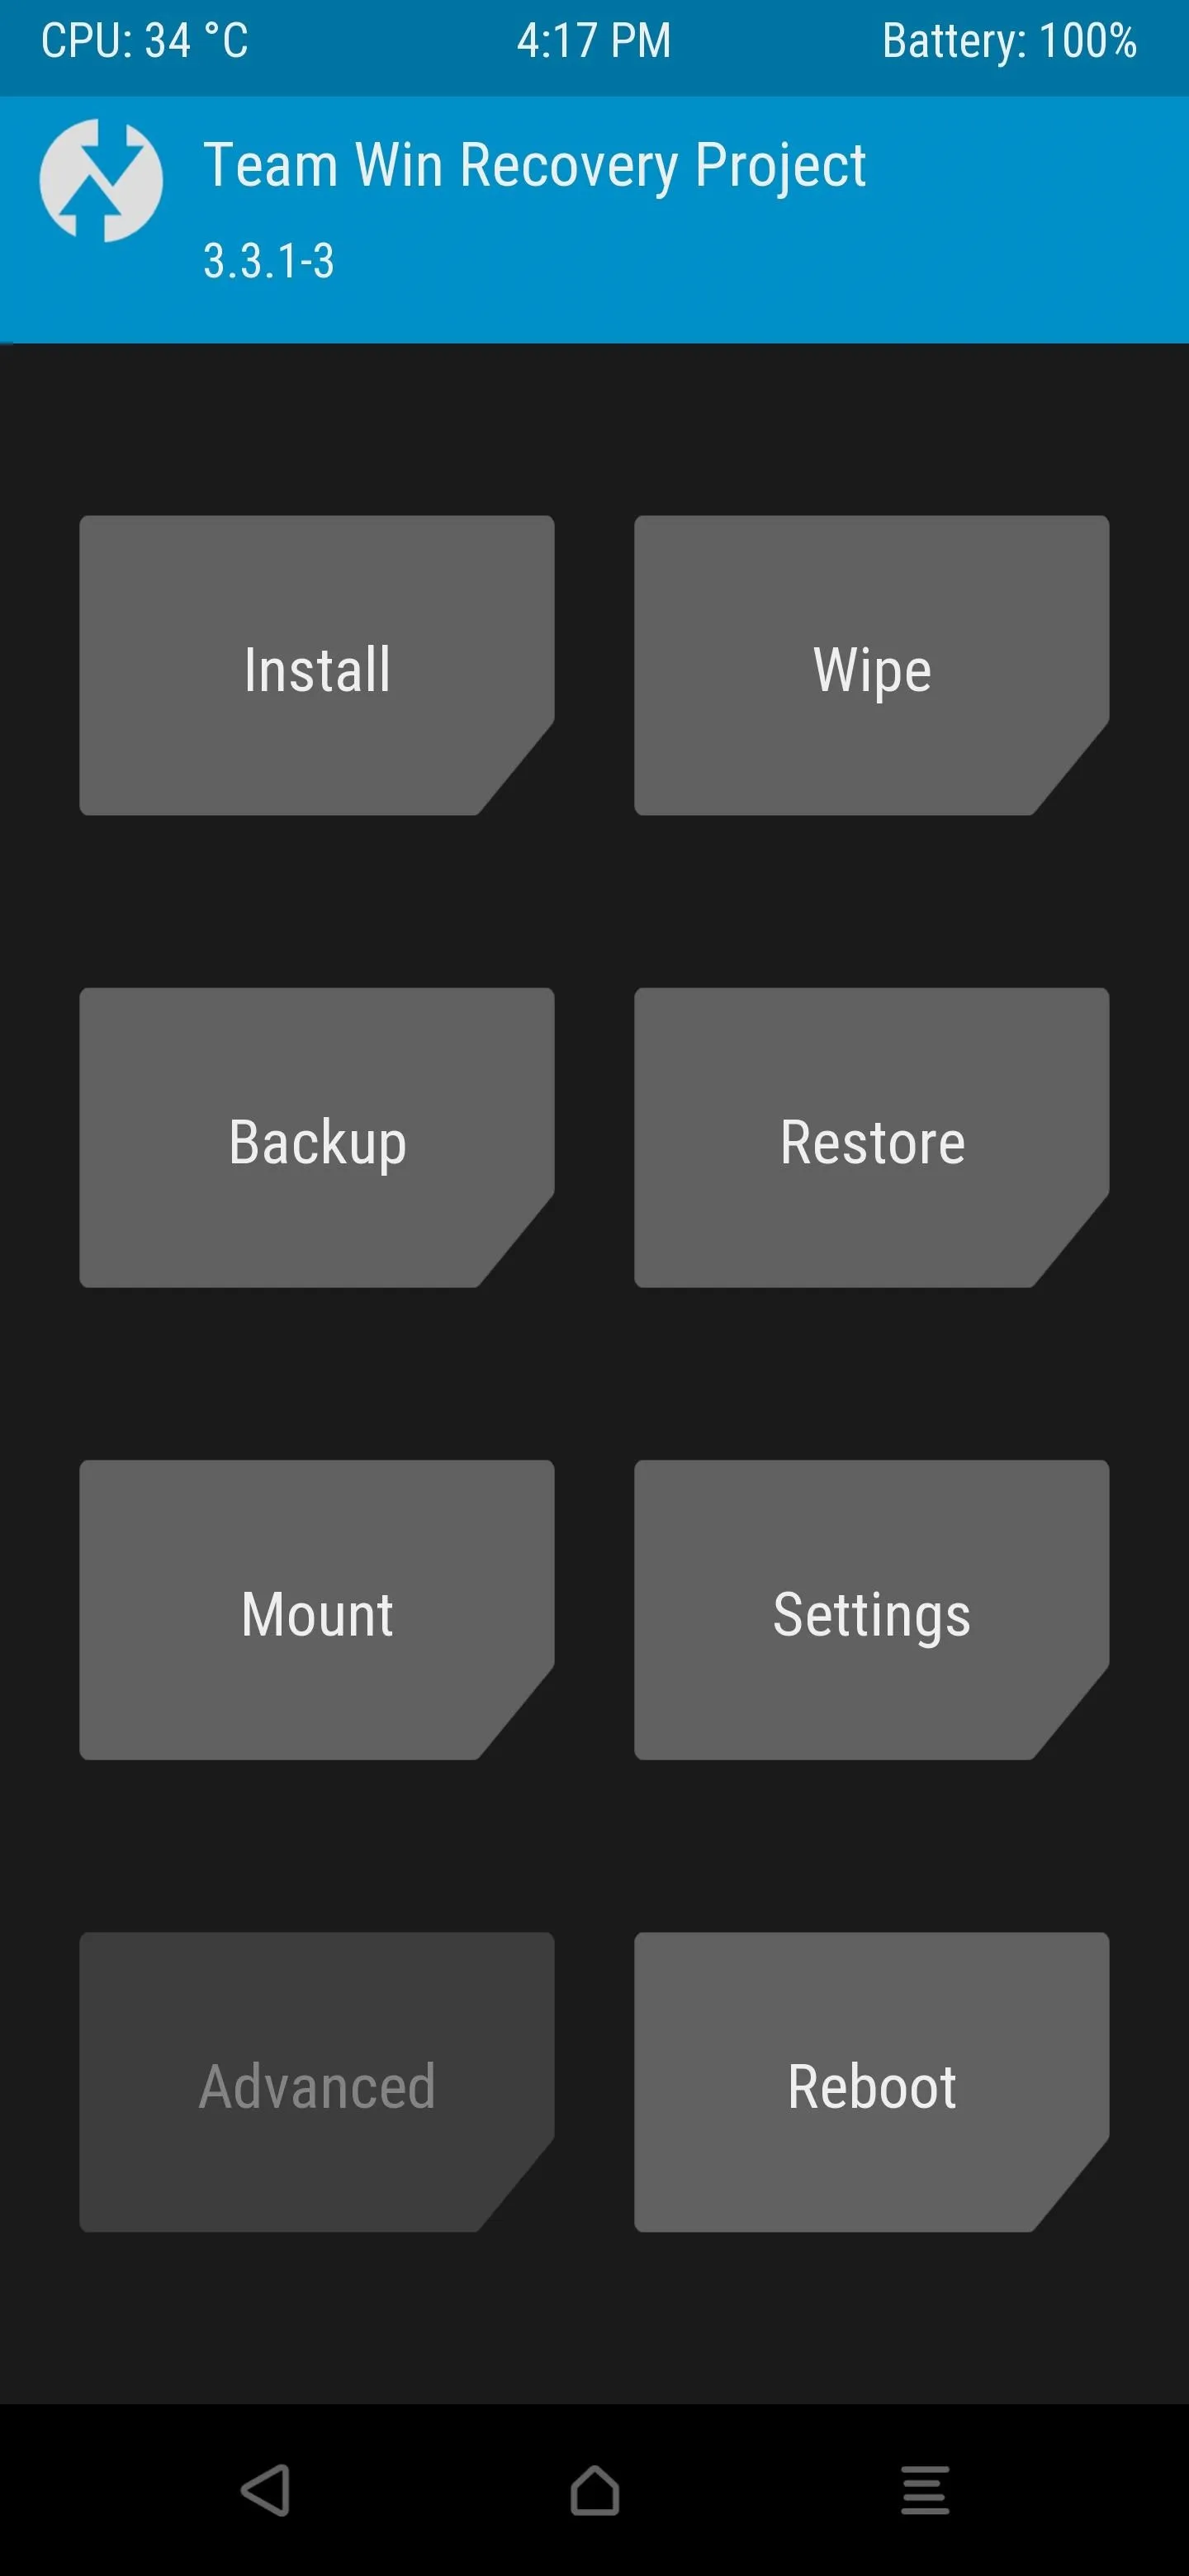
Head back over to the TWRP screen on your phone and swipe the slider that says "Swipe to Allow Modifications" if needed. Now you should be sitting on the TWRP main menu where you can then go into the "Advanced" section. From there, tap the "Install Recovery Ramdisk" option, and finally, navigate to the "Download" folder where you copied the TWRP image file.
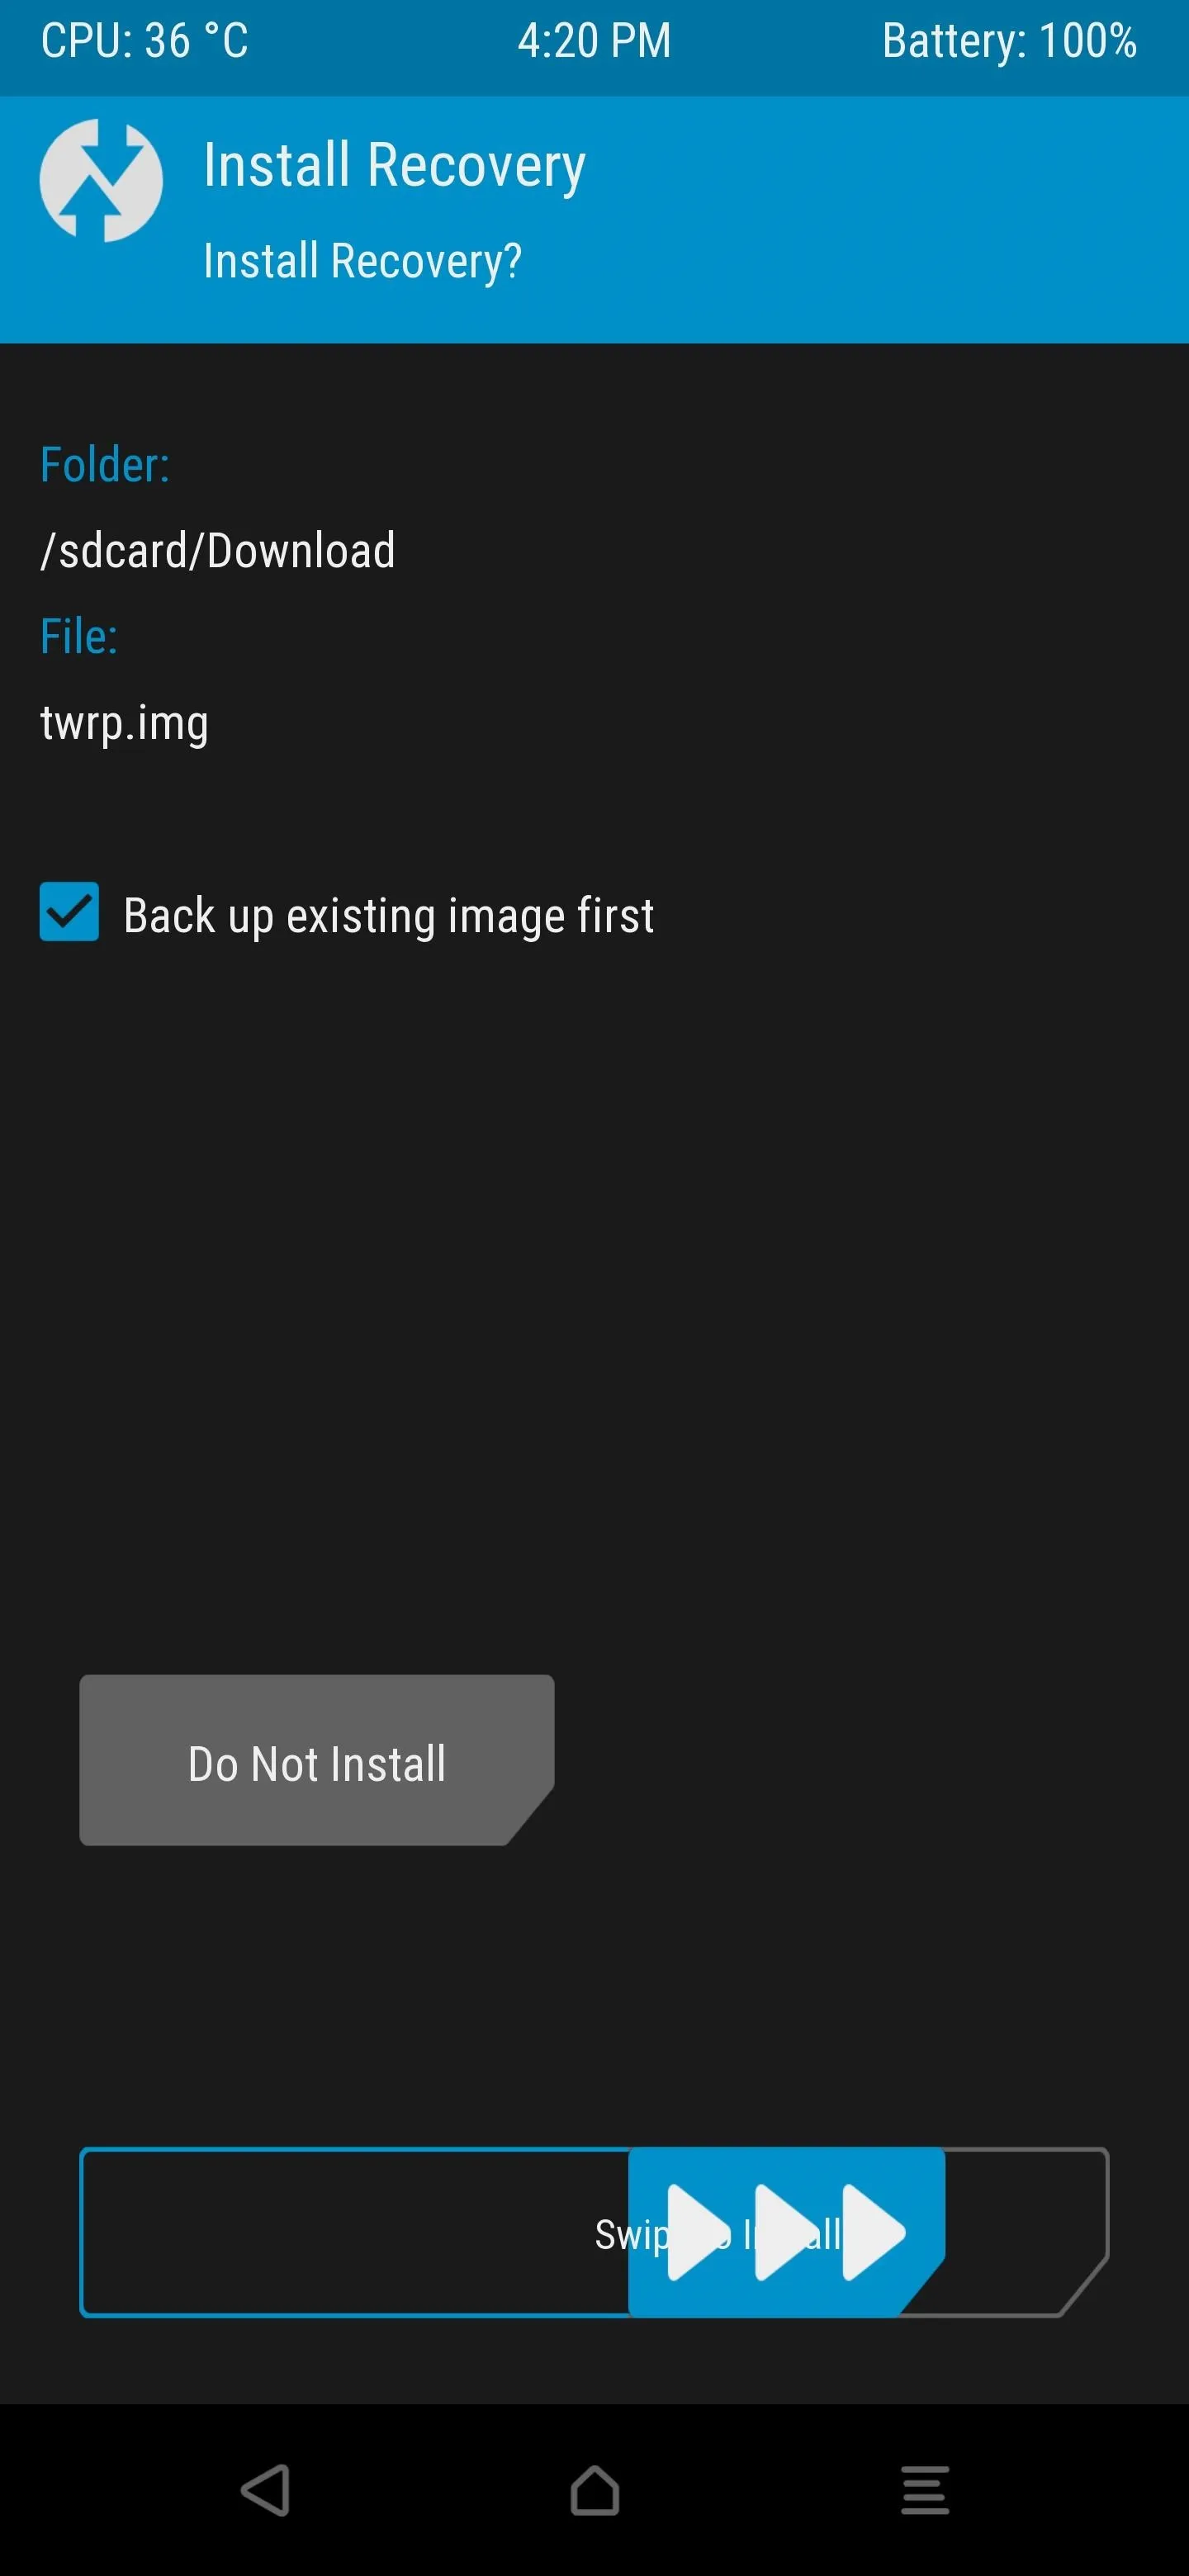
Tap the image file once to bring up the "Install Recovery" main screen and check the "Back up existing image first" option to backup your current recovery for safekeeping. Now slide the "Swipe to Install" button at the bottom to begin installing the permanent version of TWRP onto your system partition. After it finishes installing, press the home button, go to "Reboot," then "Recovery".
Your phone will now reboot into TWRP once again; however, you'll now be in the permanent version rather than the temporary one. At this point, you can disconnect your phone from the computer and go on your way doing whatever you wish in recovery mode. Now you can install mods and other ZIP files on the fly without a computer, which makes things easier for sure. Happy modding!
Cover image and screenshots by Stephen Perkins/Gadget Hacks


Comments
Be the first, drop a comment!