


Multiple methods can be used to update OnePlus phones, but if you're rooted with TWRP installed, you might want to try this one out for yourself. The update method outlined in this guide works like a charm while maintaining your root status after an OTA update. One of the best parts about it — you don't have to rely on a computer like you did when you rooted the first time around.
This whole process is really quite simple once you know how to approach the situation. You'll have to download the OTA update file manually and install it through the TWRP recovery environment, then promptly re-flash TWRP and Magisk. You'll have to do things in a particular order, but follow along here, and you'll be updated in no time.
Requirements
- OnePlus 7 Pro
- root access
- TWRP installed
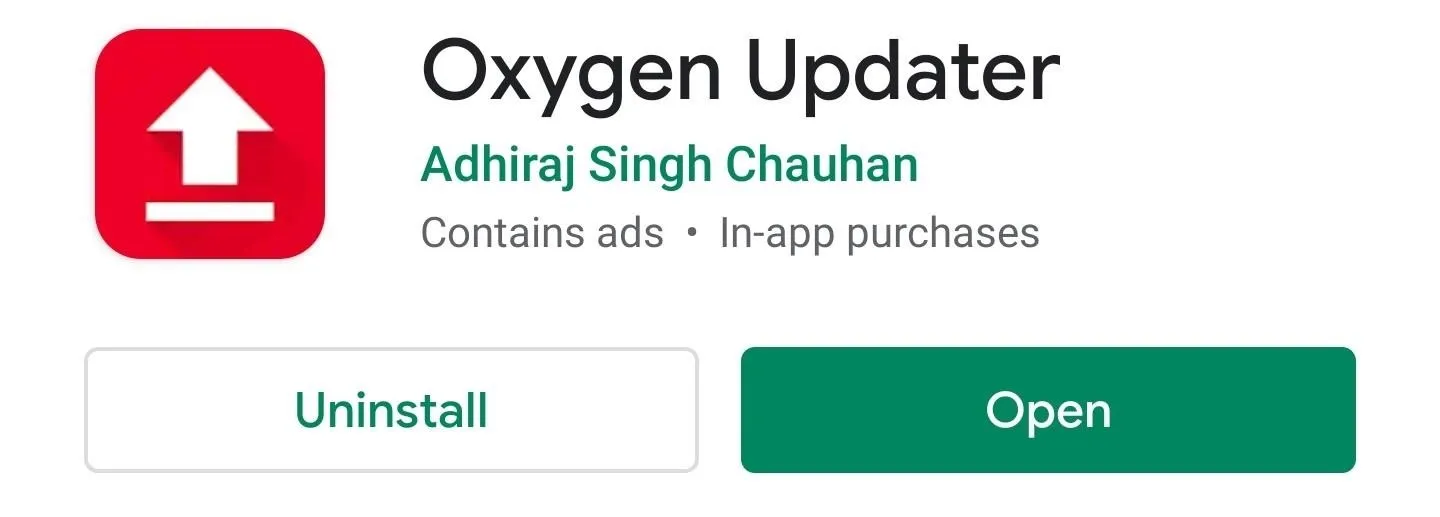
Download the Oxygen Updater App
The easiest way of manually downloading OTA updates on your OnePlus device is to use the Oxygen Updater app from the Play Store. It allows you to download the latest OTA.zip for your device without having to search online, and it usually even has the firmware files before they're uploaded to the OnePlus downloads site.
- Play Store Link: Oxygen Updater (free)
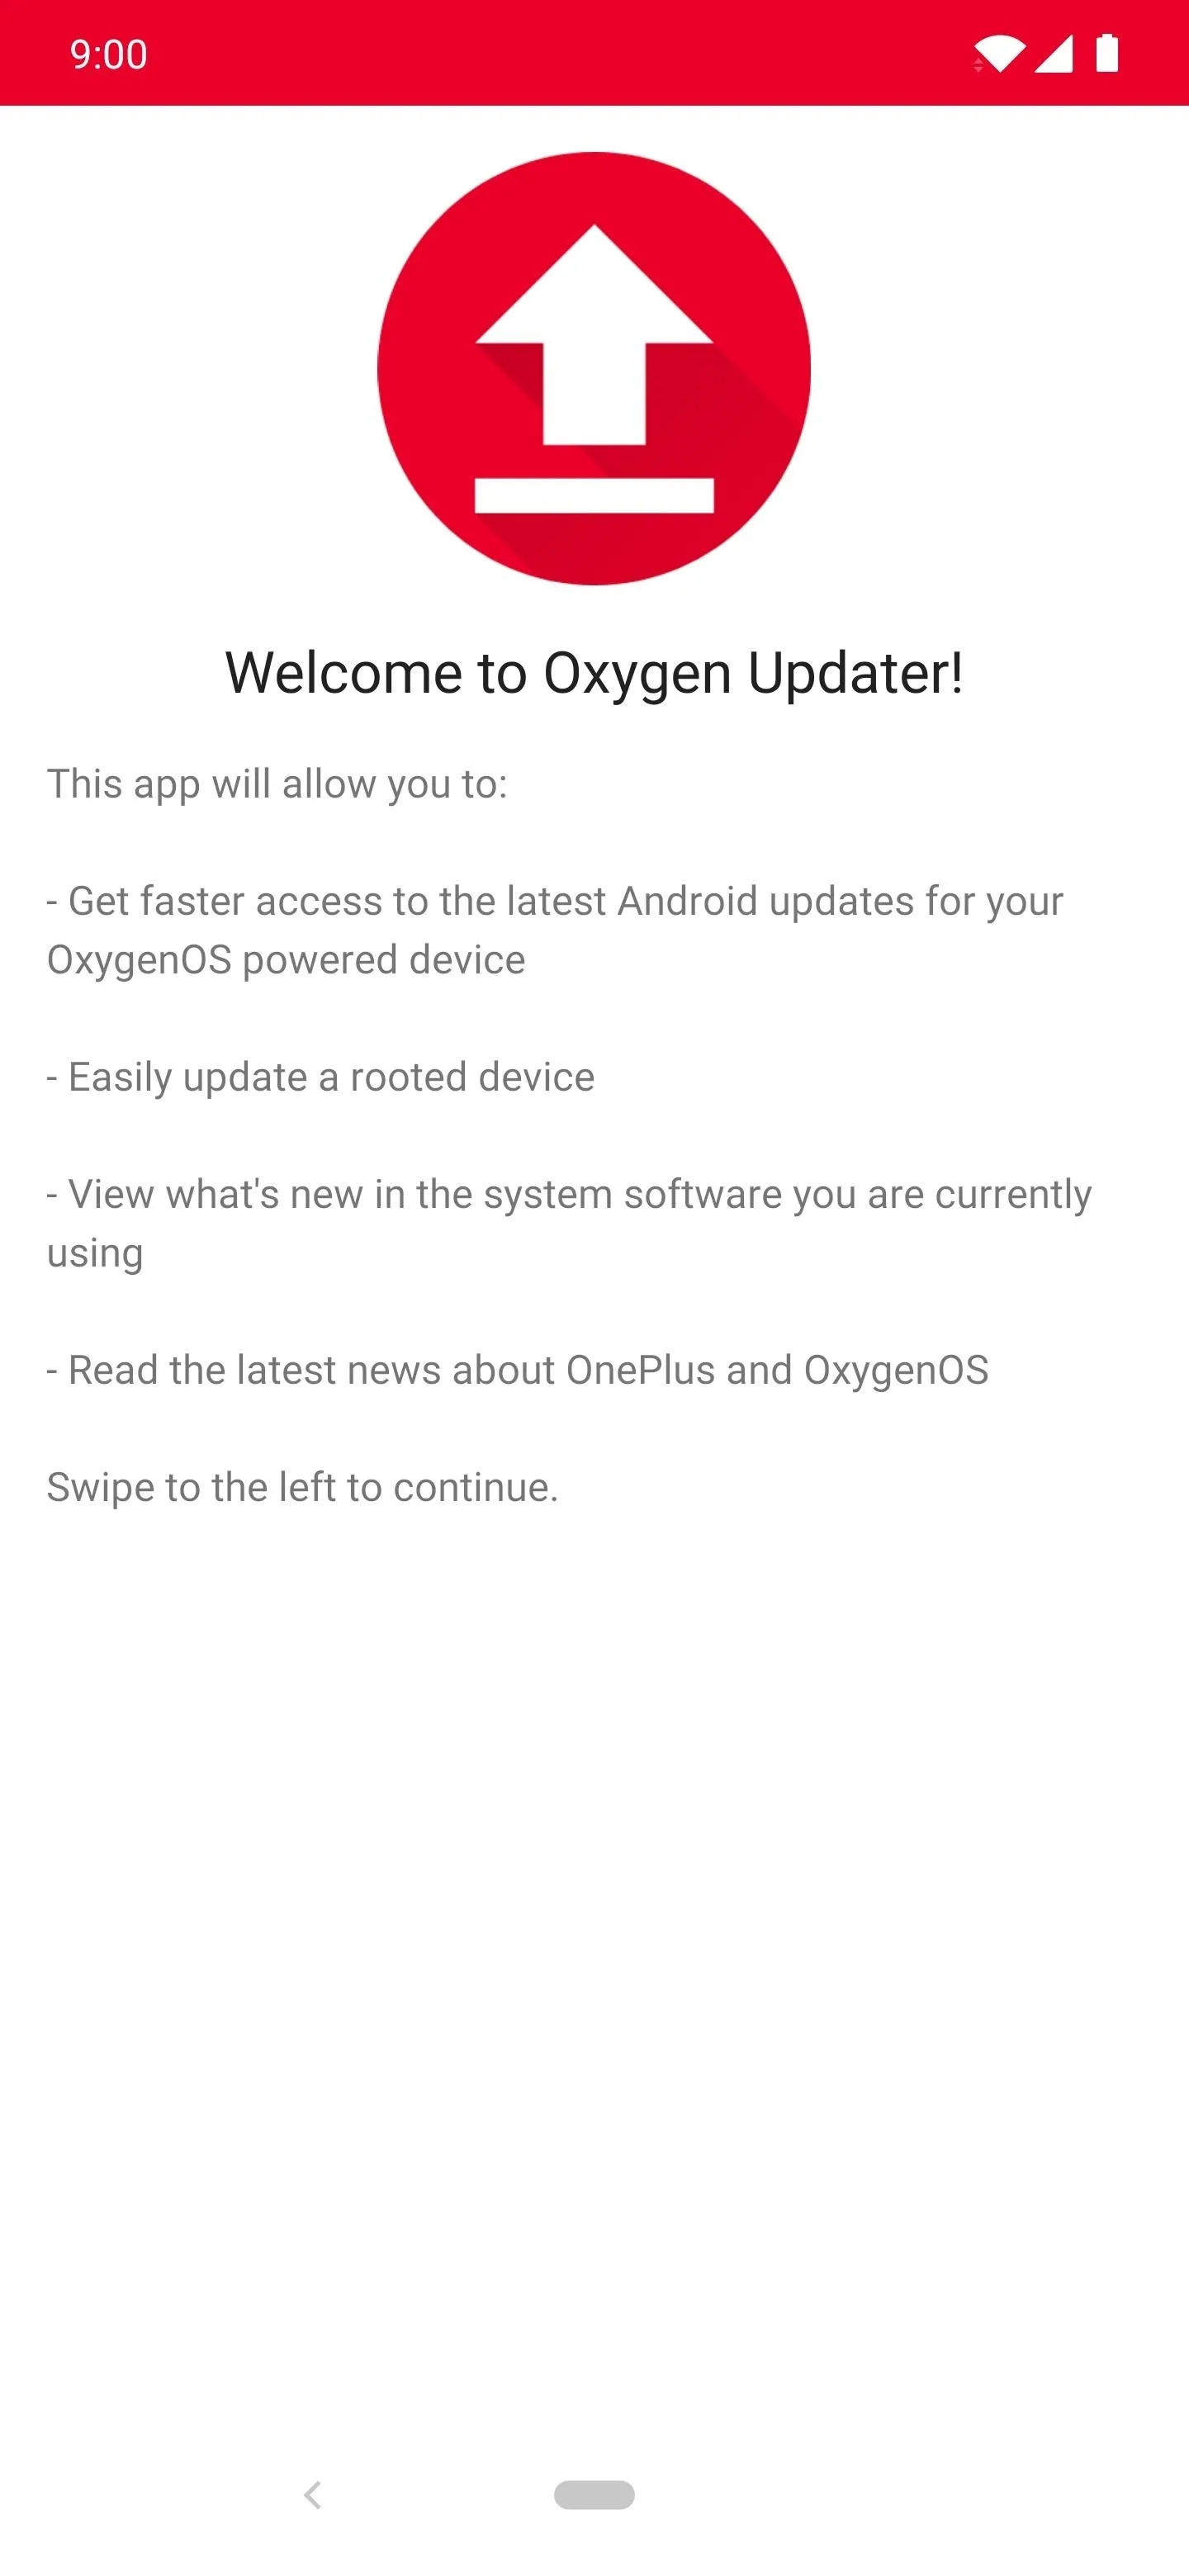
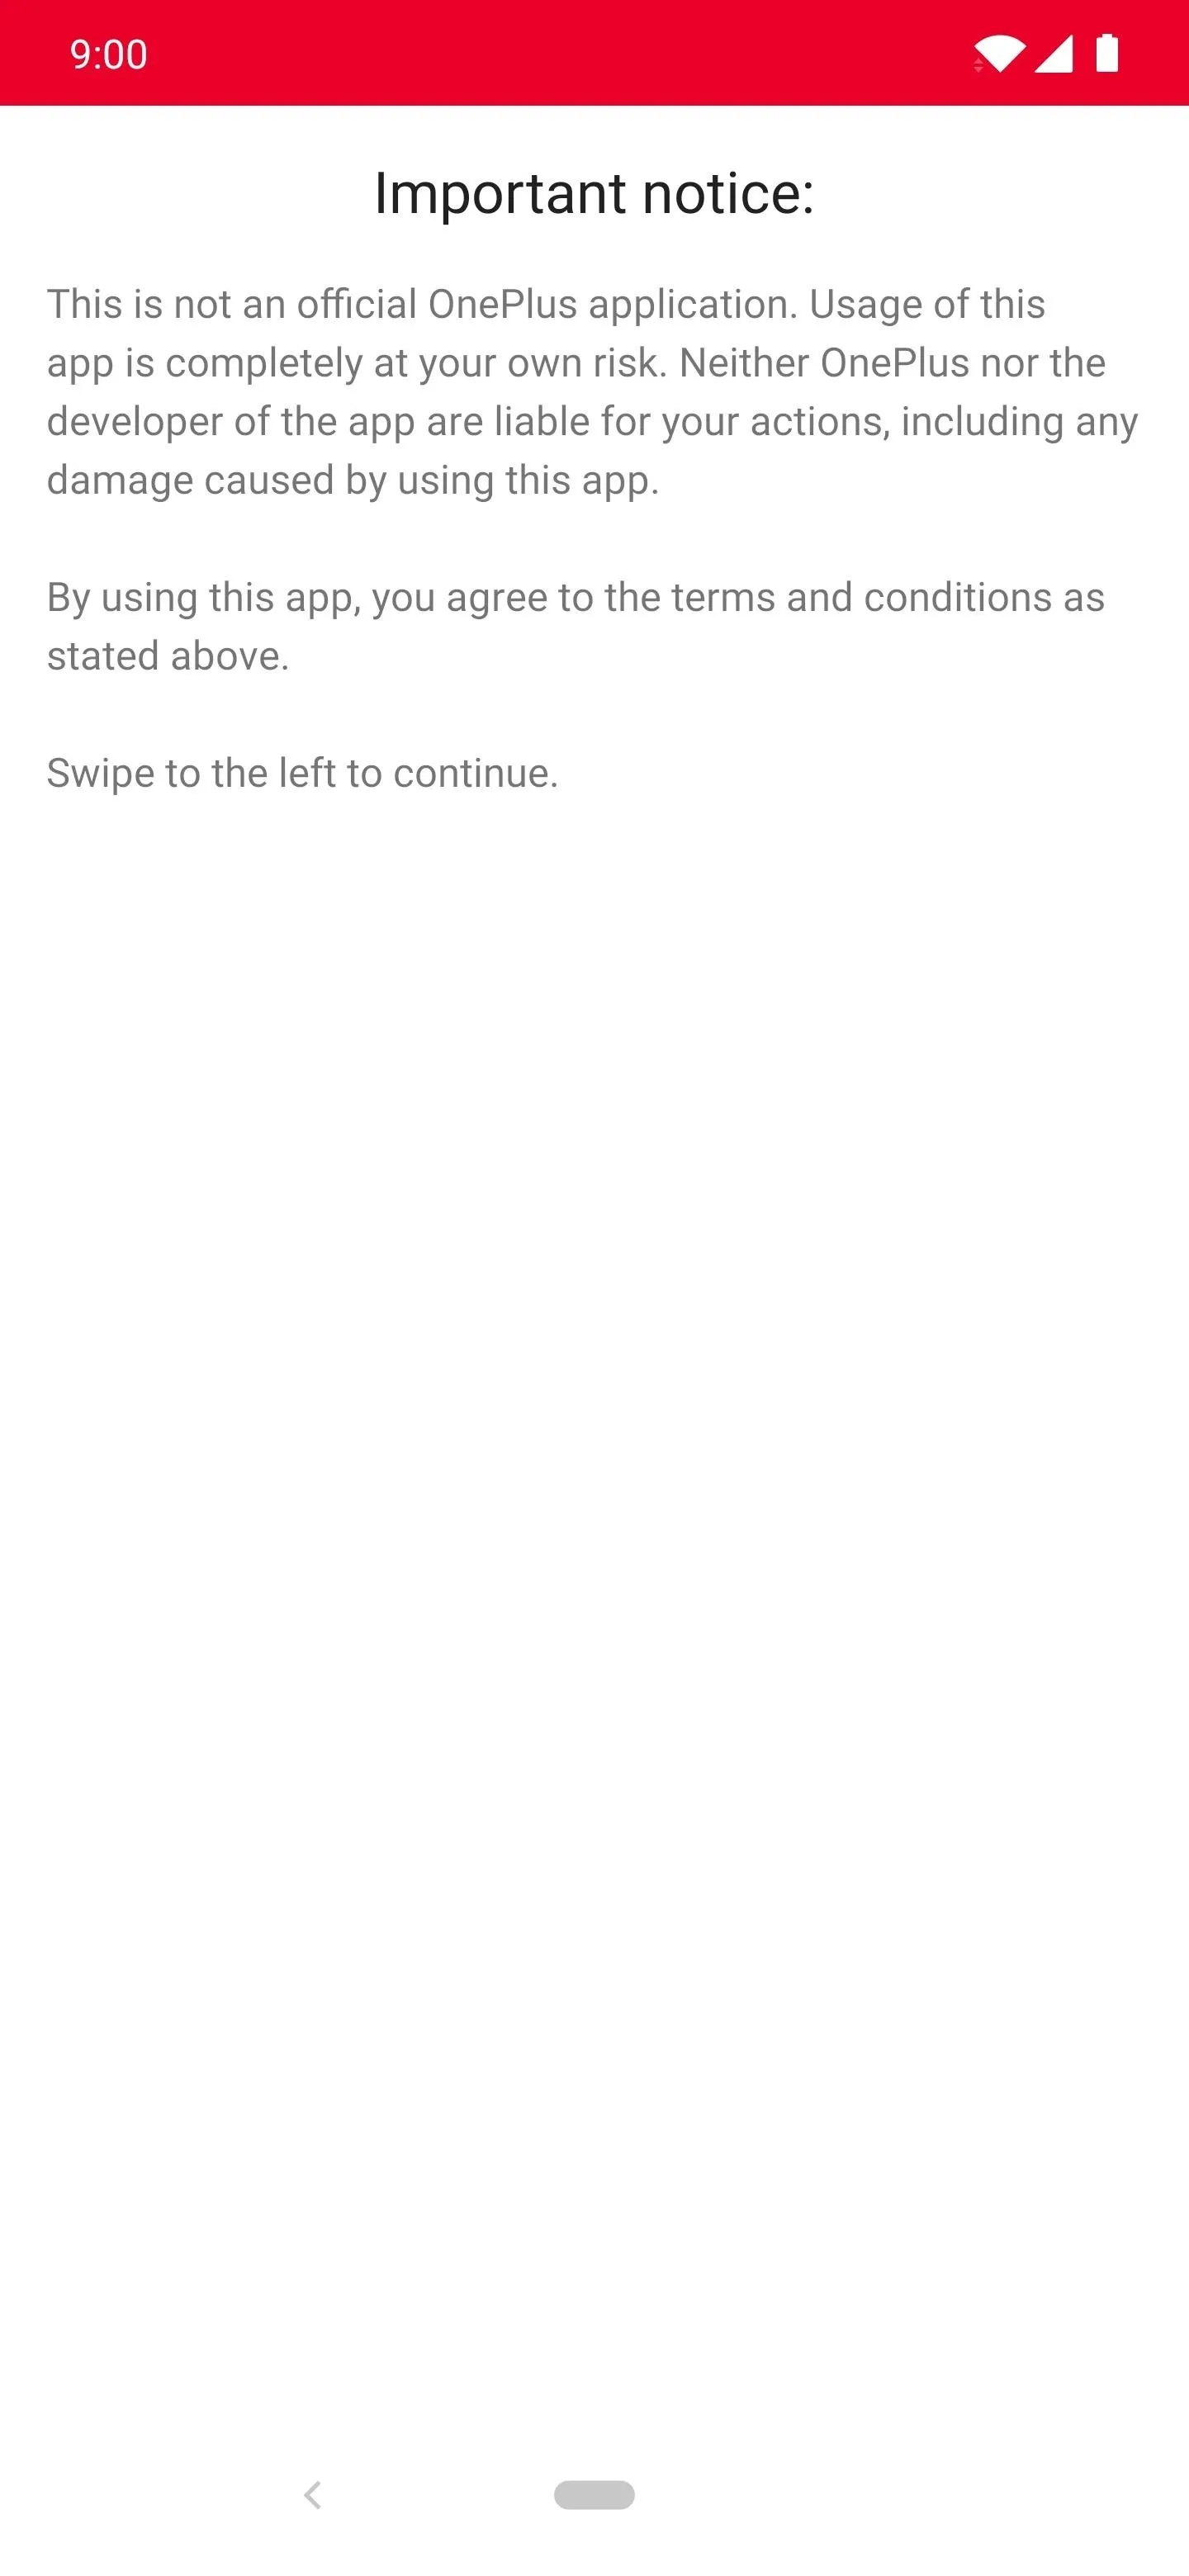
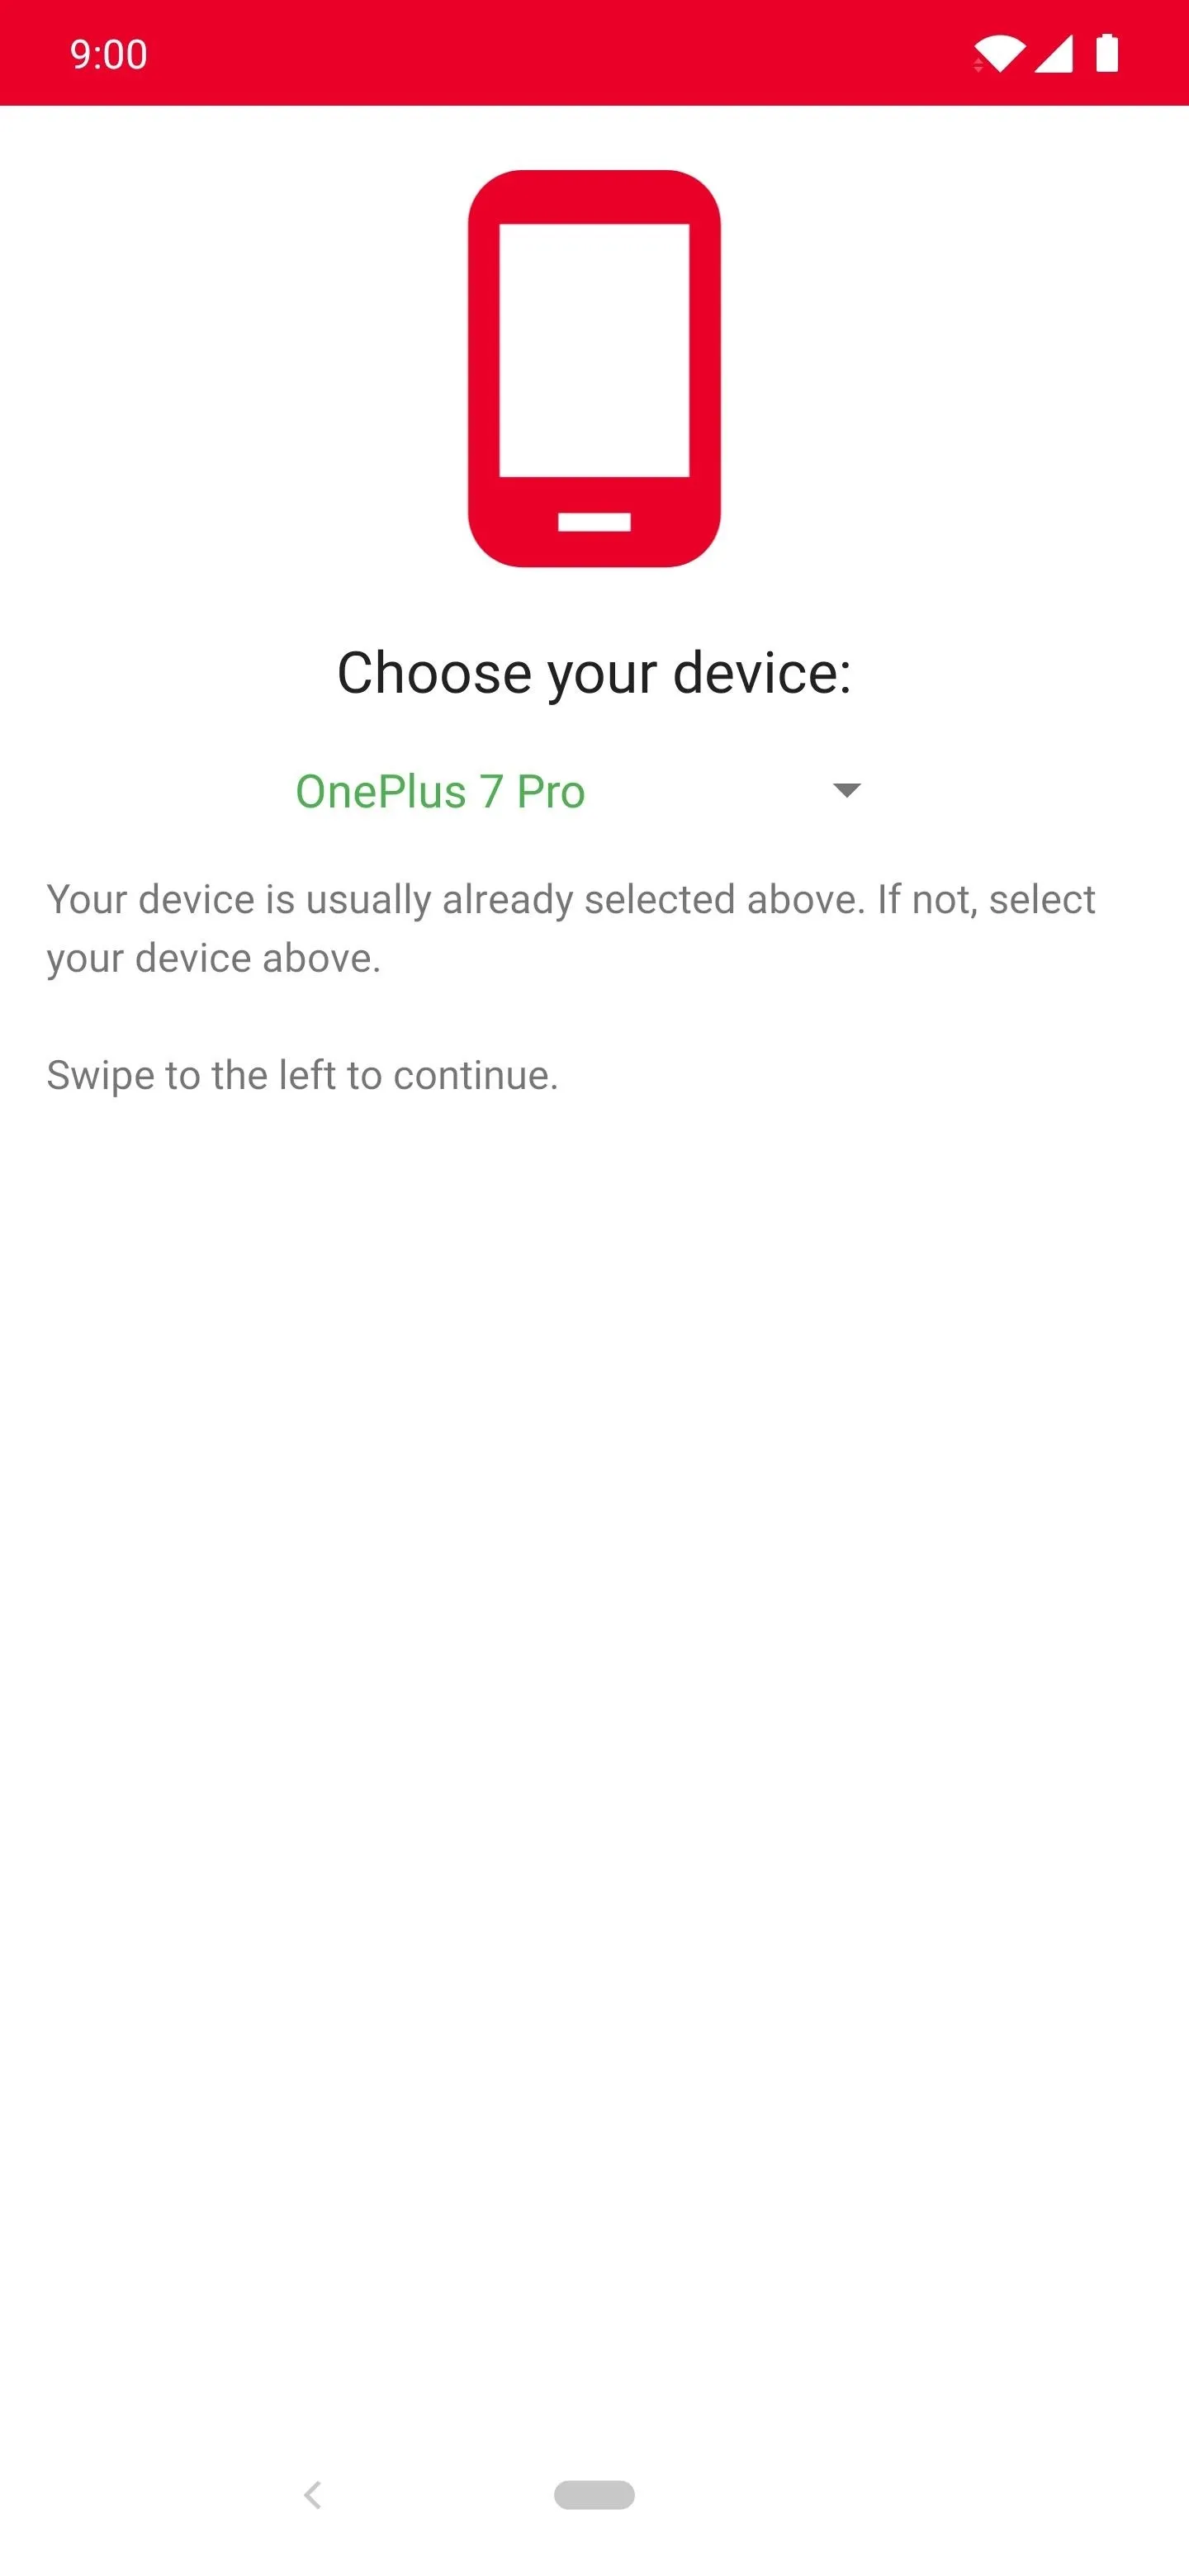
Do the Oxygen Updater Setup
Once the Oxygen Updater app from the link above has been installed, open it to the main screen so you can get started. Scroll through the welcome page by swiping left two times, then on the "Choose your device" page, make sure "OnePlus 7 Pro" is selected. If not, tap the arrow and select the appropriate option as needed.
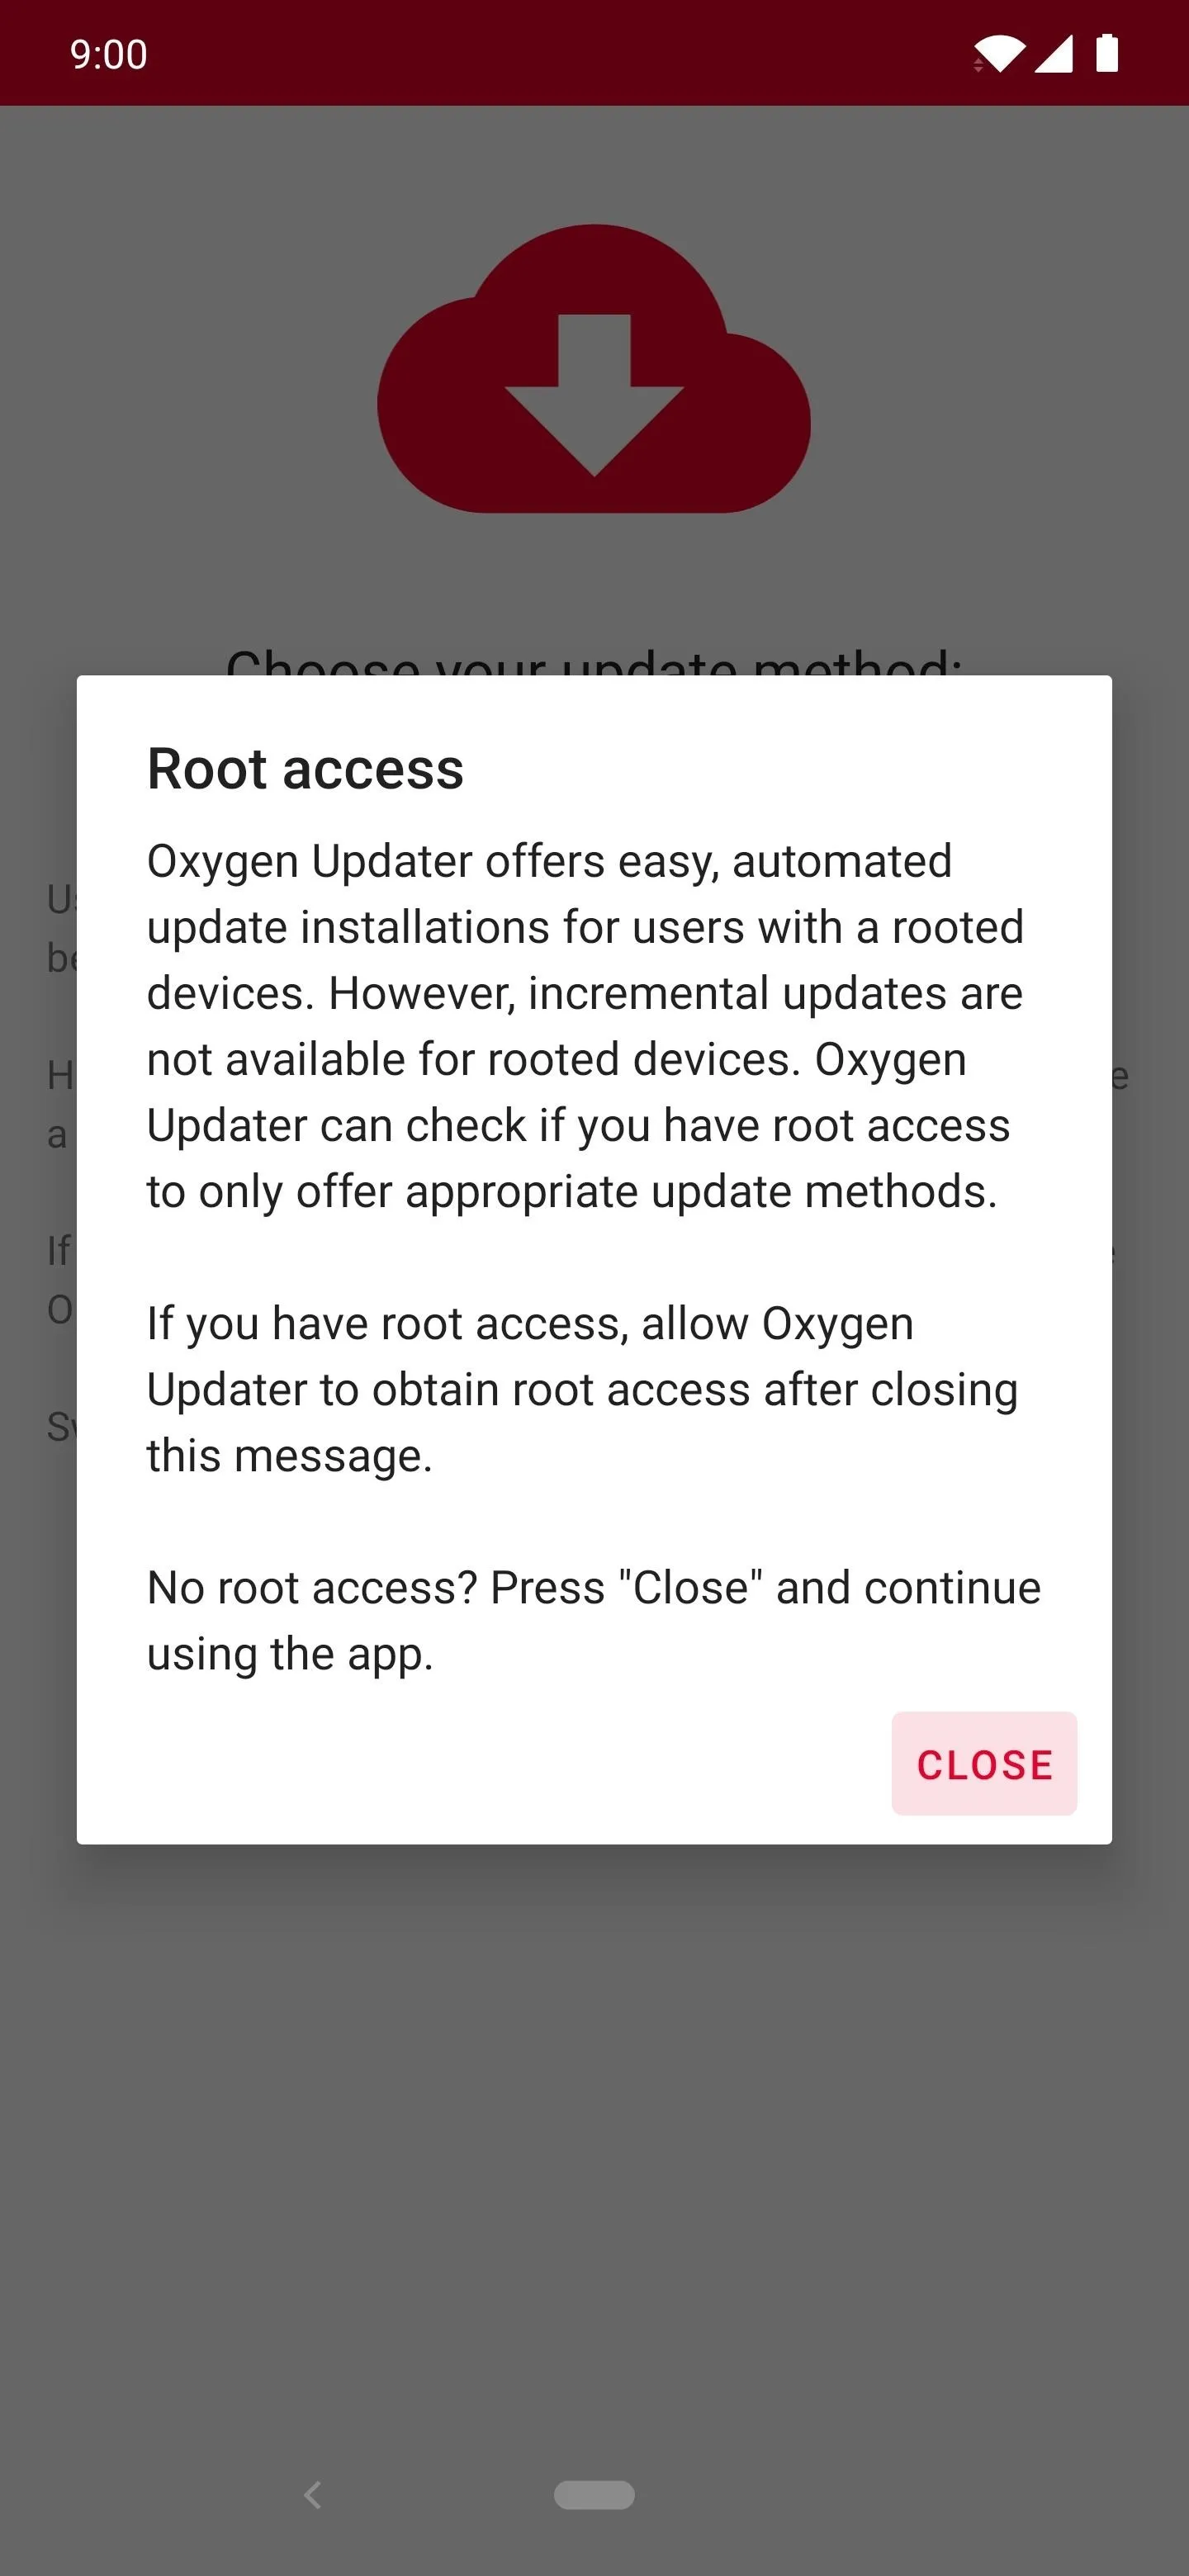
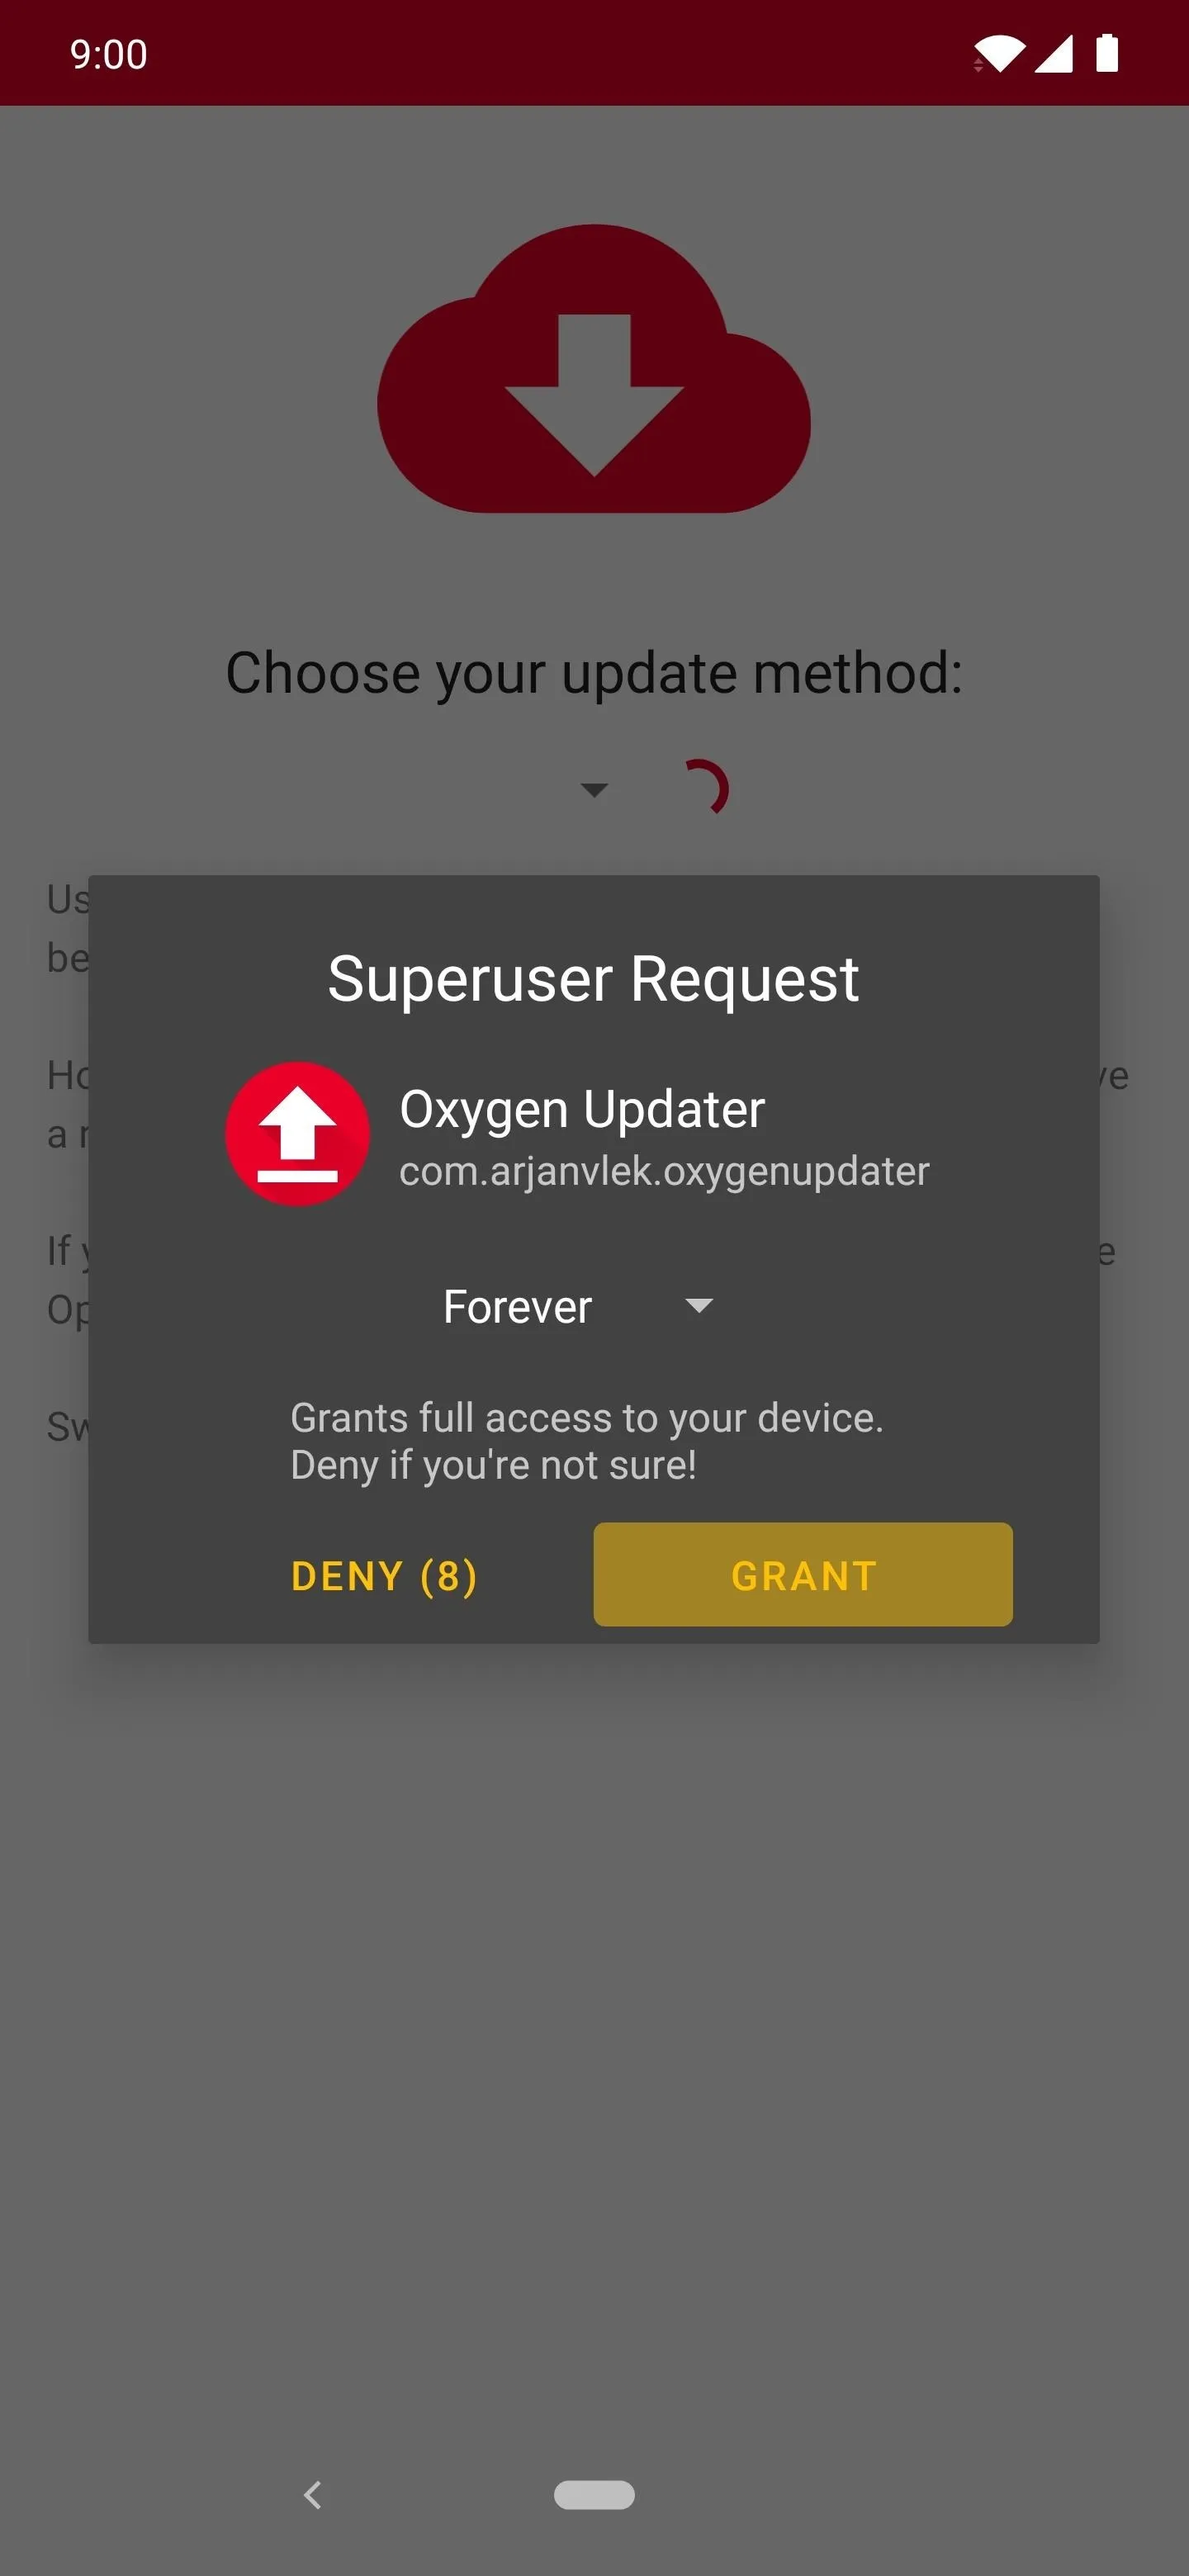
Swipe the screen again to the "Root access" page, and it explains what you can do with root privileges. Tap "Close," then hit "Grant" on the Superuser request from Magisk to give root access to Oxygen Updater for even more features.
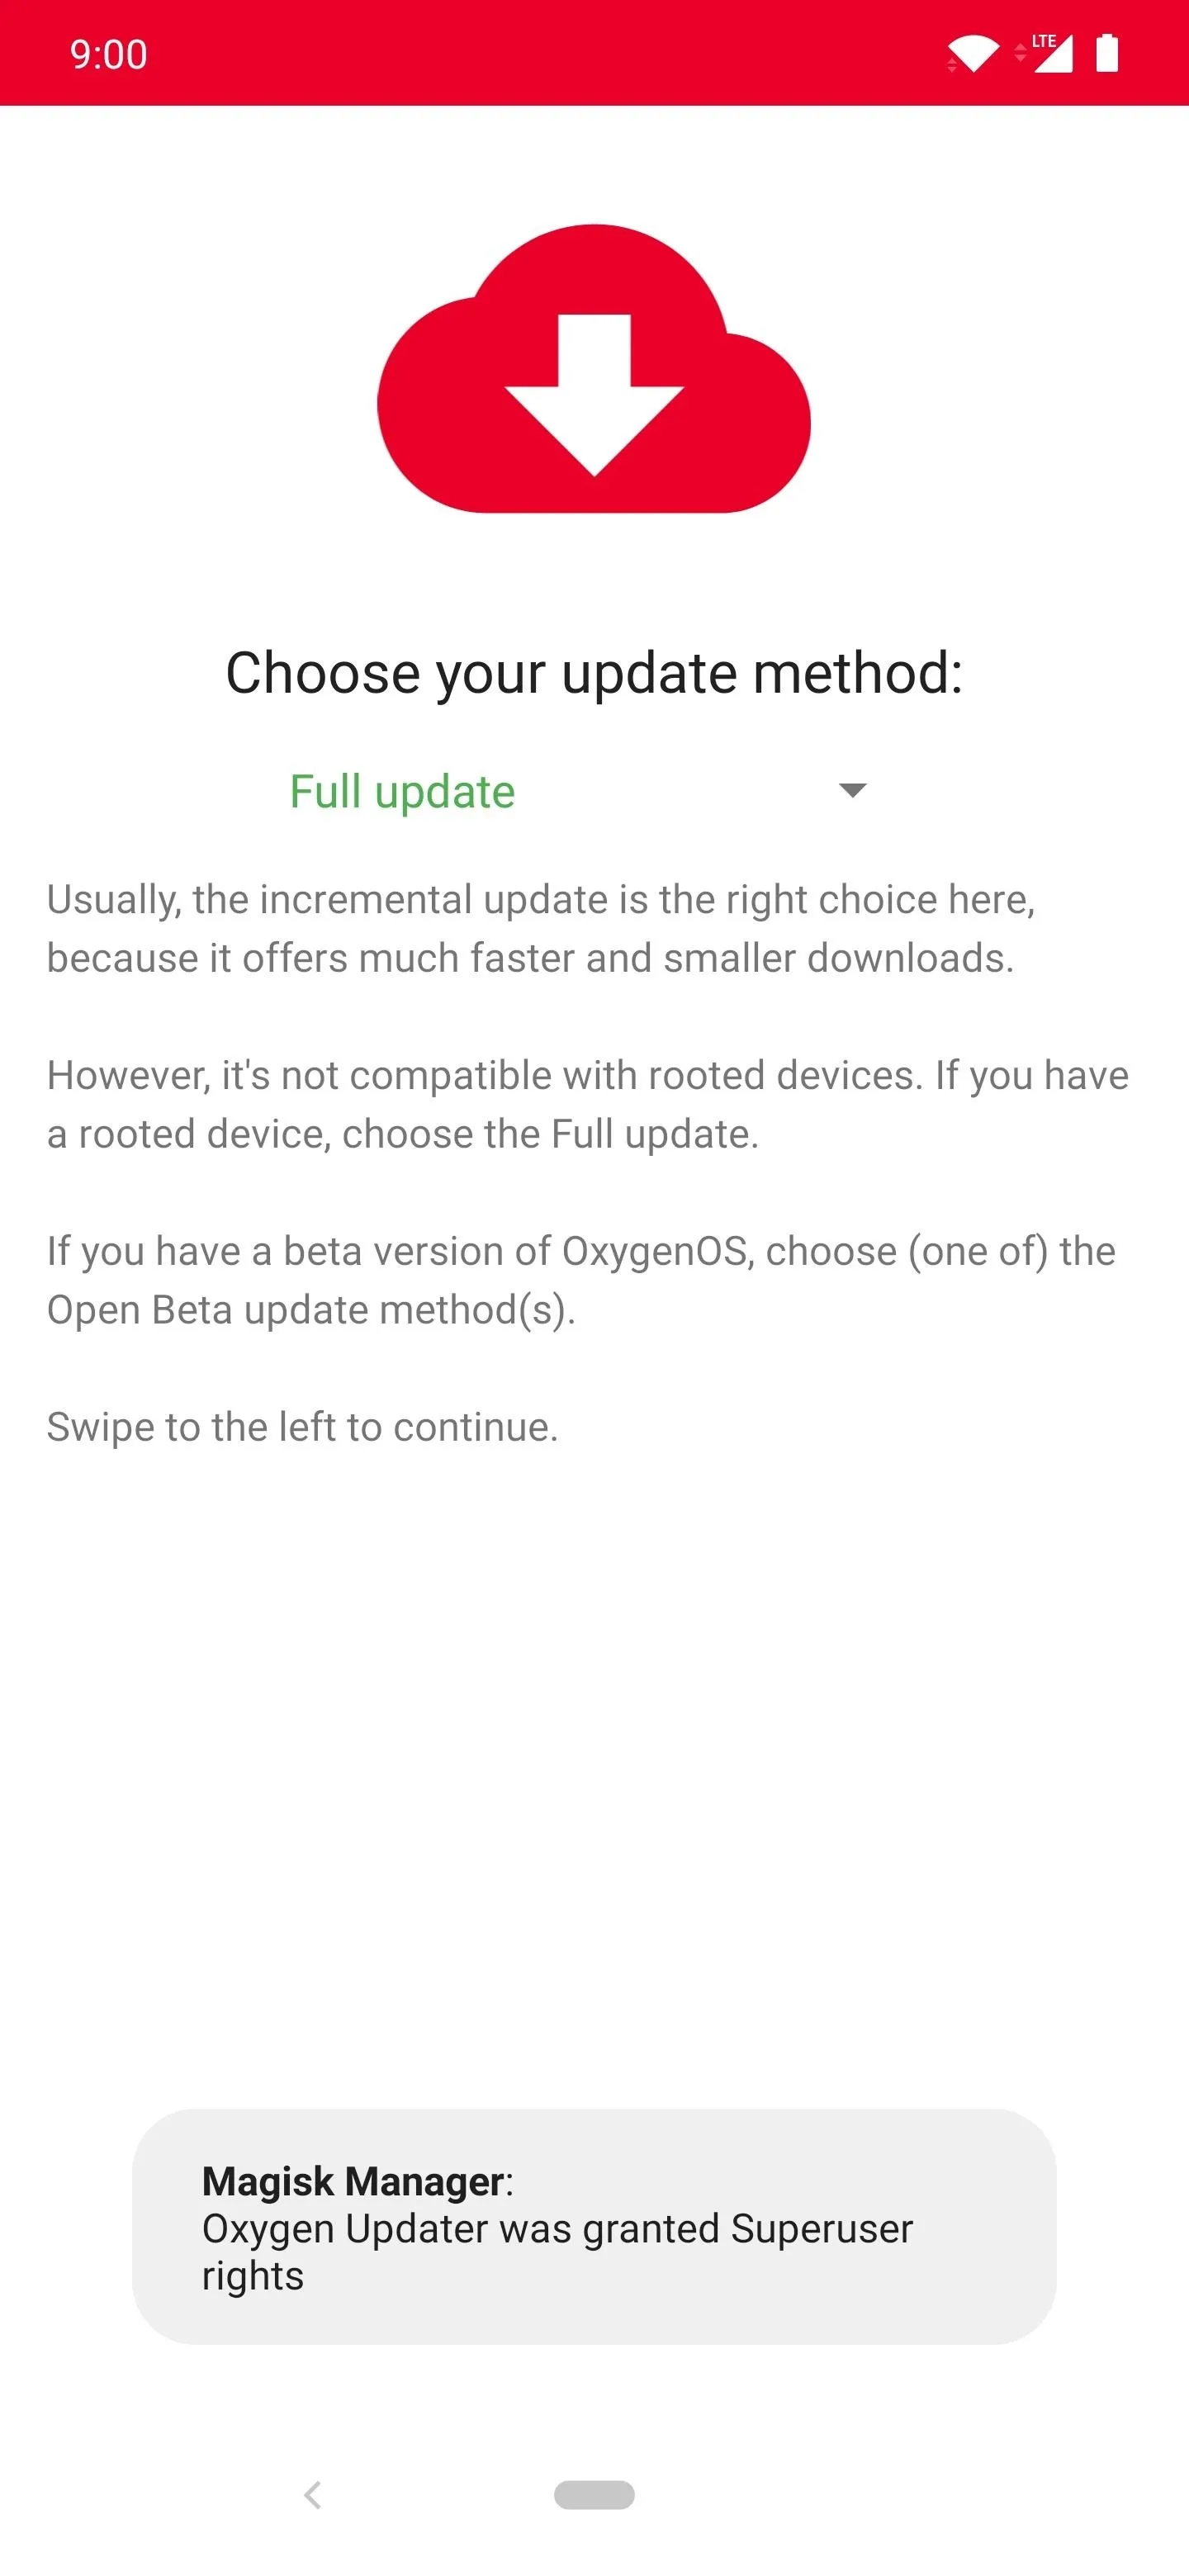
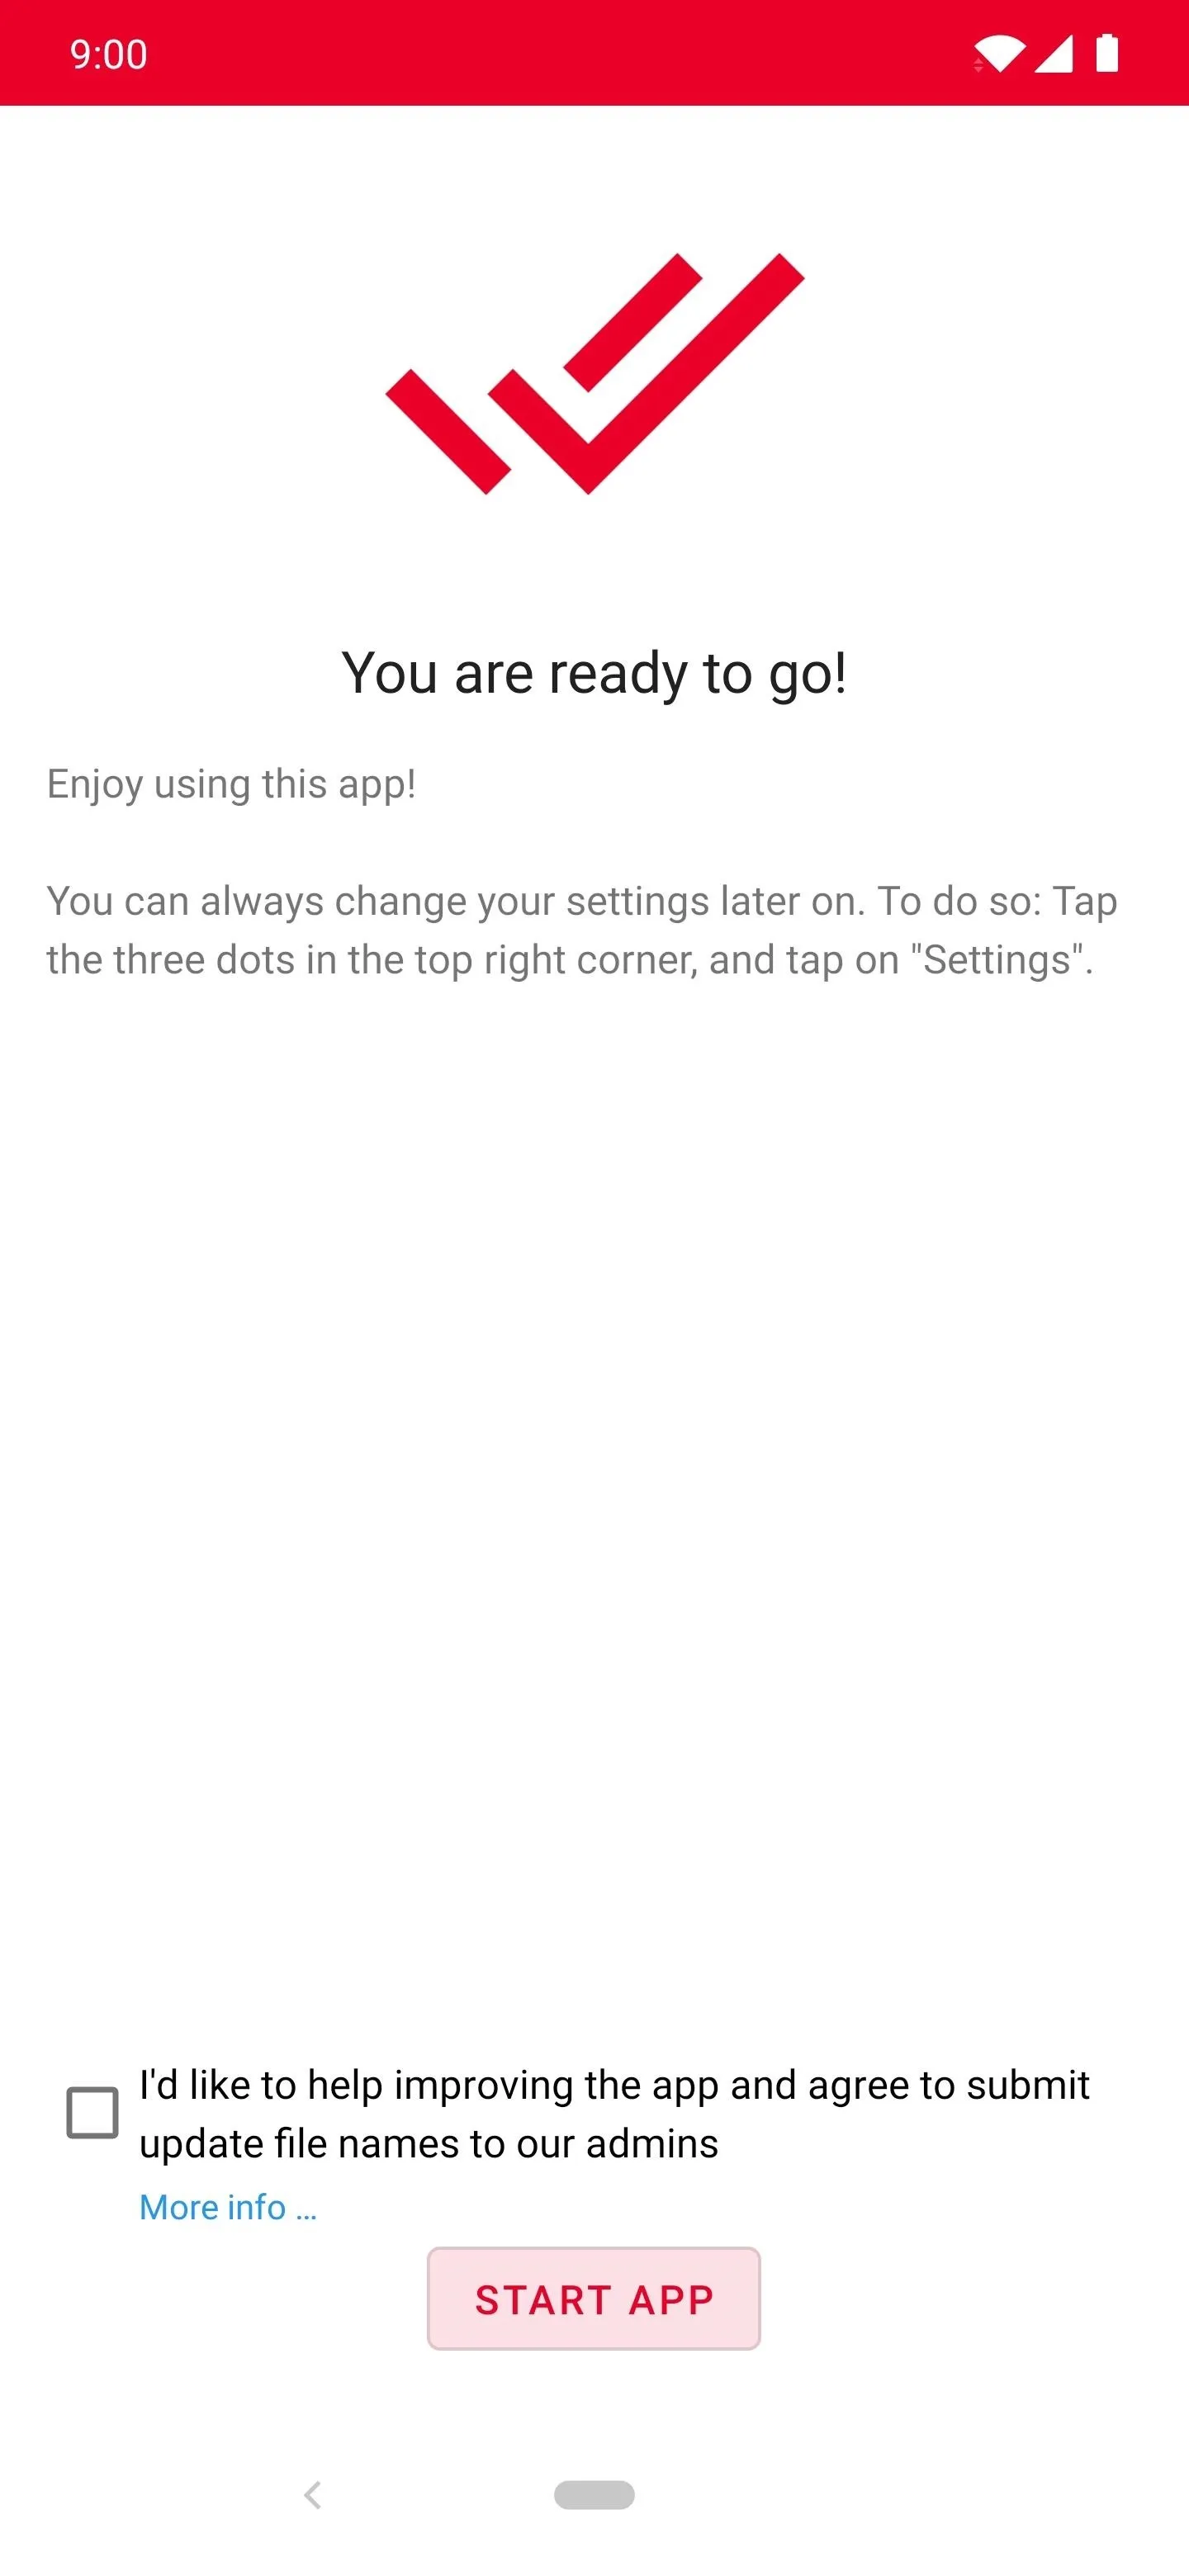
Now on the "Choose your update method" screen, make sure "Full update" is selected before moving on. Again, tap the arrow and select the correct choice as needed. Swipe to the left one last time to the final screen, then hit the "Start App" button at the bottom to get started with downloading the OTA update file.
Download the OTA Update
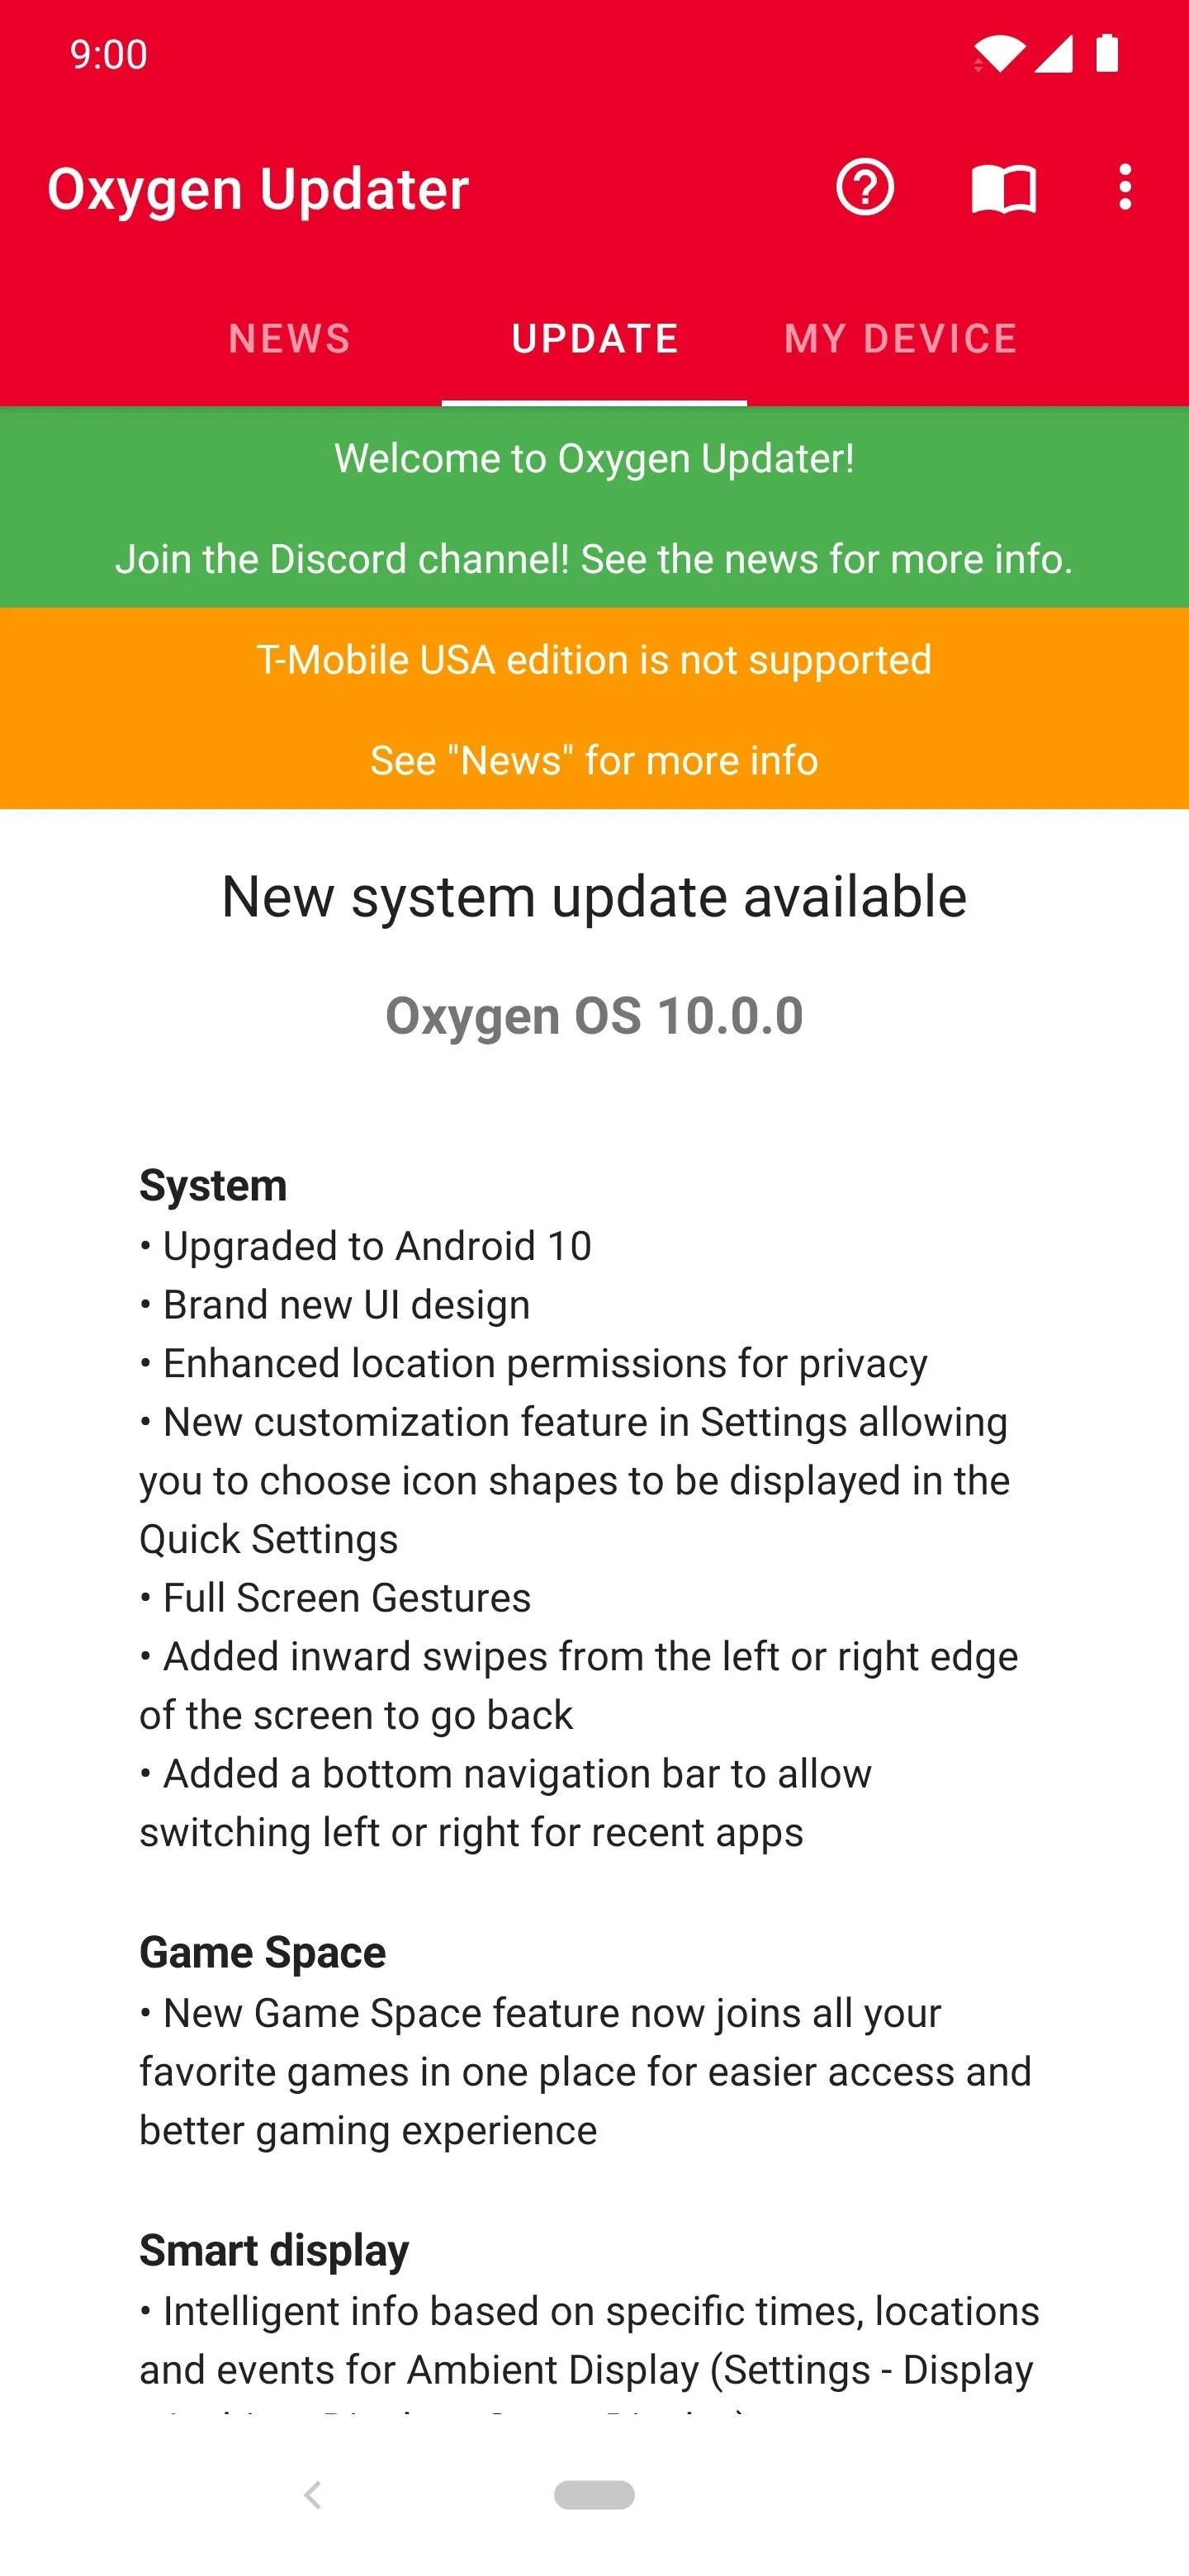
Now that the setup is complete, you should be sitting on the main screen of the Oxygen Updater app. If there's an update waiting for you, you'll immediately see a message that says "New system update available," along with the specifics below that.
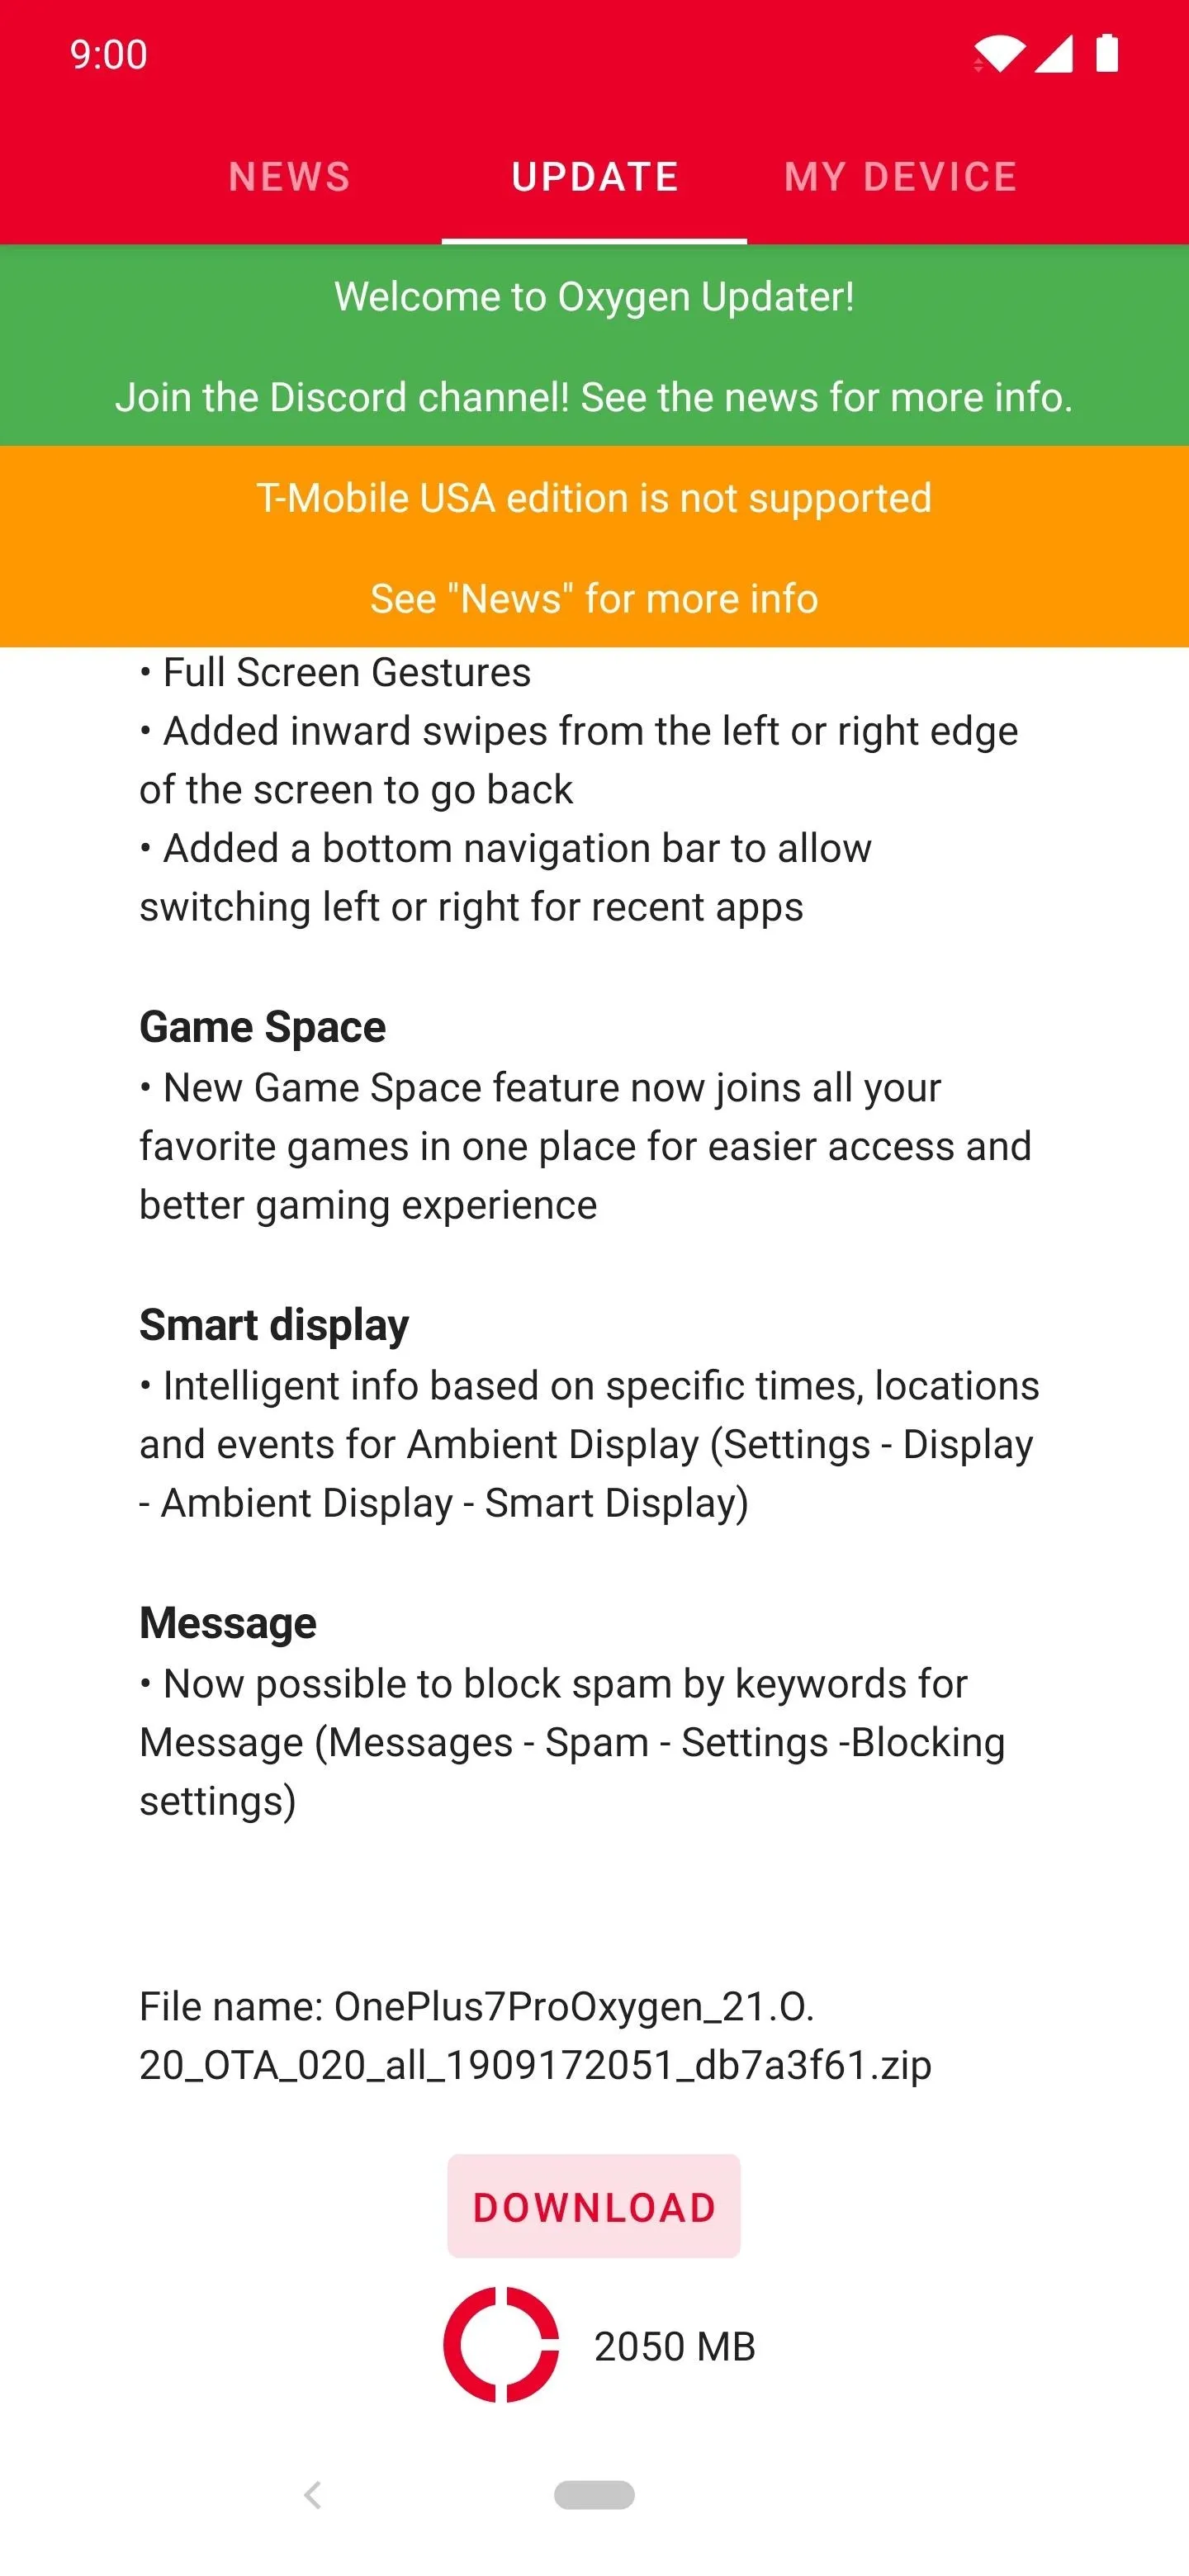
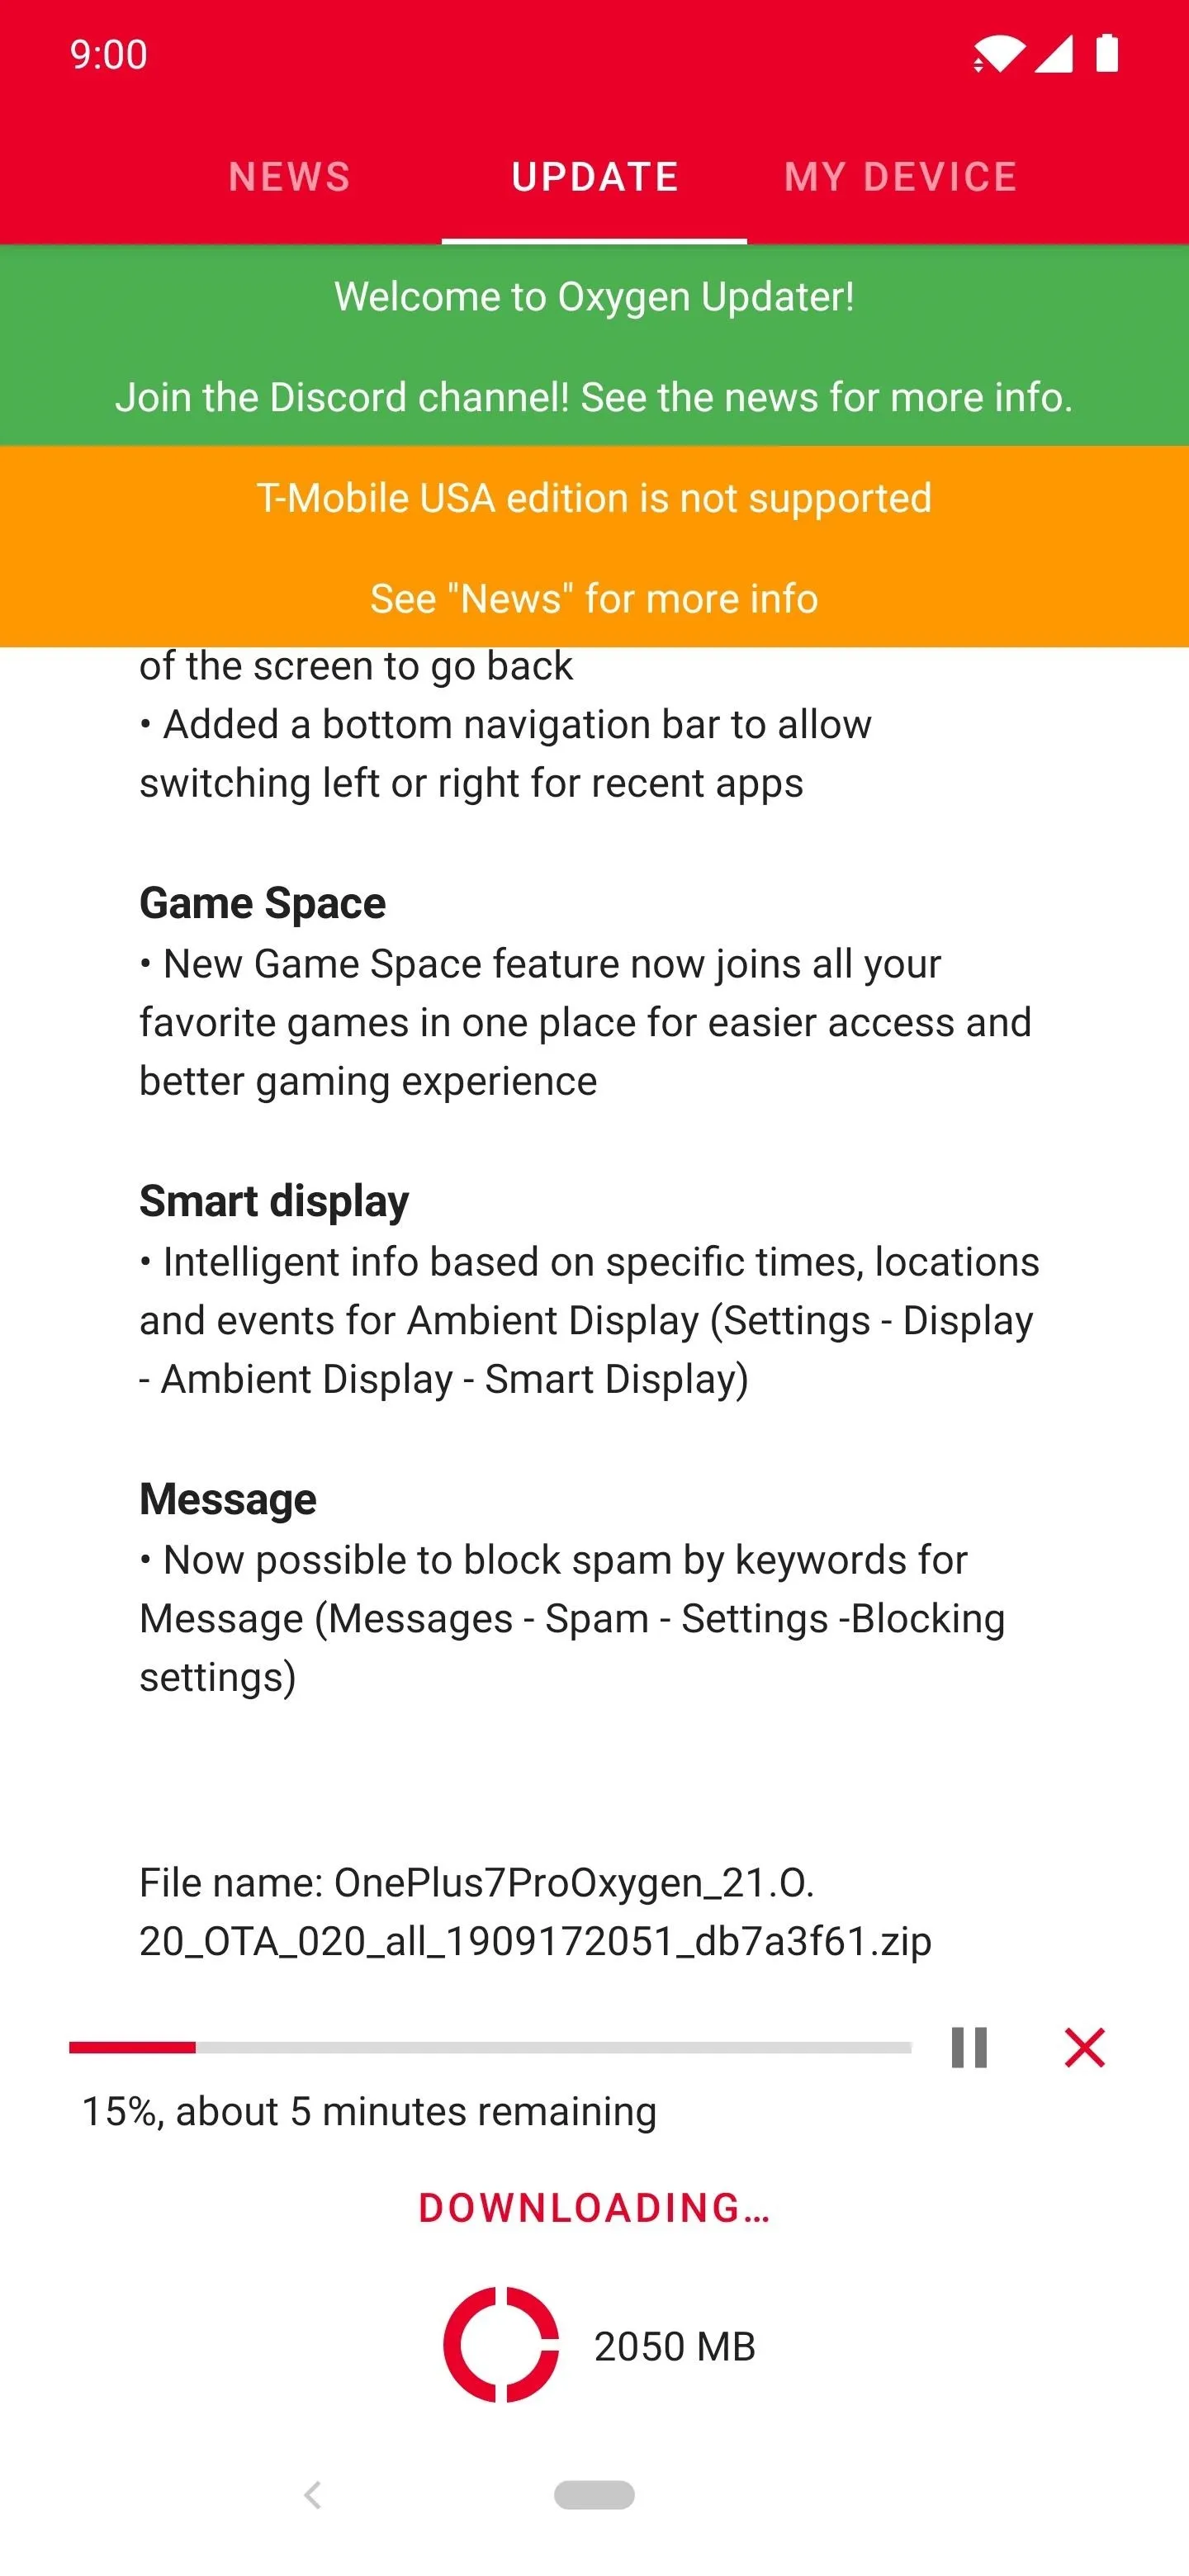
Scroll down to the bottom of the screen and tap the "Download" option to begin downloading the entire system update. Grant the required media permissions when prompted by tapping "Allow," then the download will automatically start.
Note: If you're using a VPN, you might occasionally have to try another server or disable it temporarily for the update to come through correctly. It can otherwise get stuck at "waiting for a network connection" if you don't, so keep that in mind for future updates.
Download Magisk
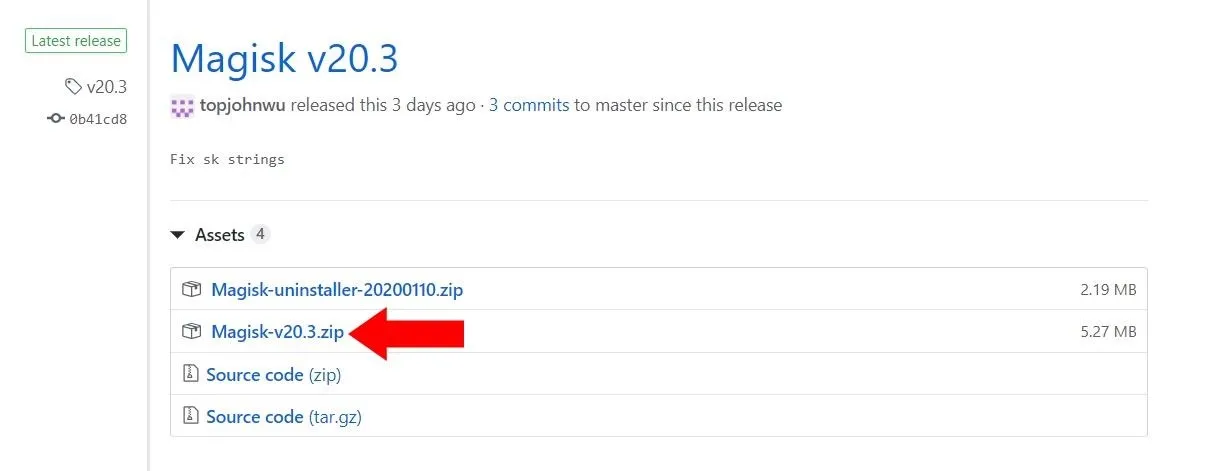
Since you're looking to keep your root access after an OTA update, you might already have Magisk downloaded and ready to go right now. If not, download the latest Magisk ZIP installer file from the link below, then save it to the "Download" folder on your phone for easy access. You'll always want the newest version of Magisk installed to ensure system compatibility with future Android updates.
Download TWRP
You need to make sure you have the latest TWRP image file for your OnePlus 7 Pro before moving on with this guide. If you skip this step, you'll be without TWRP after you install the OTA system update. Hit up the link below to grab the latest TWRP image file at the time of this guide. Make sure to save the file to the "Download" folder on your phone.
- More Info: Download OnePlus 7 Pro TWRP Image File
Reboot to TWRP
Now, reboot to TWRP. The fastest way to get into recovery on any OnePlus phone is to enable the Advanced reboot setting in Developer options. Once done, all you have to do is long-press the power button, then tap the "Recovery" option from there.


Install the OTA Update
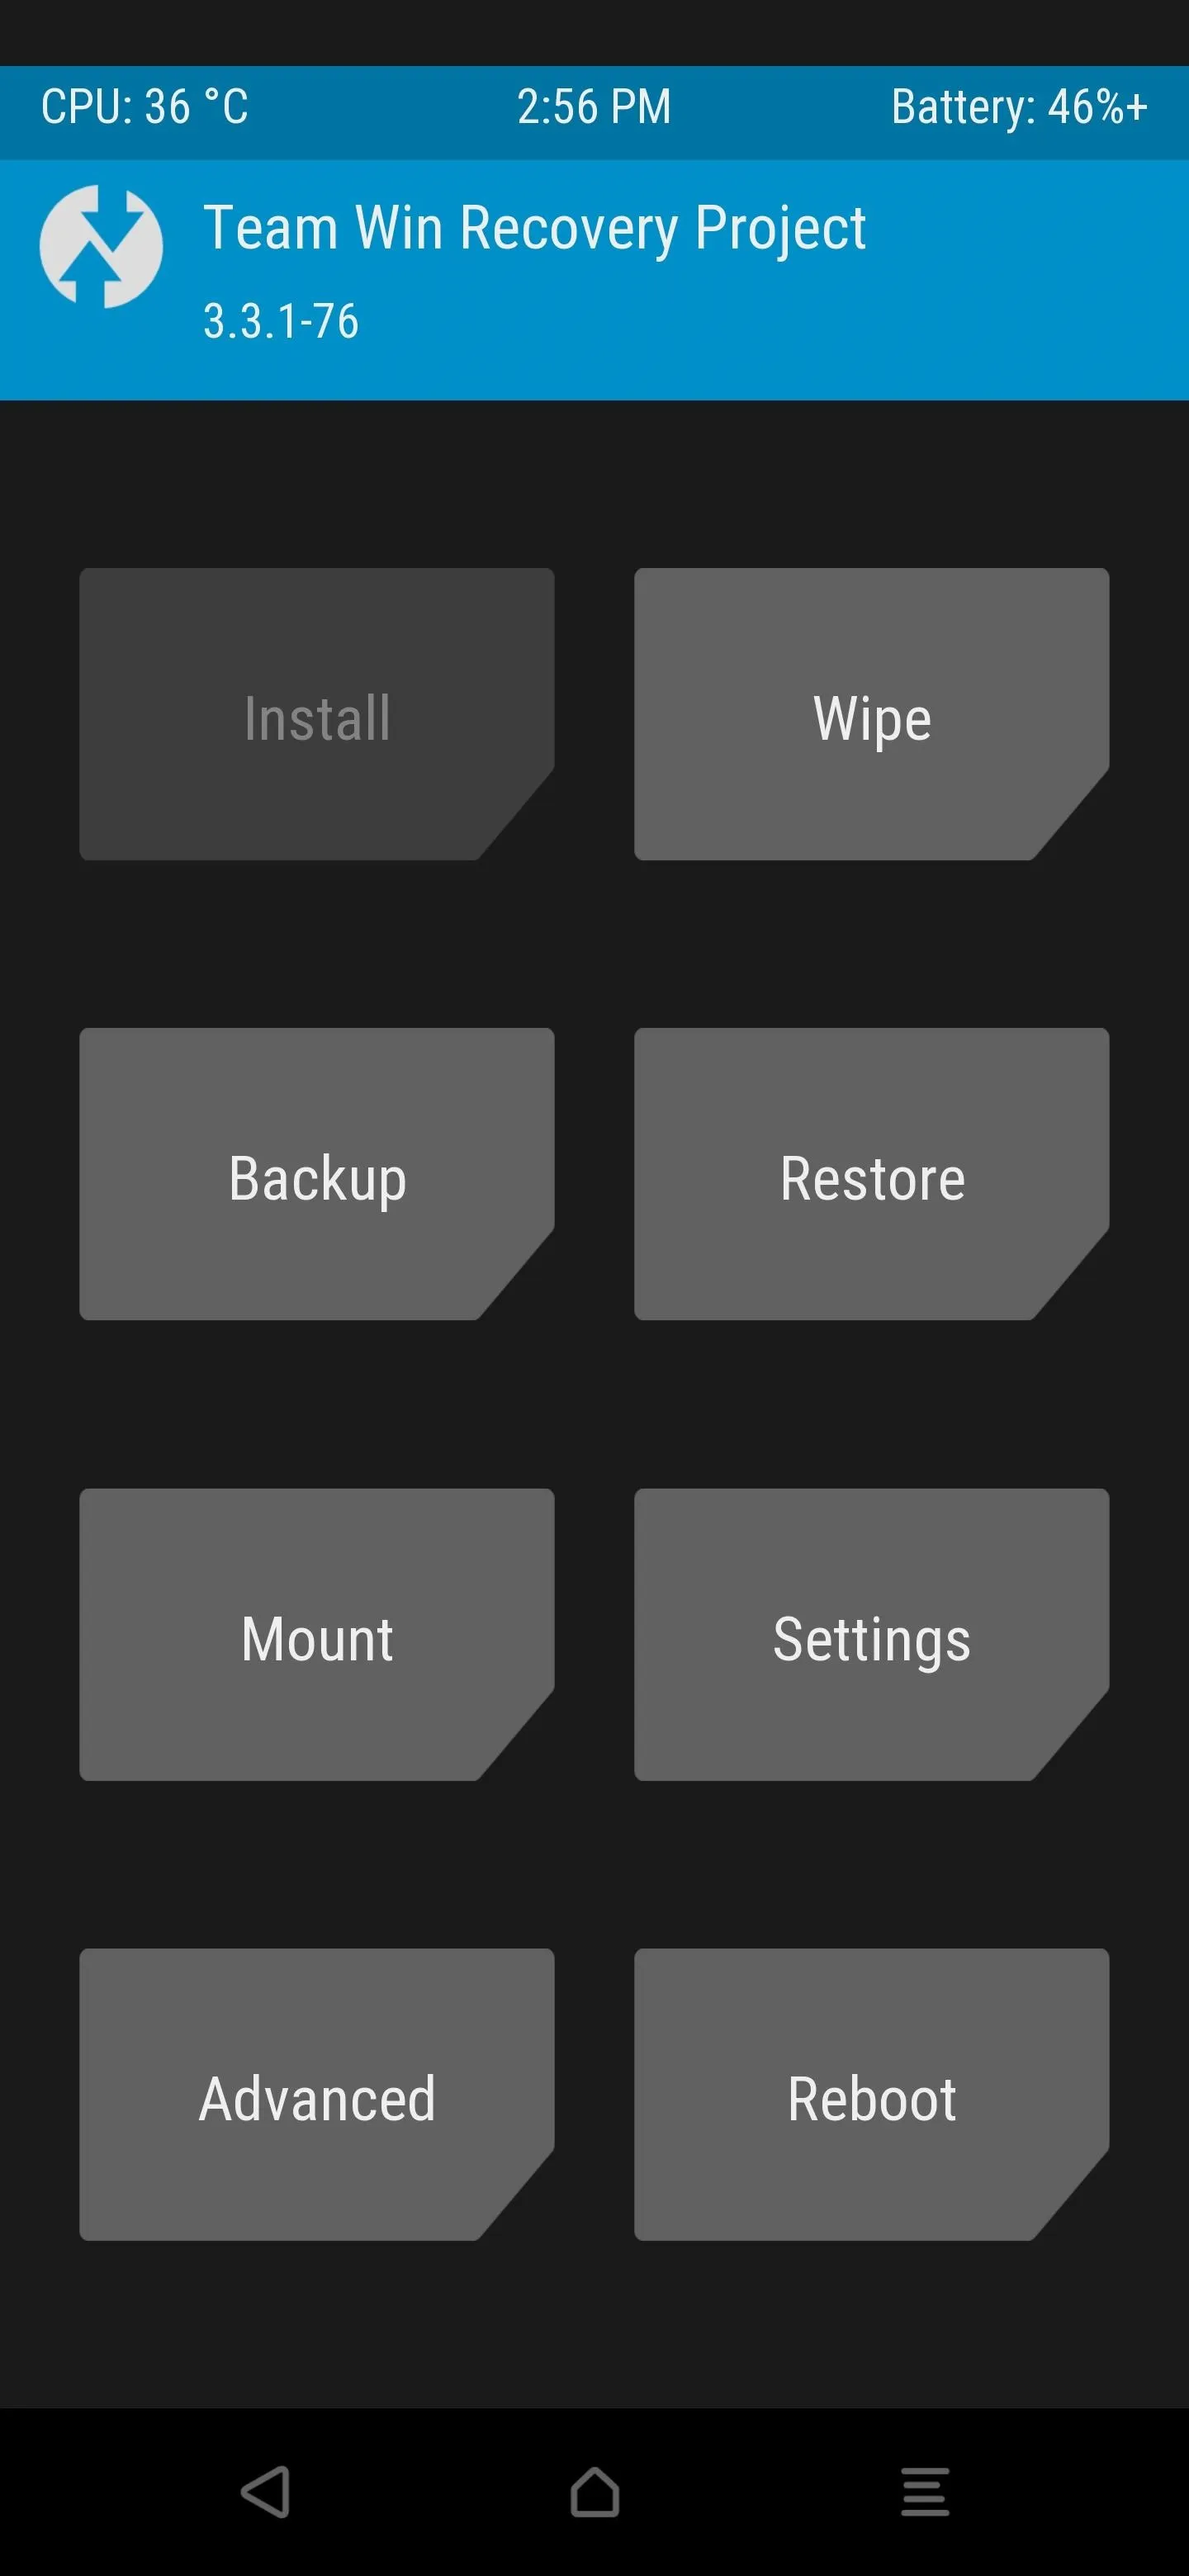
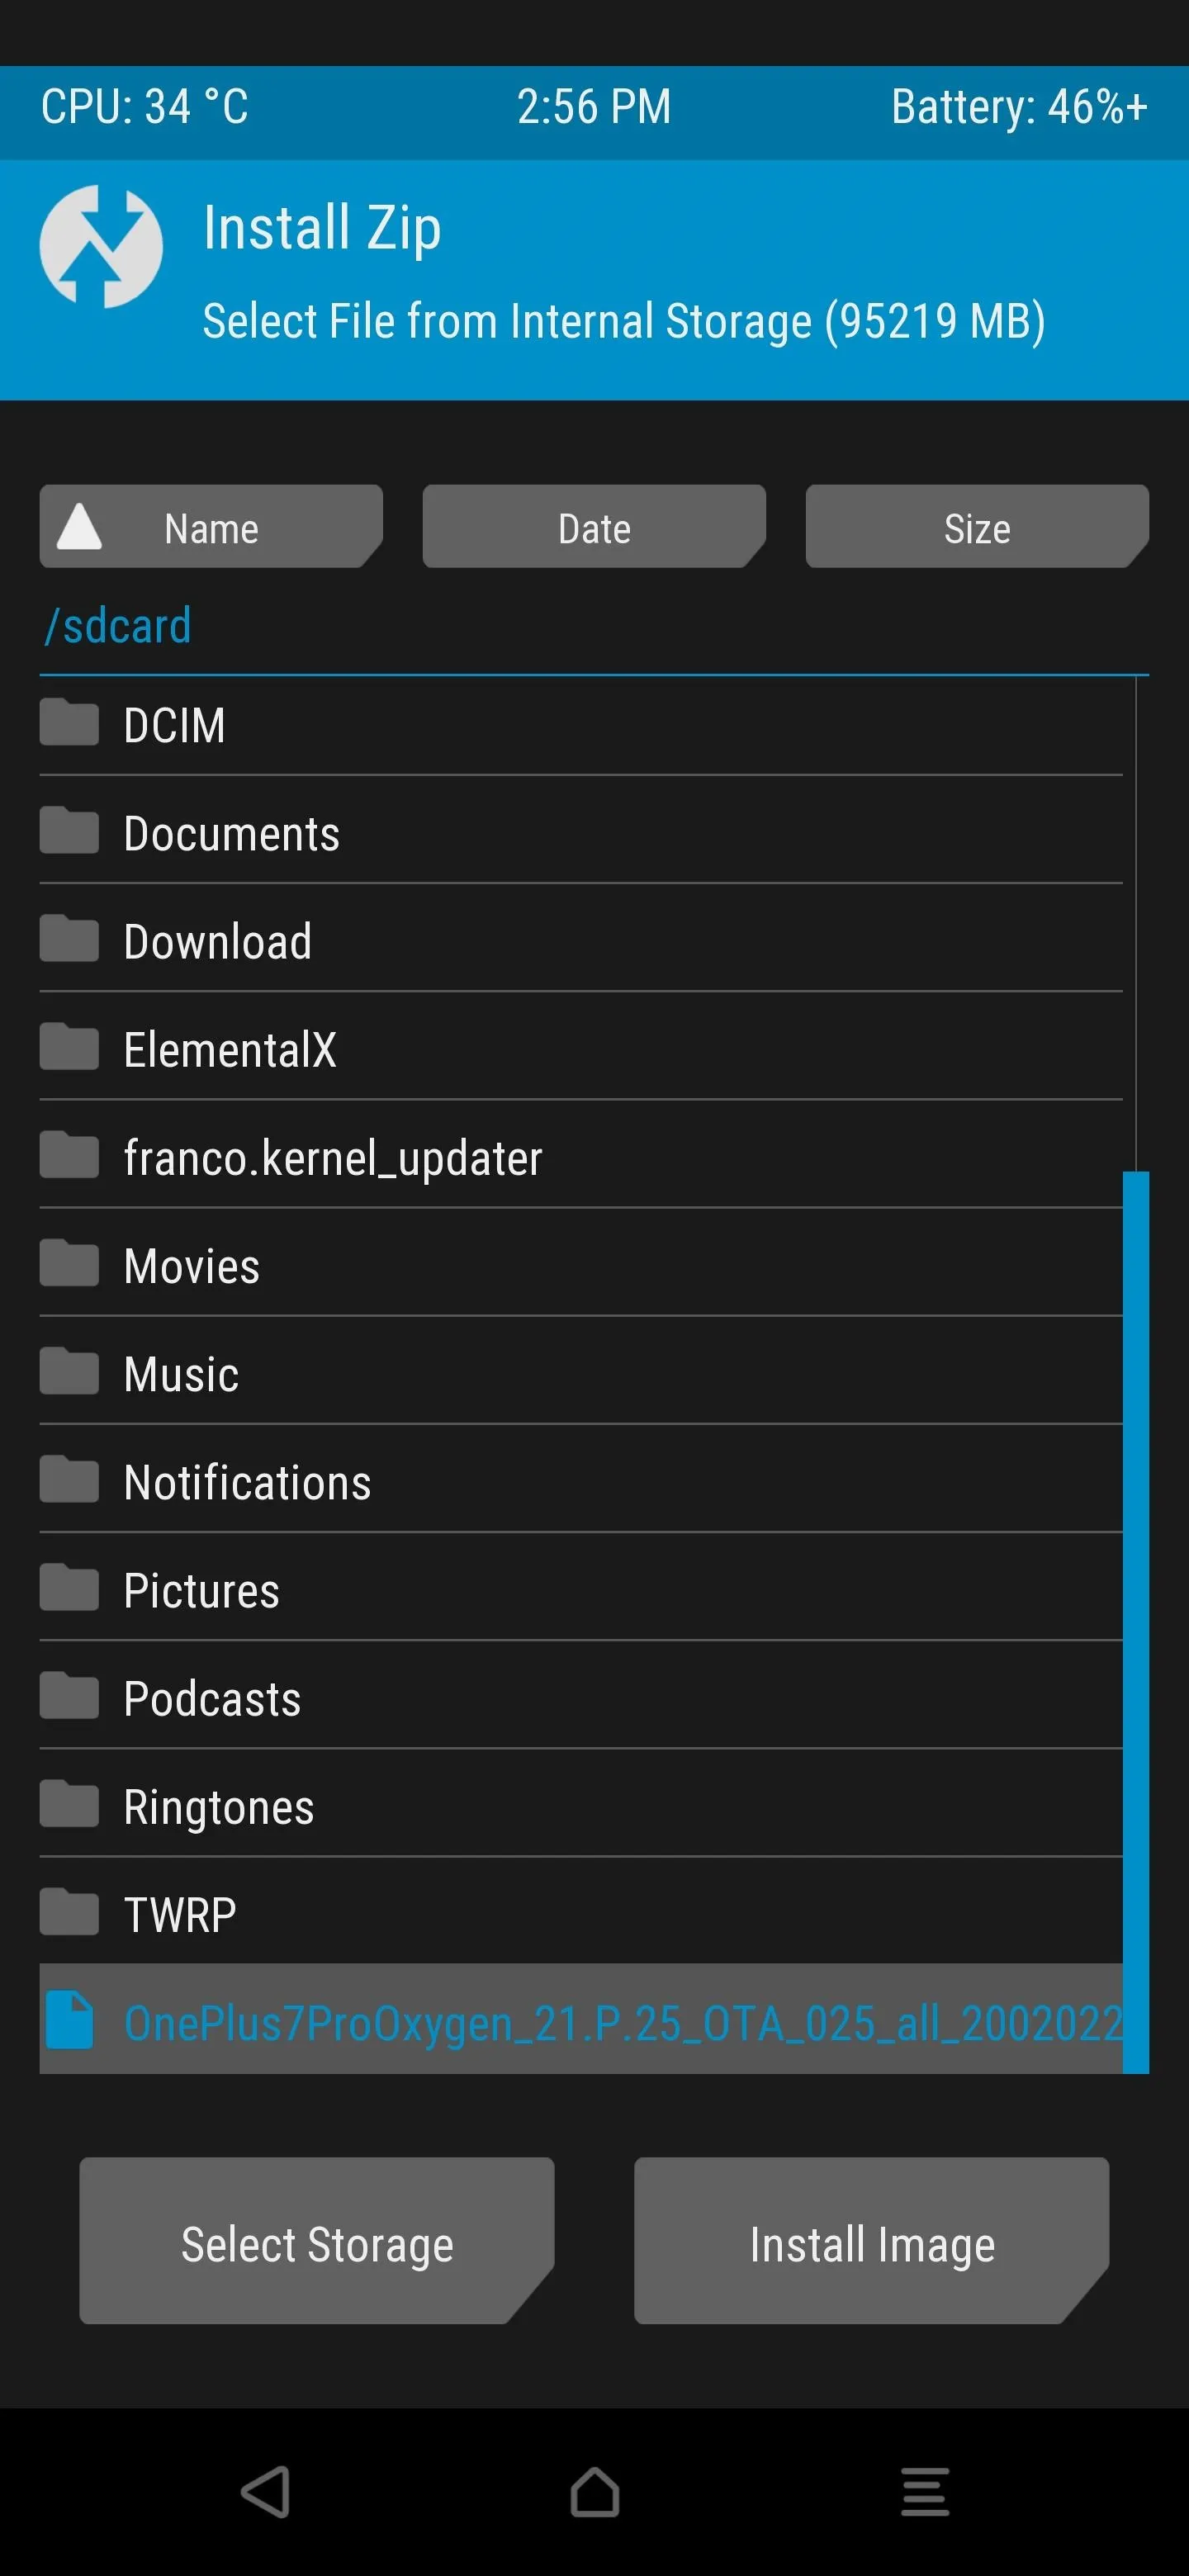
At this point, your device should be sitting at the TWRP main menu. From here, tap "Install," then you have to locate the OTA file you downloaded earlier. The Oxygen Updater app puts it in a particular place by default, which is outside of all your other folders by itself. This is called the root of your storage, and it makes it pretty simple to locate.
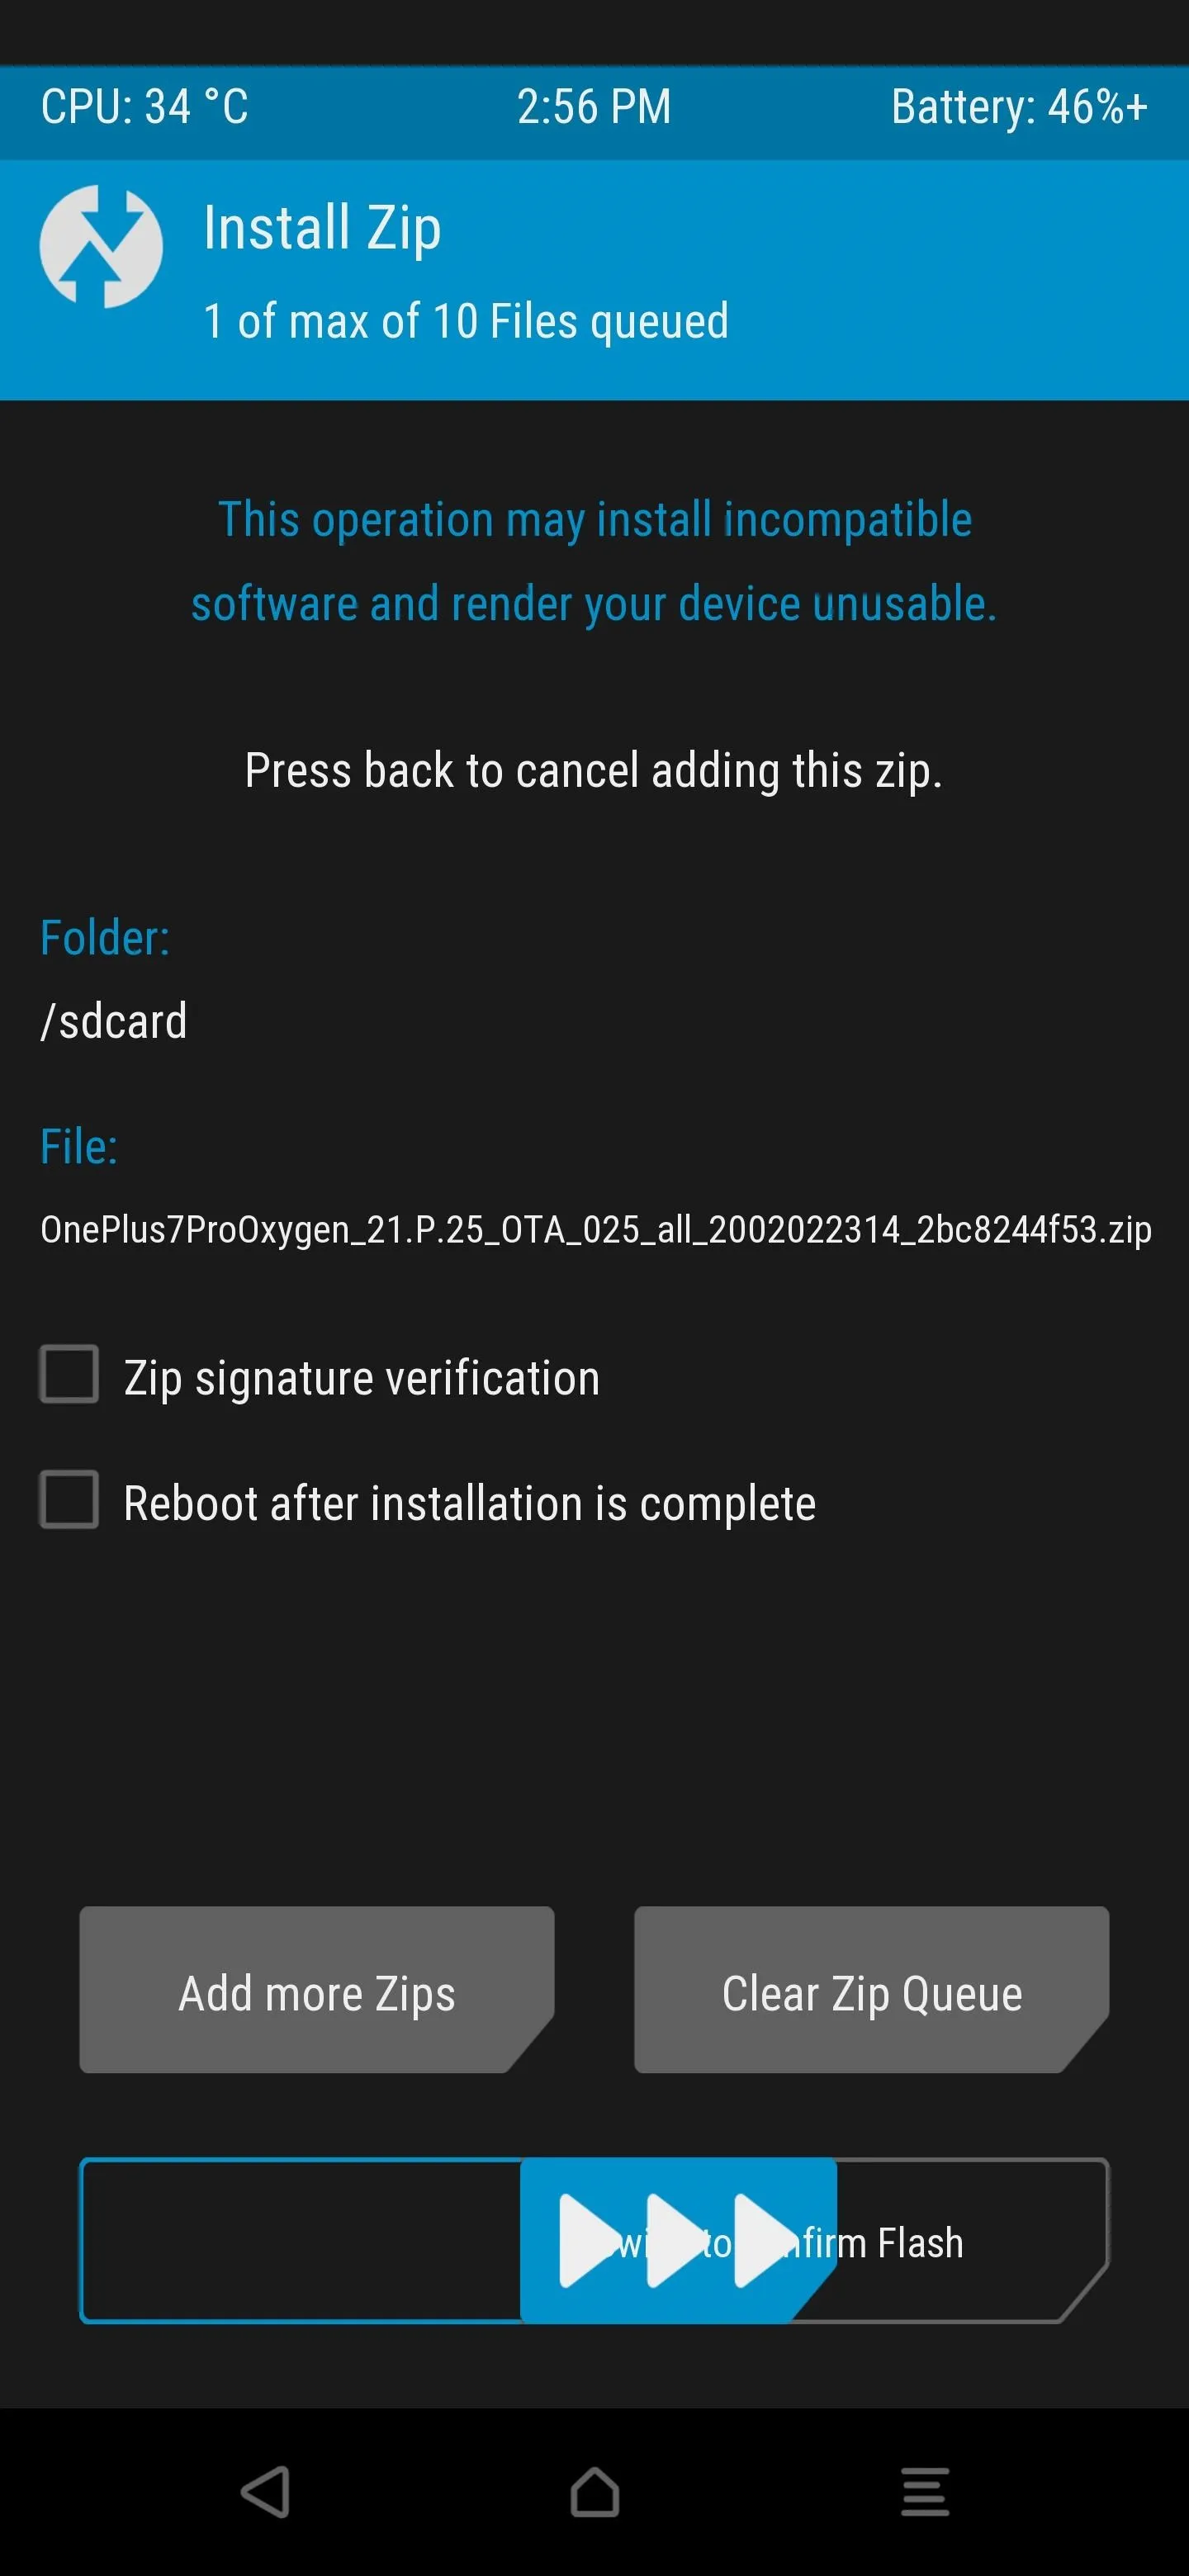
Tap the OTA file once to put it in the install queue, then initiate the "Swipe to confirm Flash" slider to begin installing the system update. Since the full system image is around 2+ GB in size, this could take a bit to finish installing. It might seem frozen at the end of step one, but it'll eventually progress past that point.
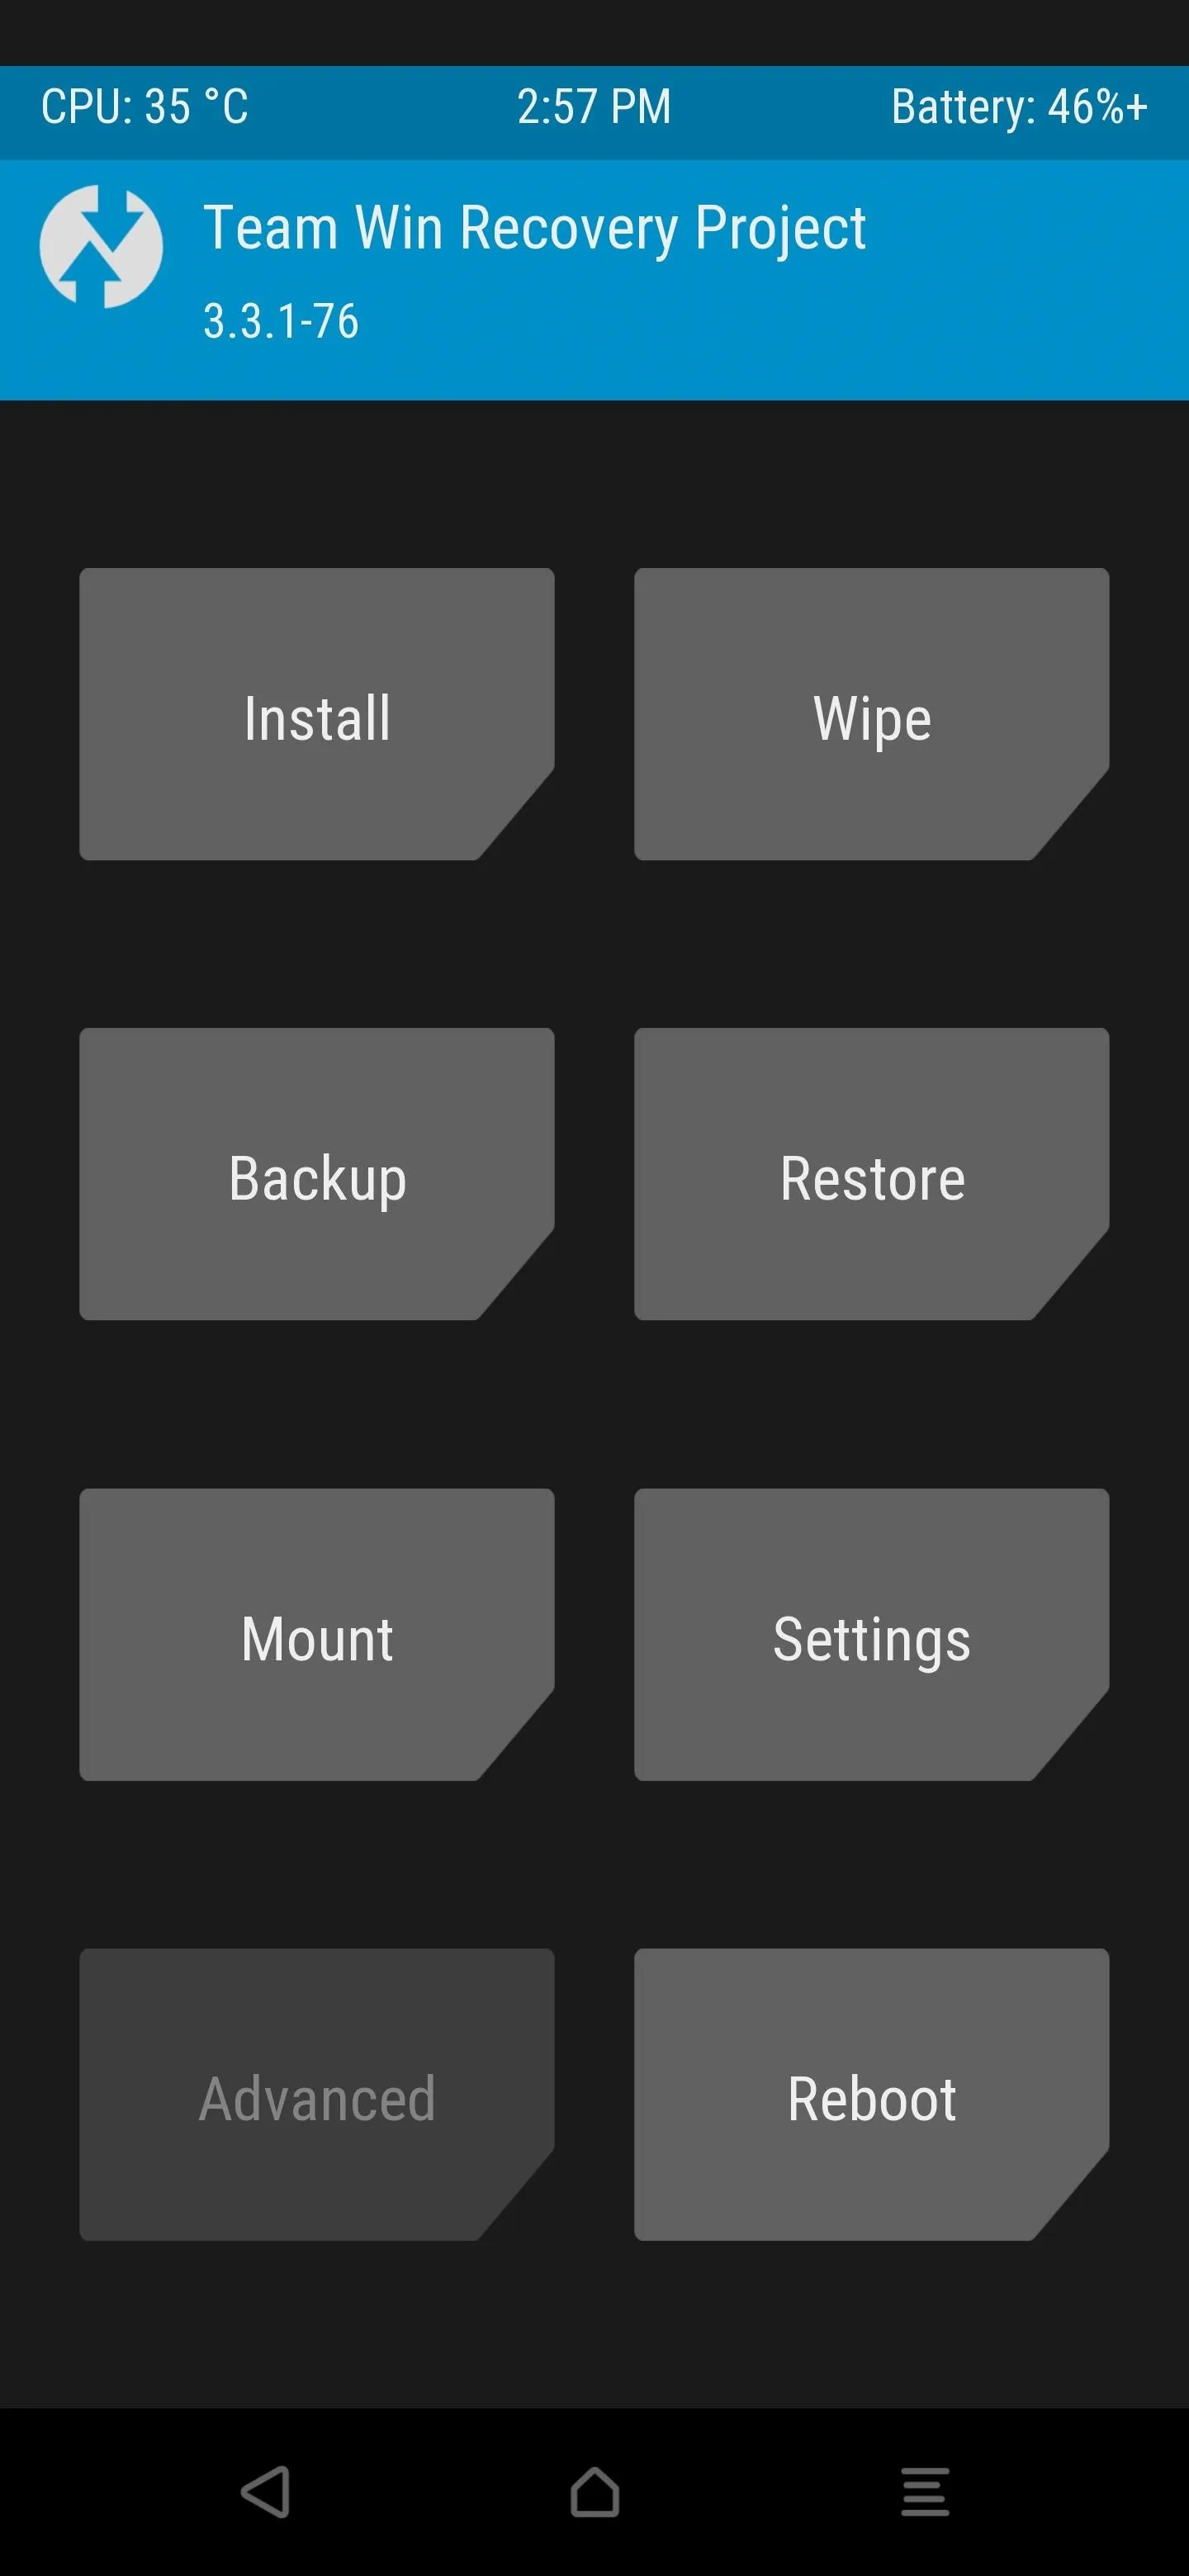
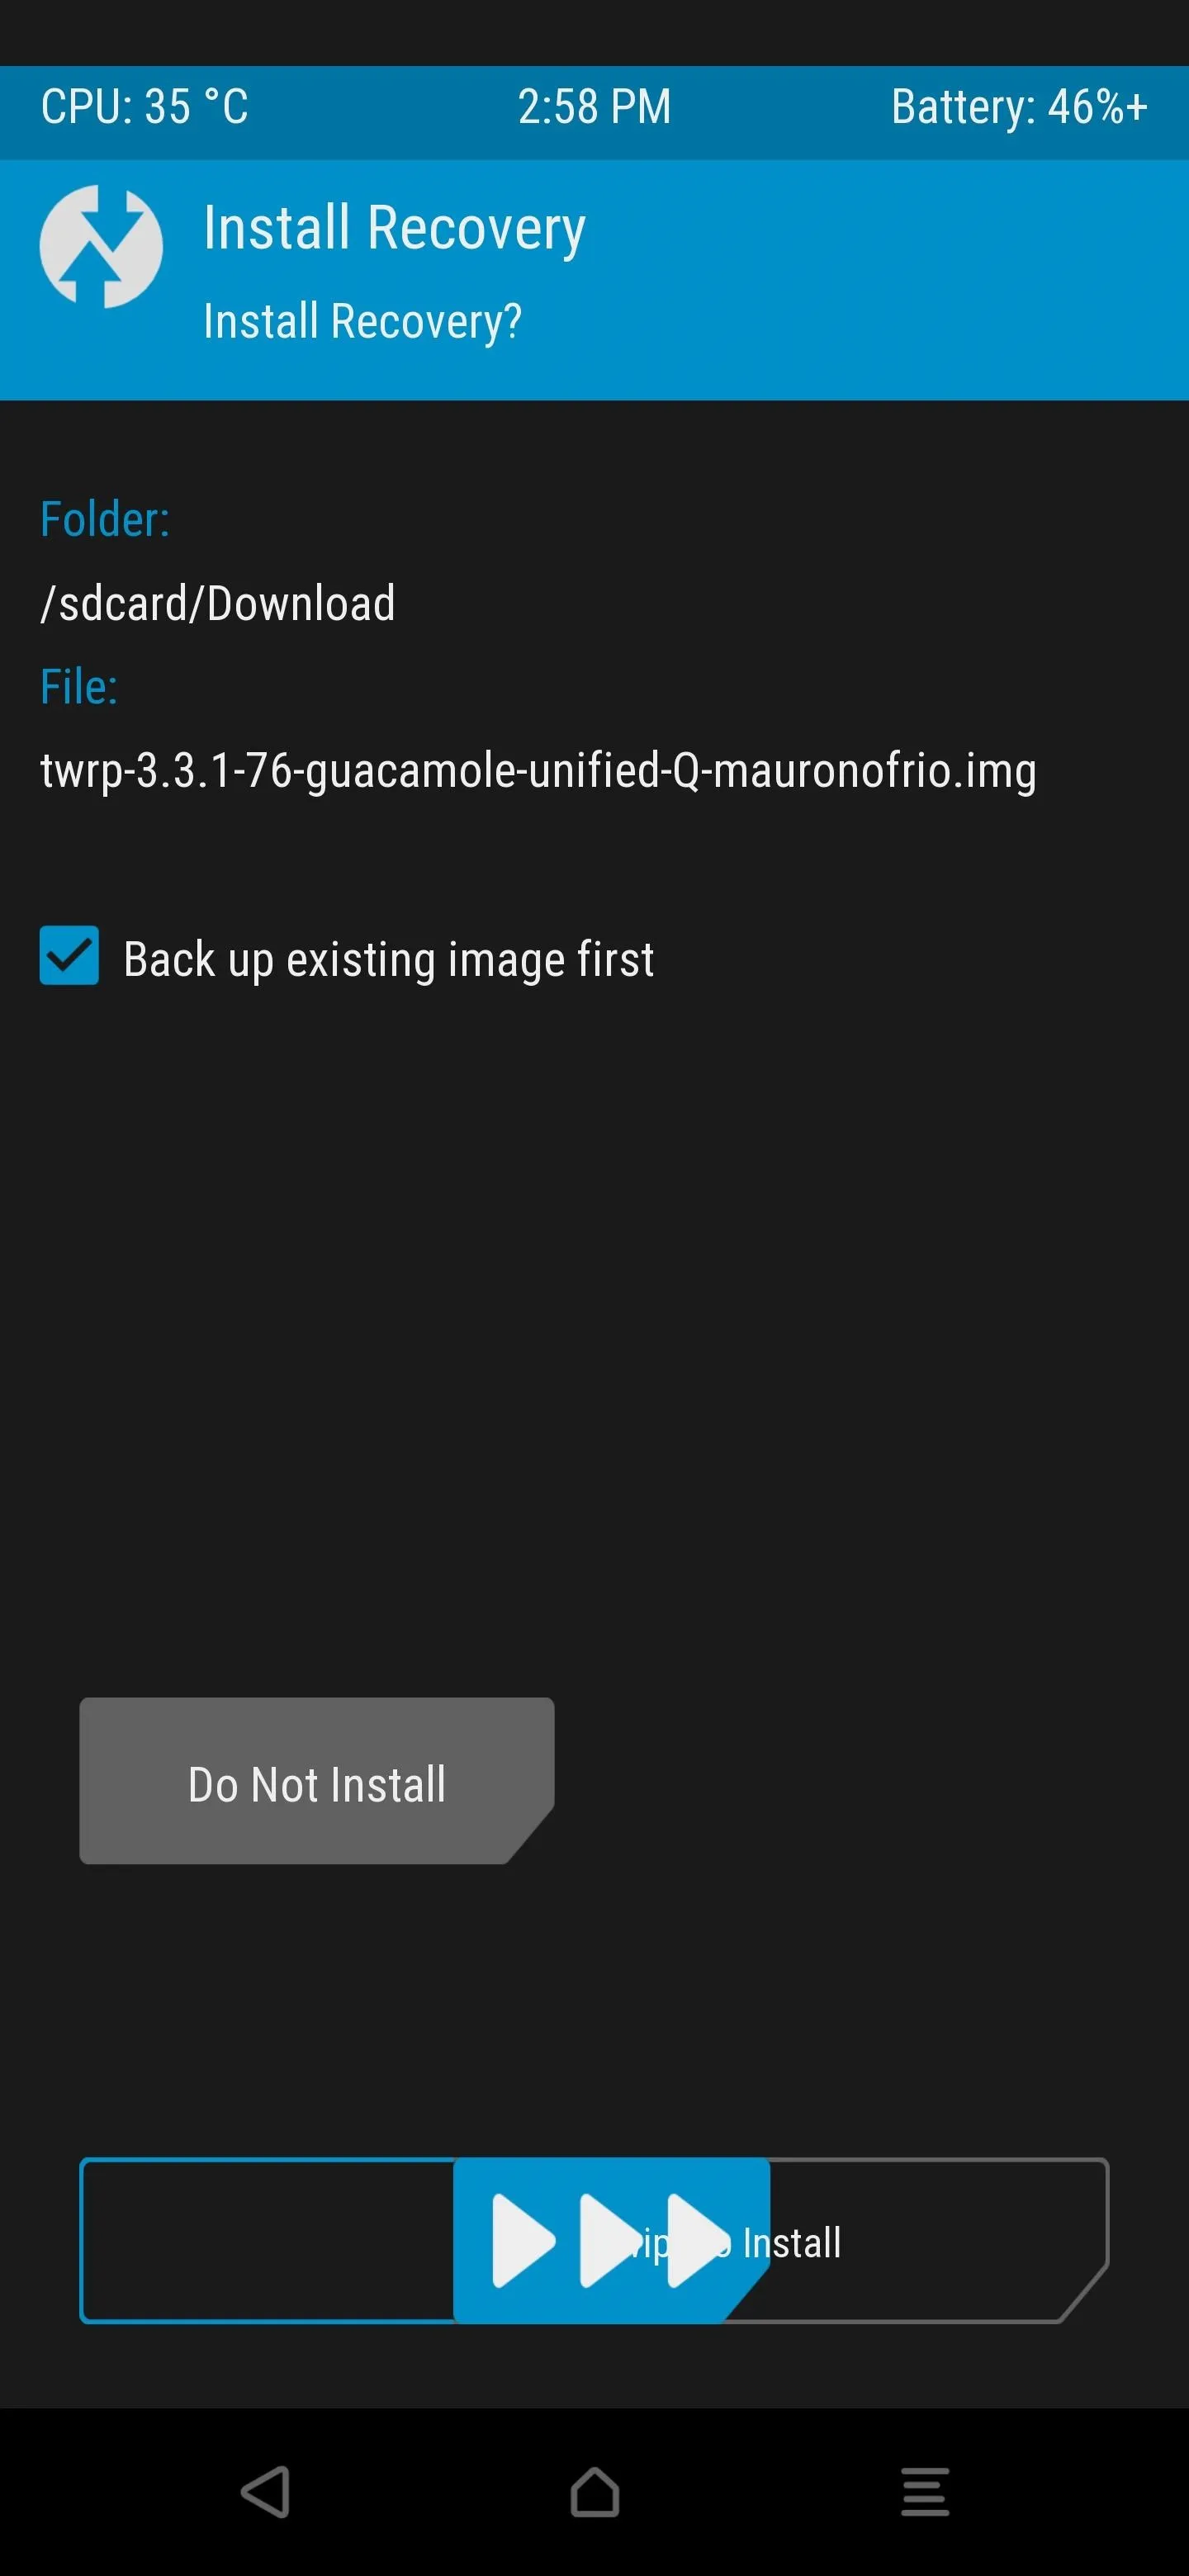
Once that finishes, tap the home button to return to the main screen, choose "Advanced," then go to "Install Recovery Ramdisk." Tap the TWRP image file, then check the "Back up existing image first" for safekeeping. Now, slide the "Swipe to Install" button at the bottom to begin the installation process.

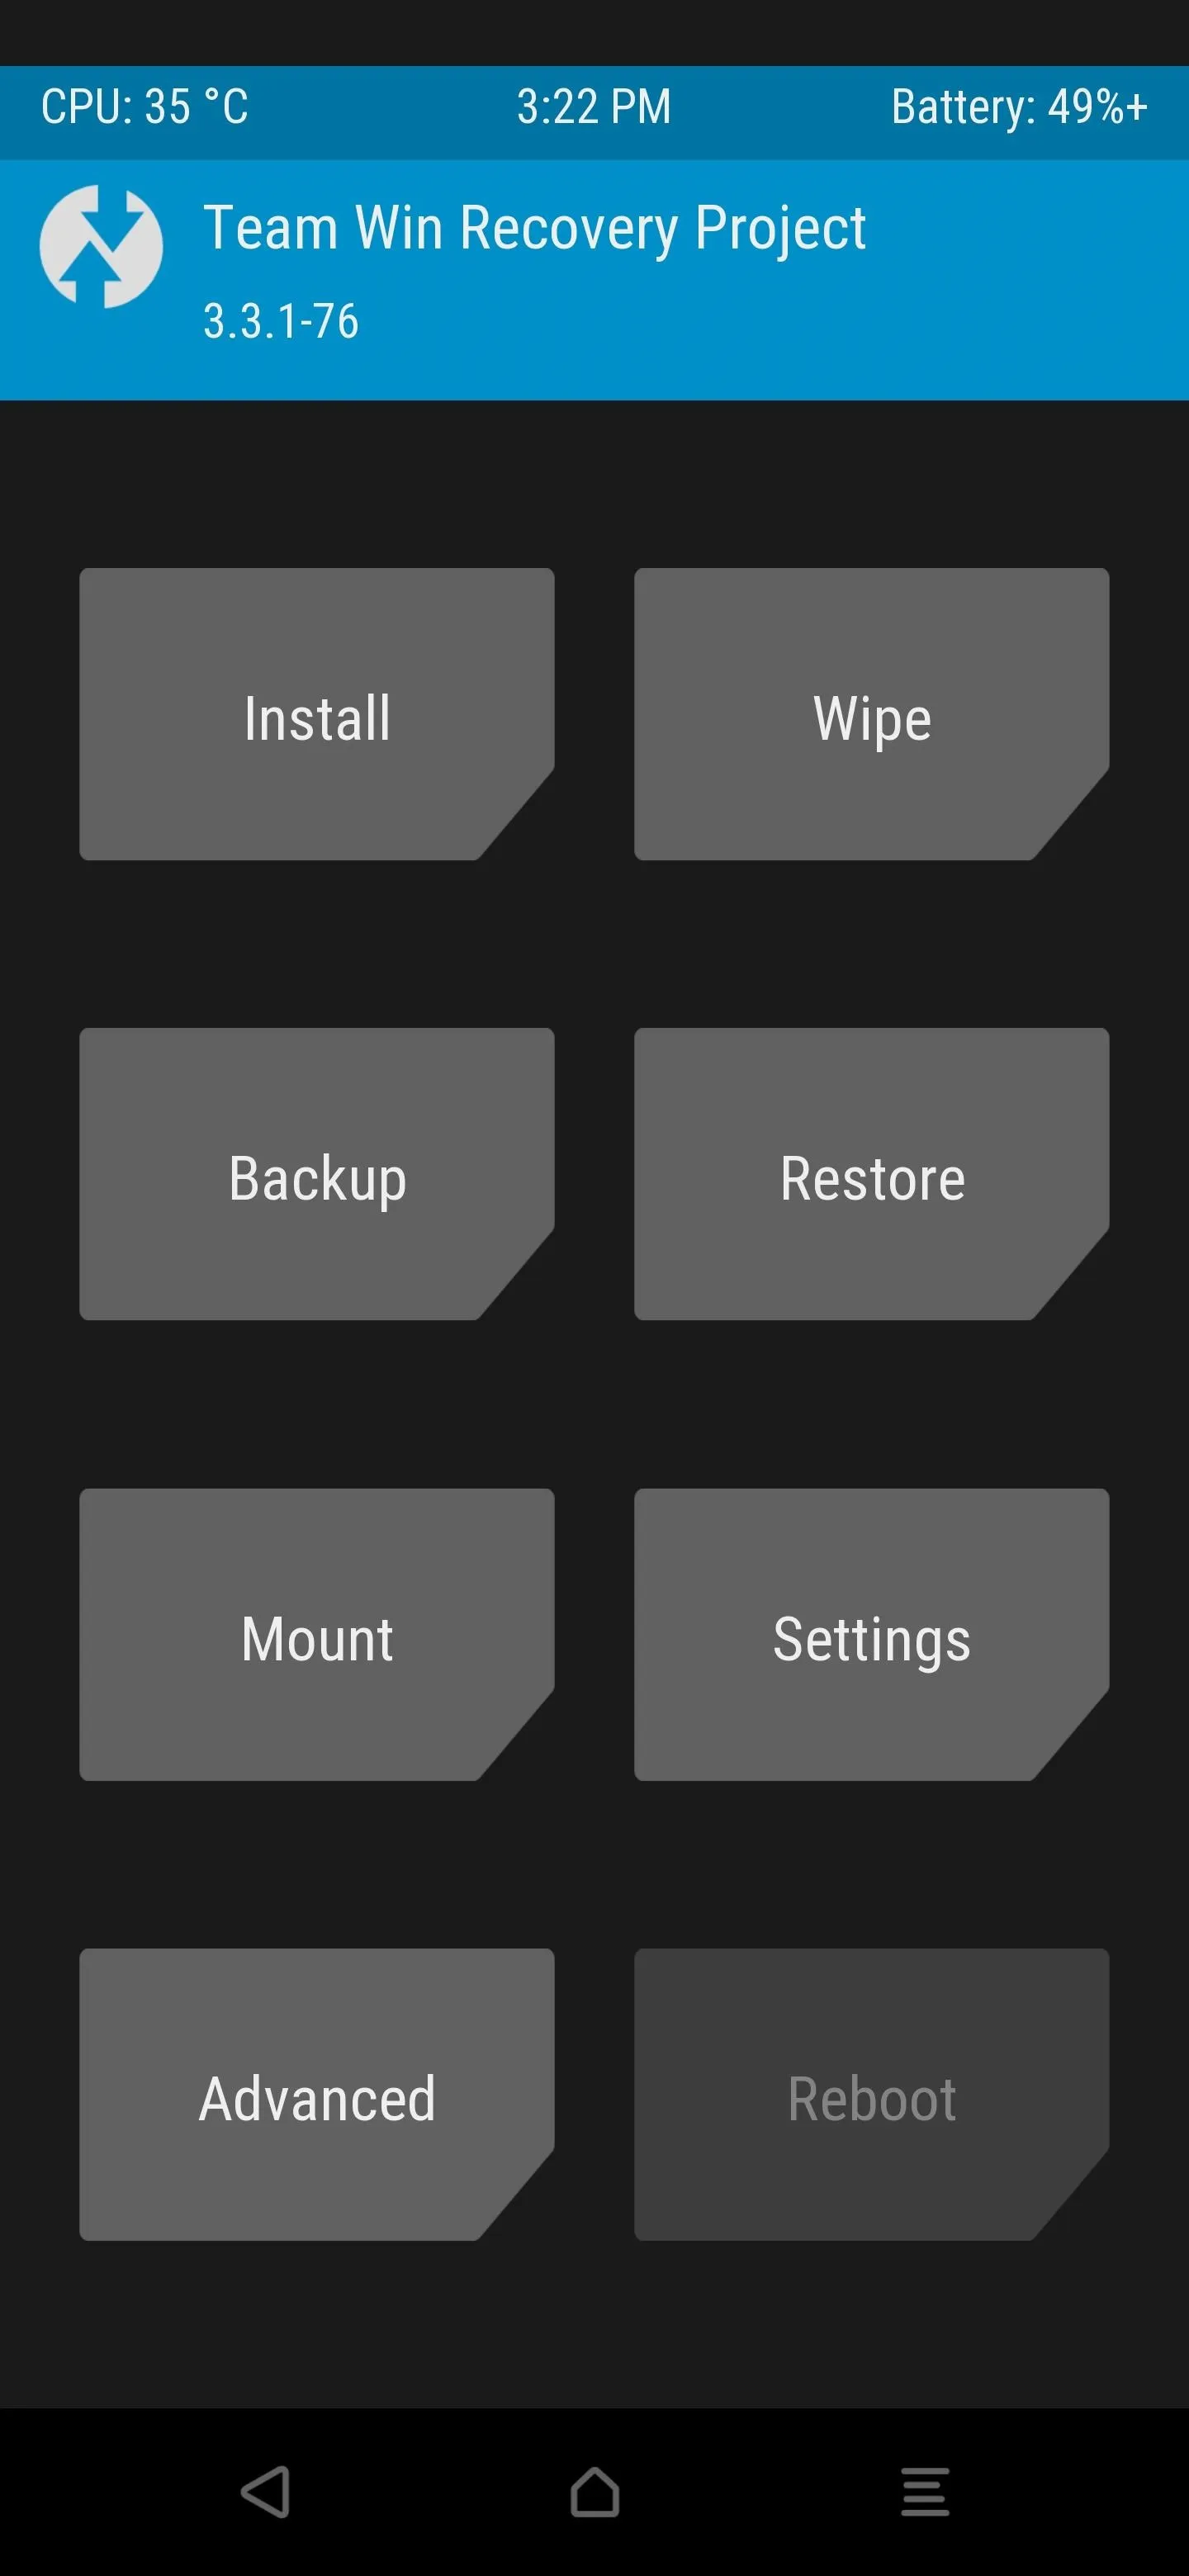
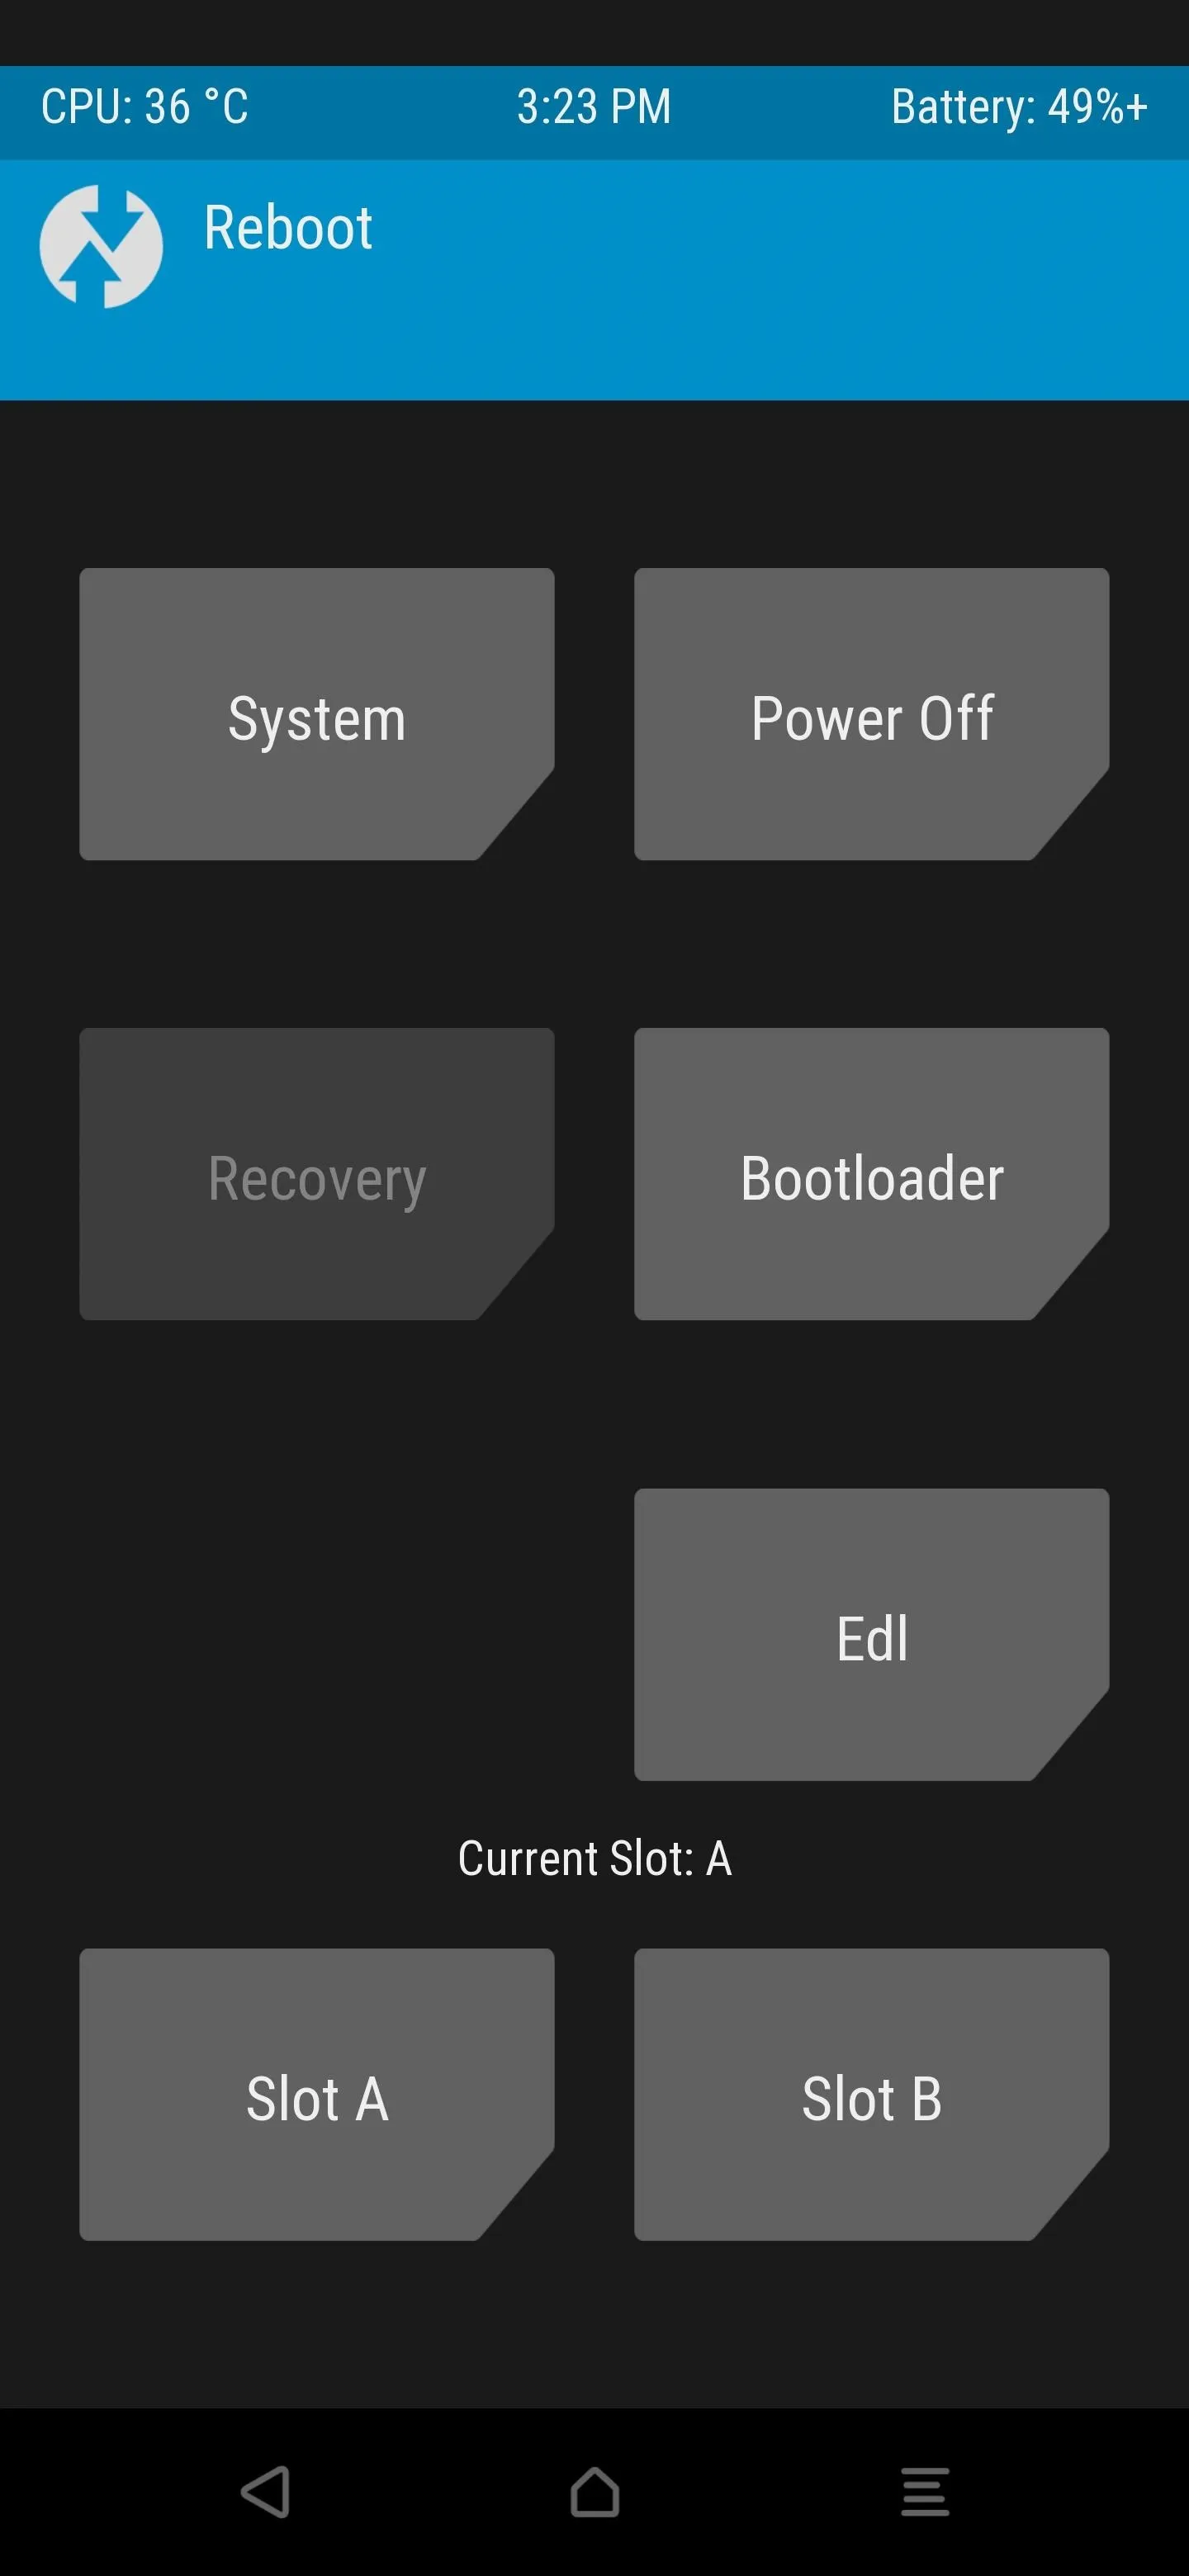
After TWRP is installed successfully, tap the home button, go to "Reboot," then "Recovery." Your phone will reboot into the updated partition of your system, which now has the fresh install of TWRP on it. If everything went according to plan, you should be sitting at the TWRP main menu. Now you can move onto the final step below.
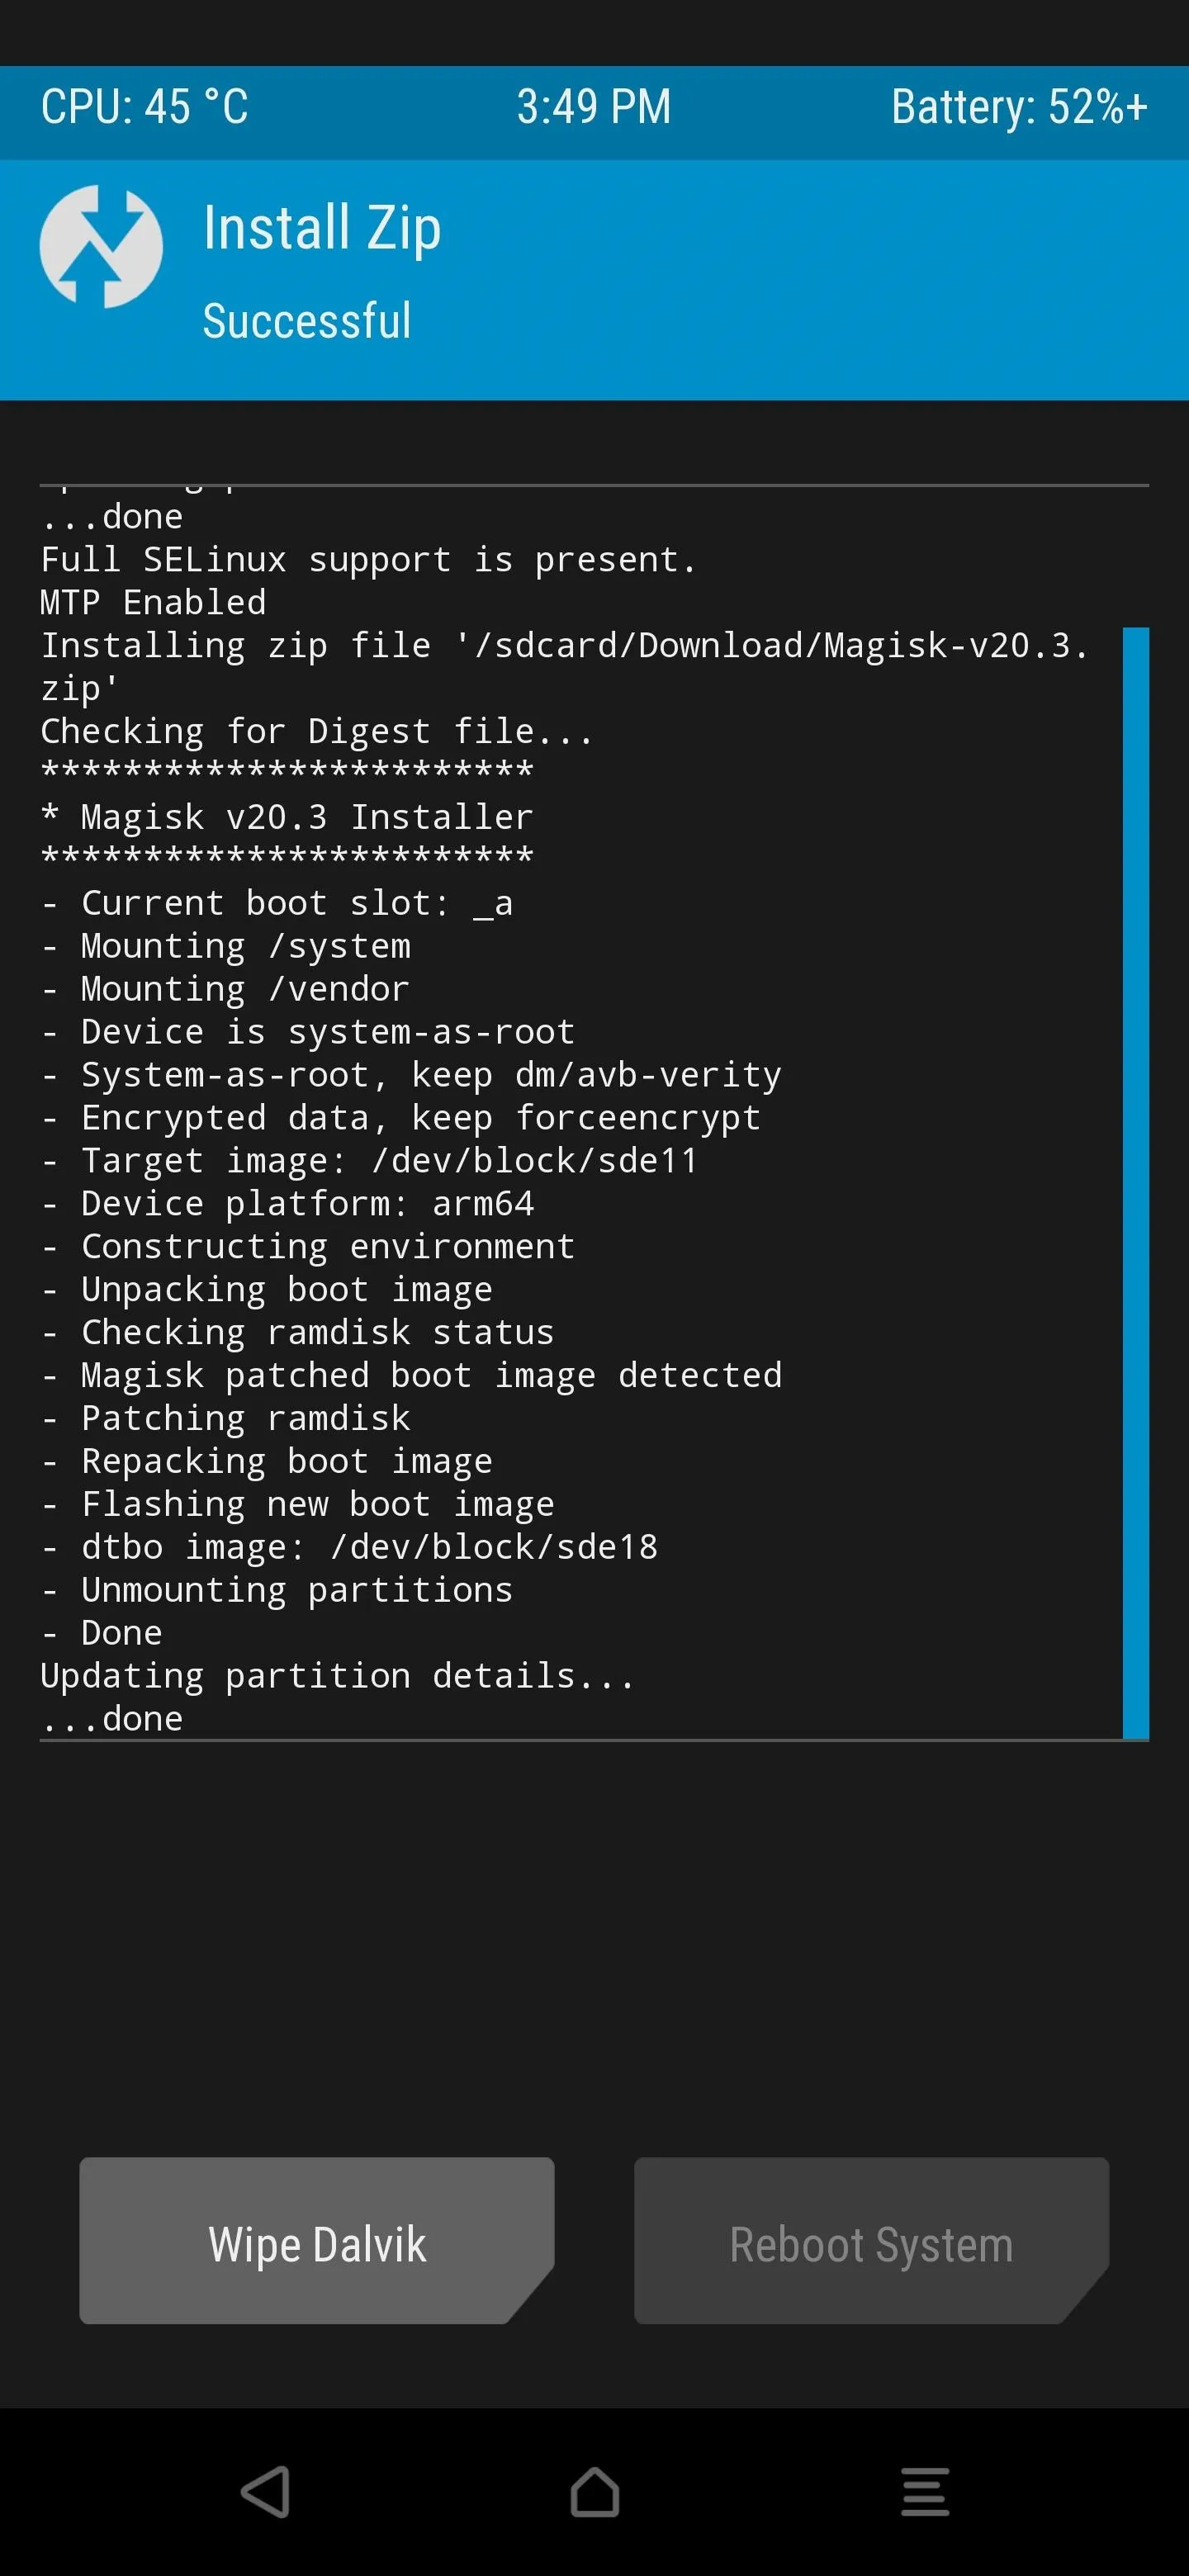
Flash Magisk & Reboot System
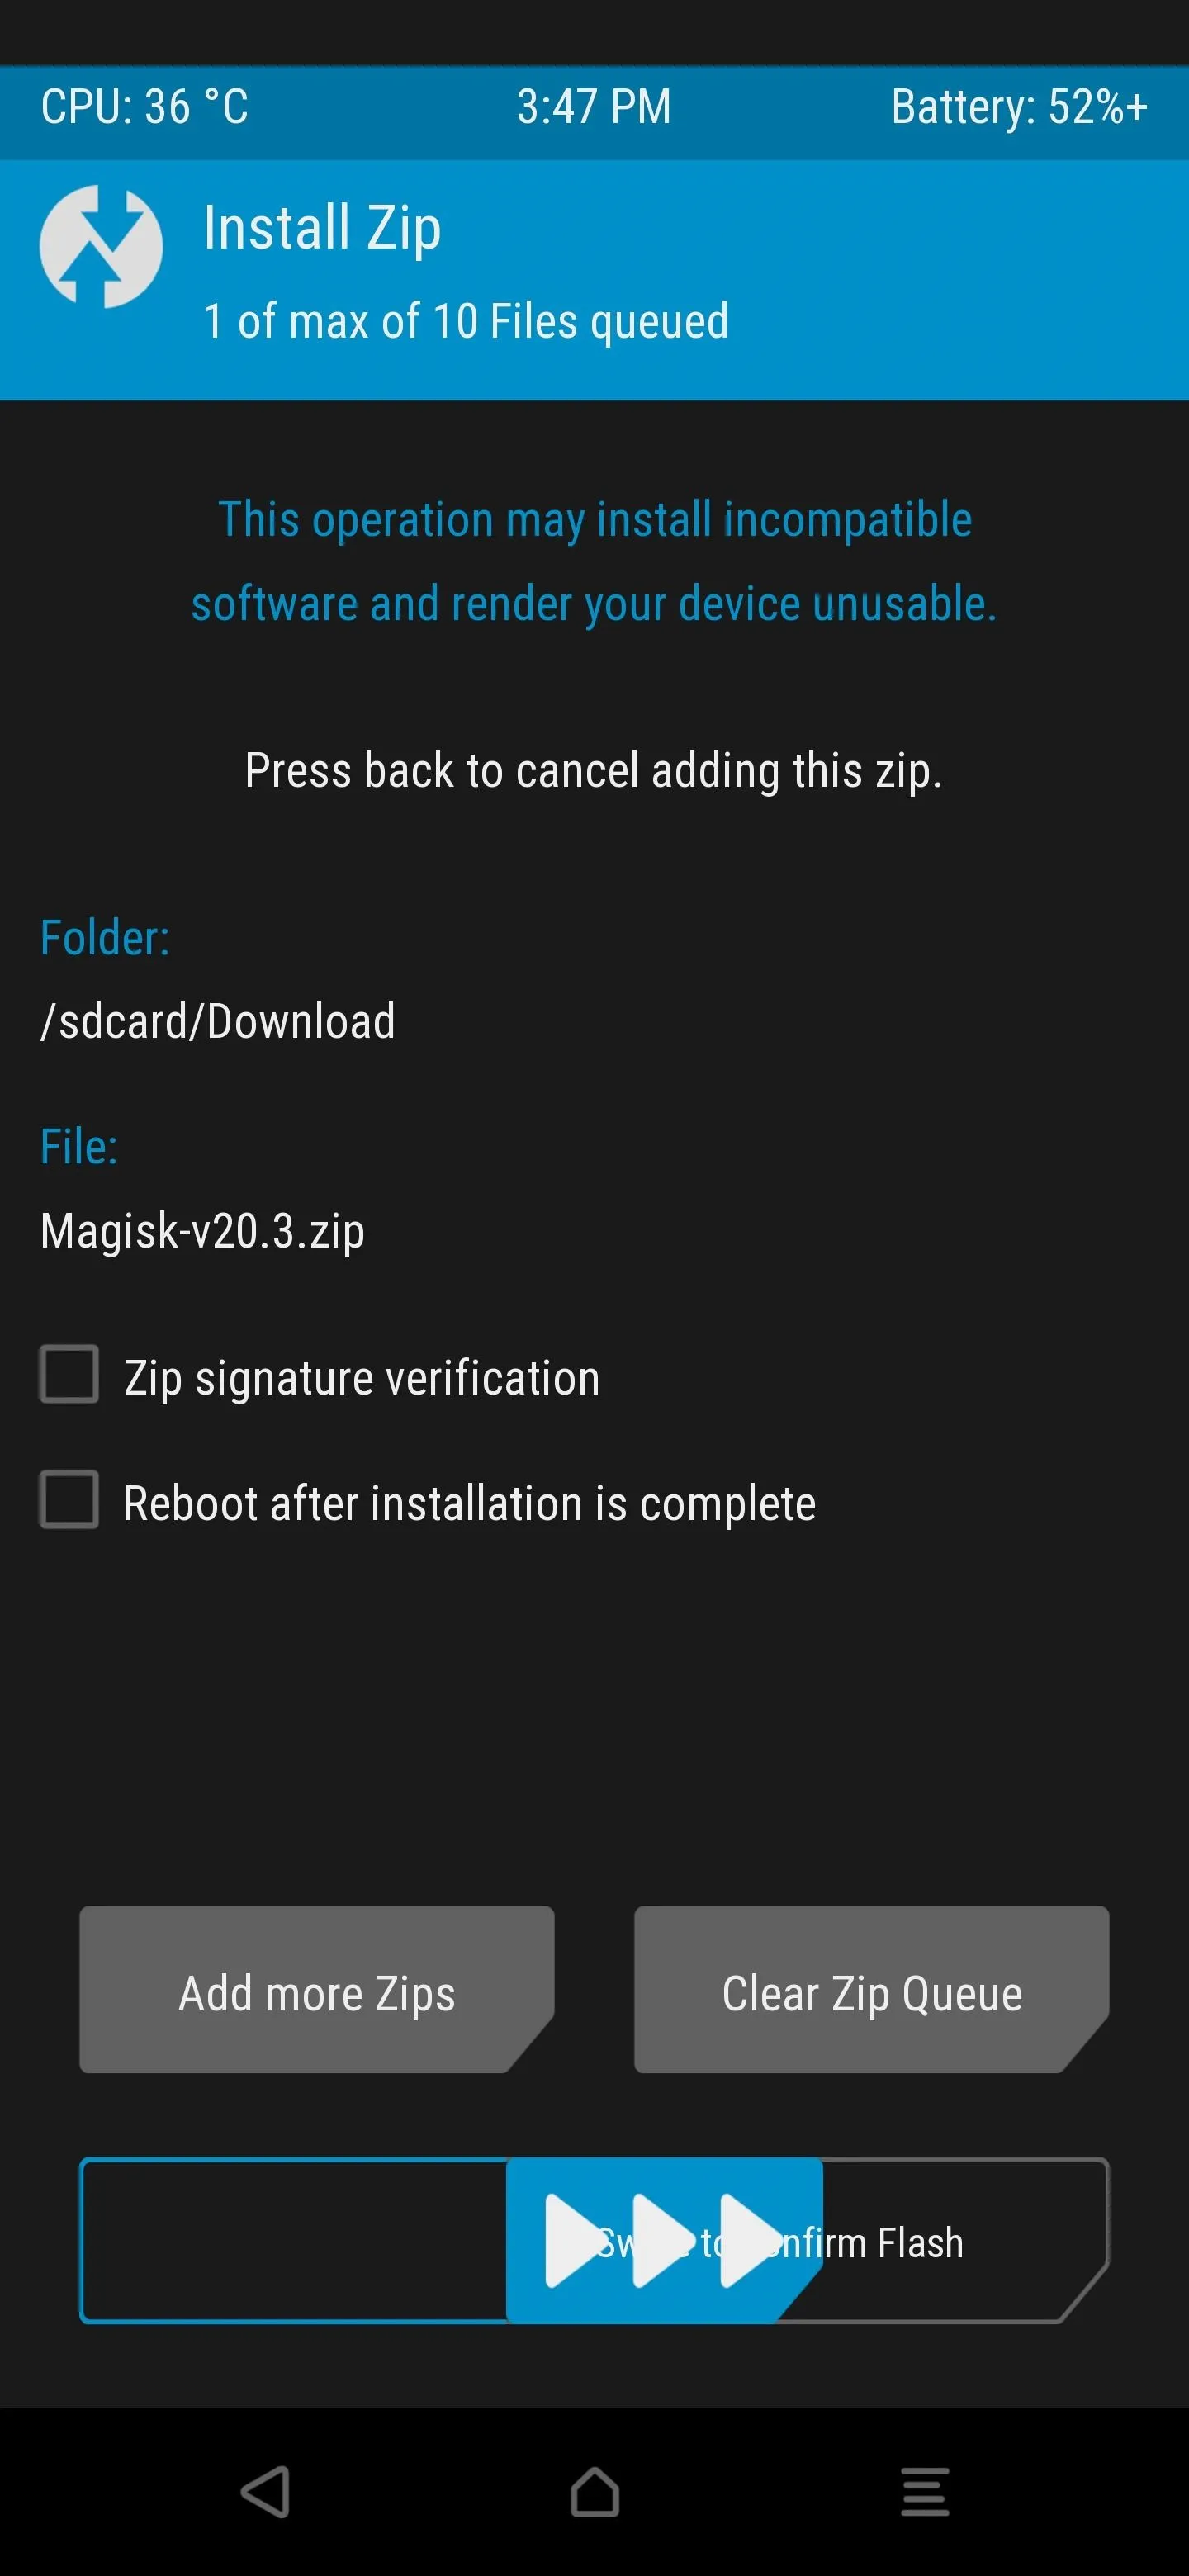
You're almost done here with the whole process, but you still need to install Magisk for maintaining root access. From the main TWRP menu, navigate to your "Download" folder, tap the Magisk file once, then install it by swiping the slider. Once Magisk is done installing, you can tap the "Reboot System" button to boot back into Android like usual.

You now have the latest version of OxygenOS, your TWRP custom recovery is intact, and your root access is still there, too. As a bonus, you'll also receive your system update notifications from the Oxygen Updater app. Doing so will not only make things easier for you as a root user, but you can skip the slow staged rollout process as well. Immediate updates for all!
Final Note
The older versions of TWRP for the OnePlus 7 Pro had a feature called "Inject TWRP after install," but it's no longer included in current versions. It was a super helpful feature that removed the need to manually install the TWRP image file. It allowed you to keep TWRP after an OTA update without any extra work on your part, which was awesome. Hopefully, the feature will make a return soon!
I'm guessing it was removed to avoid potential bootloops for anyone who used the feature when it wasn't required. The only time it should be used is when installing an OTA system update; otherwise, it likely would cause a problem. This is especially true with A/B partition devices in particular, such as the OnePlus 7 Pro. You have to be very careful when you're dealing with A/B devices.
Cover image and screenshots by Stephen Perkins/Gadget Hacks


Comments
Be the first, drop a comment!