


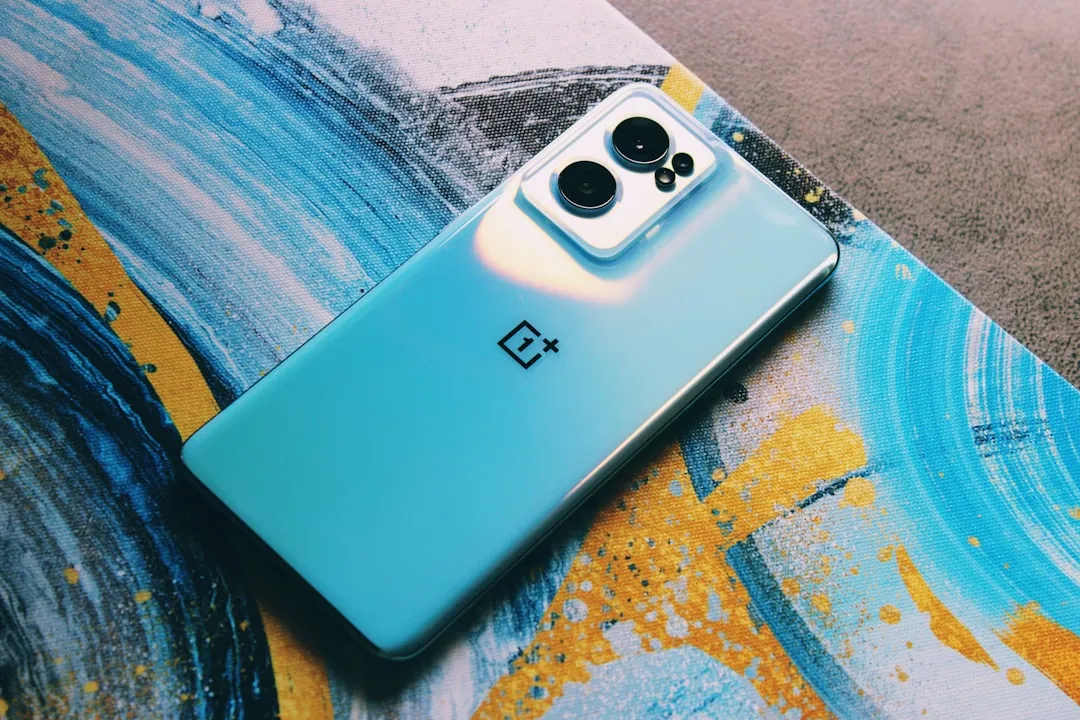
The triple camera system on the OnePlus 7 Pro is the best setup they've ever done so far, but it could always be better. The primary sensor packs a whopping 48 megapixels, but as history has taught us, megapixels don't equal better photos by default. In fact, with where we are in terms of hardware right now, it's the software that determines a phone's camera performance.
Thankfully, Google's been tackling this issue for years with its Camera app, which relies heavily on the power of AI and machine learning algorithms to make photos even better. Their camera app is still exclusive to Pixel smartphones right now, but until they decide to make it available to everyone, we have an awesome community of developers pumping out ports on a very regular basis.
Very well known XDA developer Arnova8G2 is one of the main contributors to the Google Camera ports and configuration files needed to offer a higher level user experience. So much progress has been made in the past few months alone that it's mind-boggling how far the ports have come since the early days. There's a reason why these ports exist — everyone knows the power of Google's camera.
Install GCam
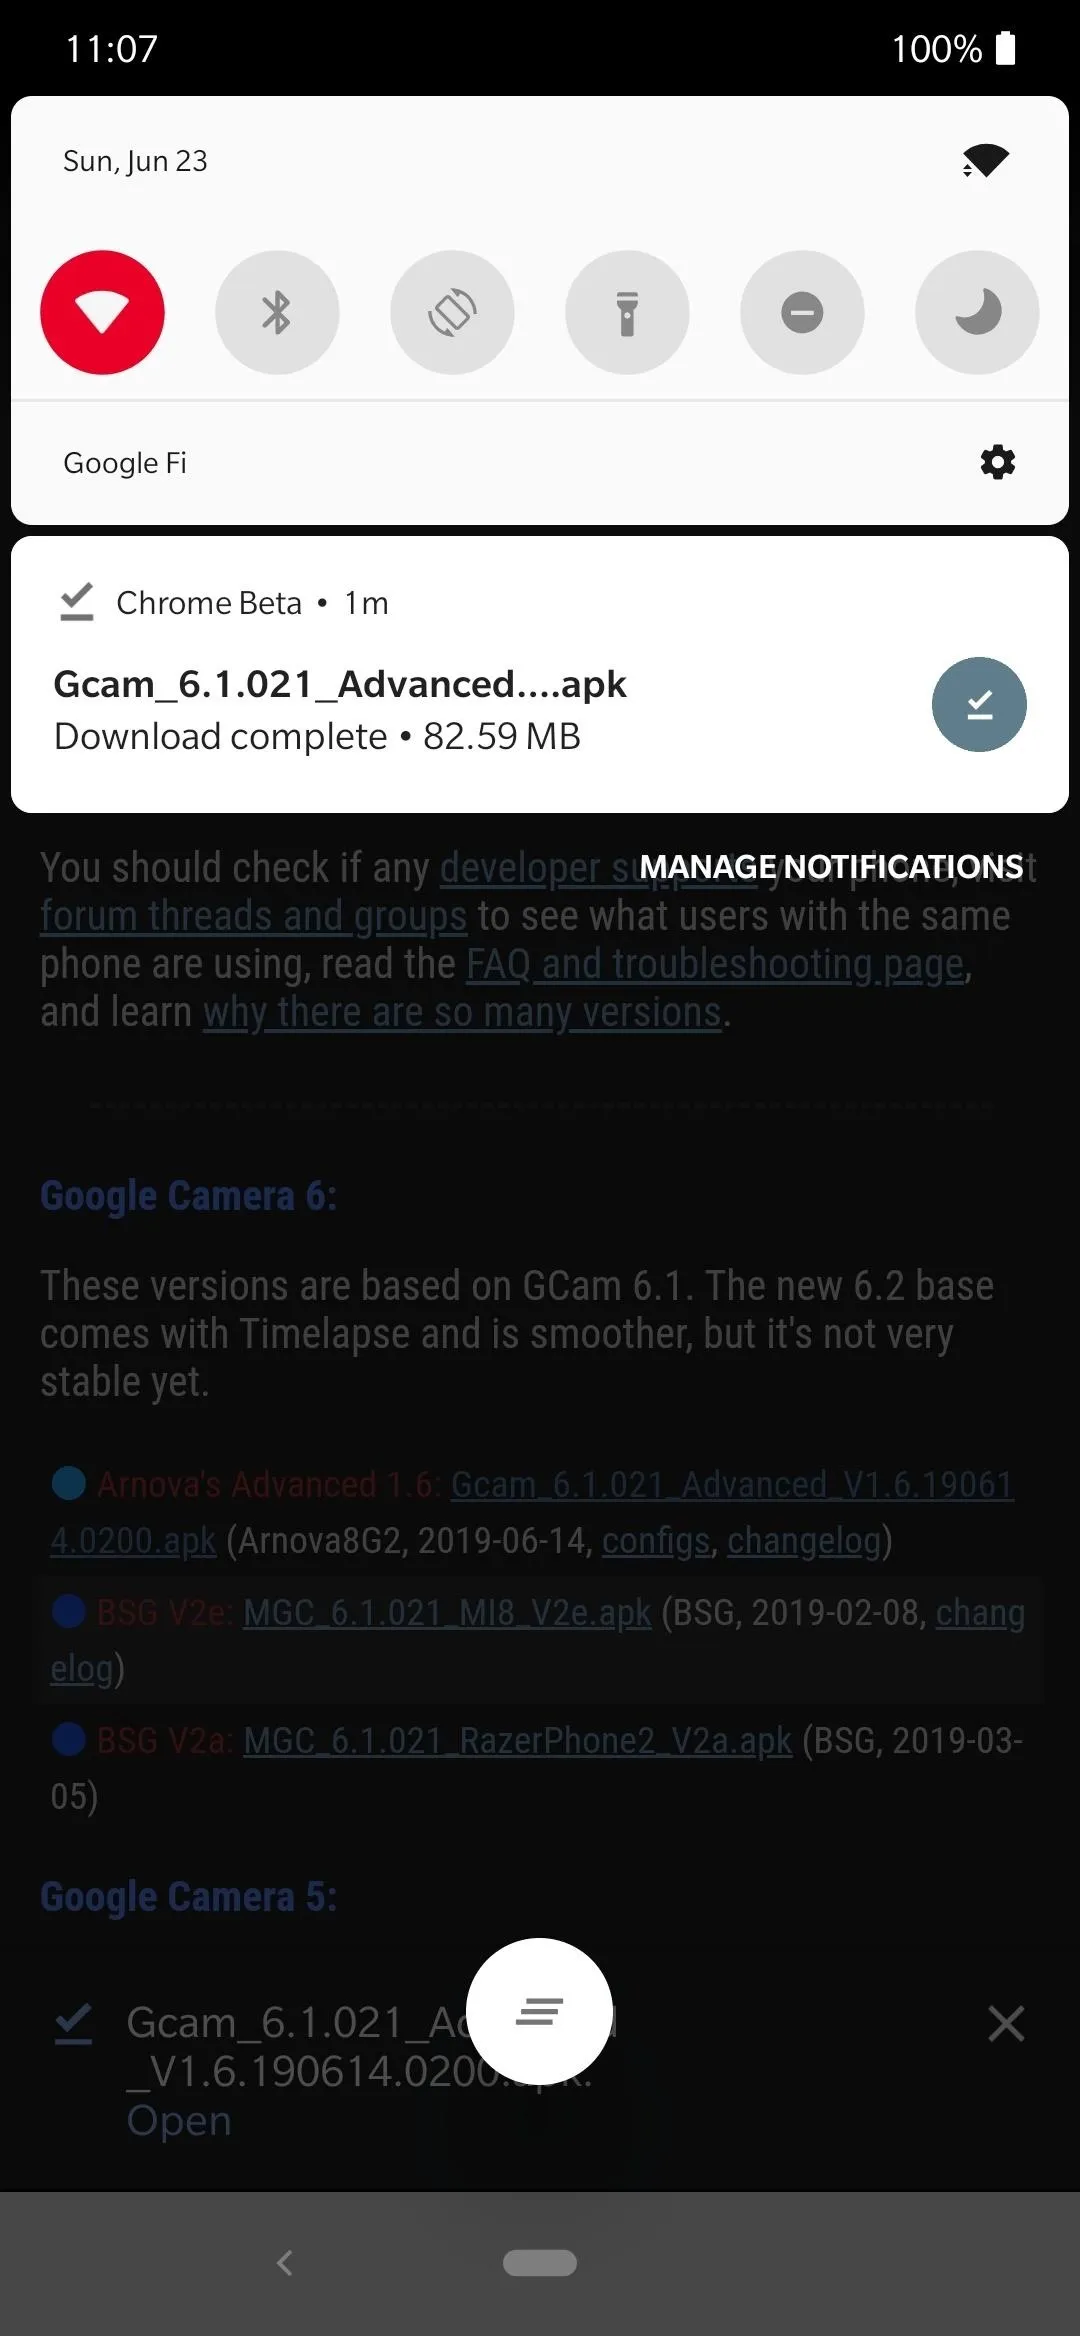
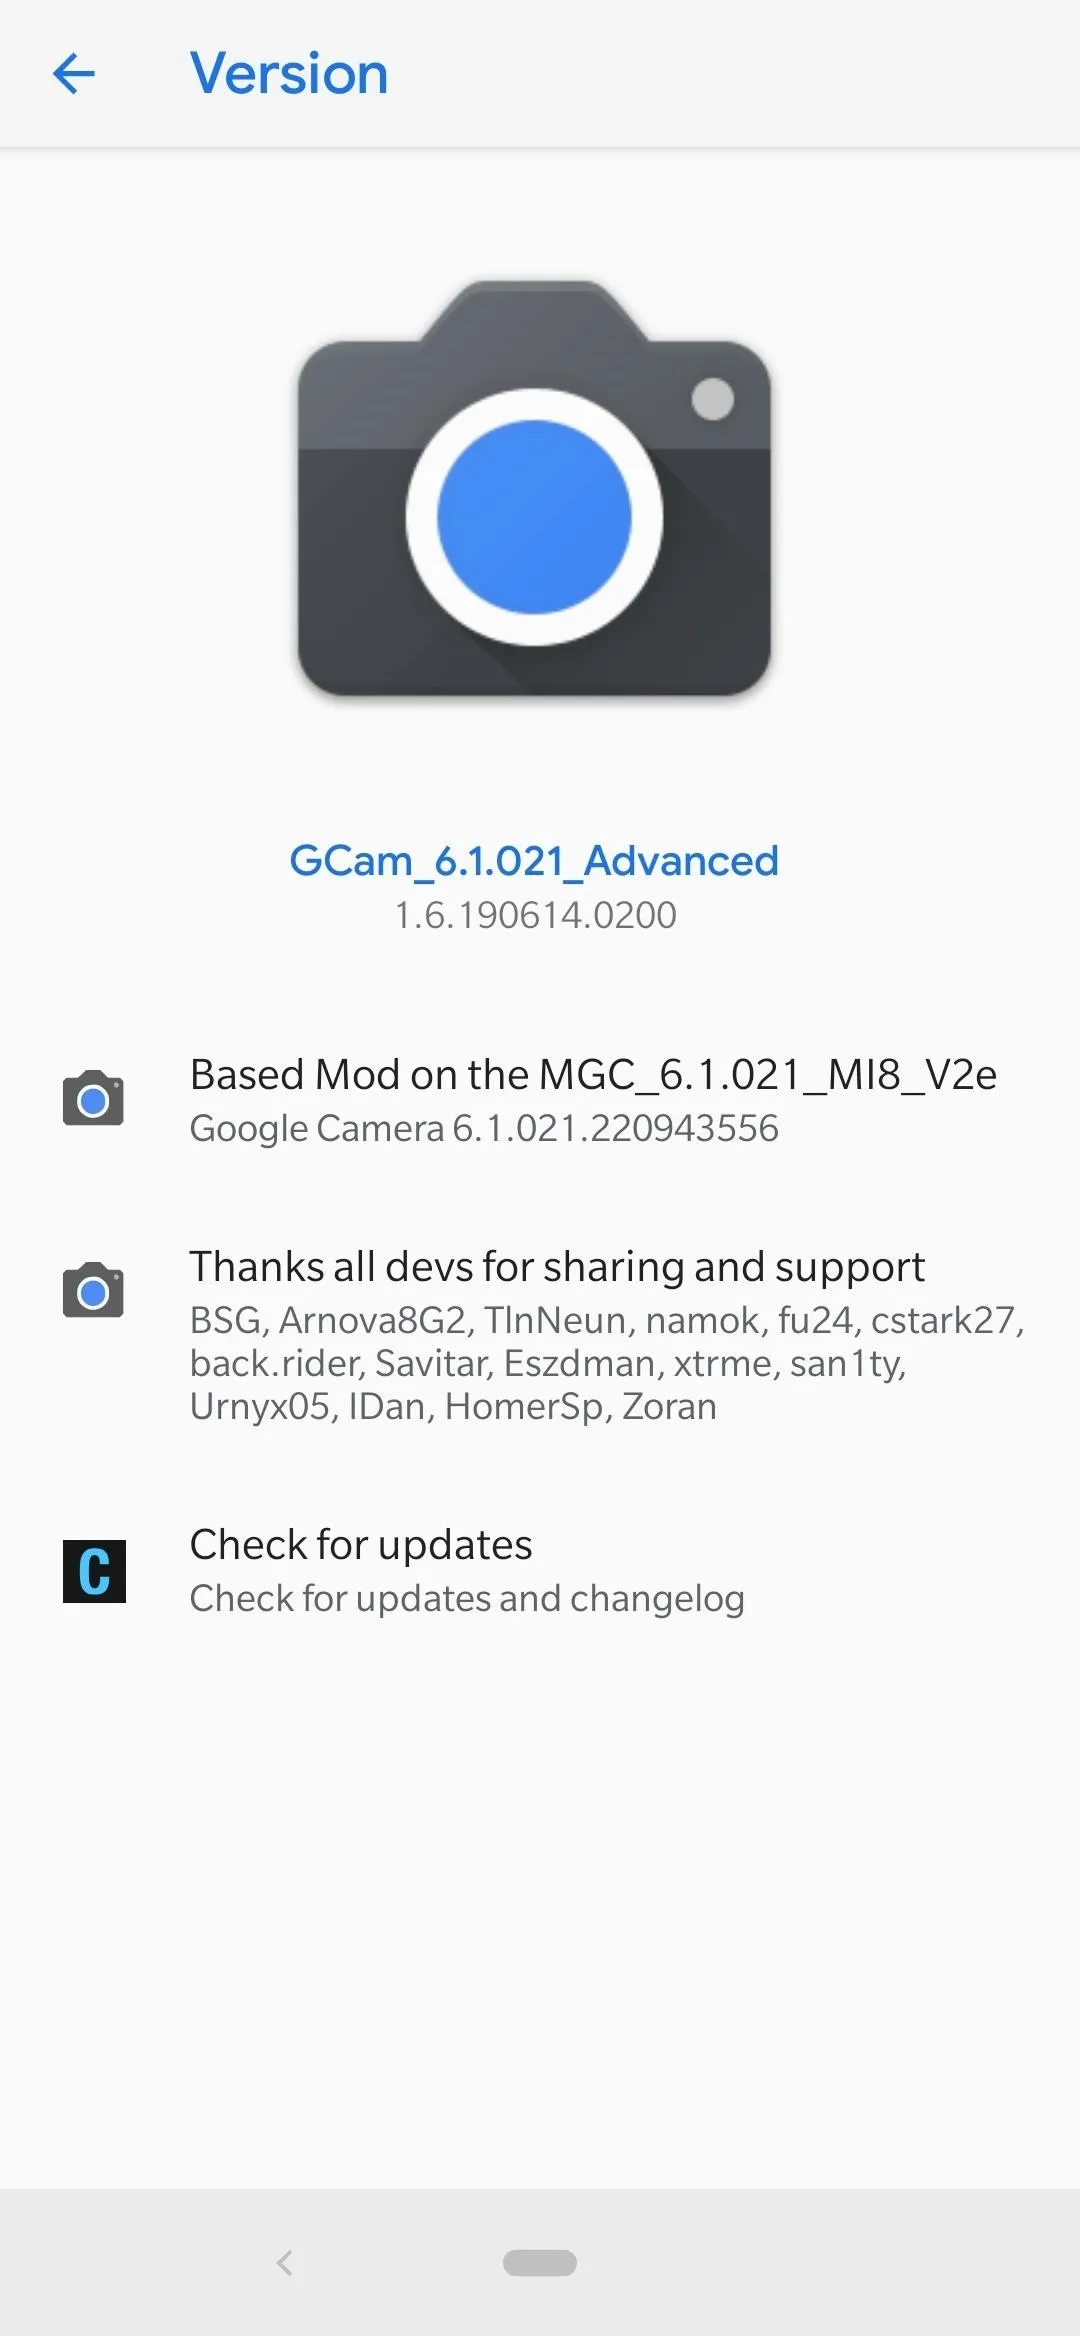
You'll need to download the Google Camera (GCam) port to get all of that Pixel camera goodness on your OnePlus 7 Pro. Download the app from the link below to take the first step towards getting some crisper looking photos, especially in low light environments.
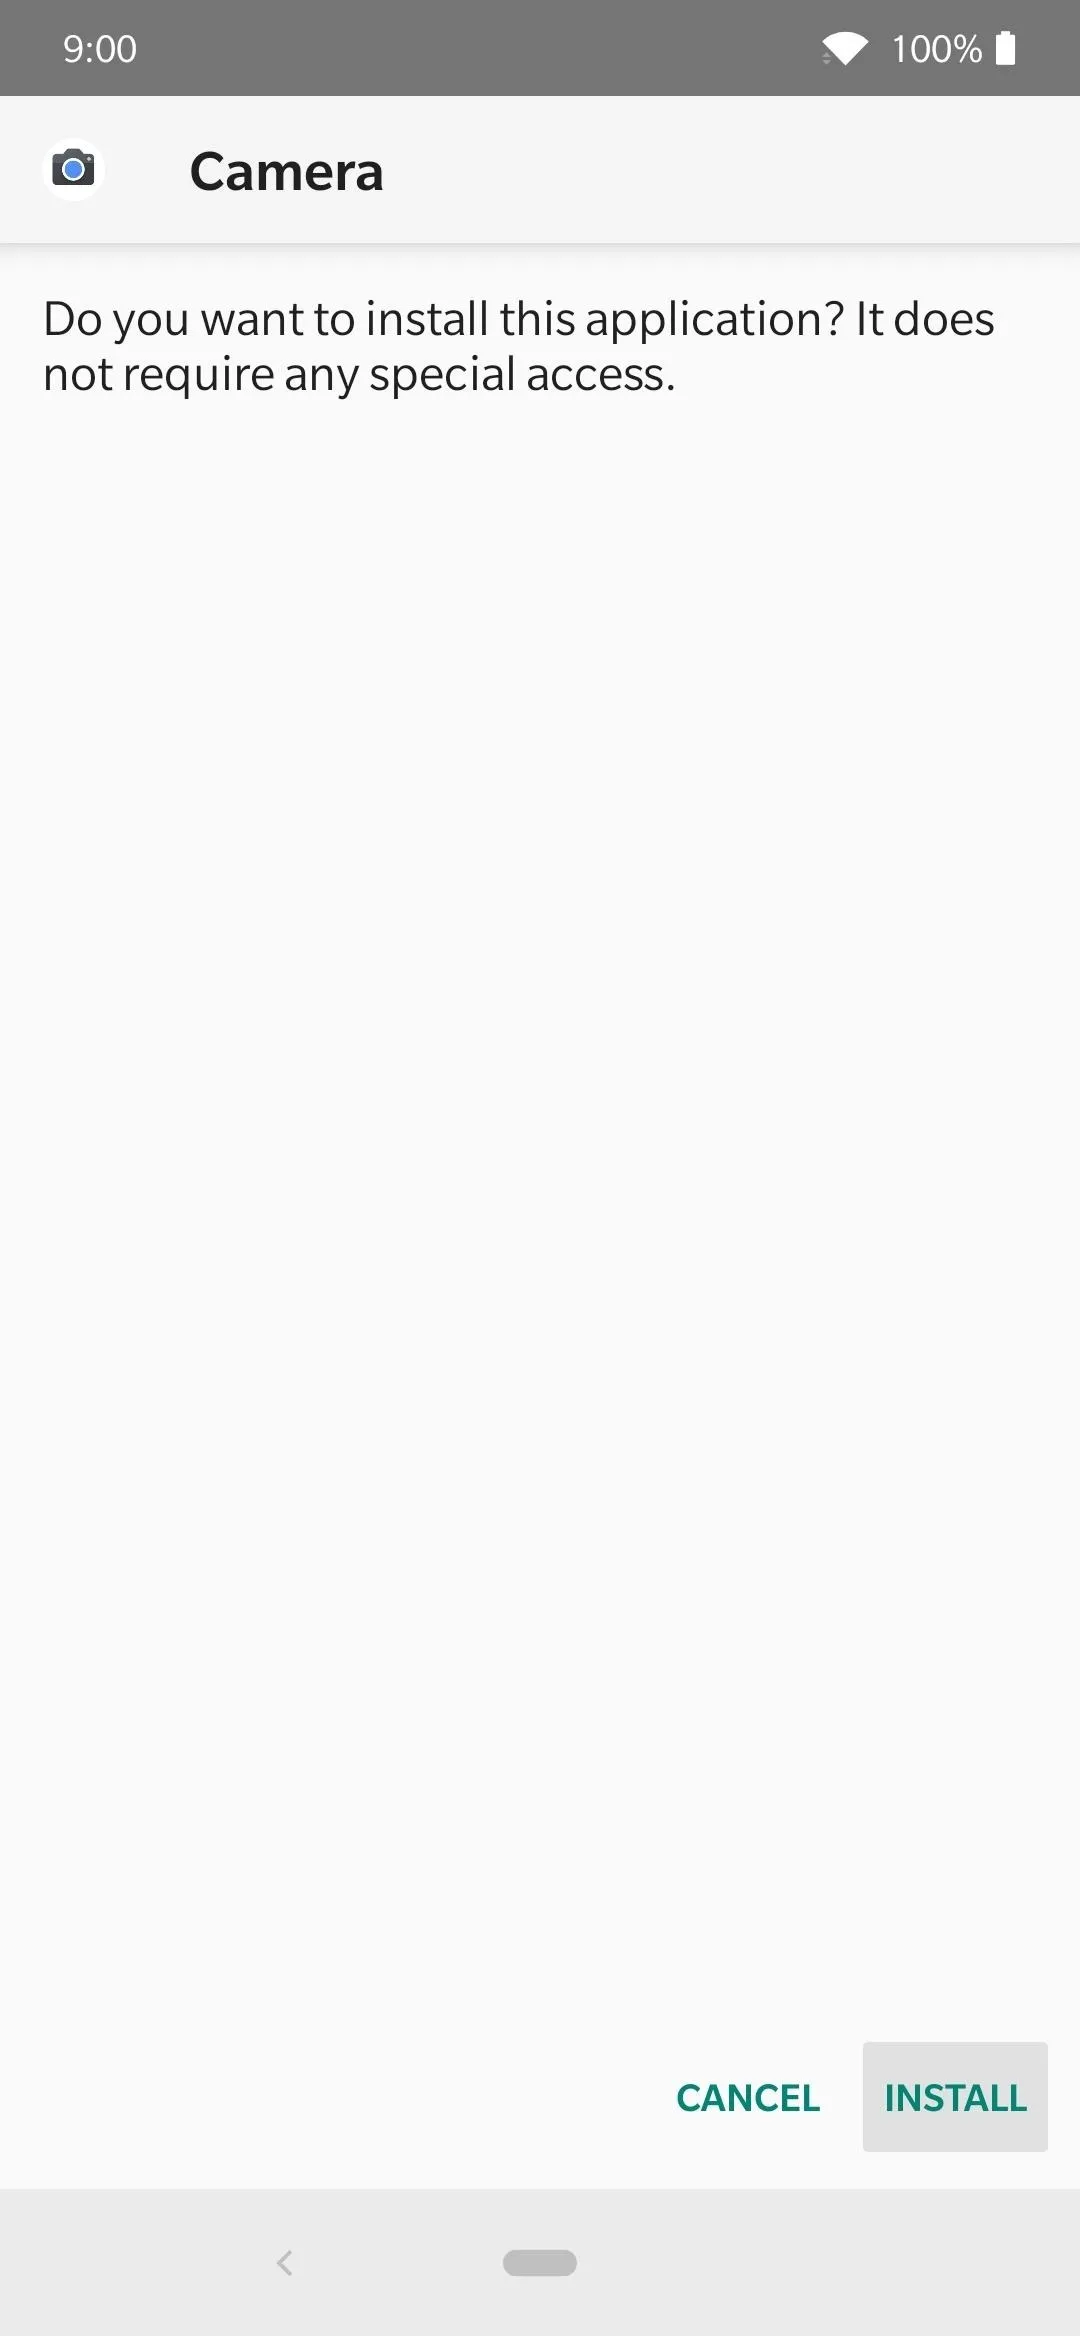
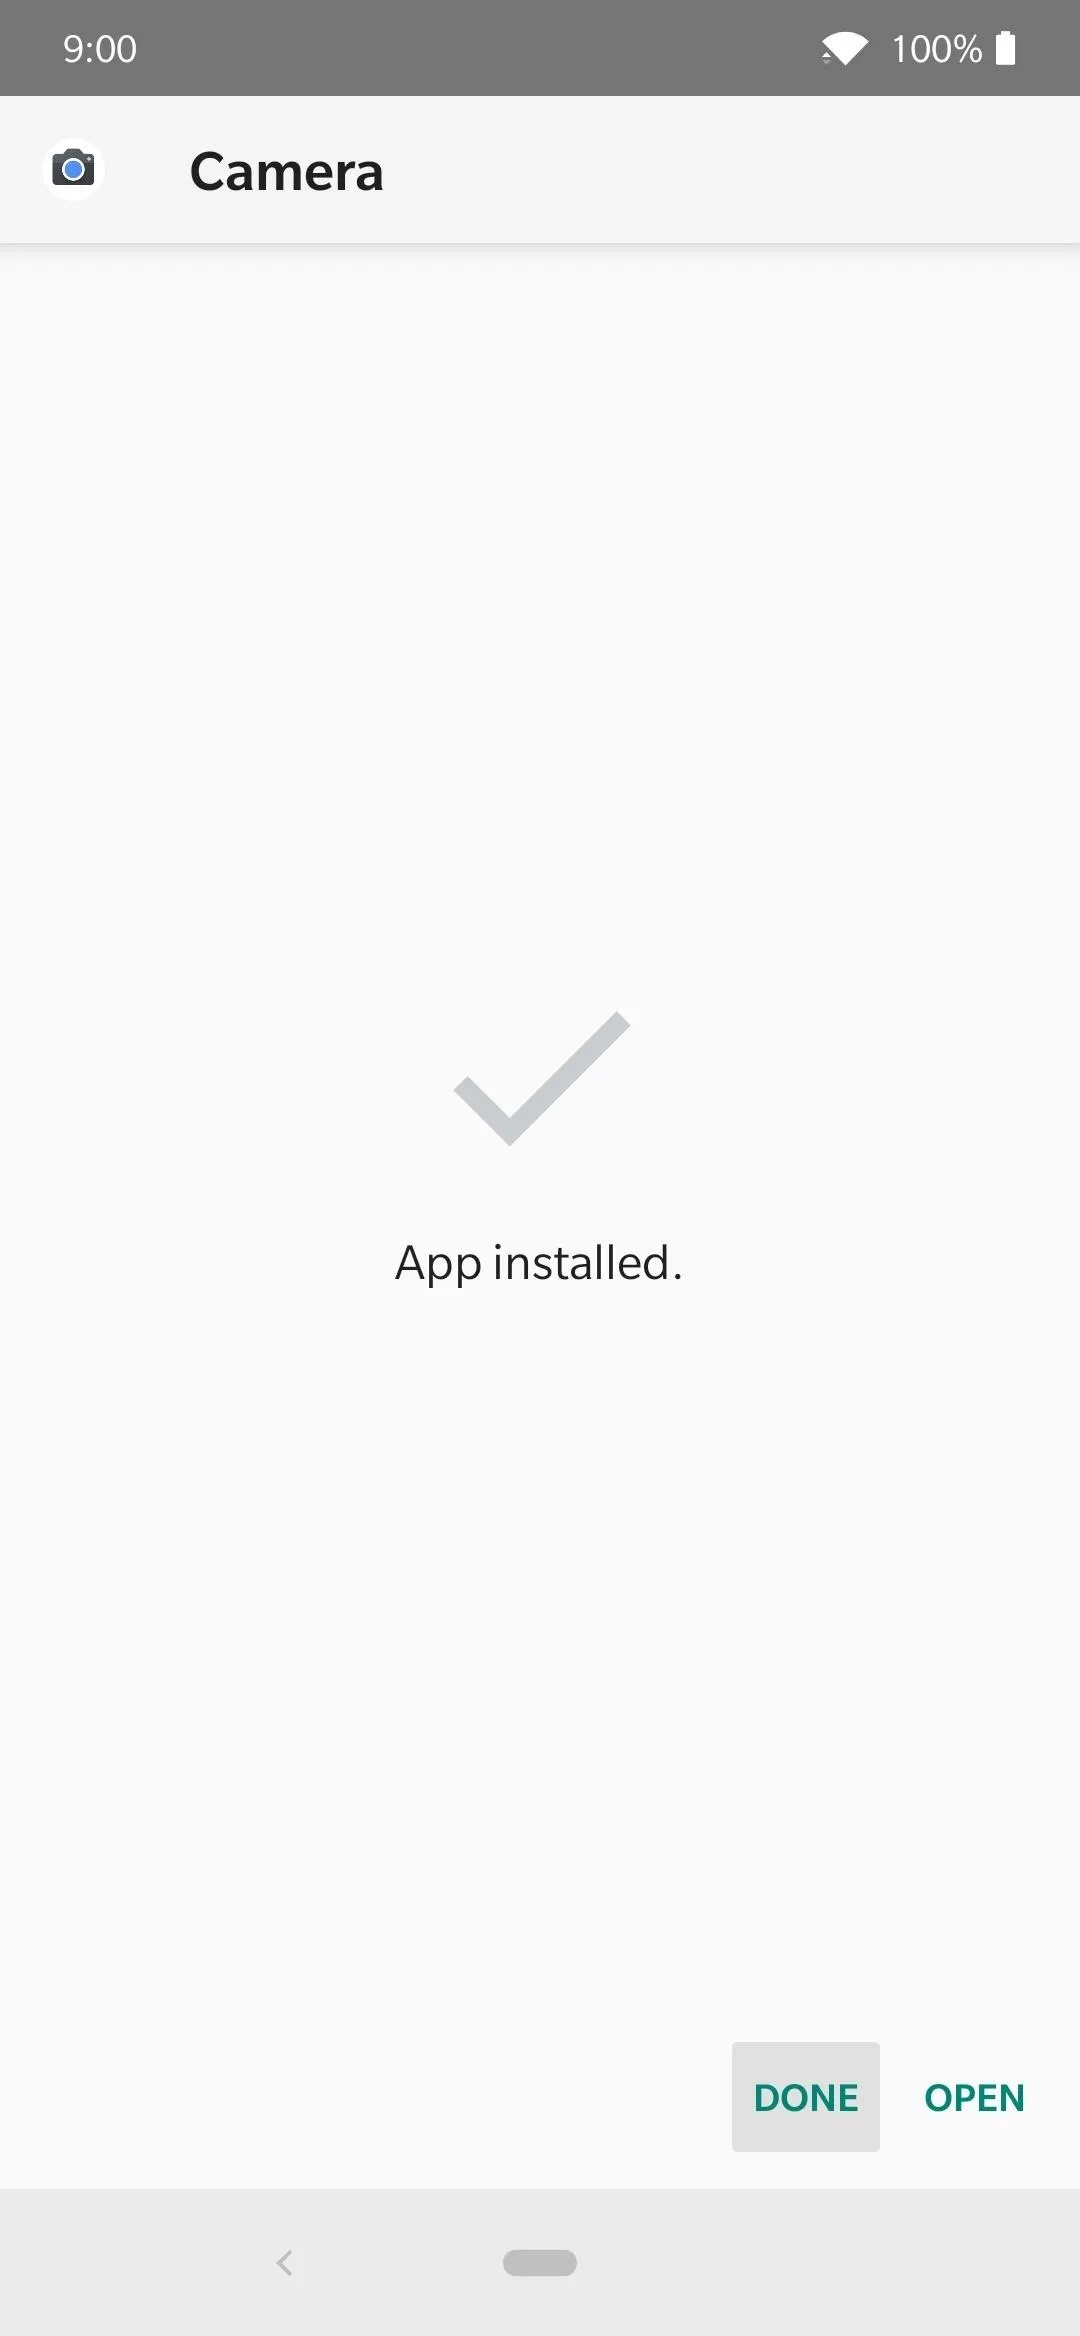
After the app is finished downloading, tap the "Download complete" notification to start the install process. You might have to enable the "Install Unknown Apps" option for the browser you're using to download the app from, but you'll be able to tap "Install" once you take care of that. Tap "Done," and then that's all you do with the app right now.
Download the Configuration File
The latest GCam ports should work on most devices just fine by default, but there are configuration files for specific devices that use optimal settings for the best experience. For example, many smartphones from 2019 so far have more than one rear facing camera, unlike the previous three Pixel generations.
These configuration files could make it possible for the GCam app to recognize the other cameras and enable them for you. Things might not work as intended at times, but the community behind the GCam ports and device-specific configuration files are always pushing out new features and stable updates. Hit the download link below to grab the config file for the OnePlus 7 Pro to make things even better.
Transfer the Configuration File
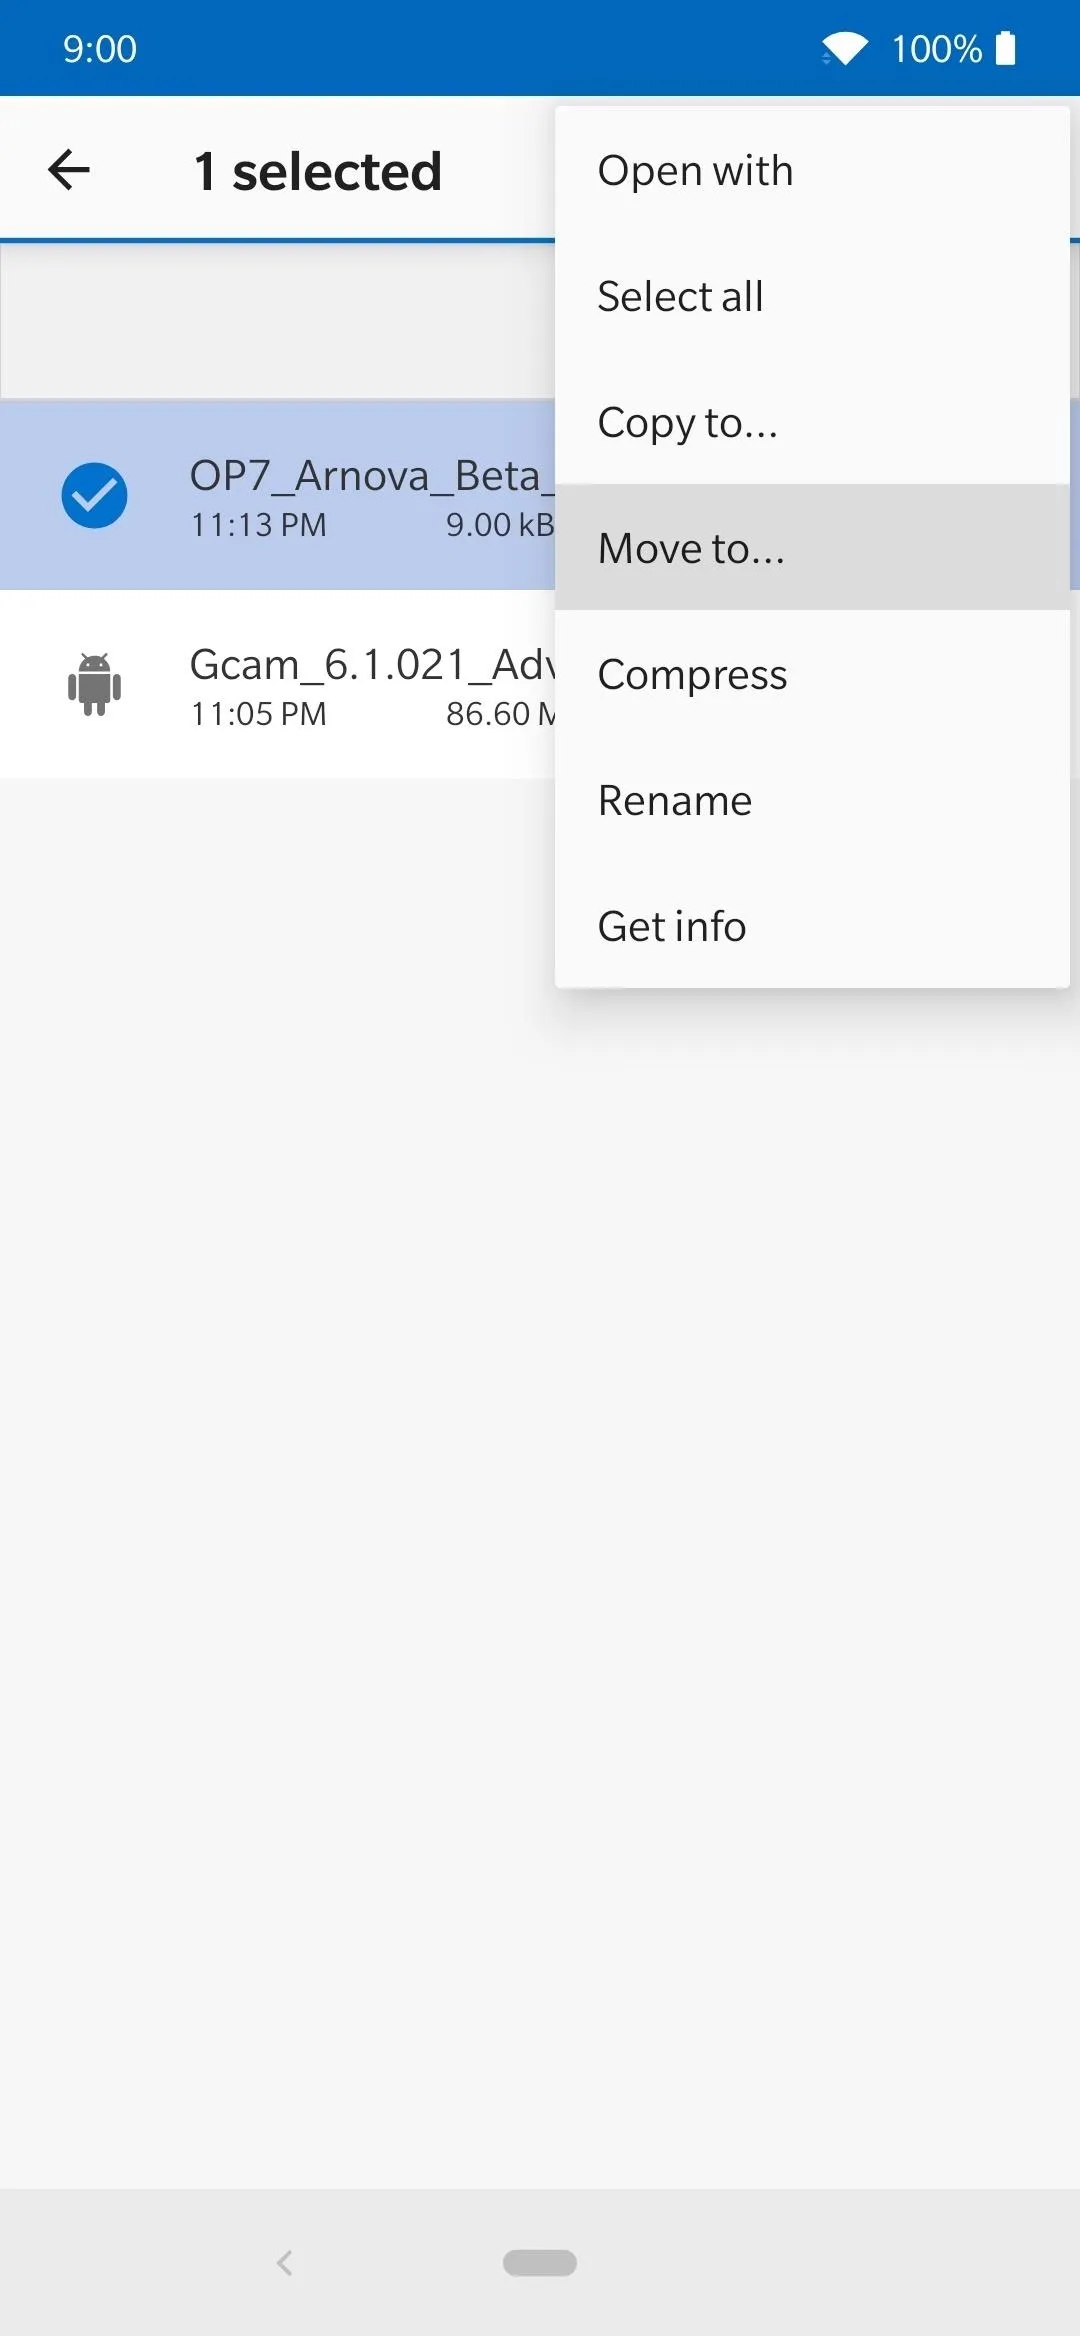
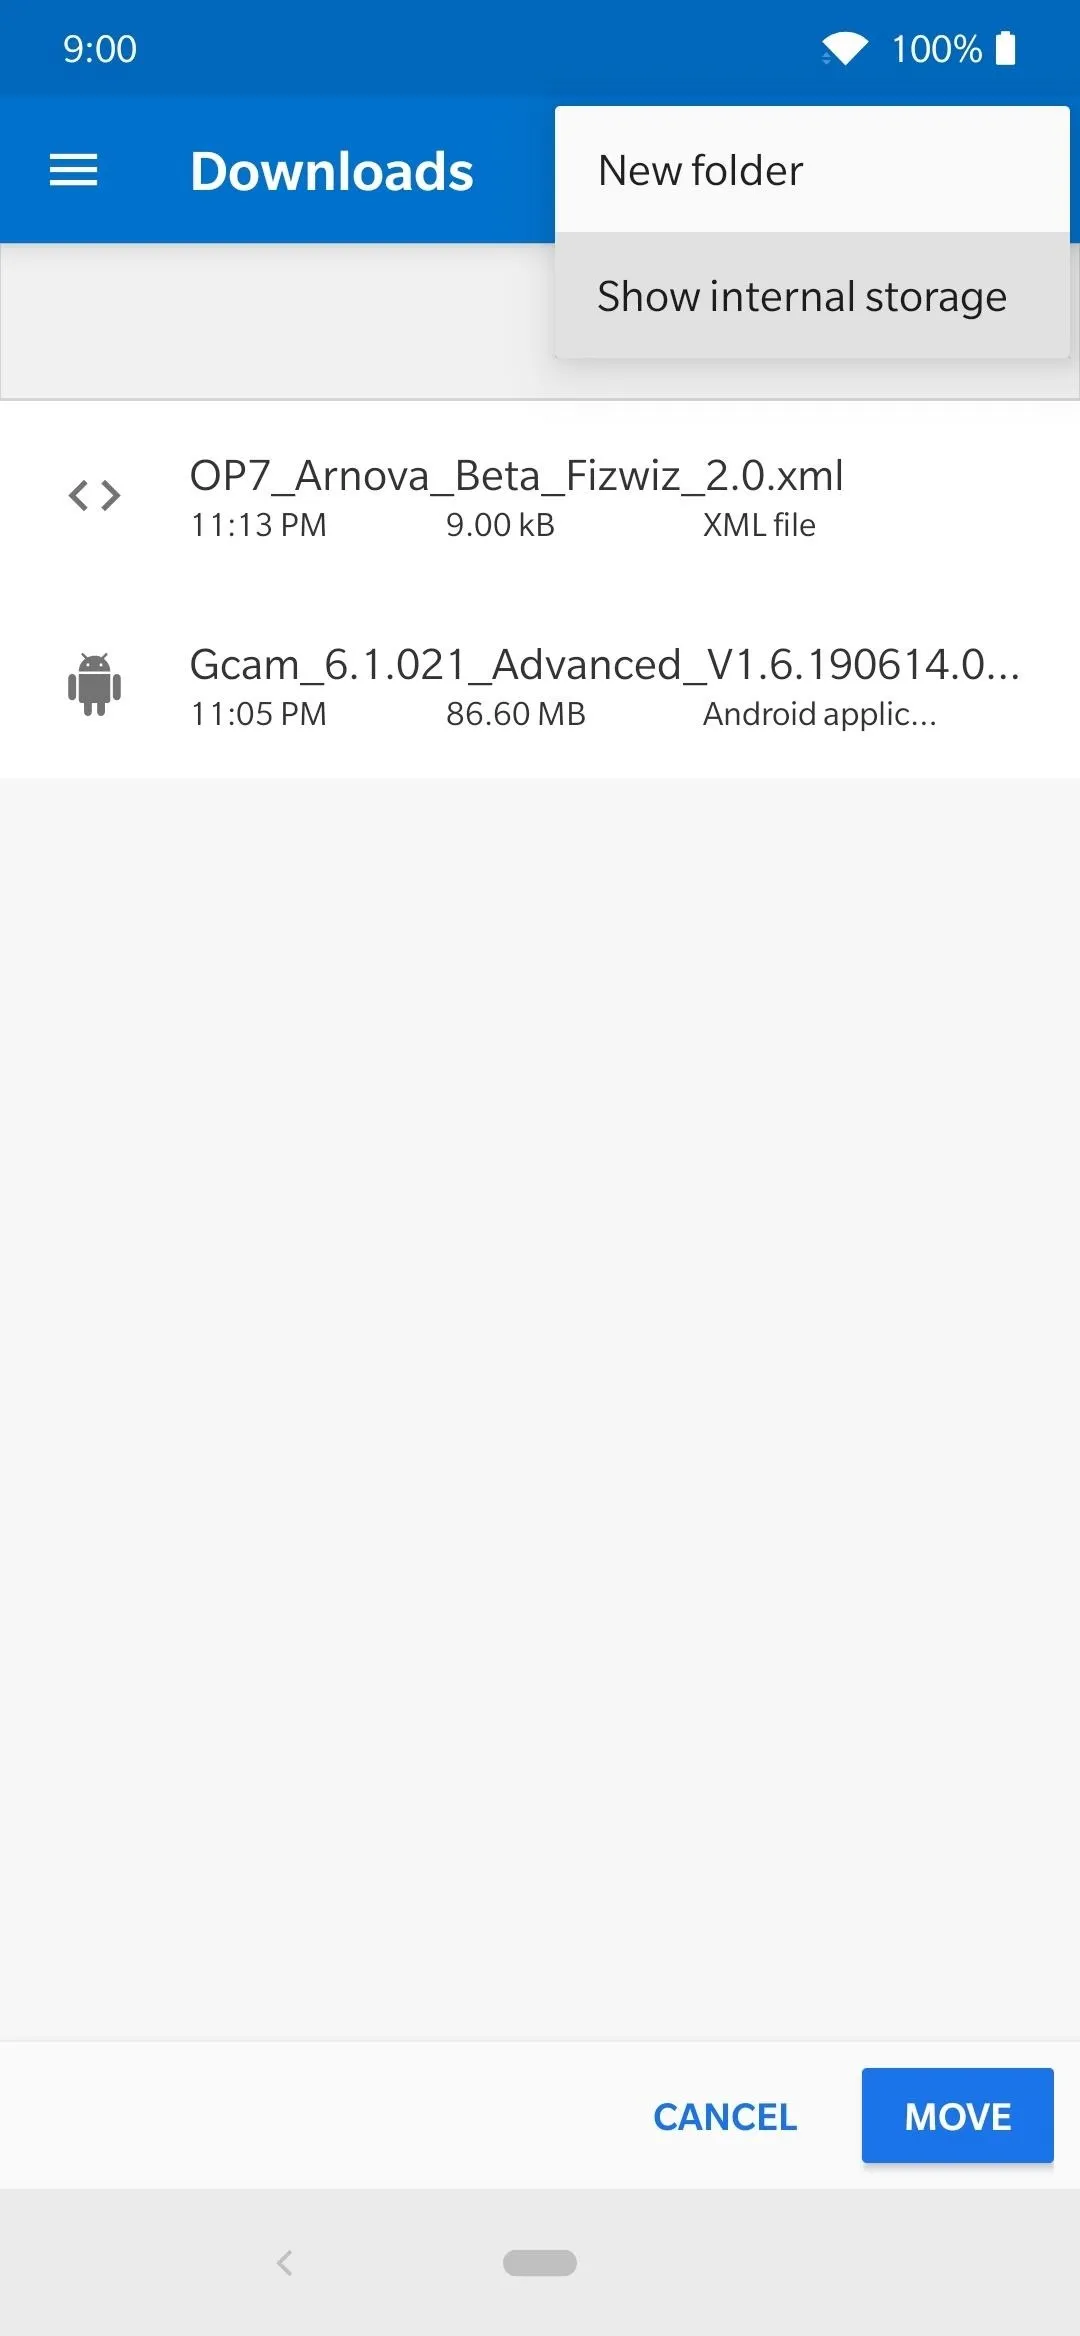
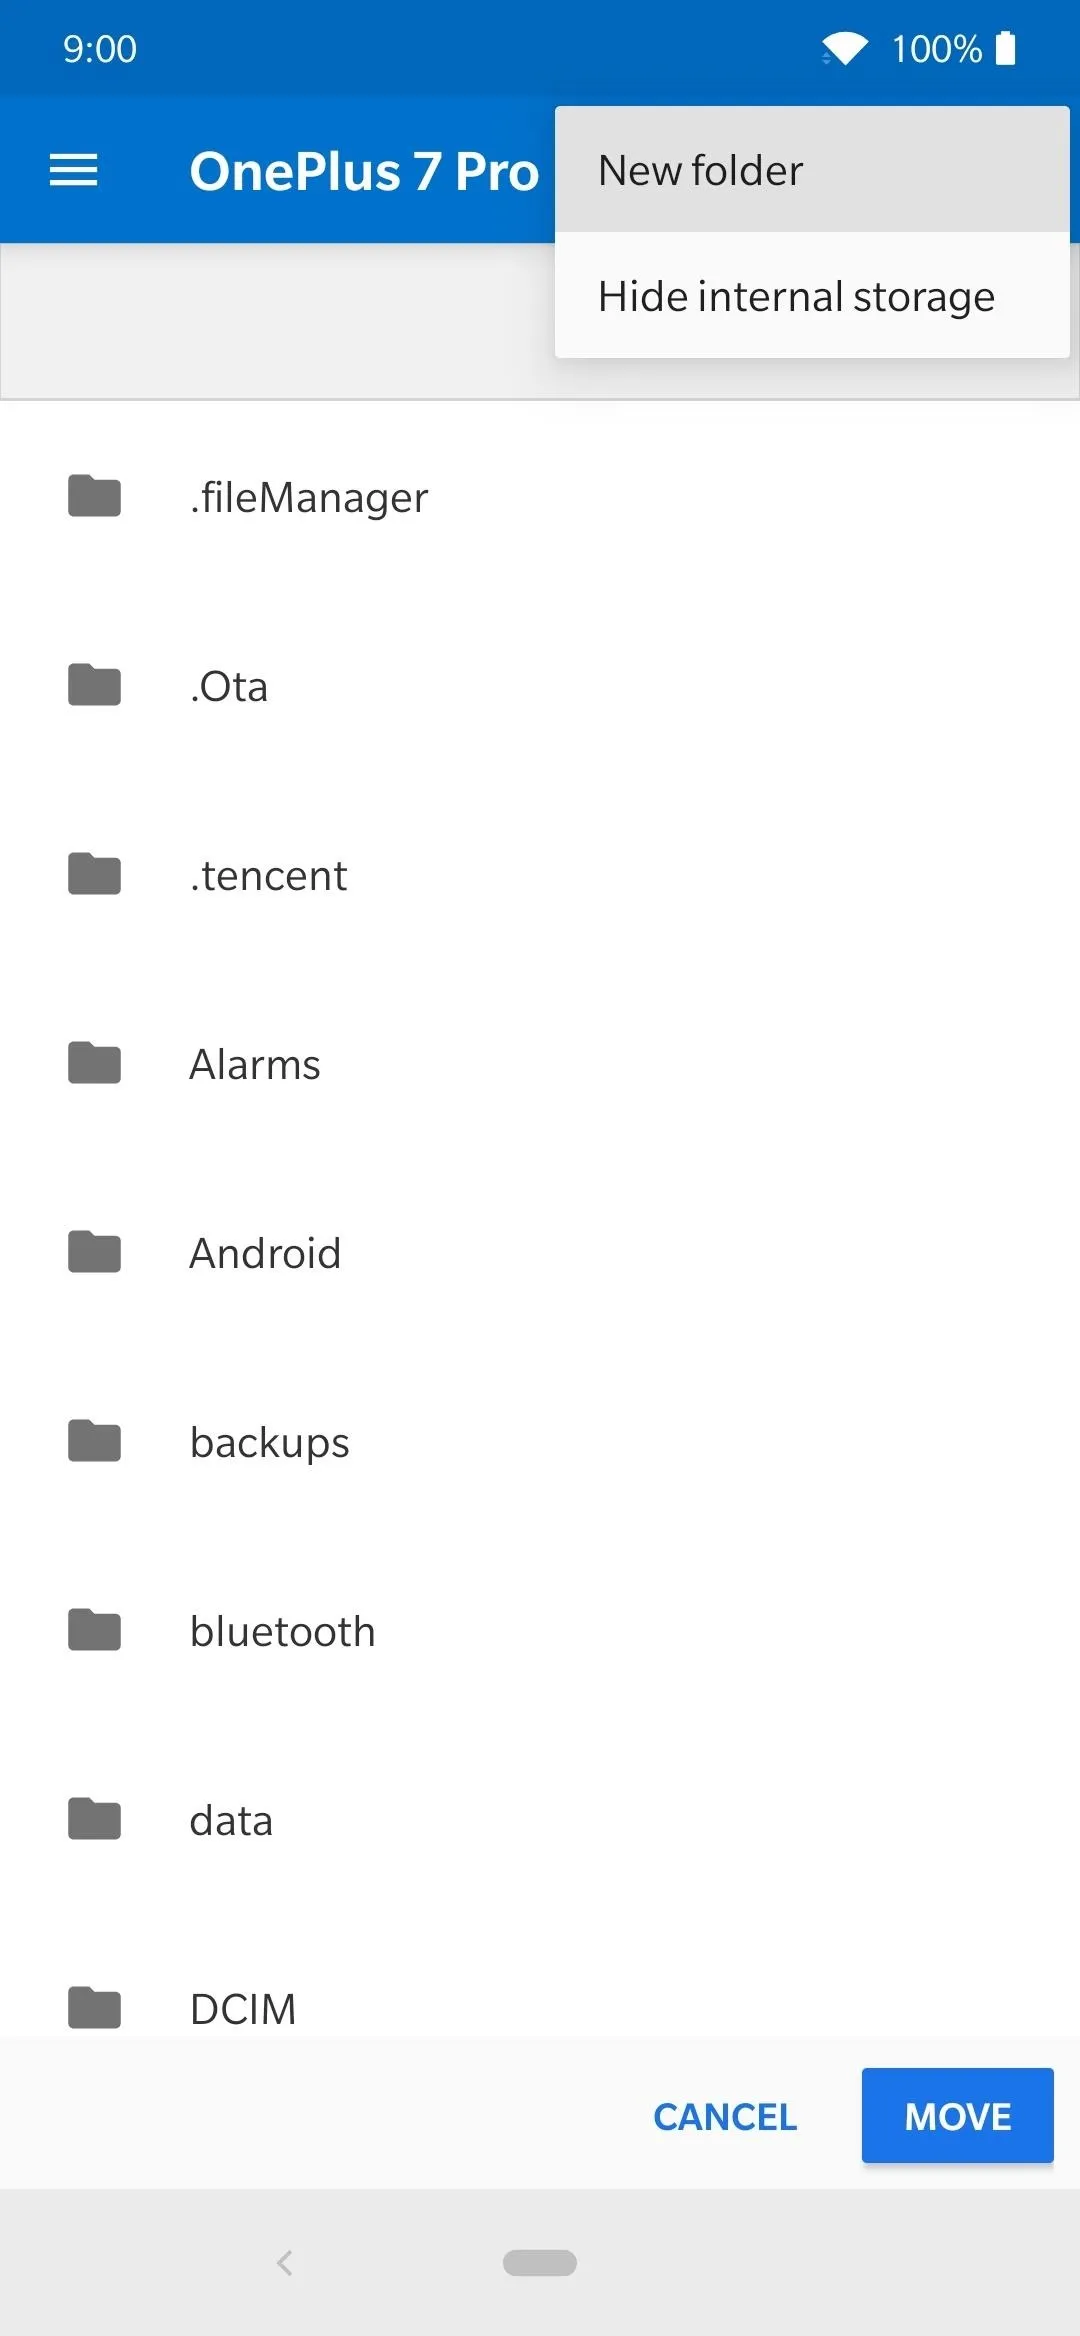
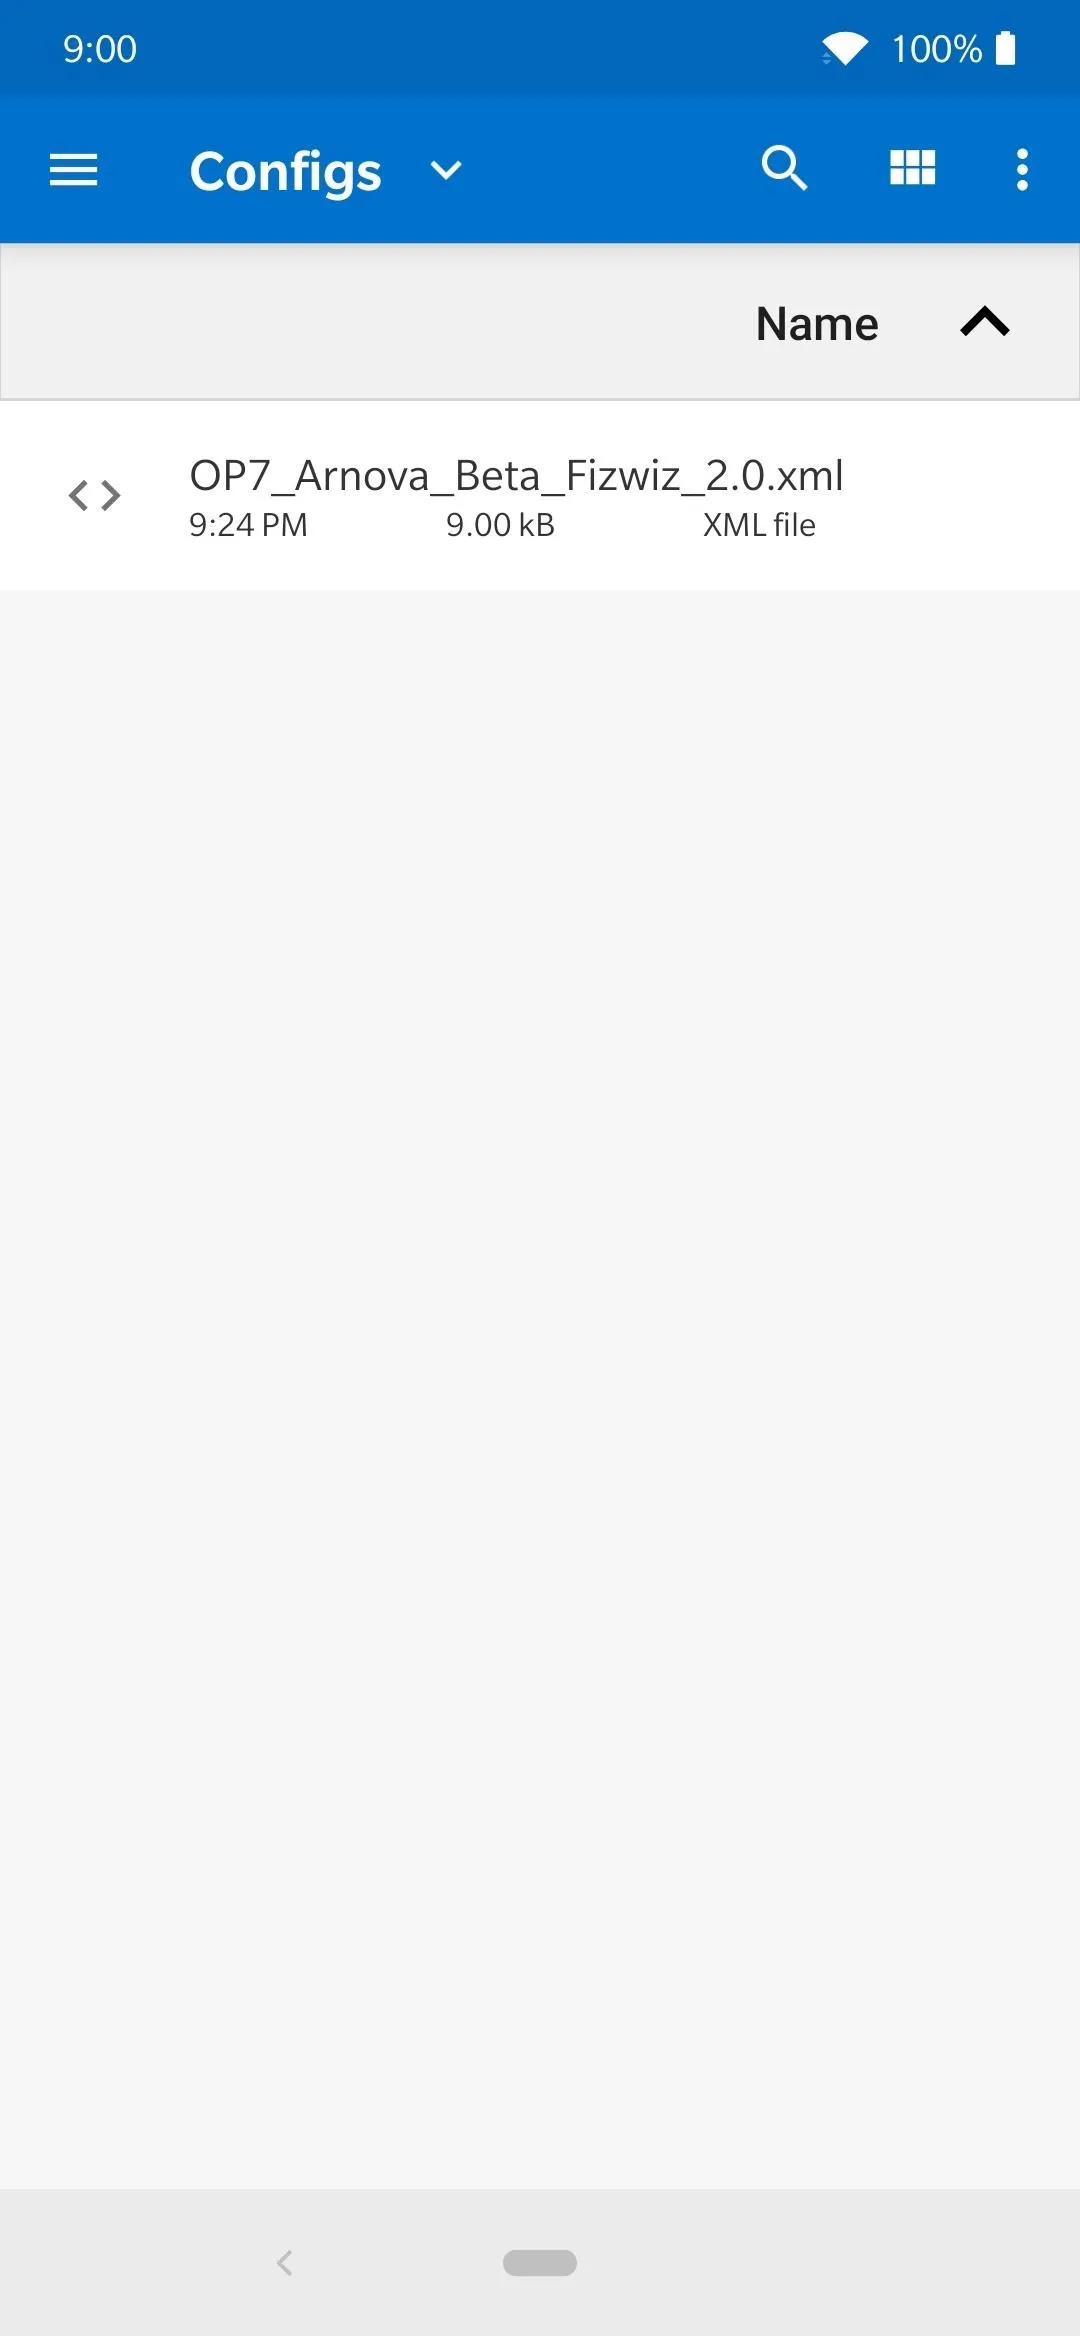
Once the file is downloaded, you'll then have to move it to the correct location on your phone's internal storage. Head to the "Downloads" app in your app drawer, long-press the XML file you downloaded above, tap the dot menu in the upper-right, then "Move to." Tap the dot menu again then, "Show internal storage." Finally, tap the hamburger menu on the left, then go to "OnePlus 7 Pro". This will bring you to the root of your internal storage, which is where you'll need to create a new folder.

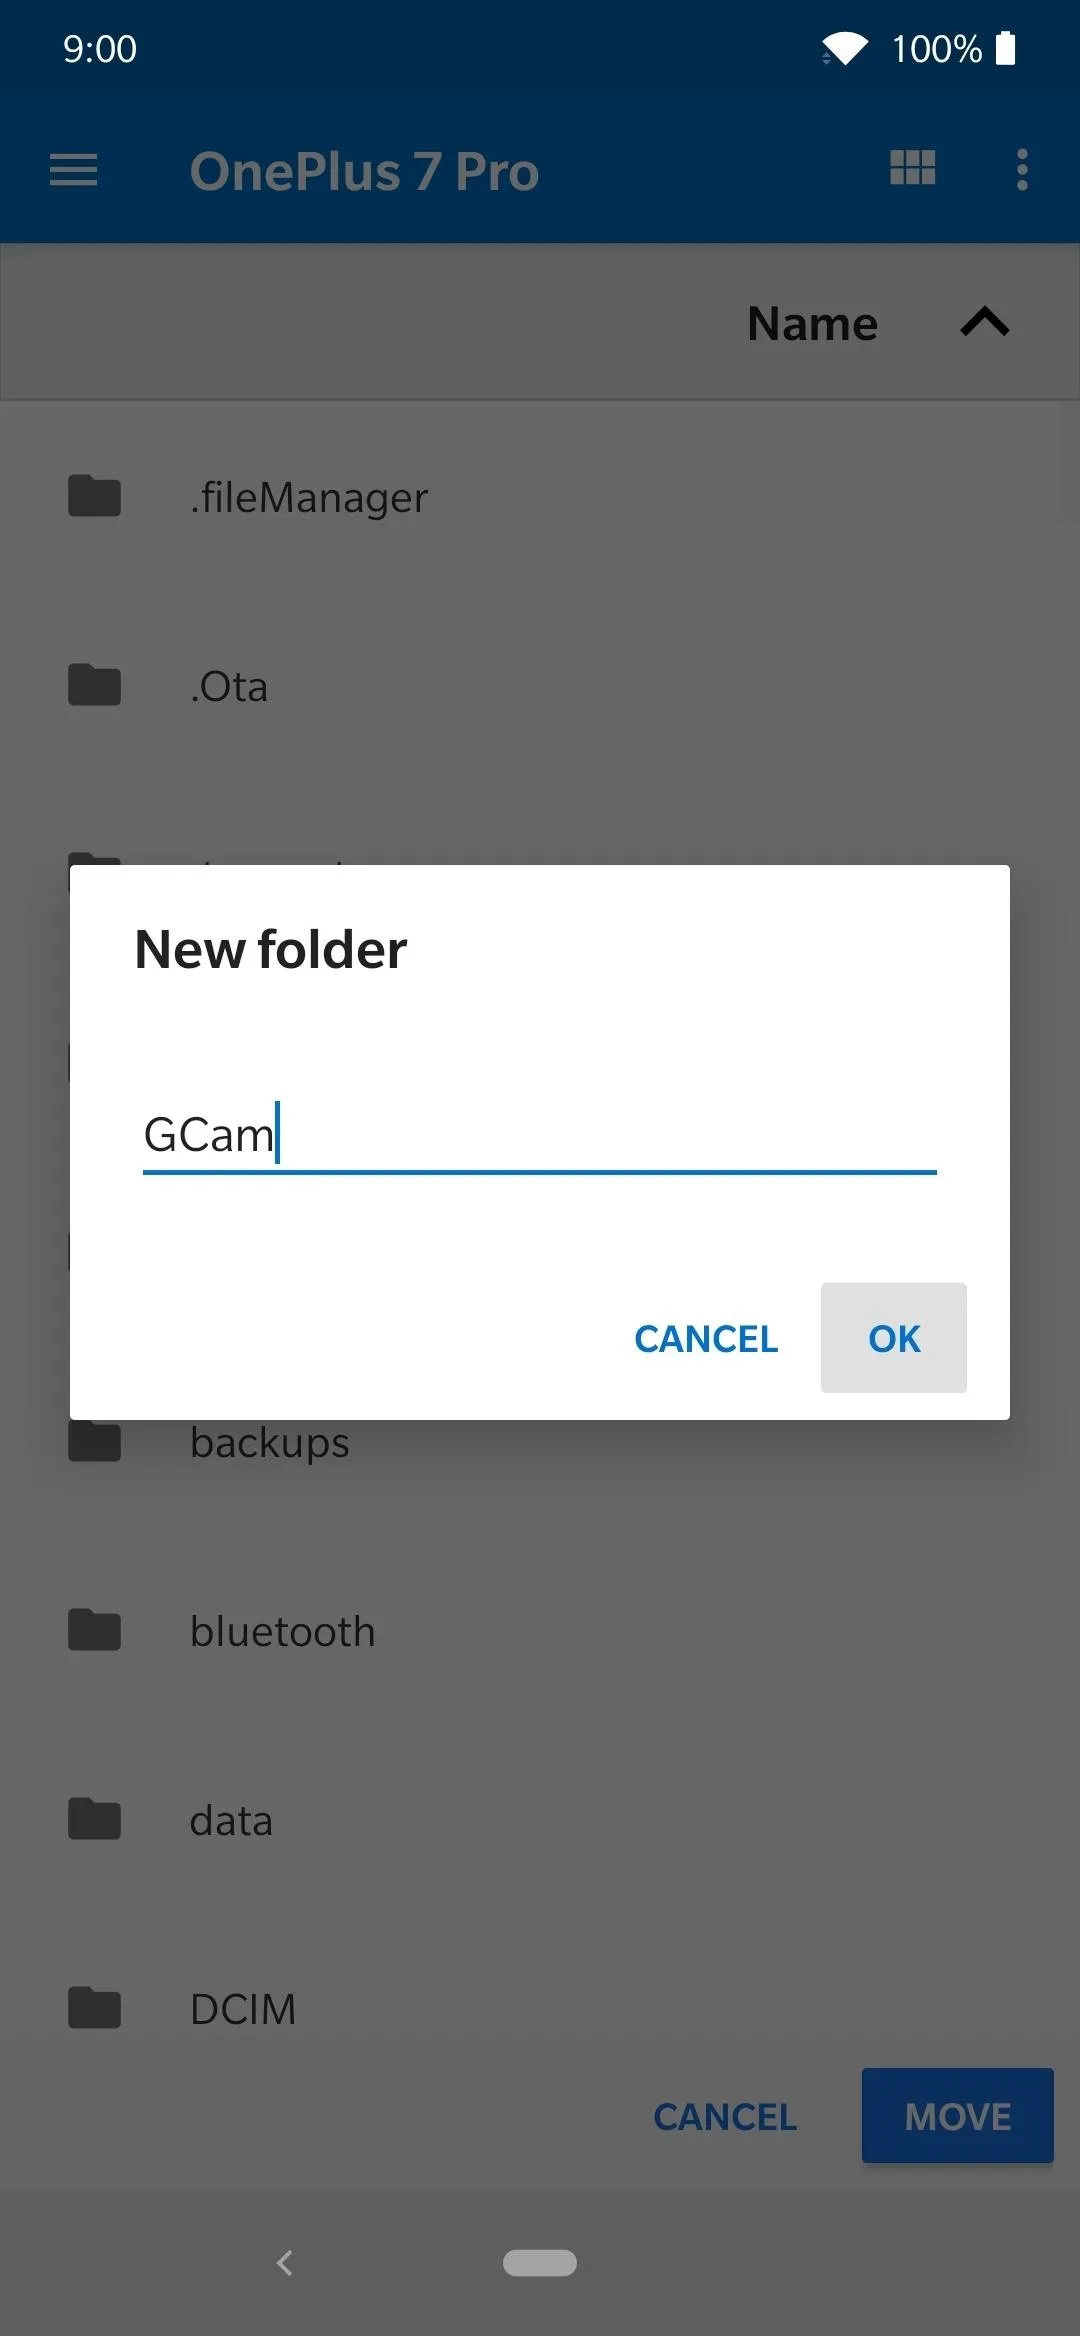
Tap the dot menu again in the upper-right, then "New folder." Name this folder "GCam," then hit "OK." It's case-sensitive, so make sure you type it exactly how it appears; otherwise, it won't read your config file when you copy it over. From within the "GCam" folder you just created, you need to repeat the same process to create one more folder called "Configs."
The hierarchy of the file location should be as follows:
Internal storage > GCam > Configs > OP7_Arnova_Beta_Fizwiz_2.0.xmlAt this point, you should be in the "Configs" folder, so you can now tap the "Move" option on the bottom-right to transfer the downloaded file. Once you do that, you should be sent back to the "Downloads" section, and you're good to move onto the next step.
Set Up GCam
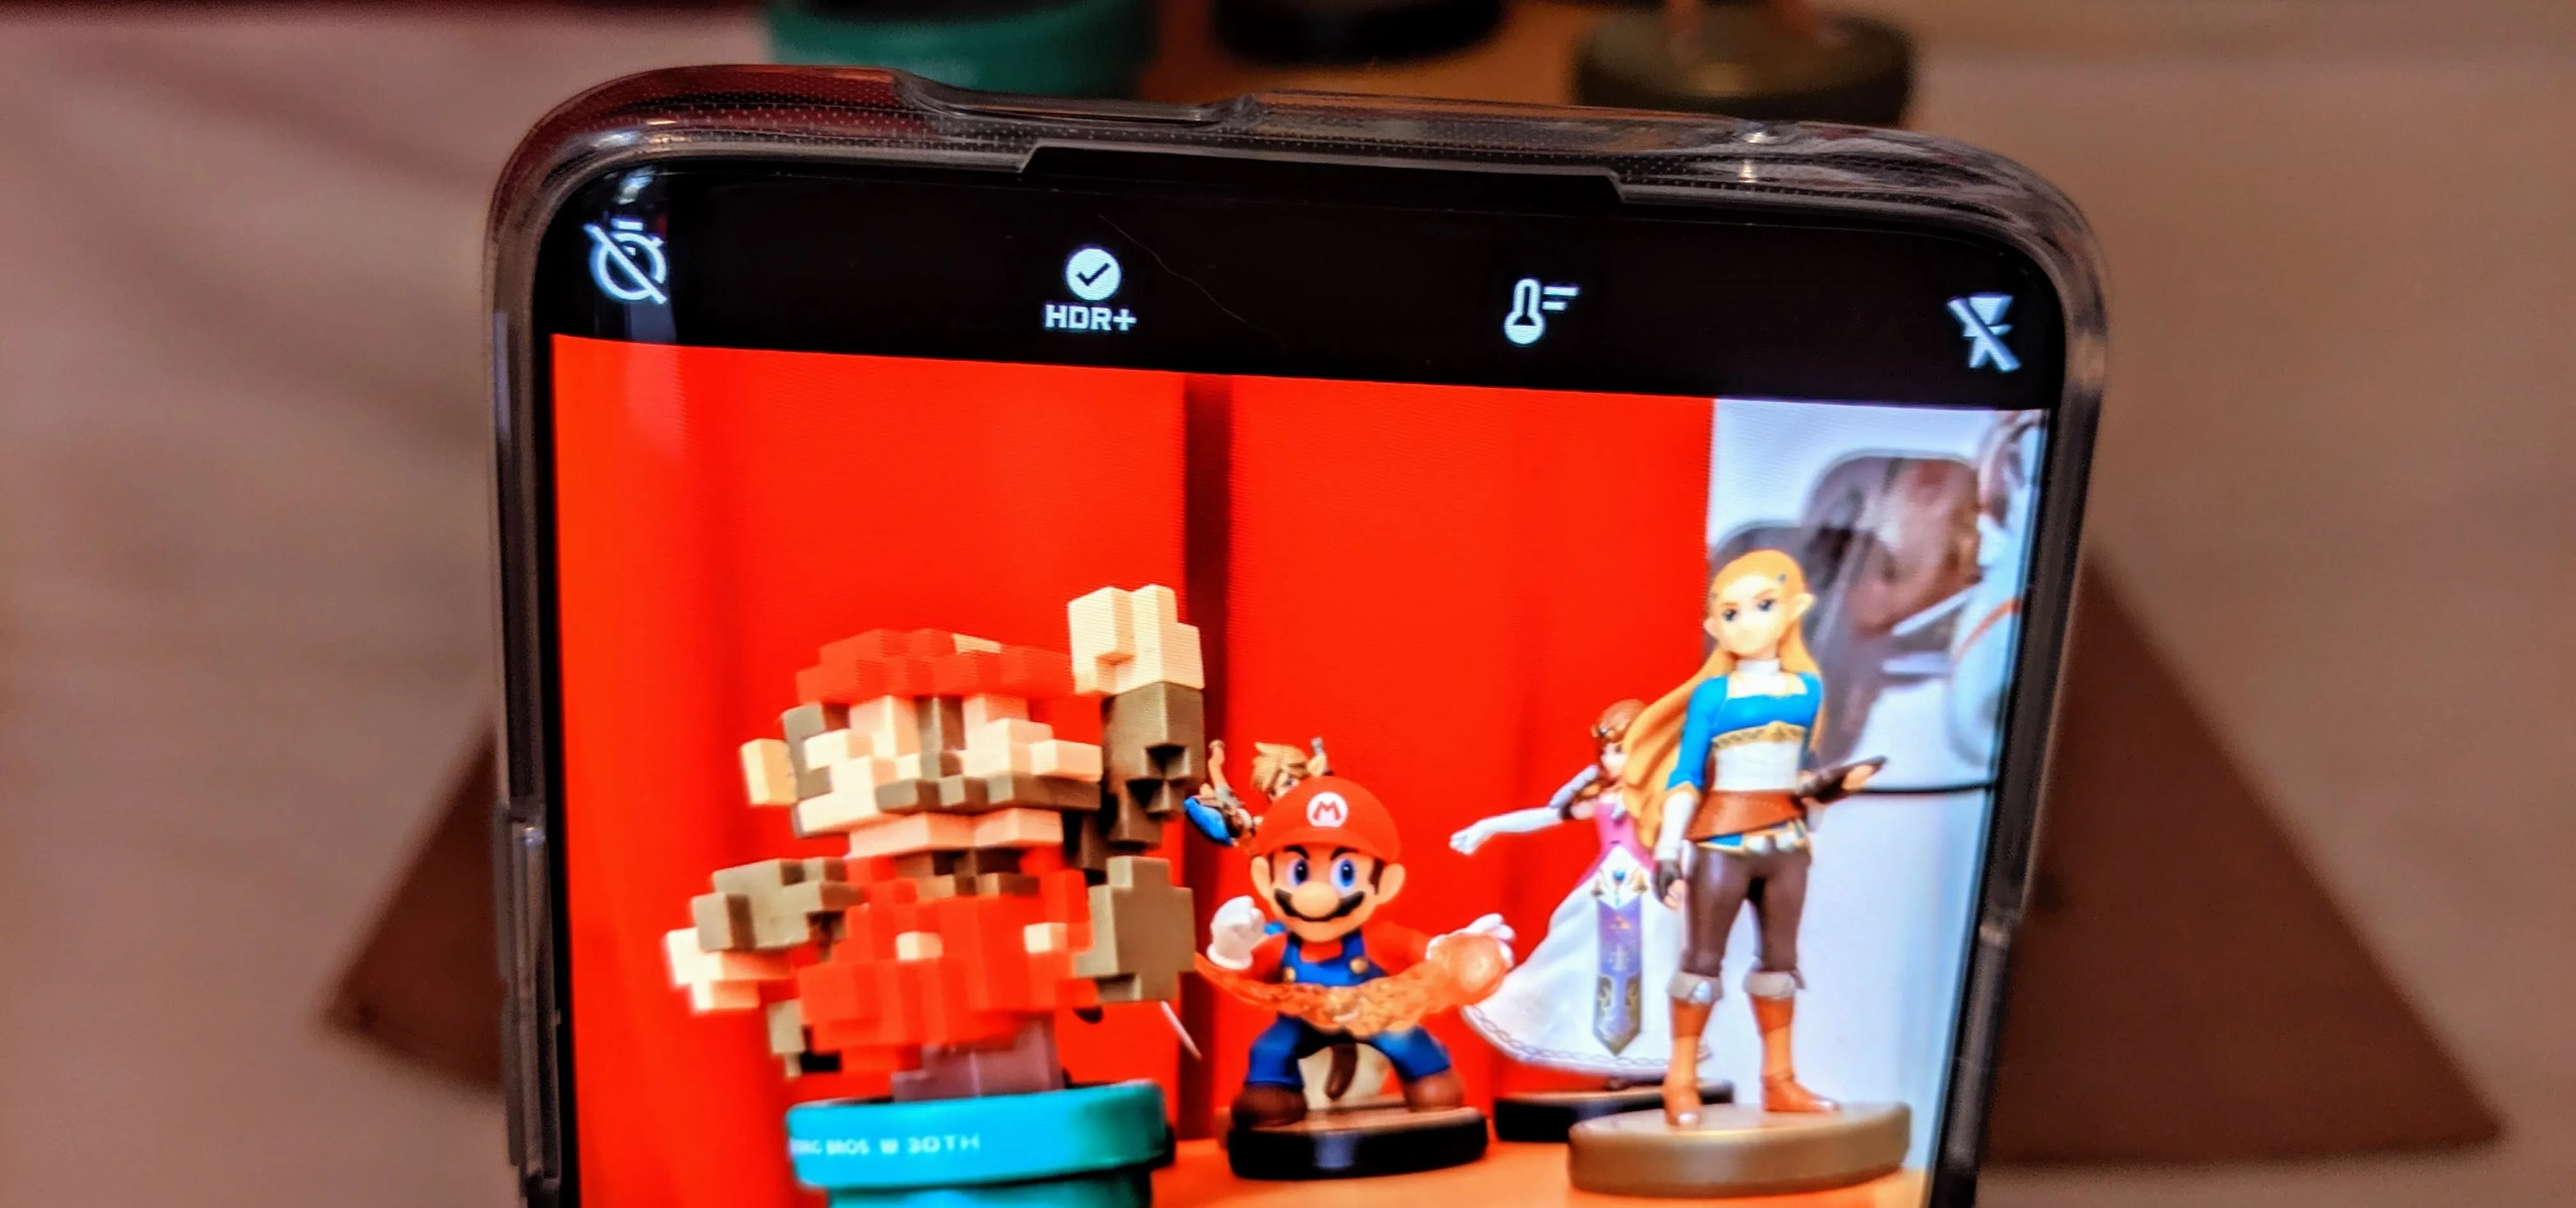
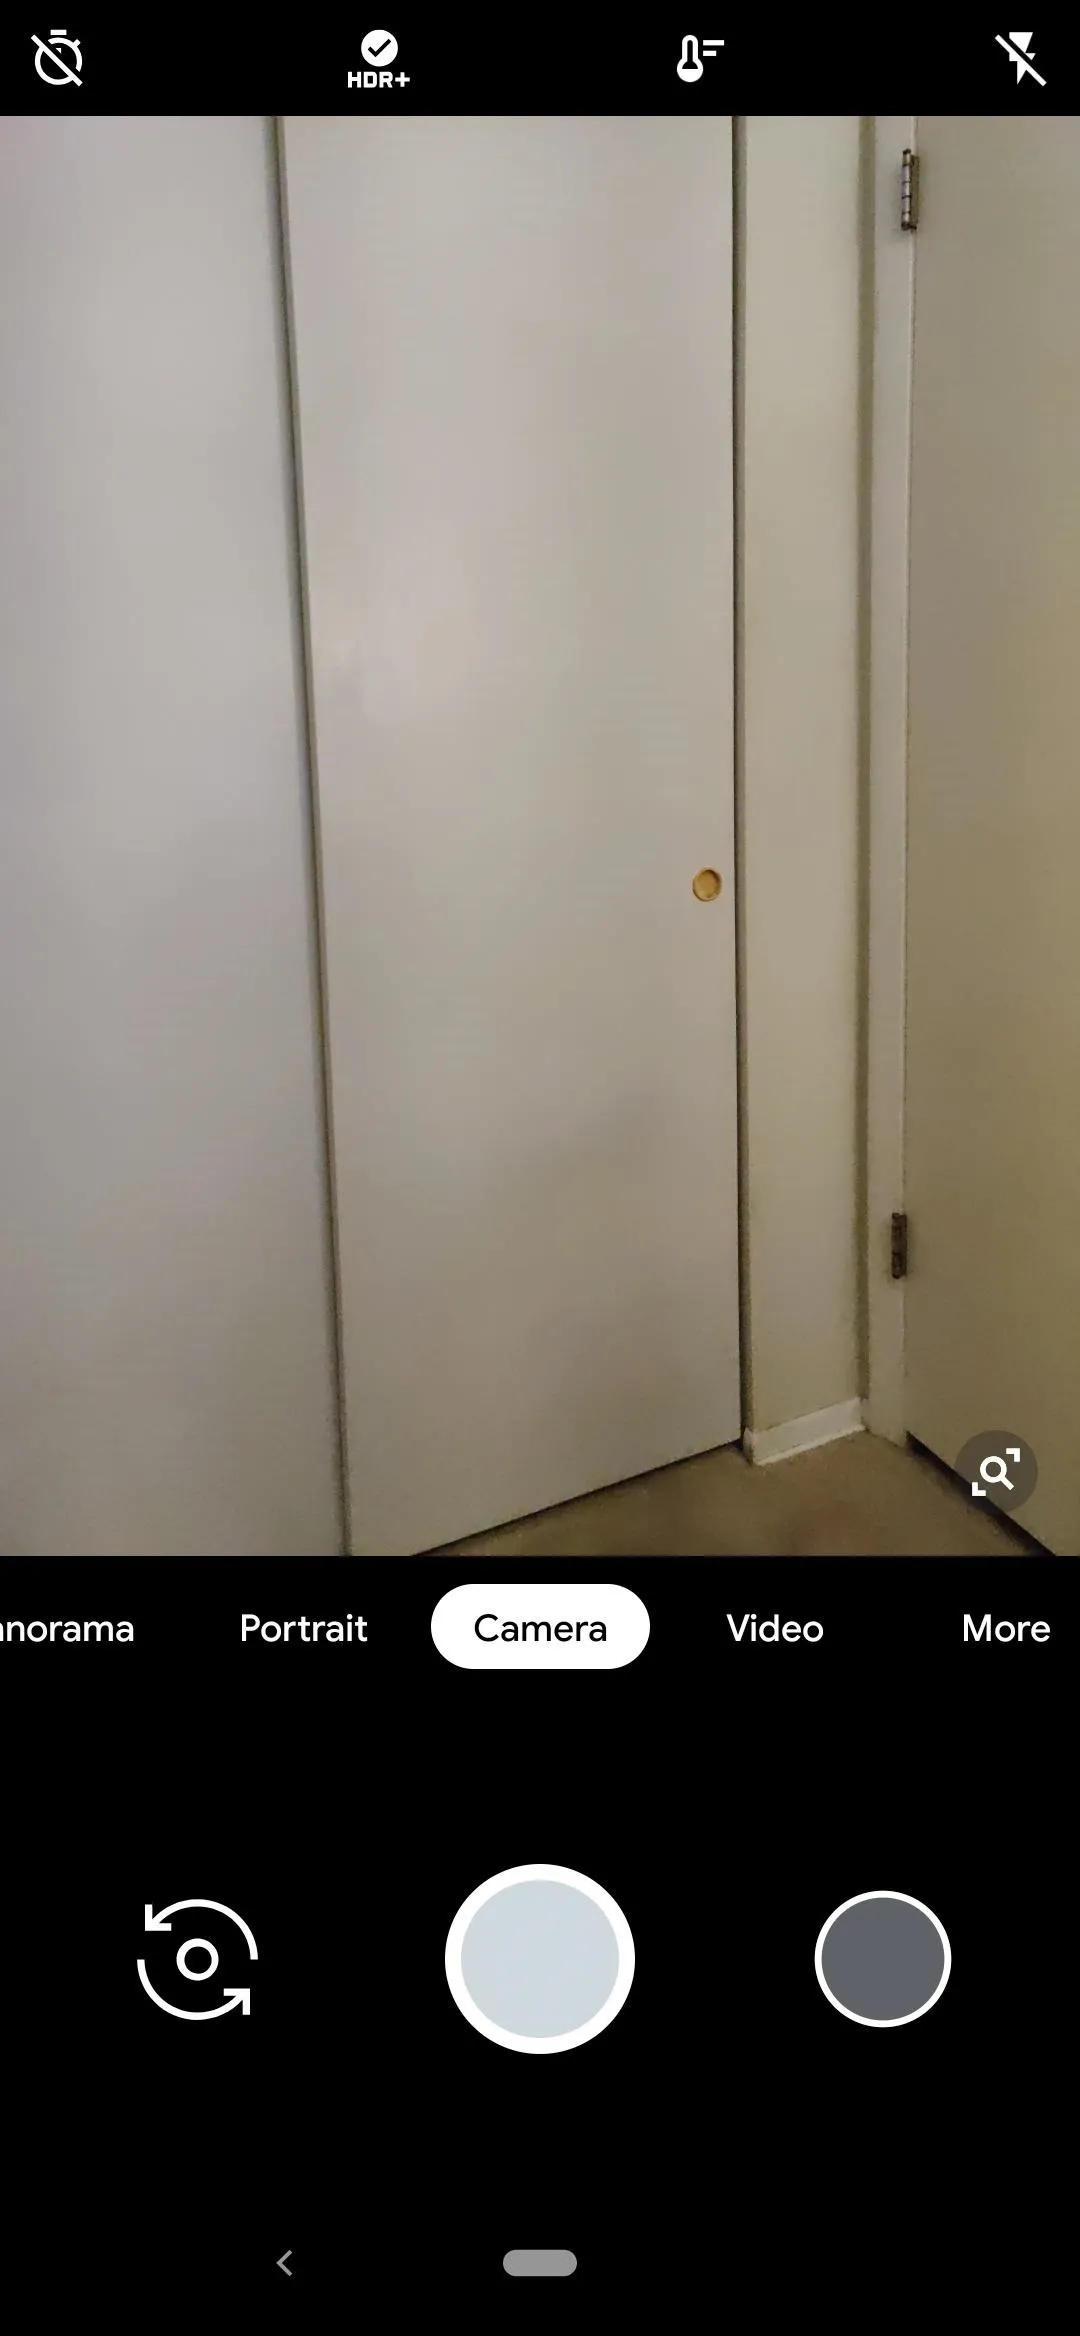
Now that you've gotten the initial setup out of the way, there's only one last thing you need to do before diving into the GCam port for your OnePlus 7 Pro. Once you open the new Camera app, double tap anywhere within the black area of the screen around the shutter button to bring up the config menu.
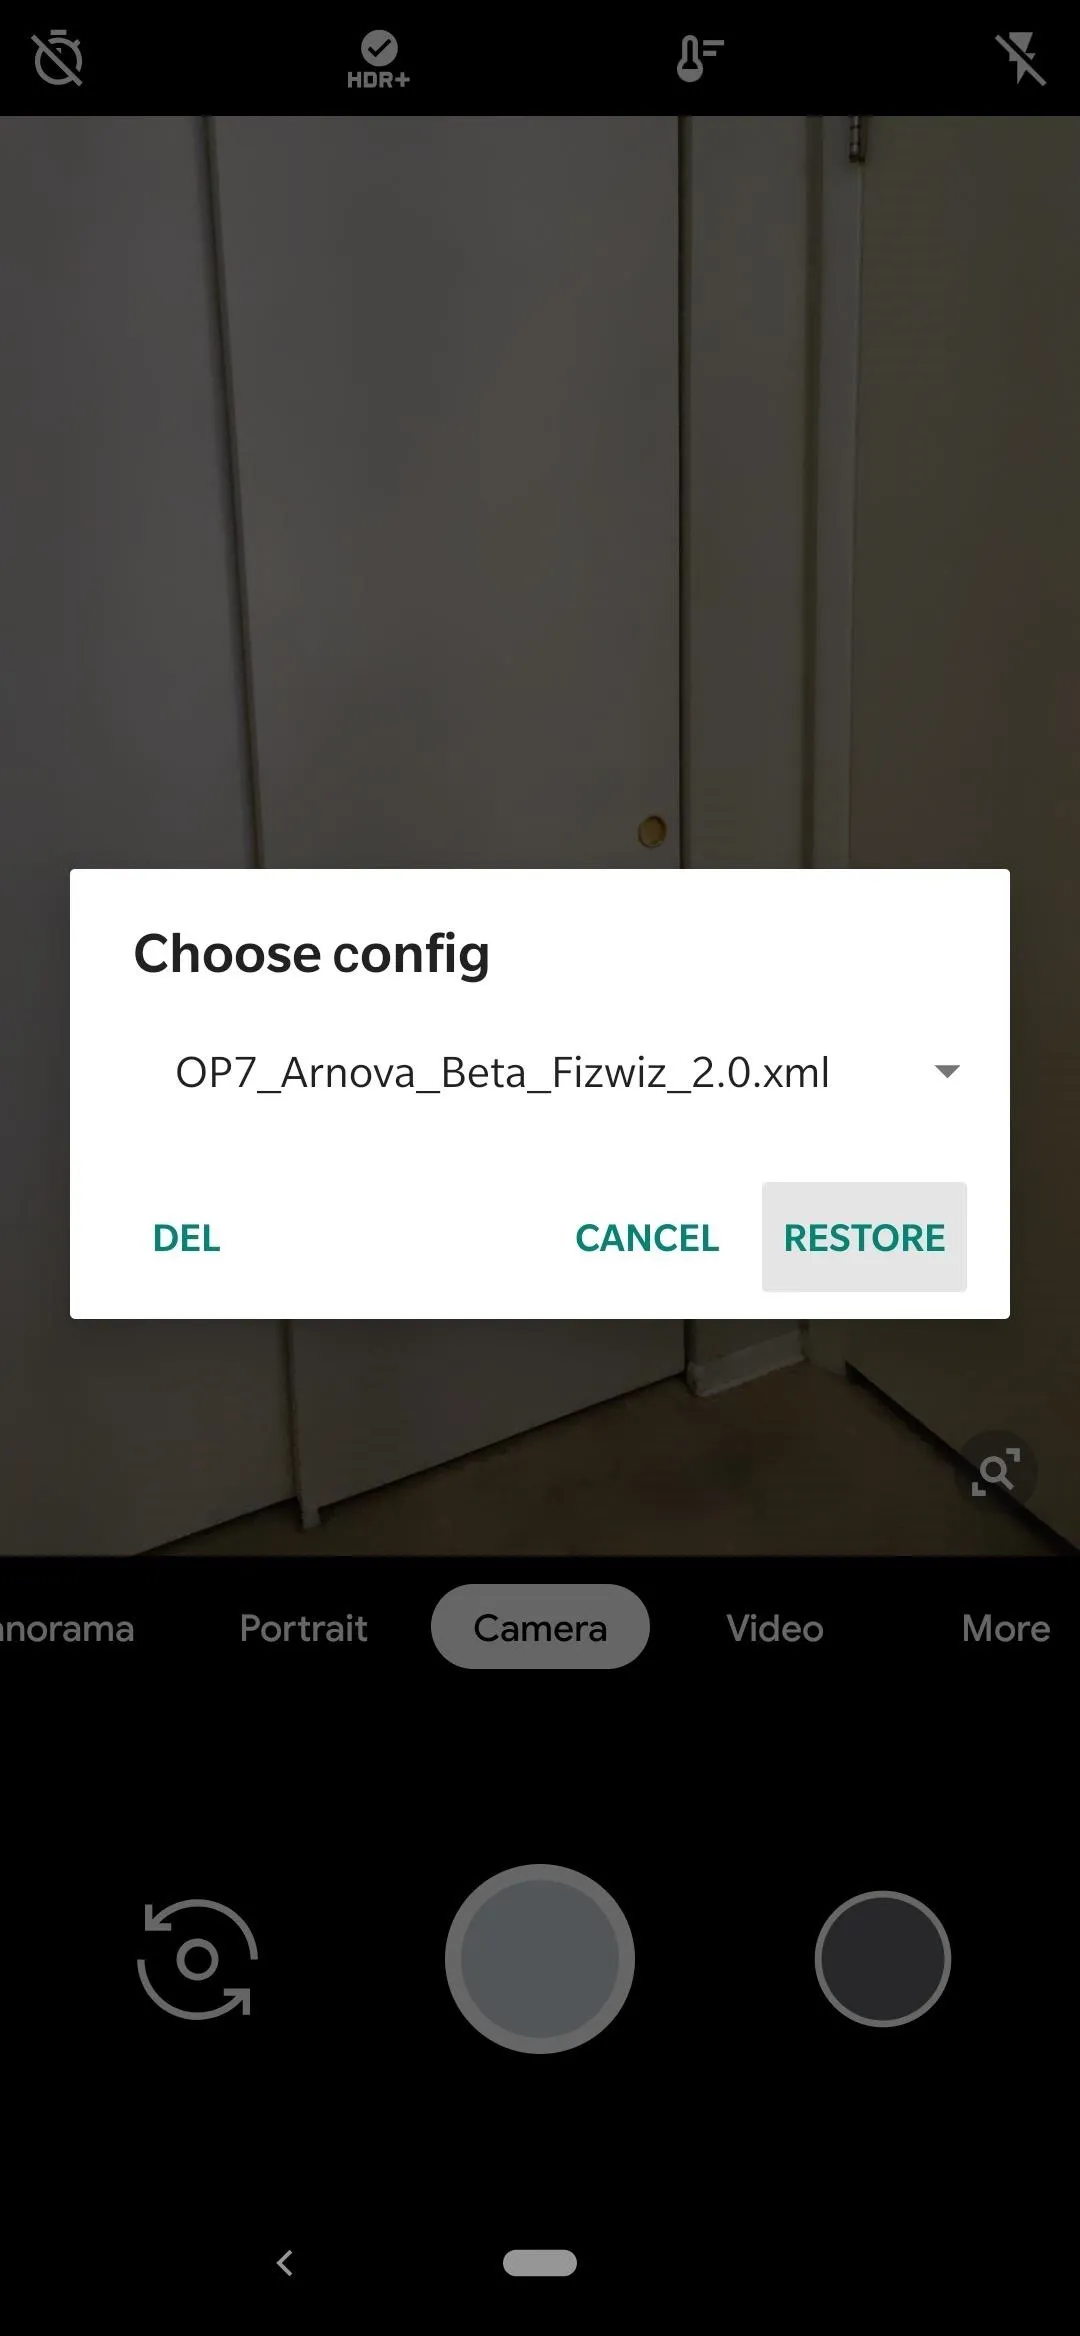
In the config menu, the OnePlus 7 Pro config file will automatically be selected, so just hit the "Restore" button on the popup. Once you do that, the app will restart real quick, then you're all set to start using your new GCam app!
Enjoy GCam
Now that everything is taken care of, you can begin checking out all the cool new things you can do with your OnePlus 7 Pro using the new Google Camera port. Most notably, Night Sight is the feature that many will be after right now since it takes low light photos and turns them into pure magic — no flash required! It's a cool feature to have and a great addition to the OnePlus 7 Pro.
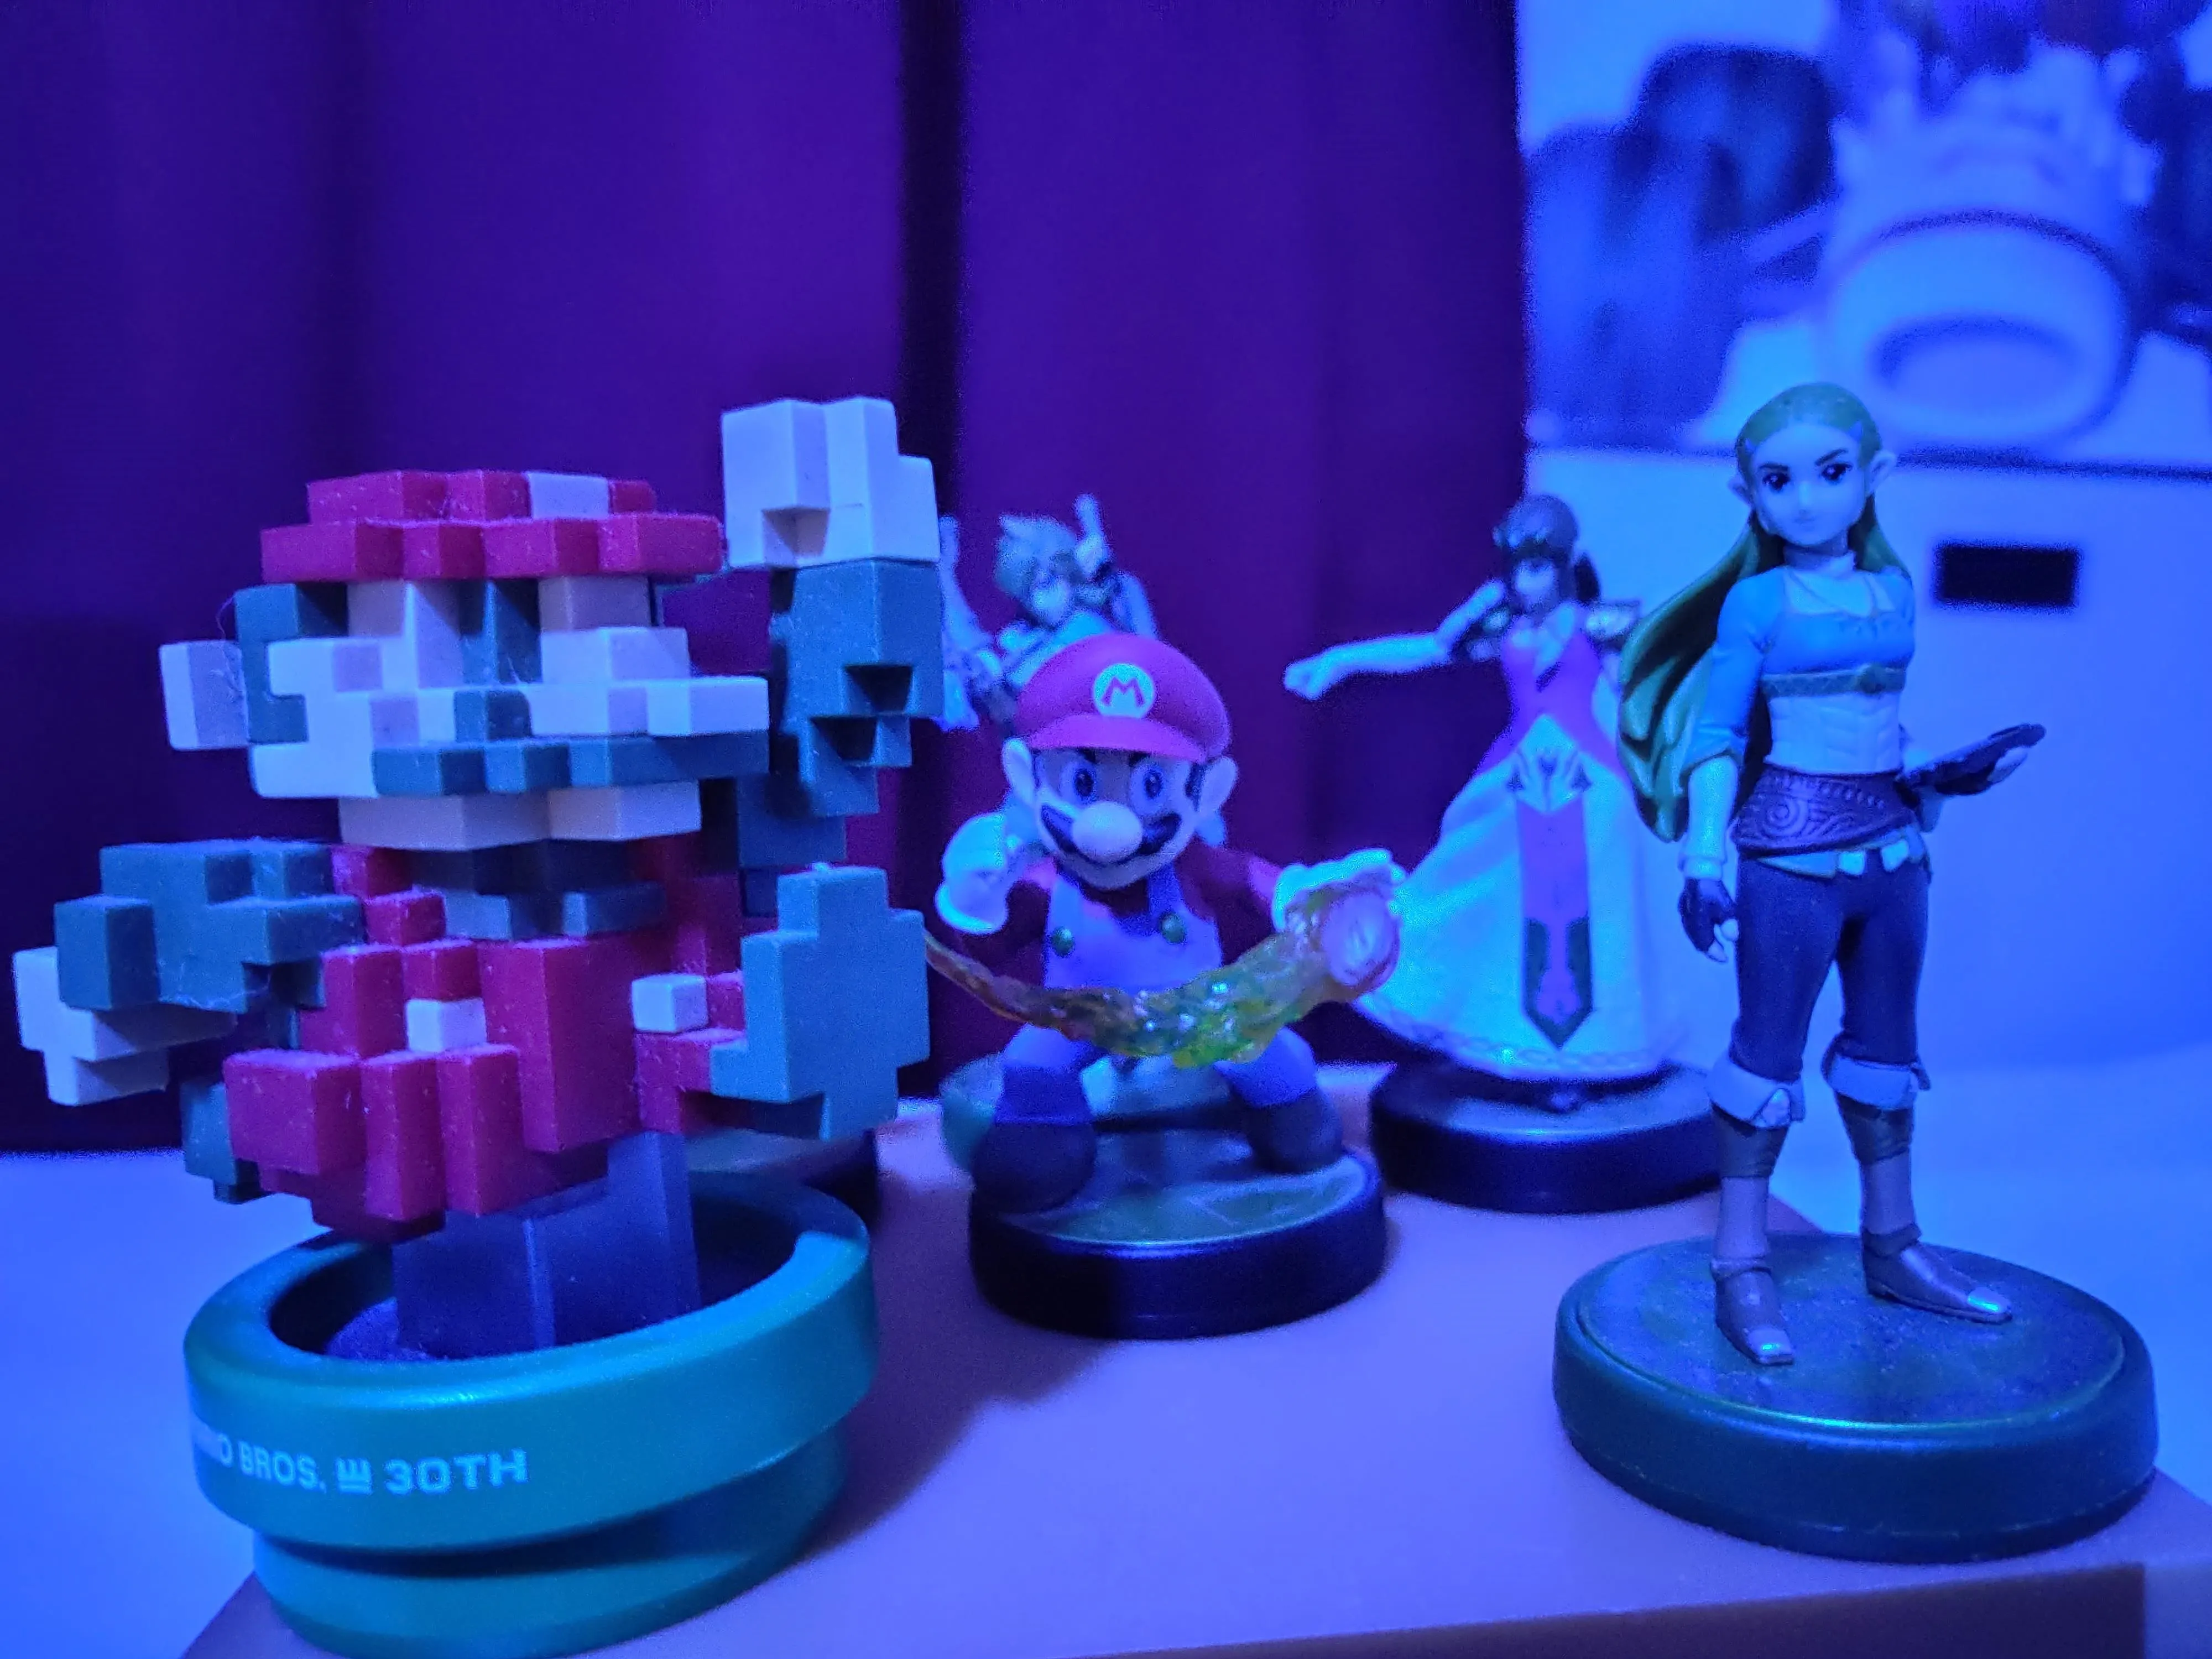
Using the Nightscape feature on the OnePlus camera app.

Using the Night Sight feature on the Google camera app.
Using the Nightscape feature on the OnePlus camera app.
Using the Night Sight feature on the Google camera app.
In my example photos above, I purposely set up an extremely low light area with a cool colored blue-white tint to see how each camera app fairs. They both do a great job at lighting up the area for maximum exposure with little to no light source. However, the OnePlus camera keeps the blue tint from the light source, while the Google camera can filter out that noise to keep the colors intact.
Cover image and screenshots by Stephen Perkins/Gadget Hacks


Comments
Be the first, drop a comment!