


Year in and year out, OnePlus flagships top our list of the best phones for rooting. Why? Primarily because rooting does not void your warranty, and OnePlus goes out of their way to make the whole process as easy as possible.
If you're new to rooting, it might seem like more trouble than it's worth — but luckily, your OnePlus 6 one of the easiest phones to root. To simplify things even further, I've outlined the entire process in plain English below, and we have guides that go into lots more detail on some of the more complicated points.
This particular method uses Magisk, which is a systemless root utility. The advantage of Magisk over alternatives like Chainfire's SuperSU is that you can enjoy the benefits of root without tripping Google's new SafetyNet system and losing access to apps like Android Pay or Netflix, so there's nothing at stake here.
Unlock Your Bootloader
First, you'll need to unlock your phone's bootloader, which will allow you to flash custom firmware files on the device. If you're familiar with this process, here's the cliffs notes version:
- Back up important data (unlocking bootloader will wipe your device).
- Enable Developer Options by tapping "Build Number" 7 times.
- Enable "OEM Unlocking" in Developer Options.
- Enable "Advanced Reboot" in Developer Options.
- Bring up power menu, tap "Reboot," then "Bootloader."
- Connect to your computer, install ADB and Fastboot.
- Open a command window; change directories to the platform-tools folder.
- Send "fastboot devices" command to verify connection.
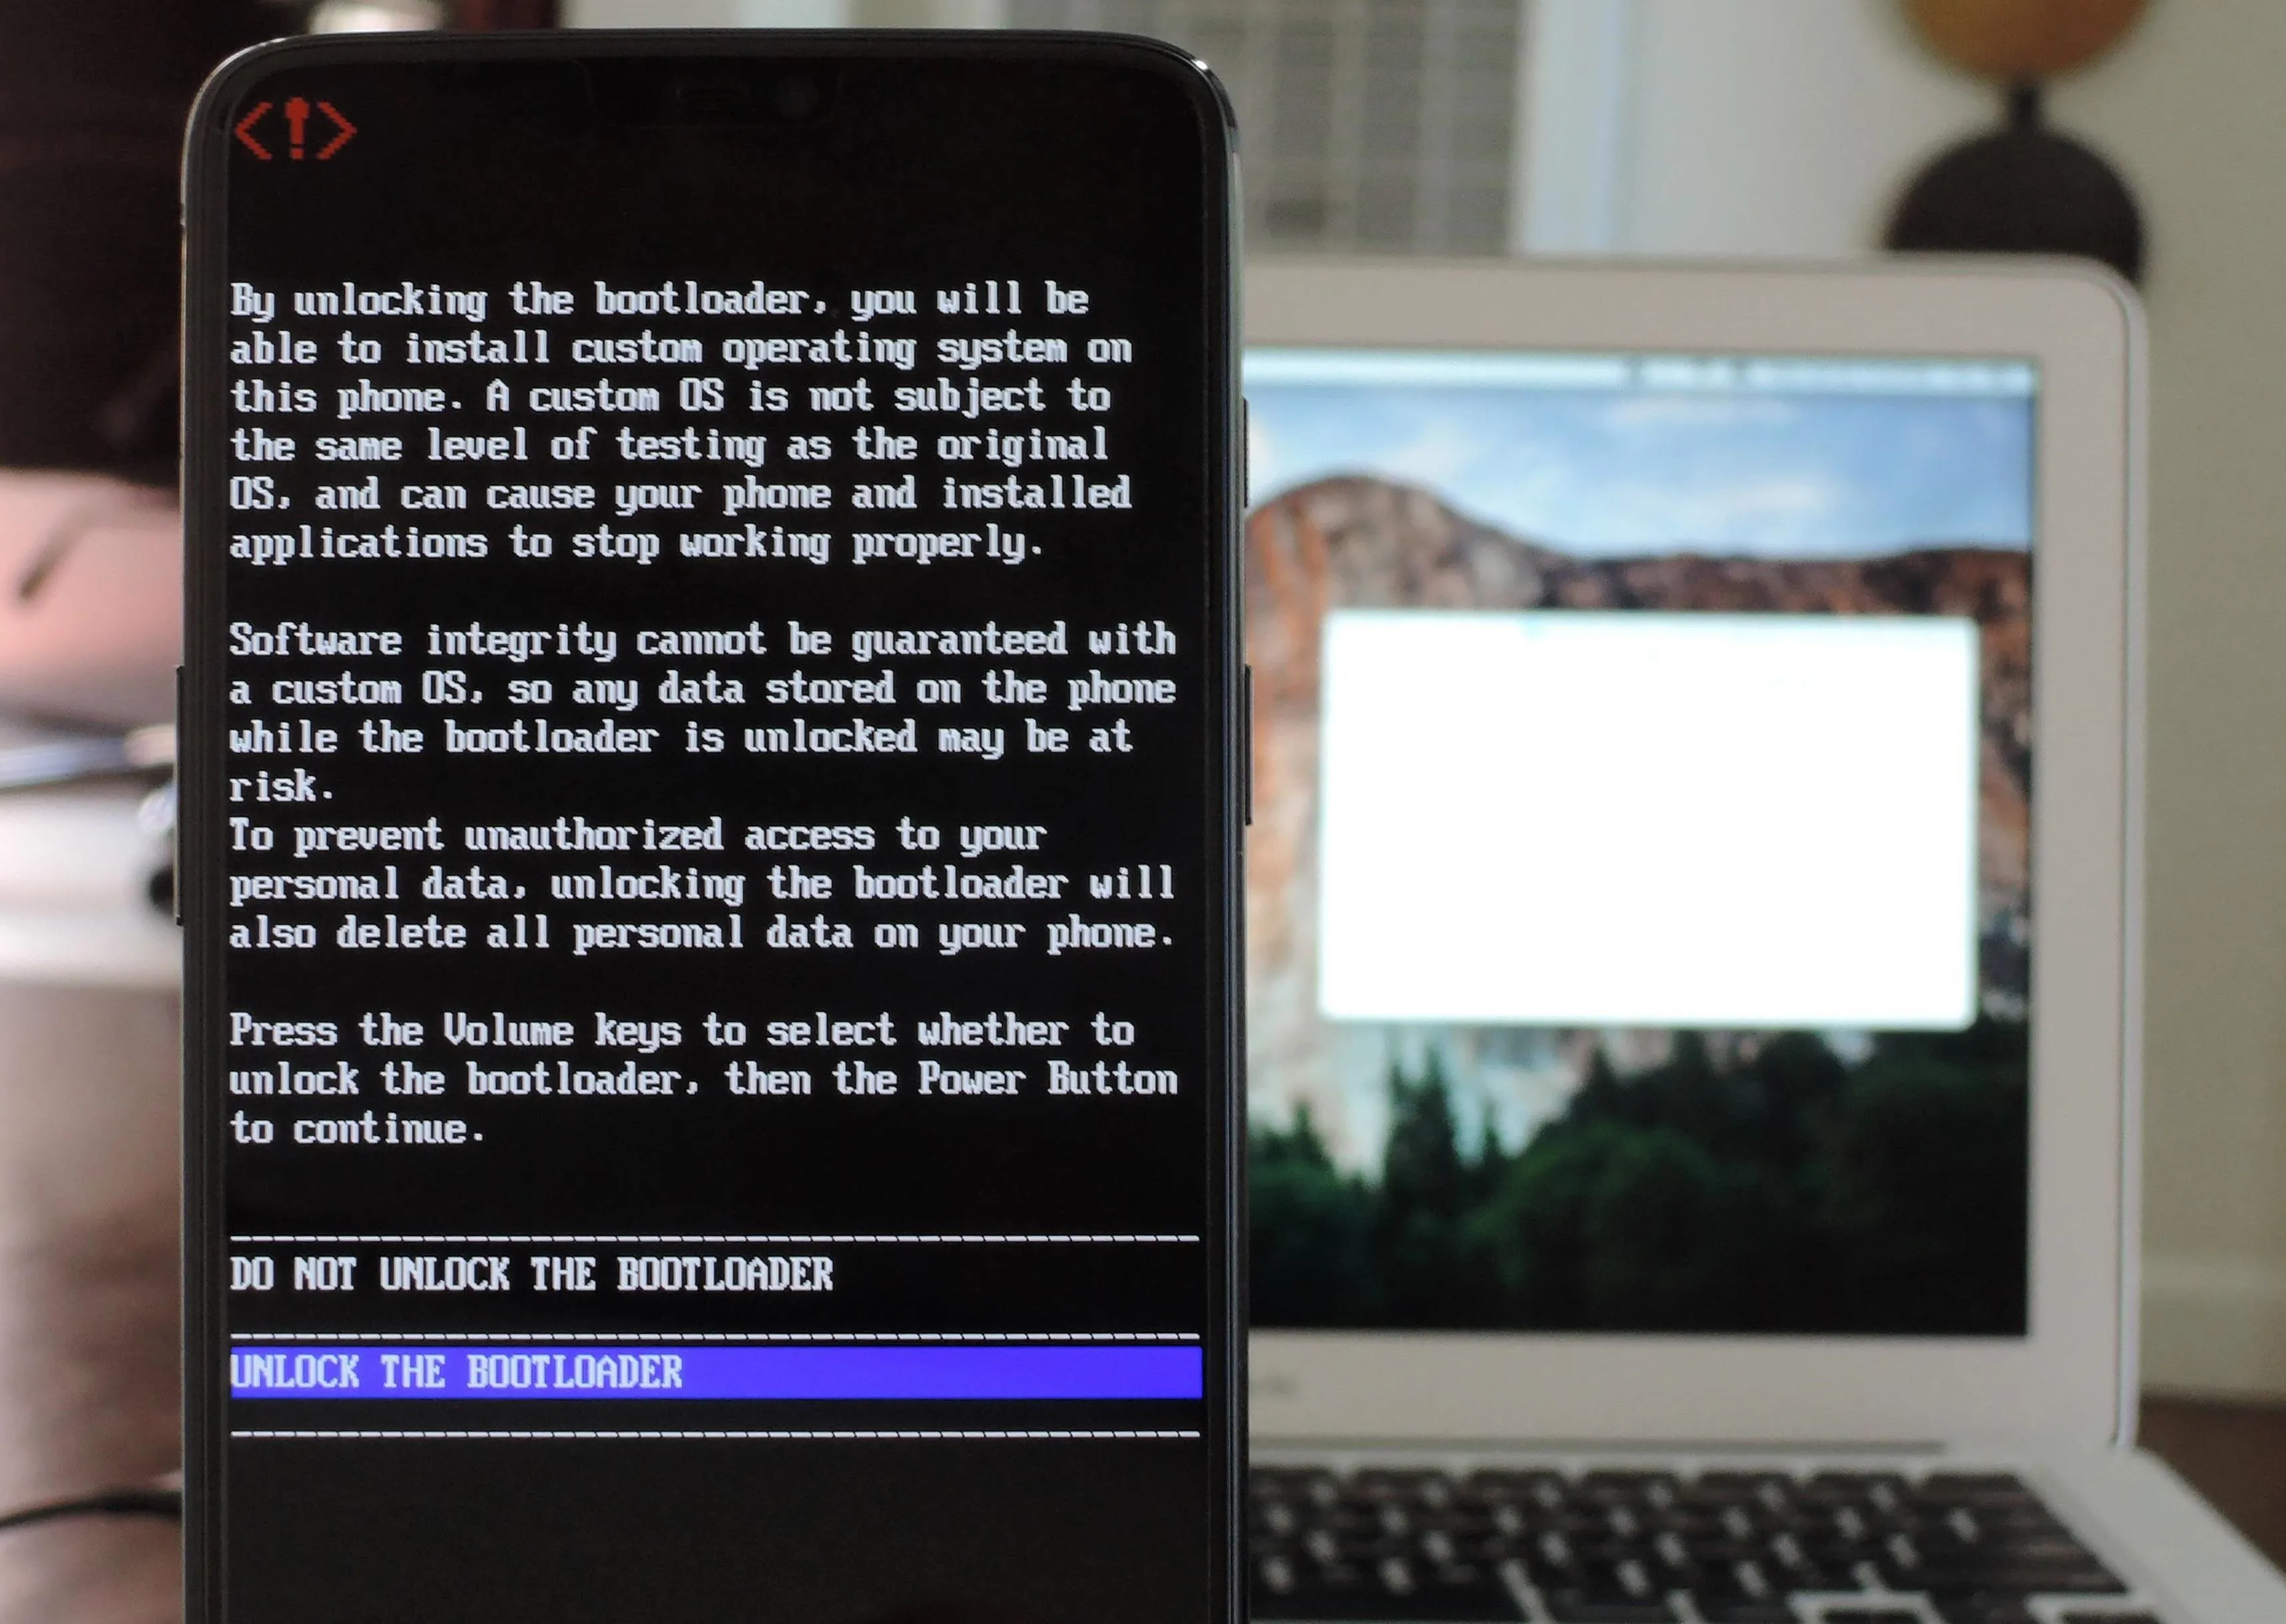
- Send "fastboot oem unlock" command to initiate bootloader unlock.
- Verify bootloader unlock on your phone with volume and power buttons.
- Complete initial Android setup process again.
If bootloader unlocking is a new concept to you, we've got a full tutorial dedicated to unlocking the bootloader on your exact model of phone. To get squared away, head to the following guide, which should take 20–30 minutes for a beginner.
- Don't Miss: How to Unlock the Bootloader on Your OnePlus 6
Dallas Thomas/Gadget Hacks
Install TWRP
Now that your bootloader's unlocked, you'll be able to install TWRP. This is a custom recovery that replaces the stock recovery interface on your phone and allows you to flash custom ZIPs and firmware files. One of the ZIPs you can flash with TWRP is Magisk, which is the mod that will actually root your phone.
Here's a simplified outline of how you can install TWRP on your OnePlus 6:
- Set either a password or a PIN as your lock screen security.
- Download the TWRP ZIP on your phone.
- Download the TWRP image file on your computer.
- Enable Developer Options again, then enable Advanced Reboot again.
- Boot into Bootloader from the Advanced Reboot menu; connect to your PC.
- Open a command window in the platform-tools directory.
- Type "fastboot boot" then add a space, but don't hit enter yet.
- Drag the TWRP image file and drop it into the command window, then hit enter.
- On your phone, type password or PIN into TWRP prompt.
- Swipe the slider to allow modifications.
- Tap "Install," then select the TWRP ZIP from your Download folder.
- Swipe the slider to permanently install TWRP.
- Reboot system; decline option to install TWRP app.
We've also got an in-depth guide on this process, so again, don't worry if you're new to installing TWRP or custom recovery in general. Just check out the following link, which should take approximately 15 minutes for a beginner.

Dallas Thomas/Gadget Hacks
Install the Magisk Manager App
Next, you'll need to install the Magisk Manager app on your phone. This app will not only serve as your root management app to grant or deny superuser privileges to other apps, but it will also provide an interface for installing Magisk modules and help you hide your root status from Google's SafetyNet.
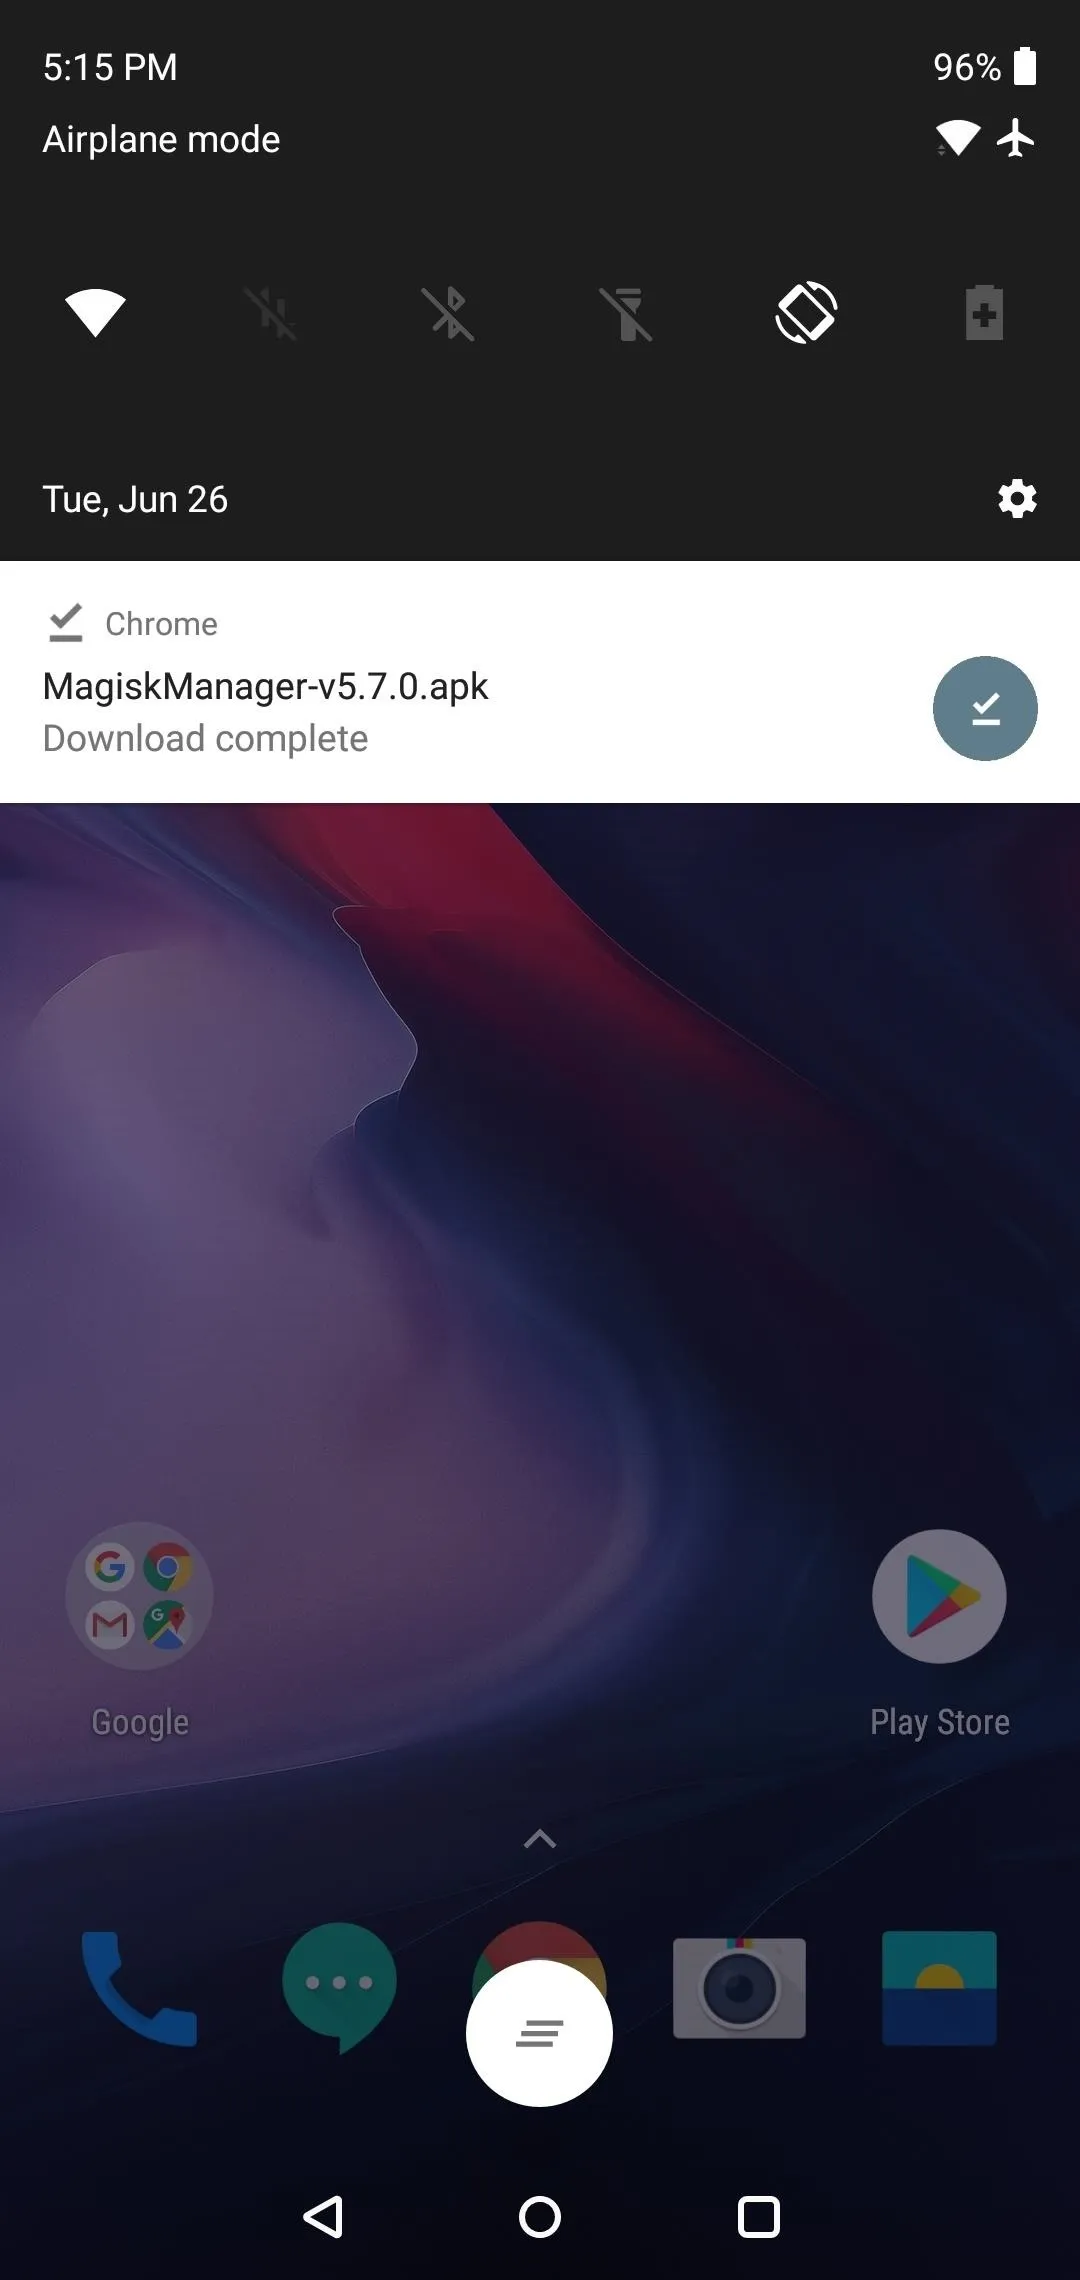
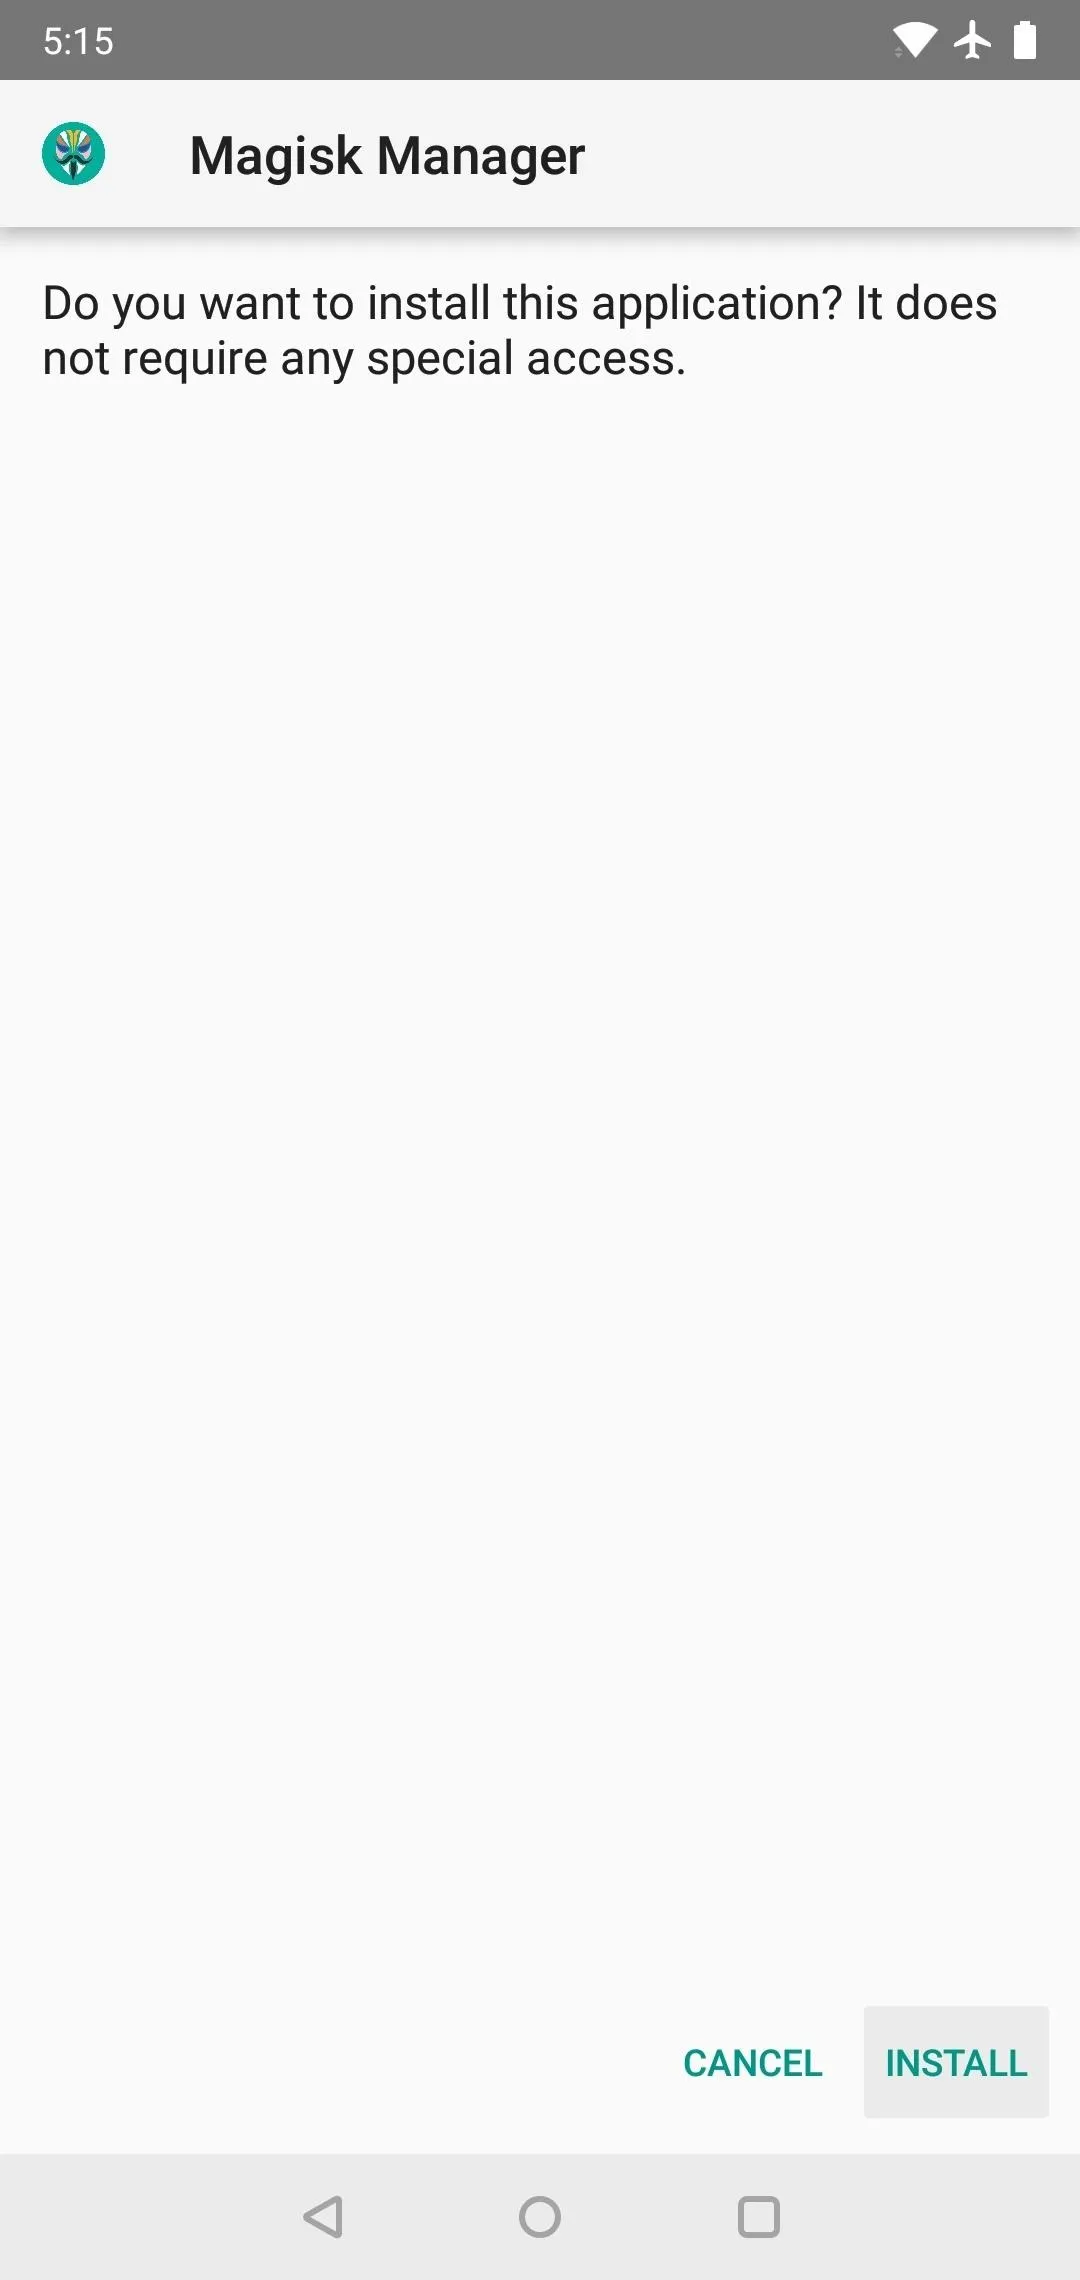
To install Magisk Manager, tap the link below from your OnePlus 6. You may have to long-press the link and choose "Download Link," depending on your browser. Once the file has been downloaded, open it from your notification tray (just tap the Download complete notification), then press "Install" when prompted.
Note: If this is your first time sideloading an app on this device, you'll have to tap "Settings" on the popup after launching the APK, then enable the switch next to "Allow from this source." From there, tap your back button once, then you'll be able to tap the "Install" button.
Download the Magisk Framework ZIP
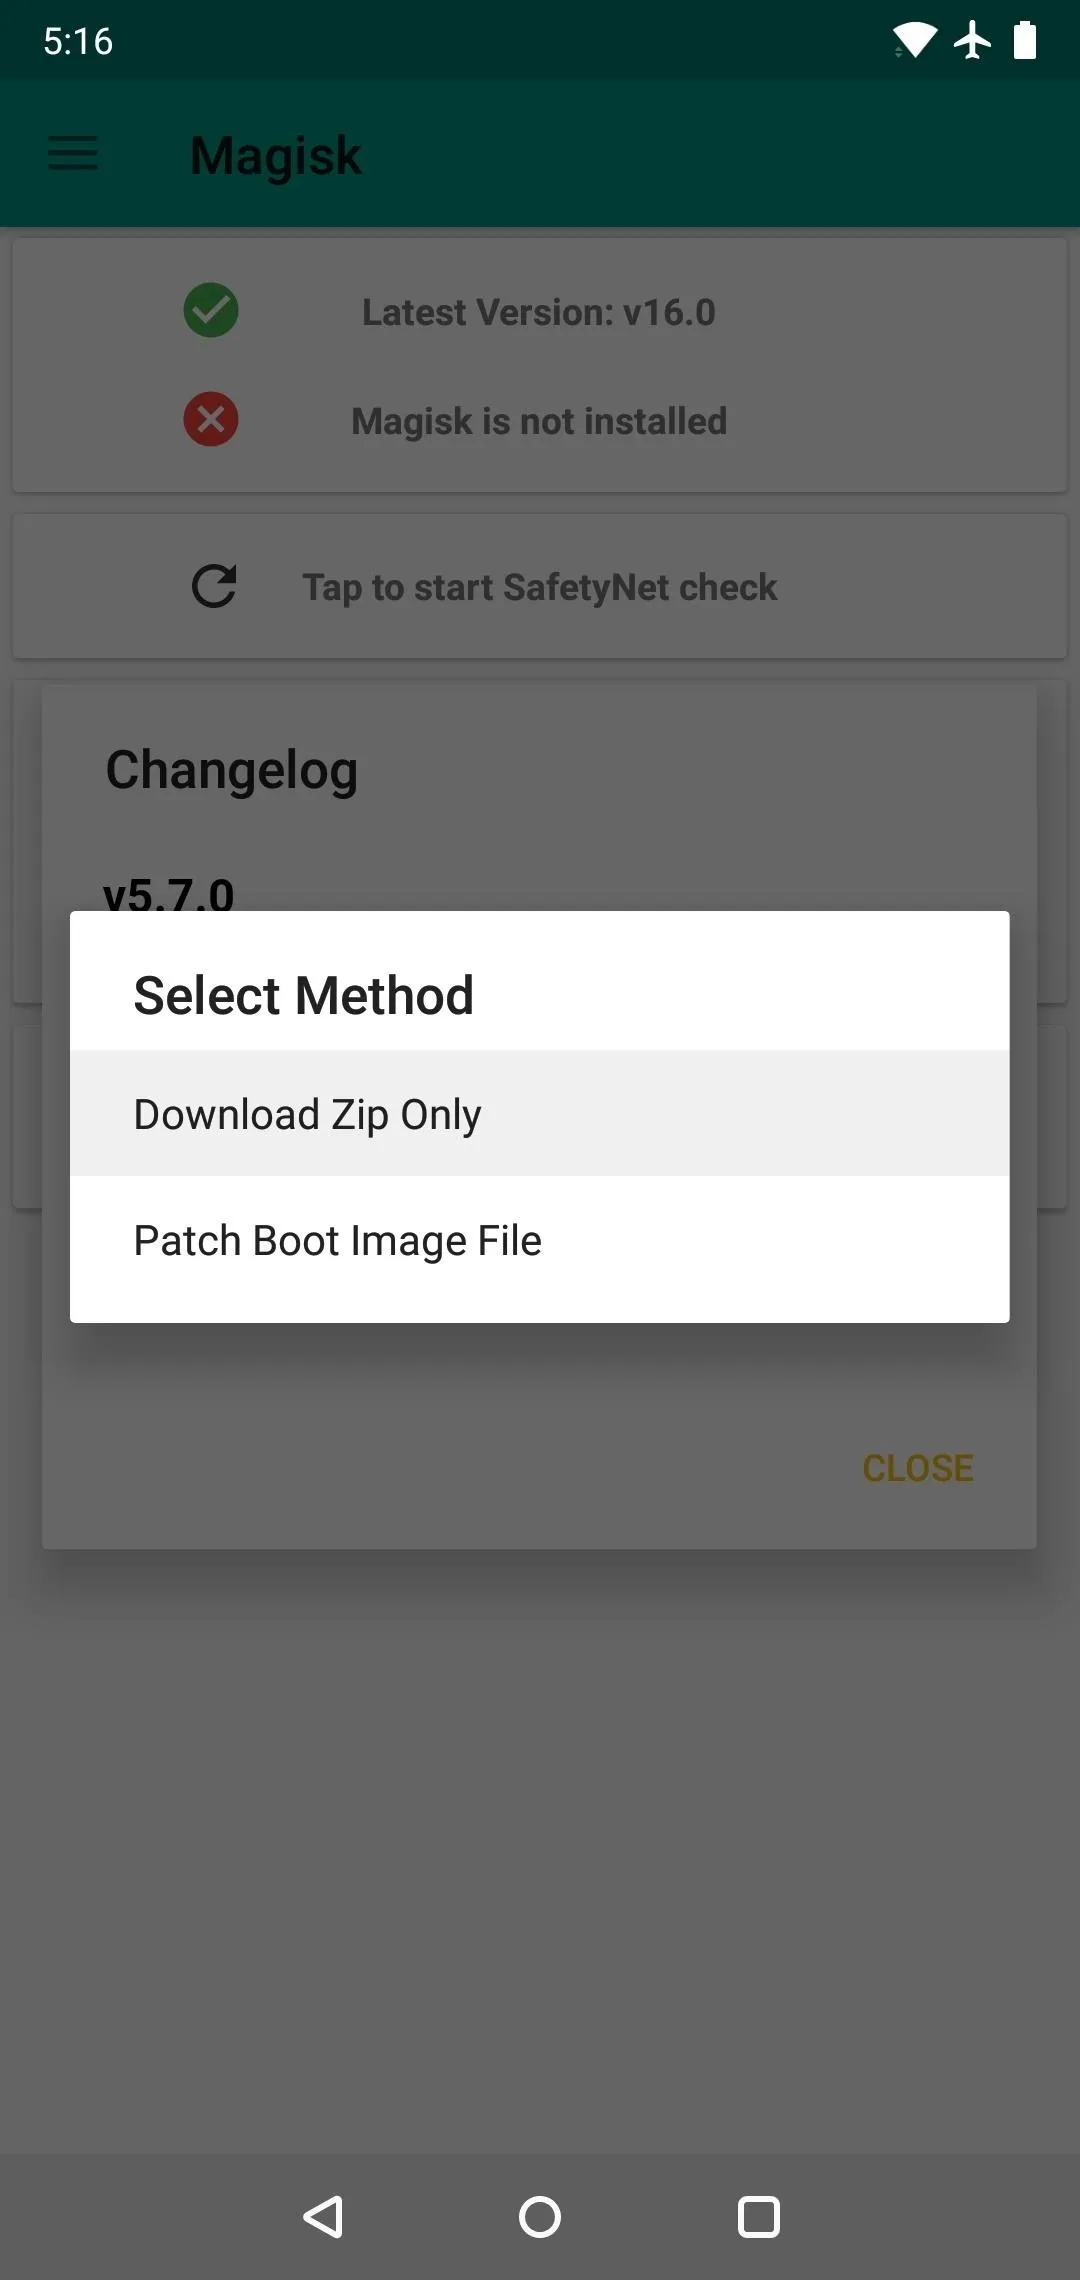
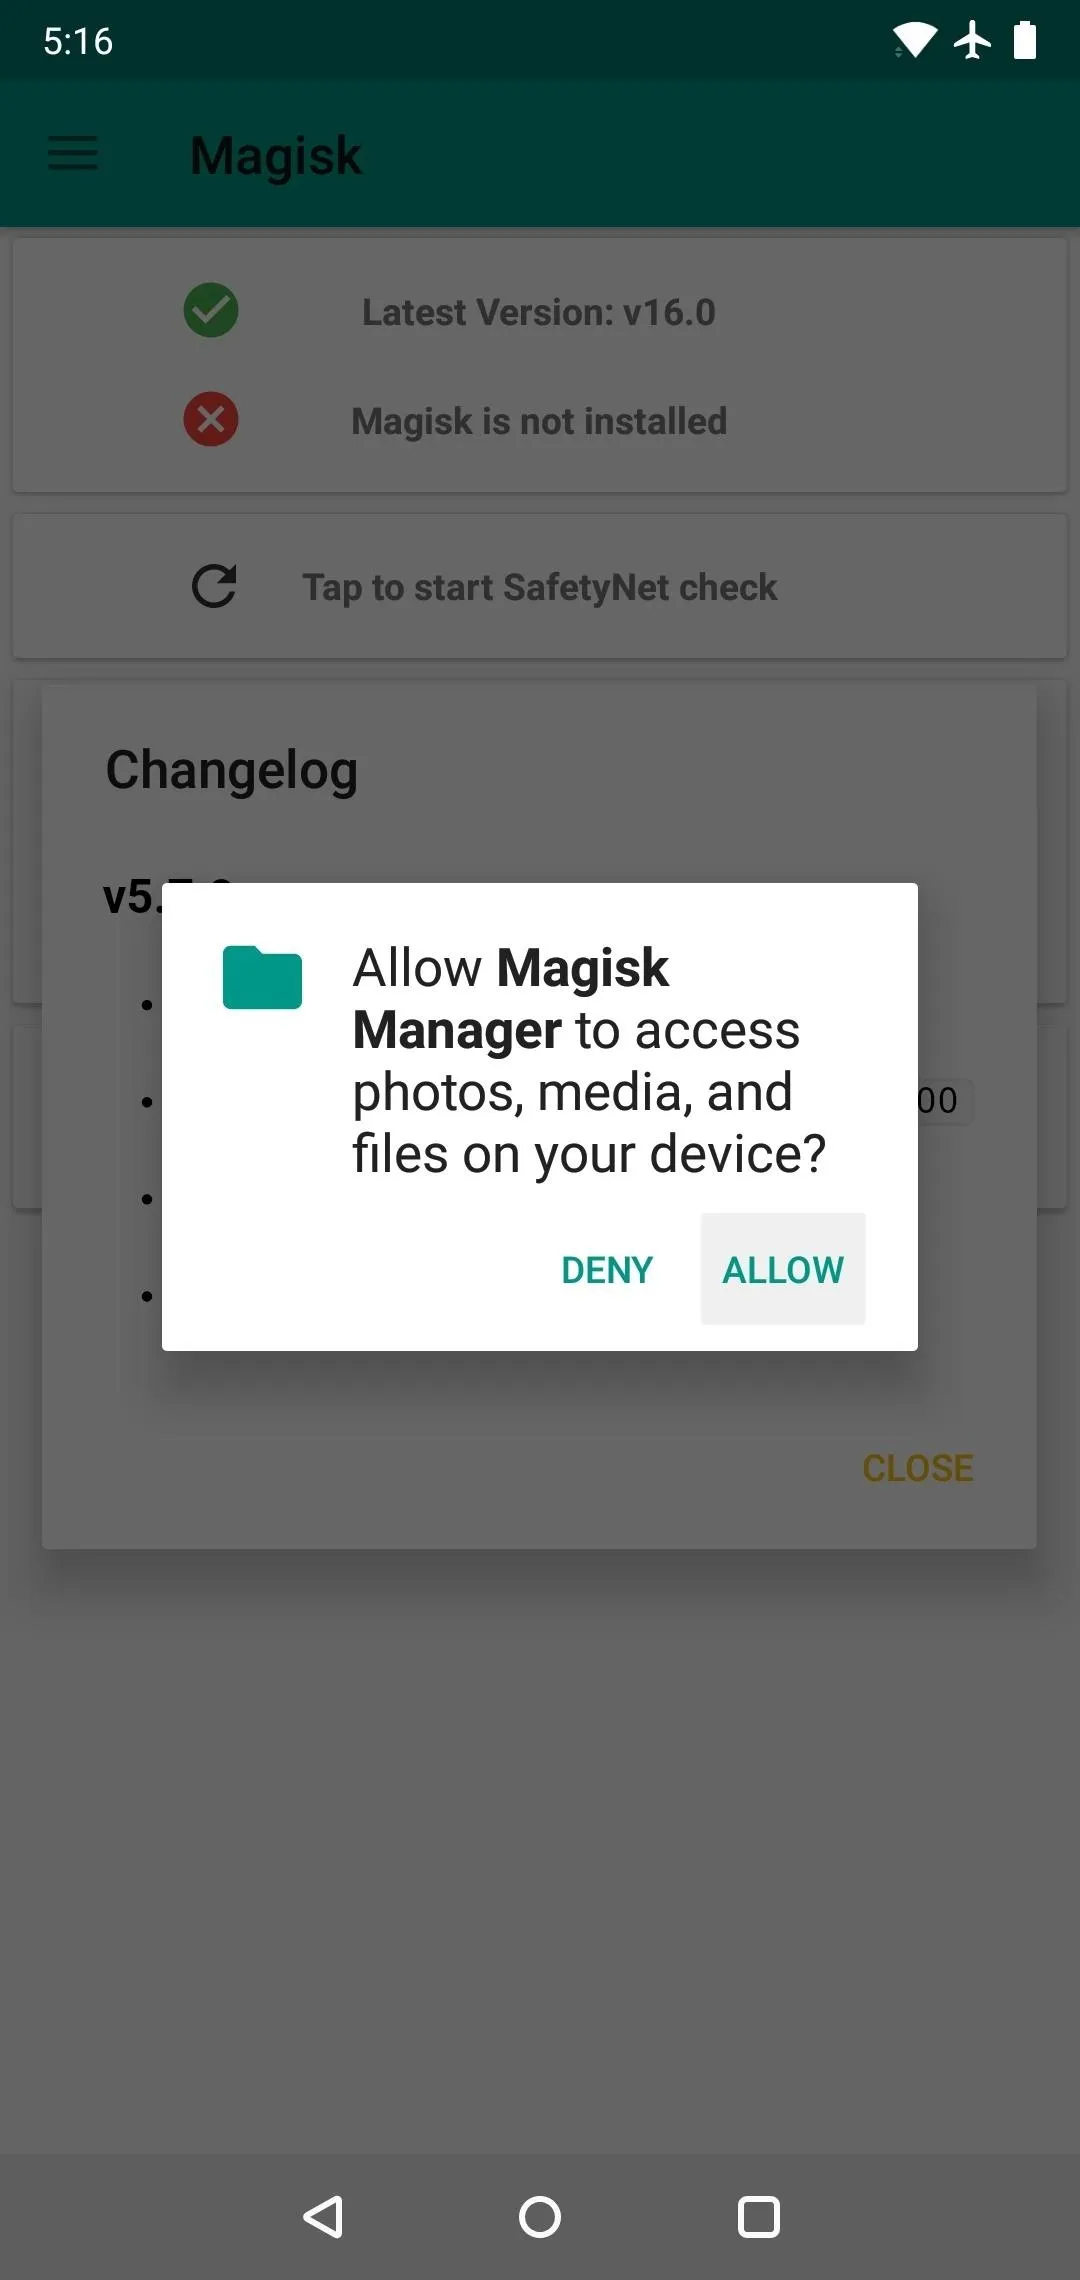
Now, open the Magisk Manager app and you'll be asked if you want to install Magisk (this is referencing the underlying Magisk framework rather than the Magisk Manager app, in case you're wondering). To do so, tap "Install" on the prompt, choose "Download Zip Only," and hit "Allow" on the permission request.

Boot into TWRP
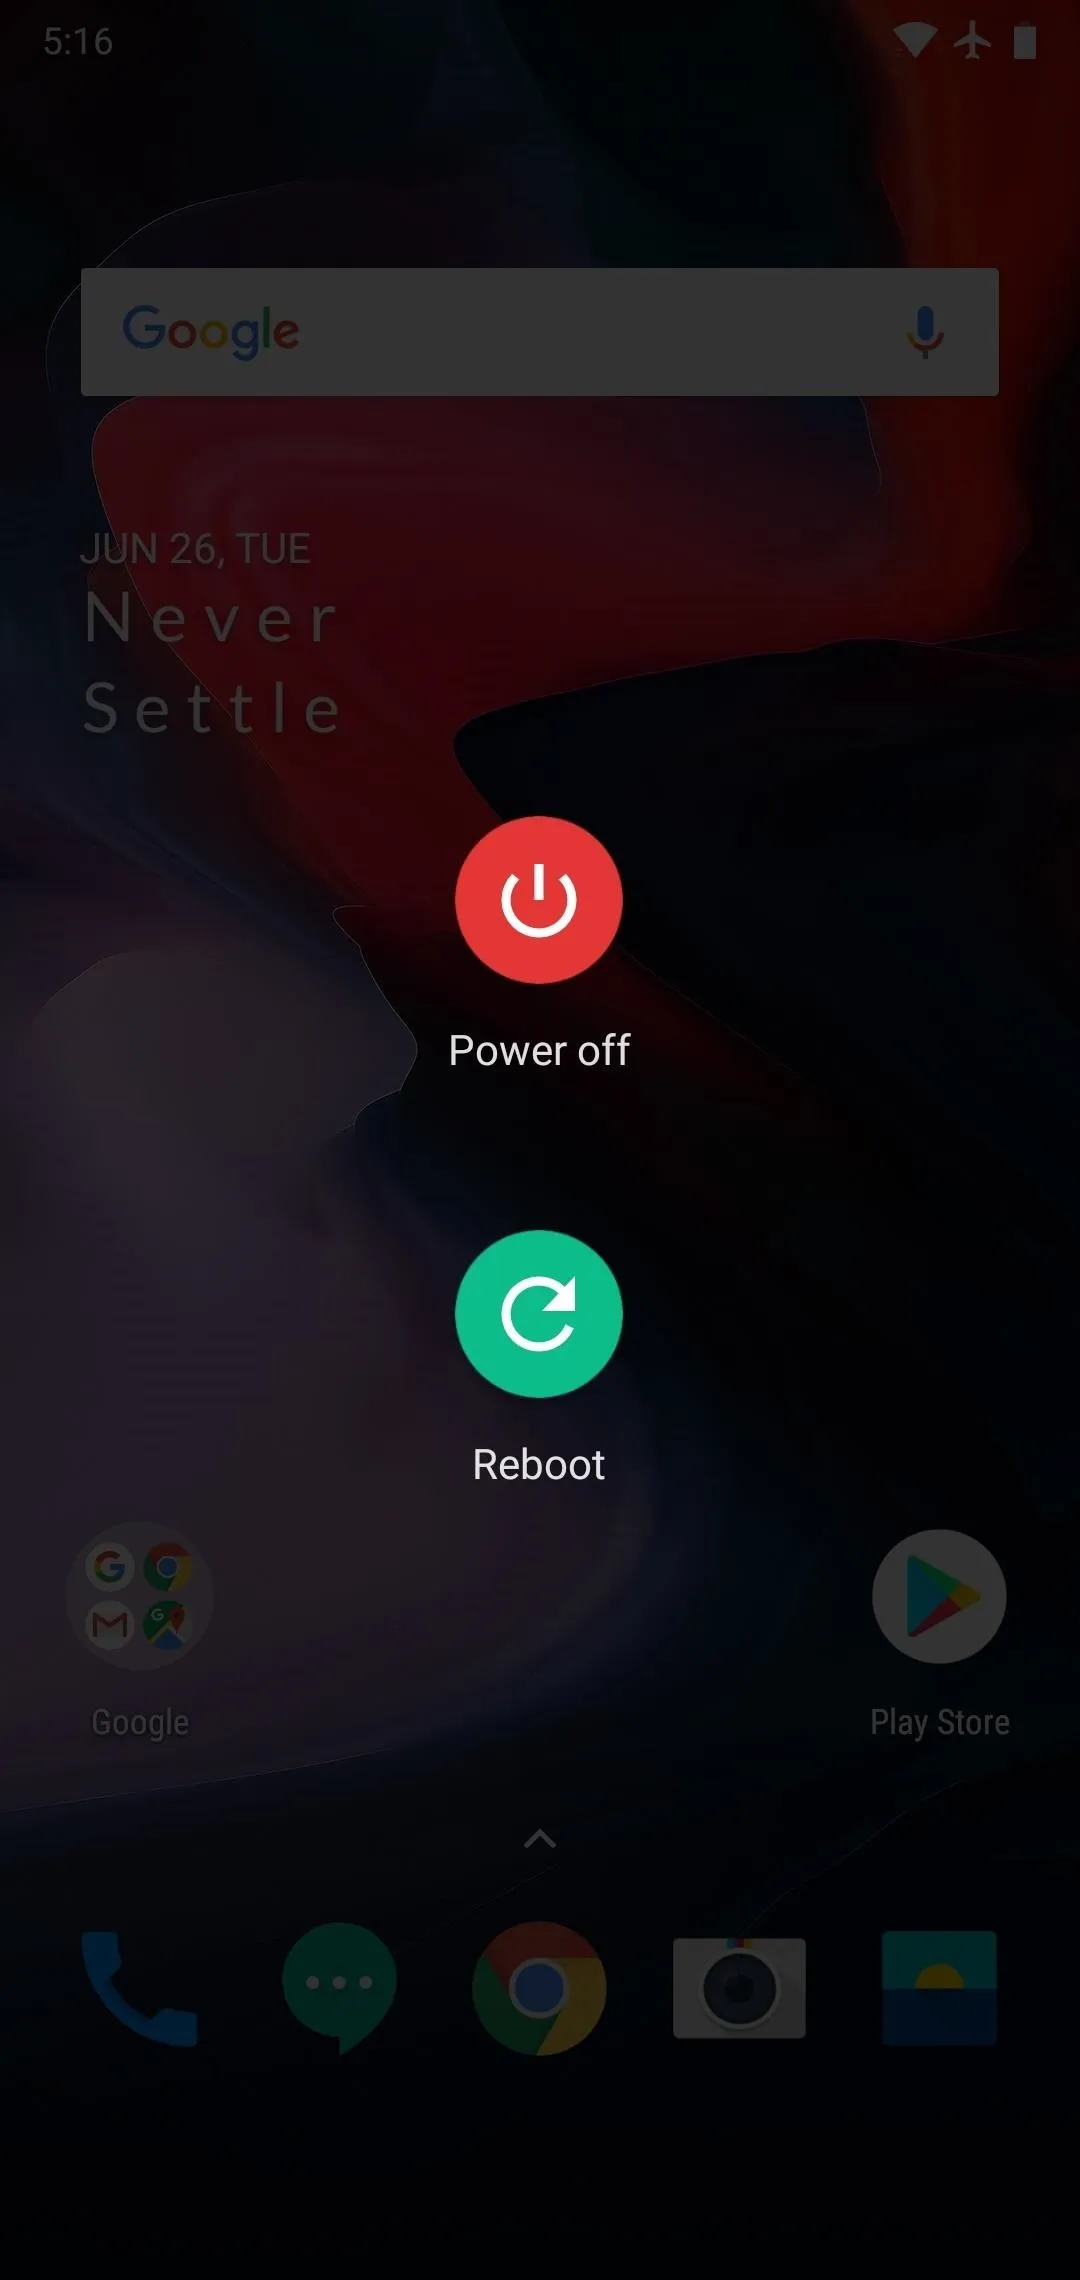
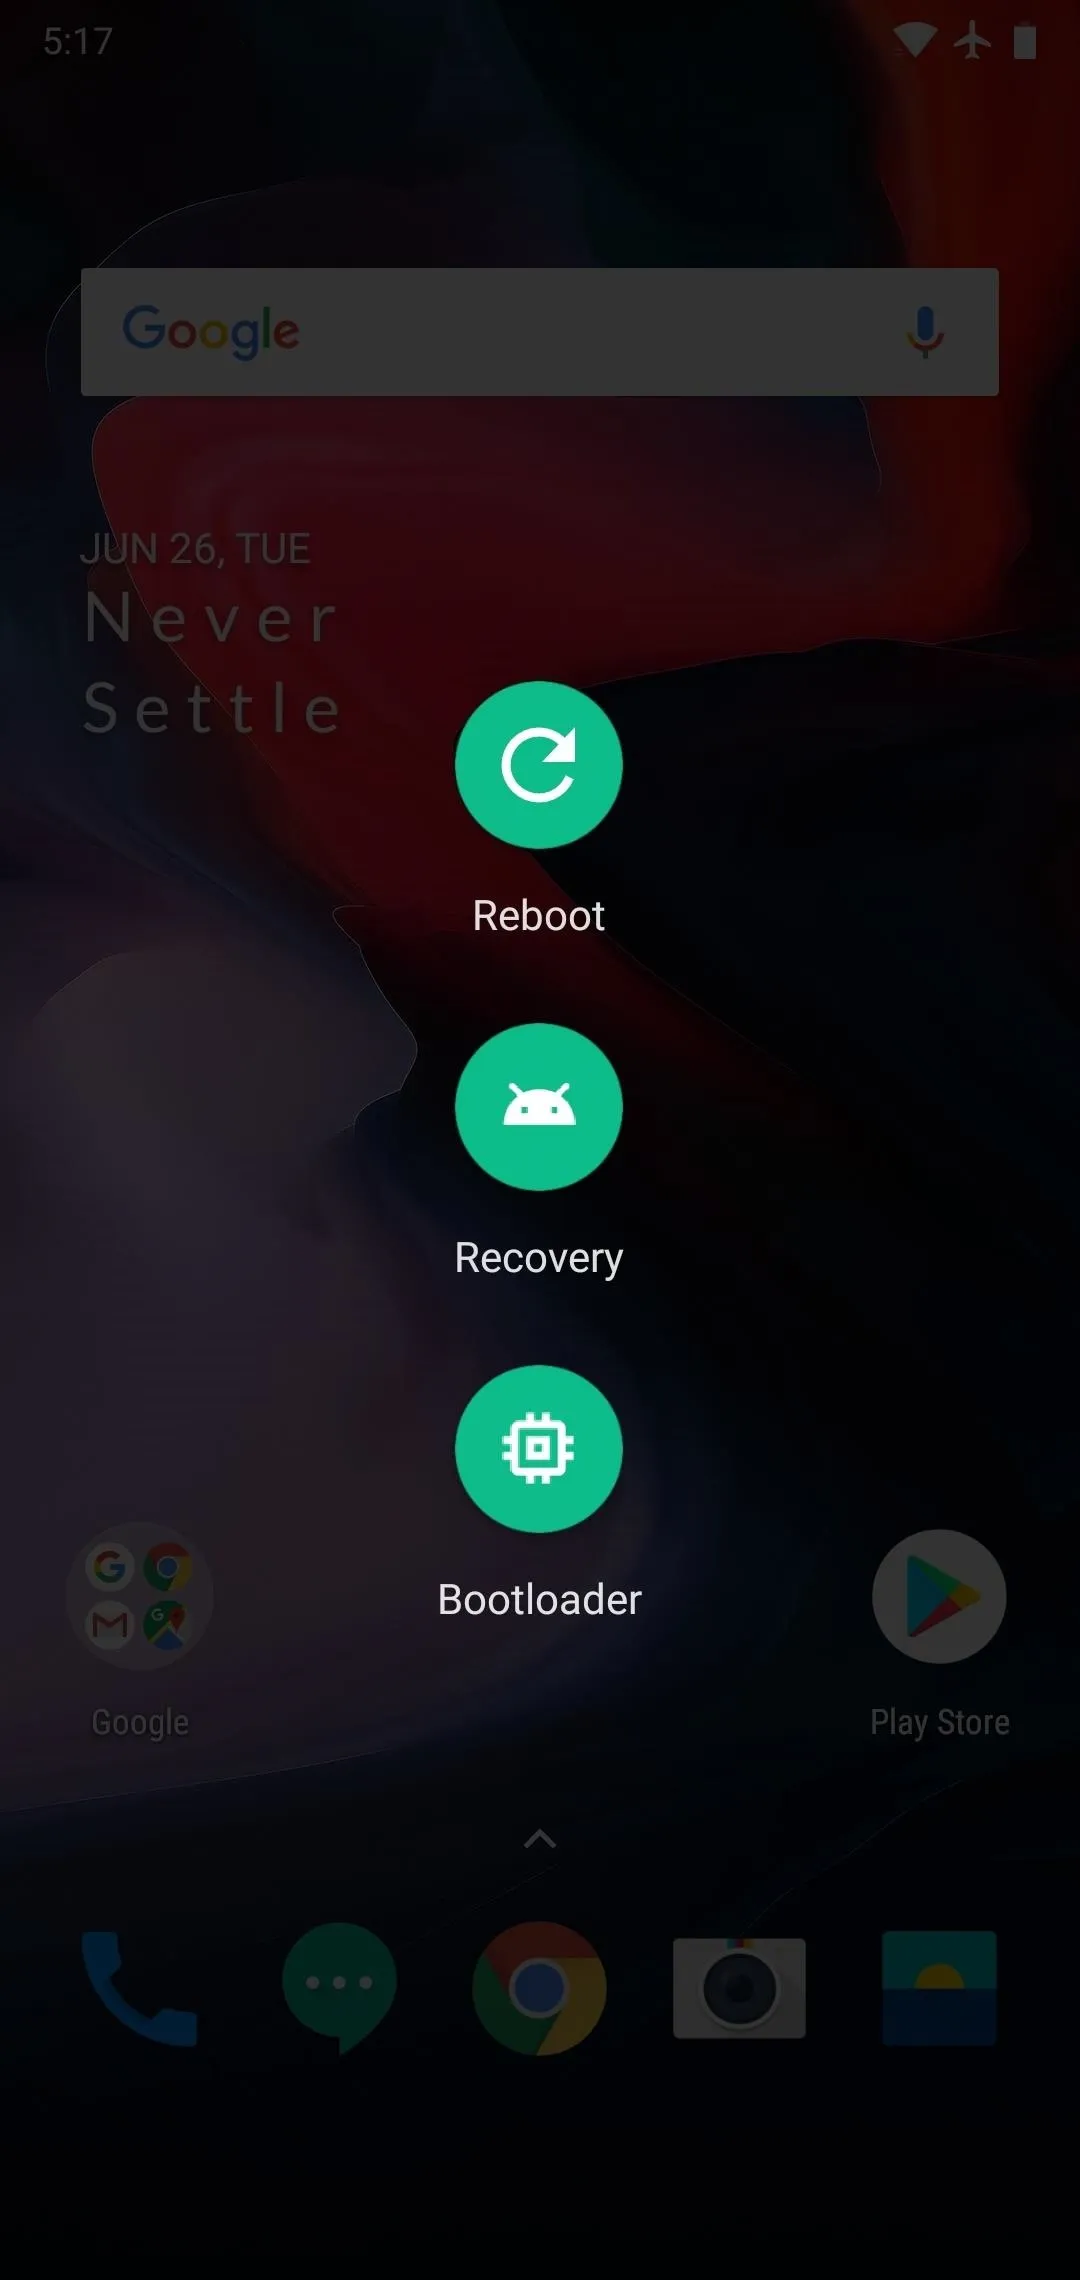
Once the Magisk Manager app finishes downloading that file, go ahead and boot your phone into TWRP. If you've never done this, make sure "Advanced Reboot" is enabled in Developer Options, then long-press your power button. Choose "Reboot" on the first prompt, then "Recovery" on the second and confirm your choice.
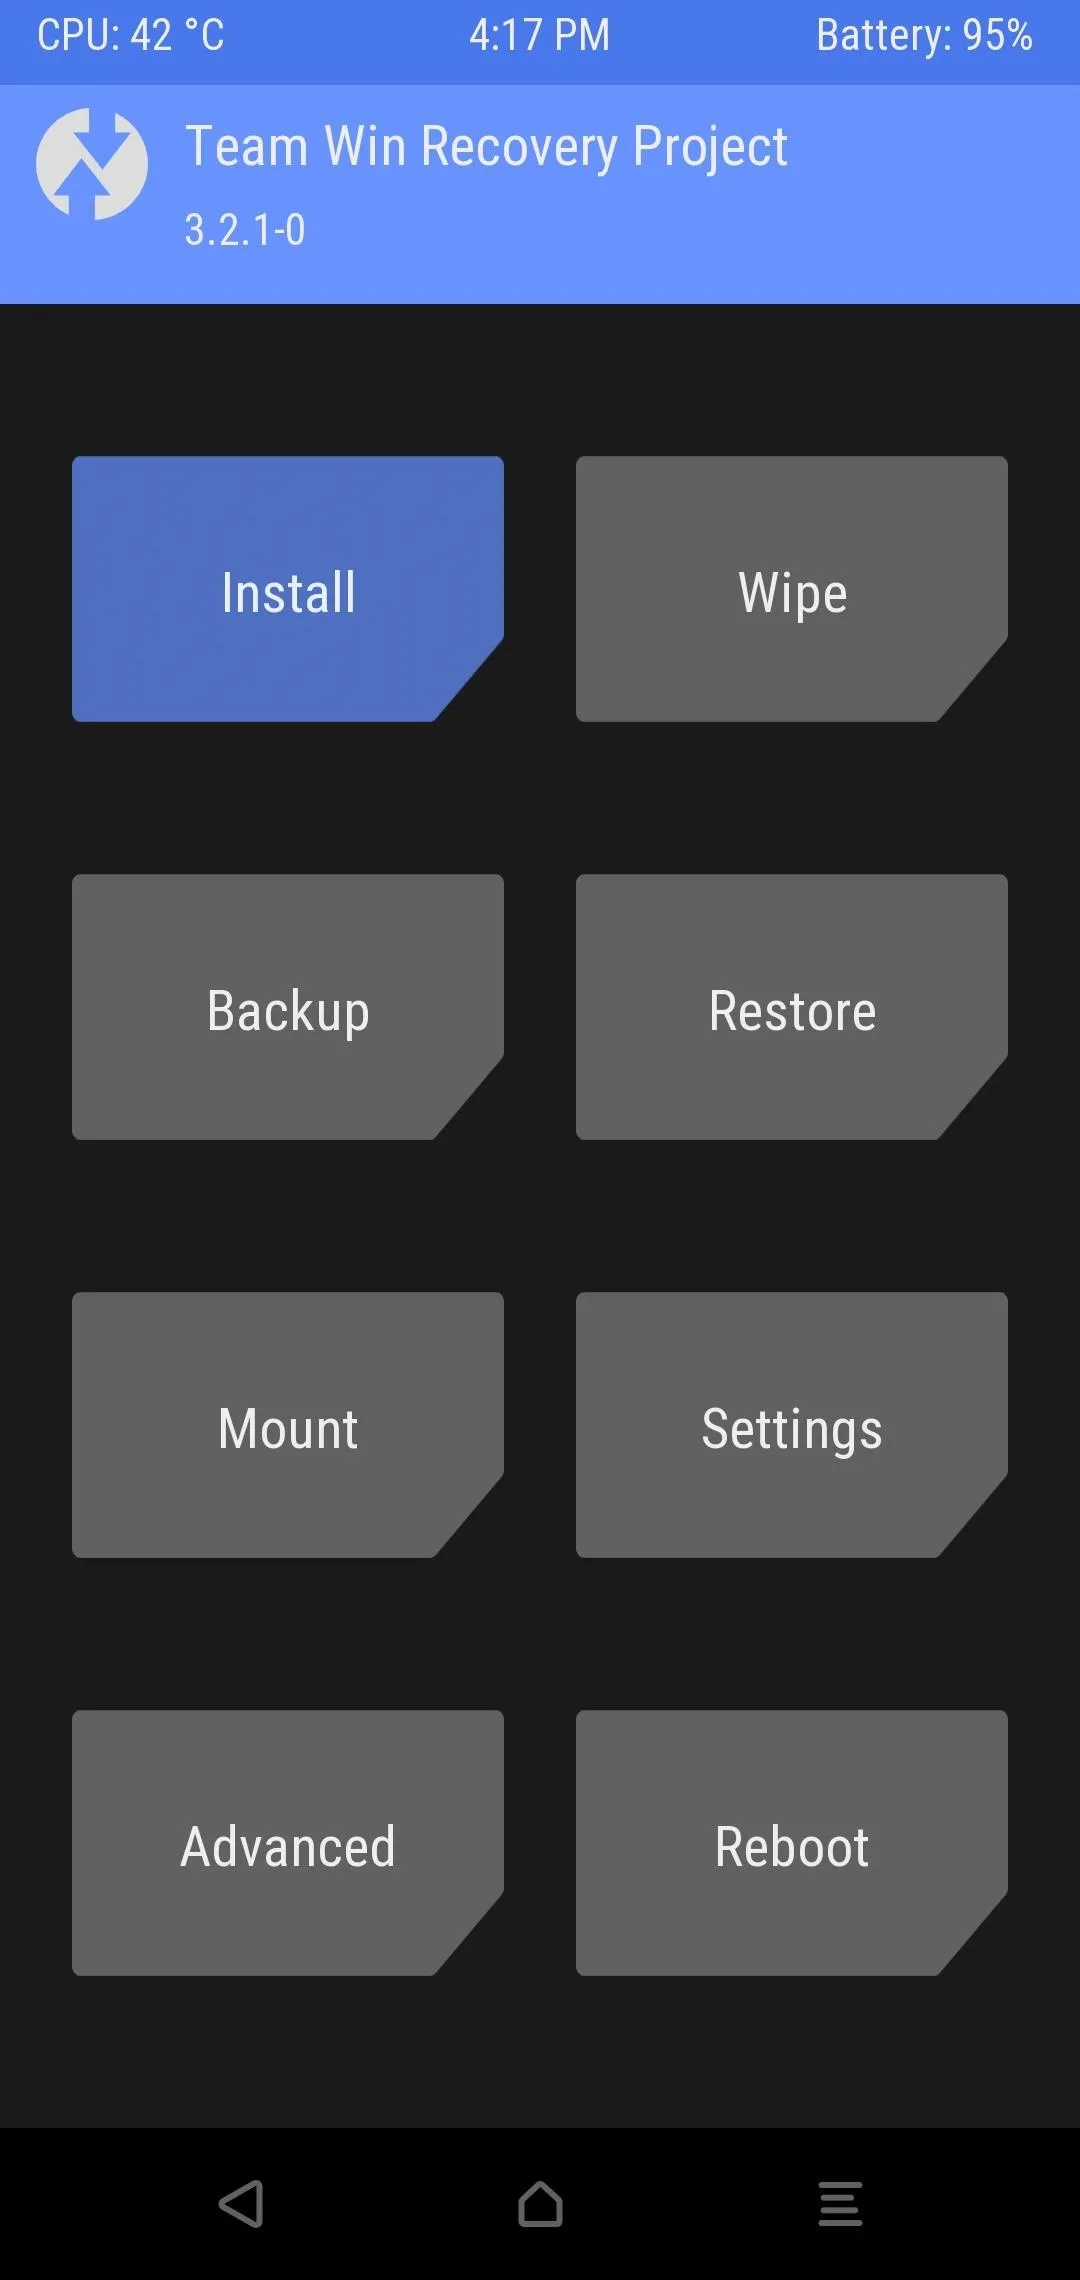
Flash Magisk
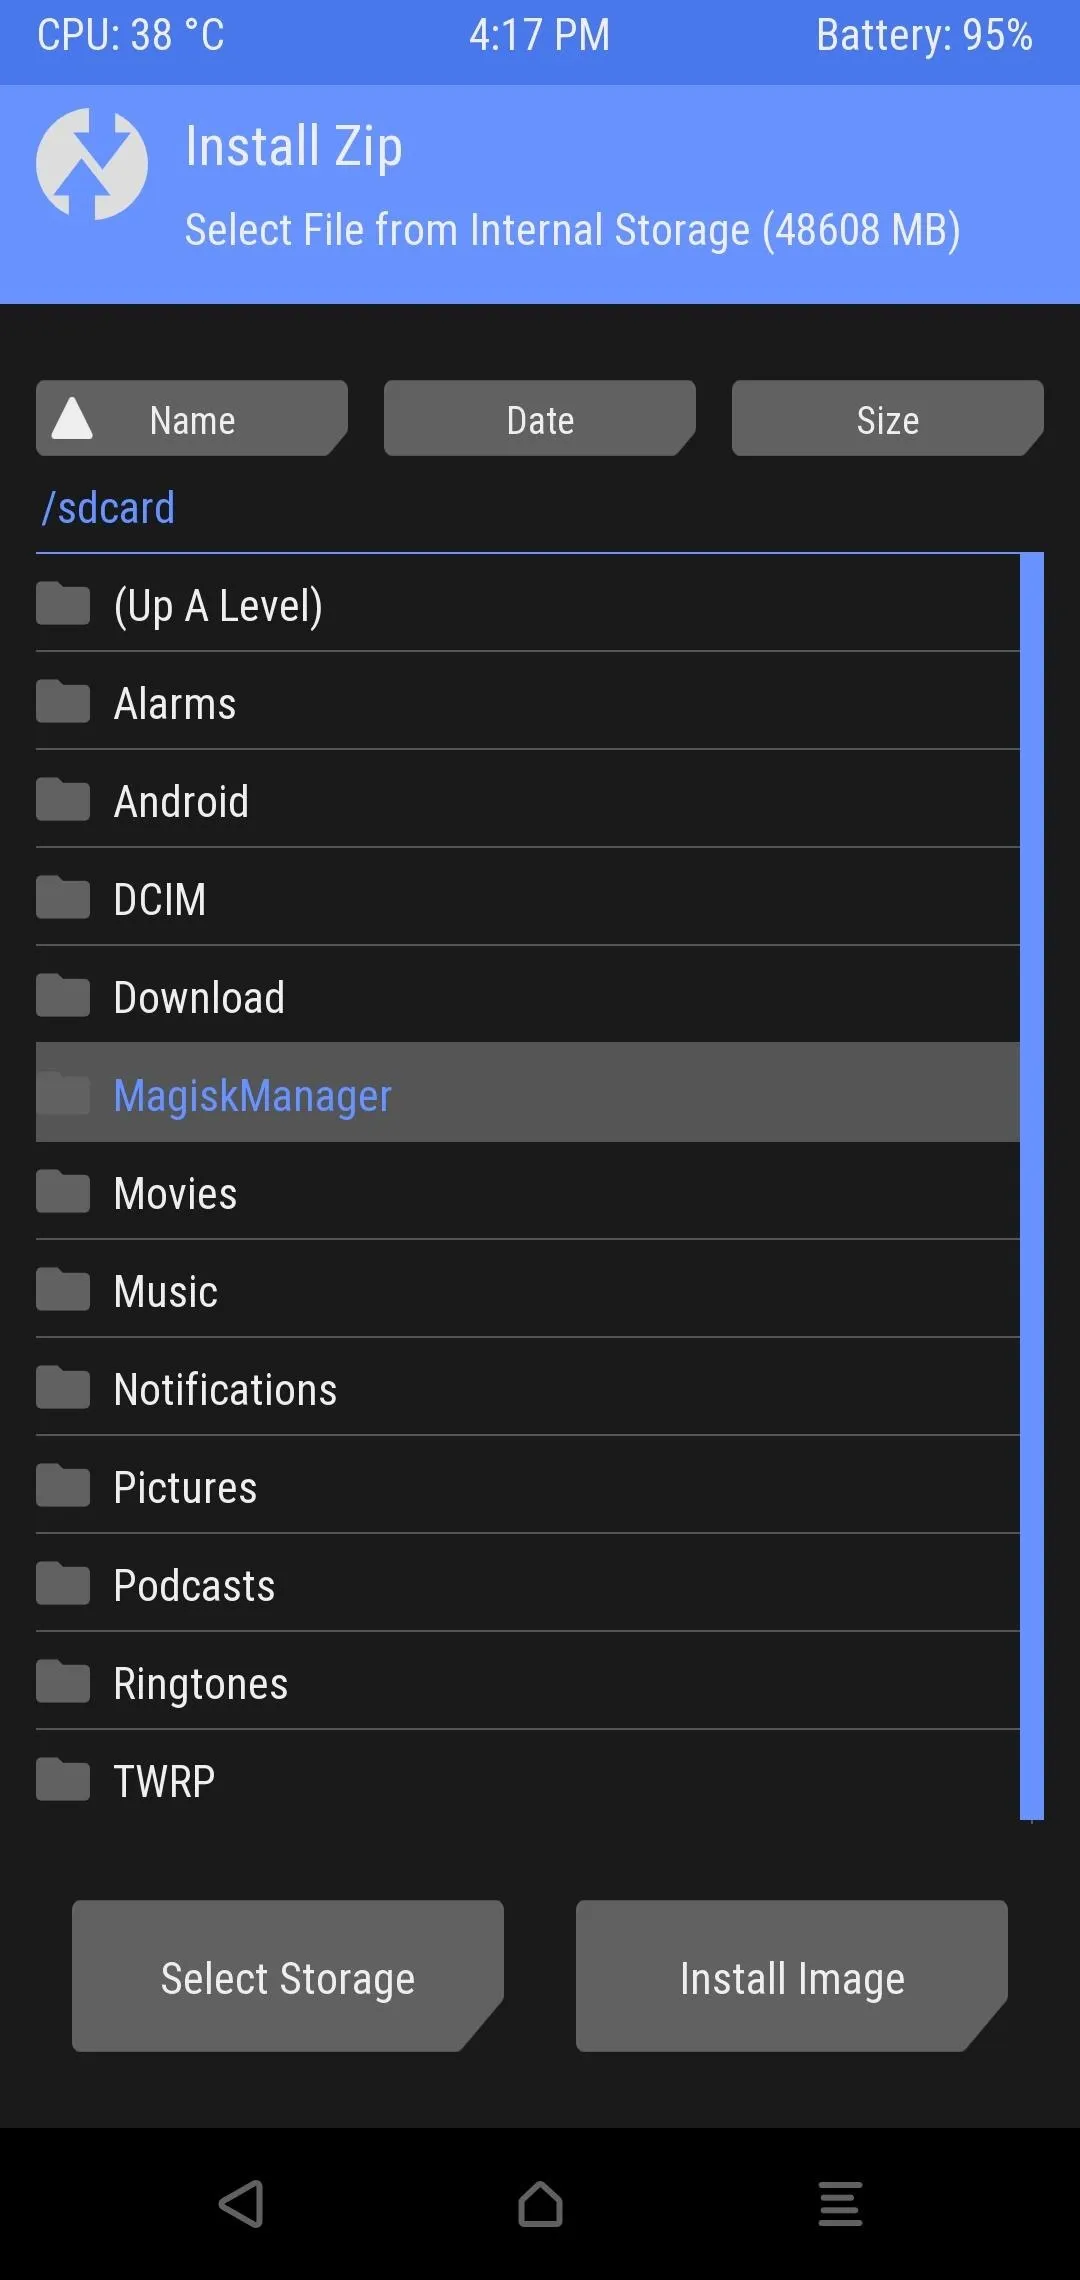
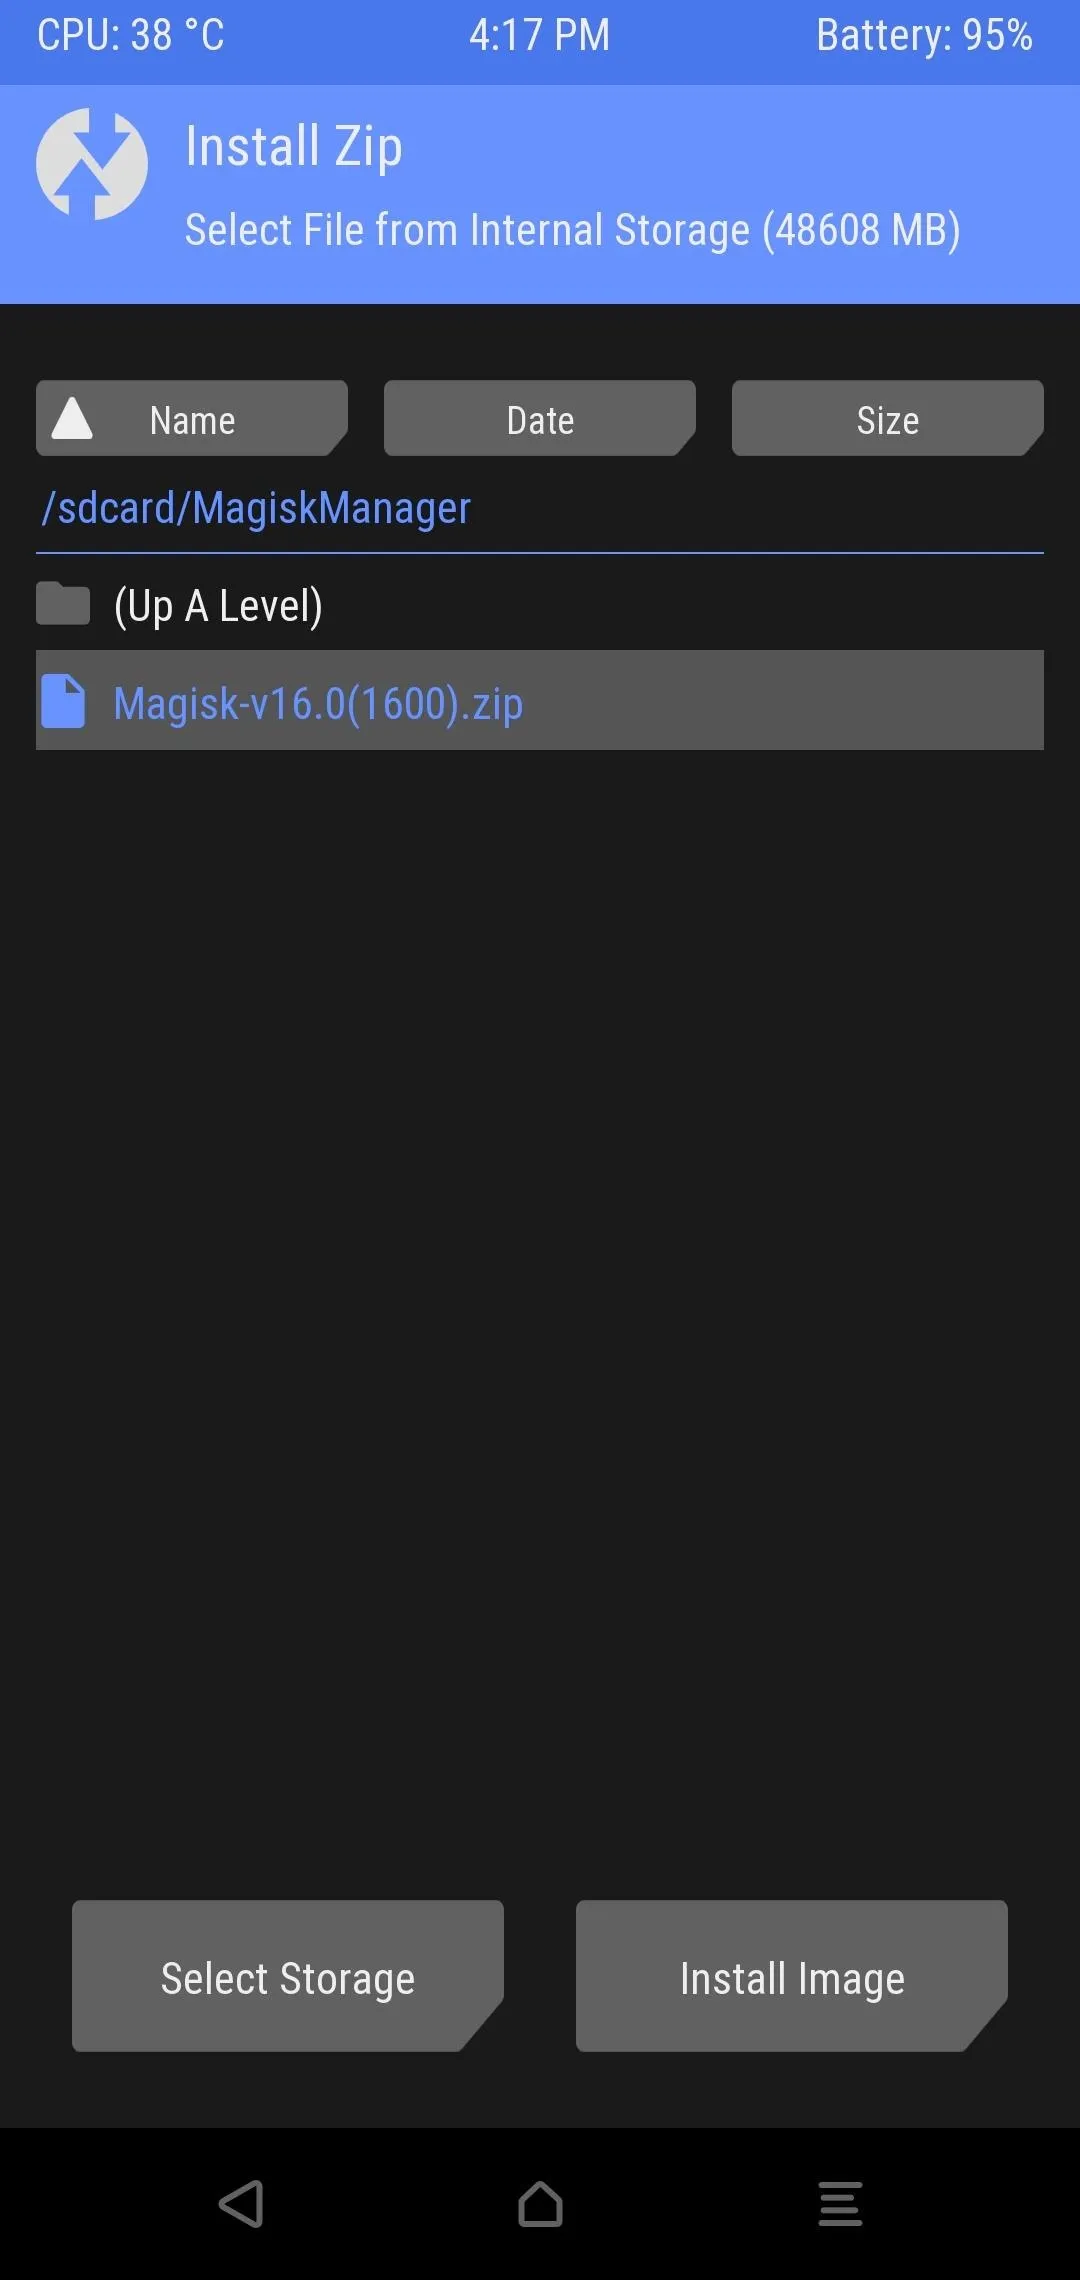
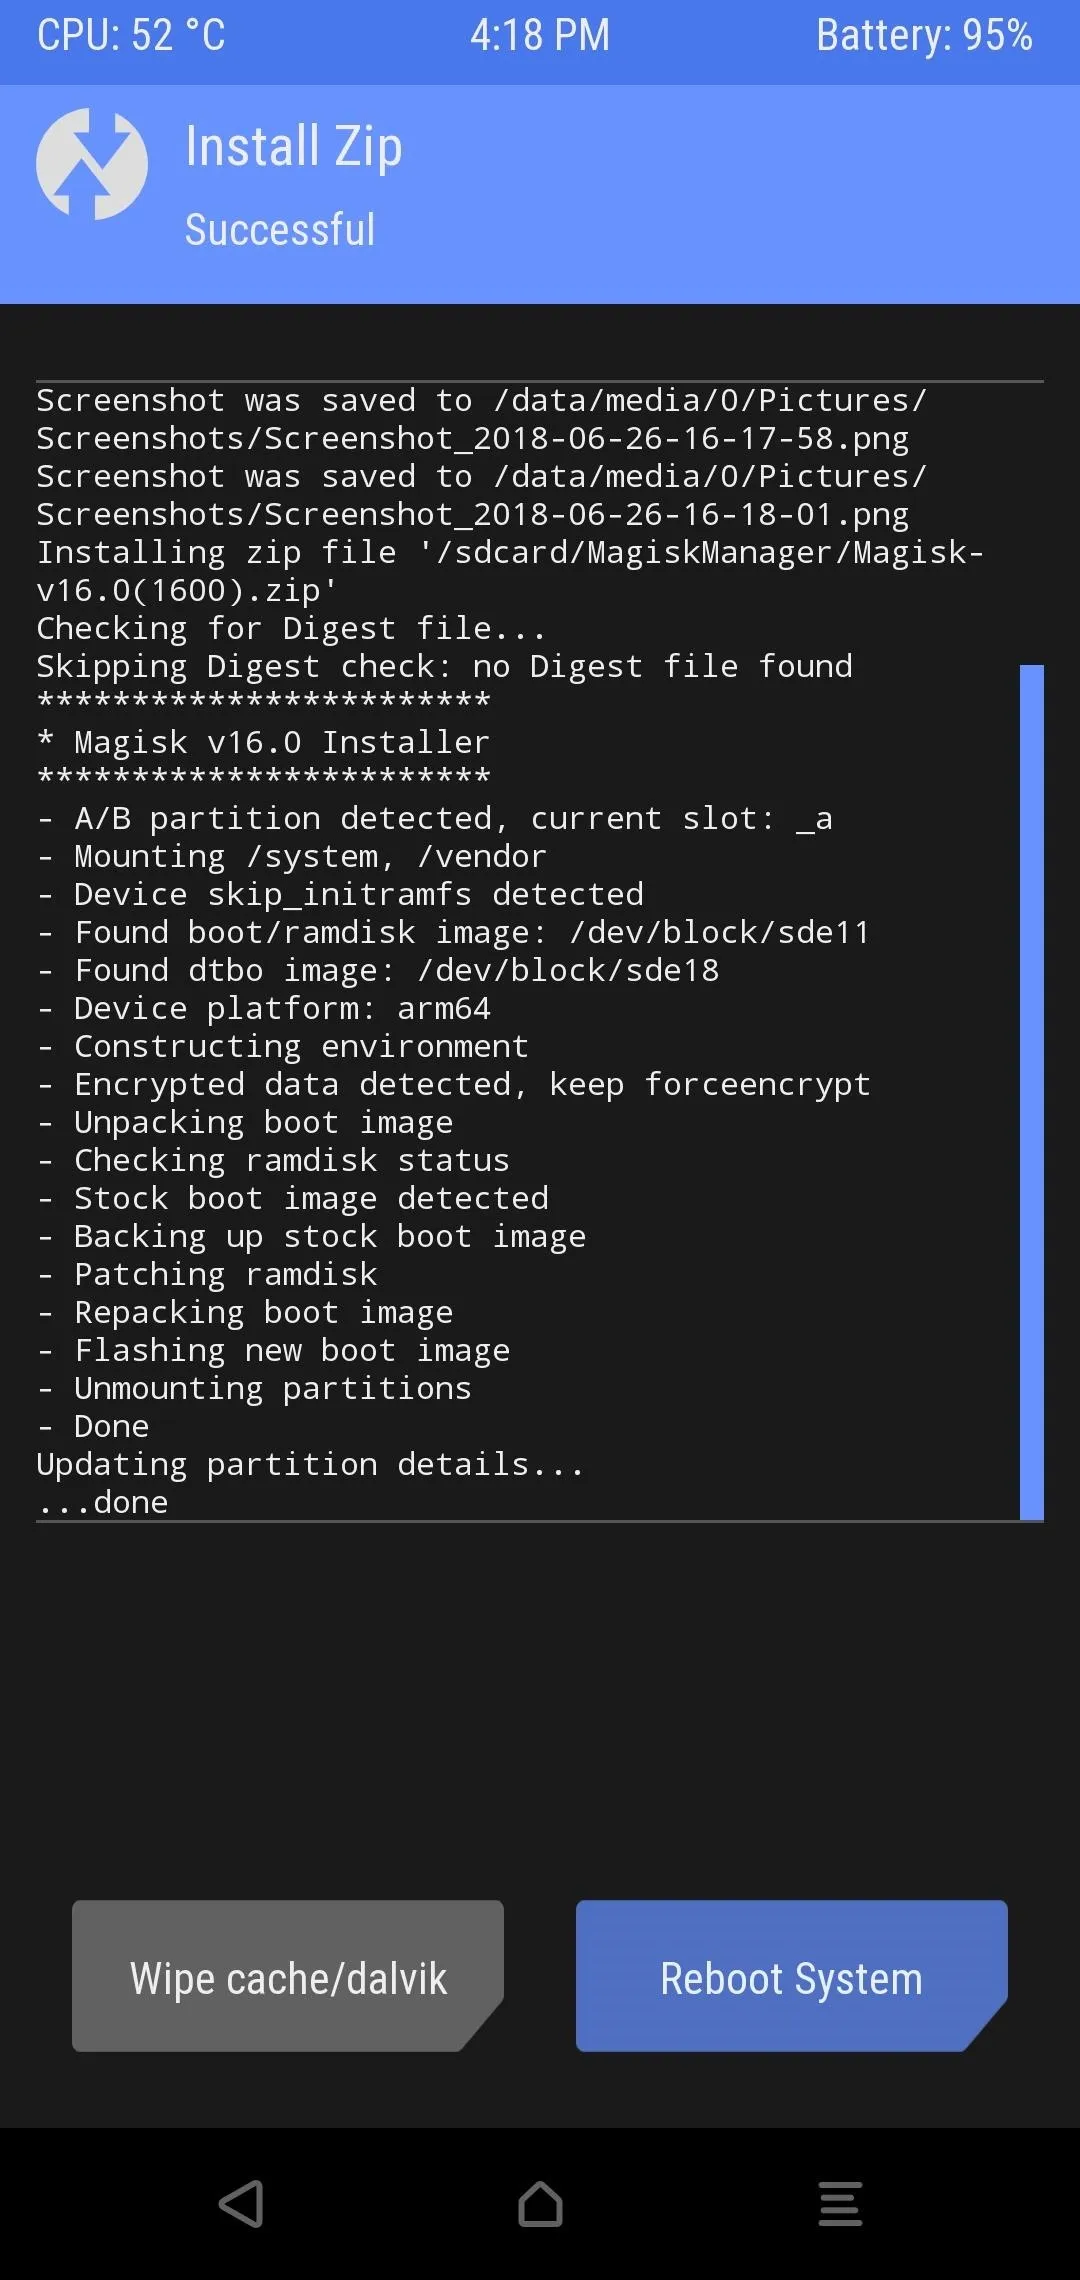
When TWRP loads, you'll be prompted to enter your lock screen password or PIN to decrypt storage. Once you've done that, tap the "Install" button on TWRP's main menu, then navigate to the MagiskManager folder on your device's internal storage partition. From there, select the Magisk-vX.X.zip file.
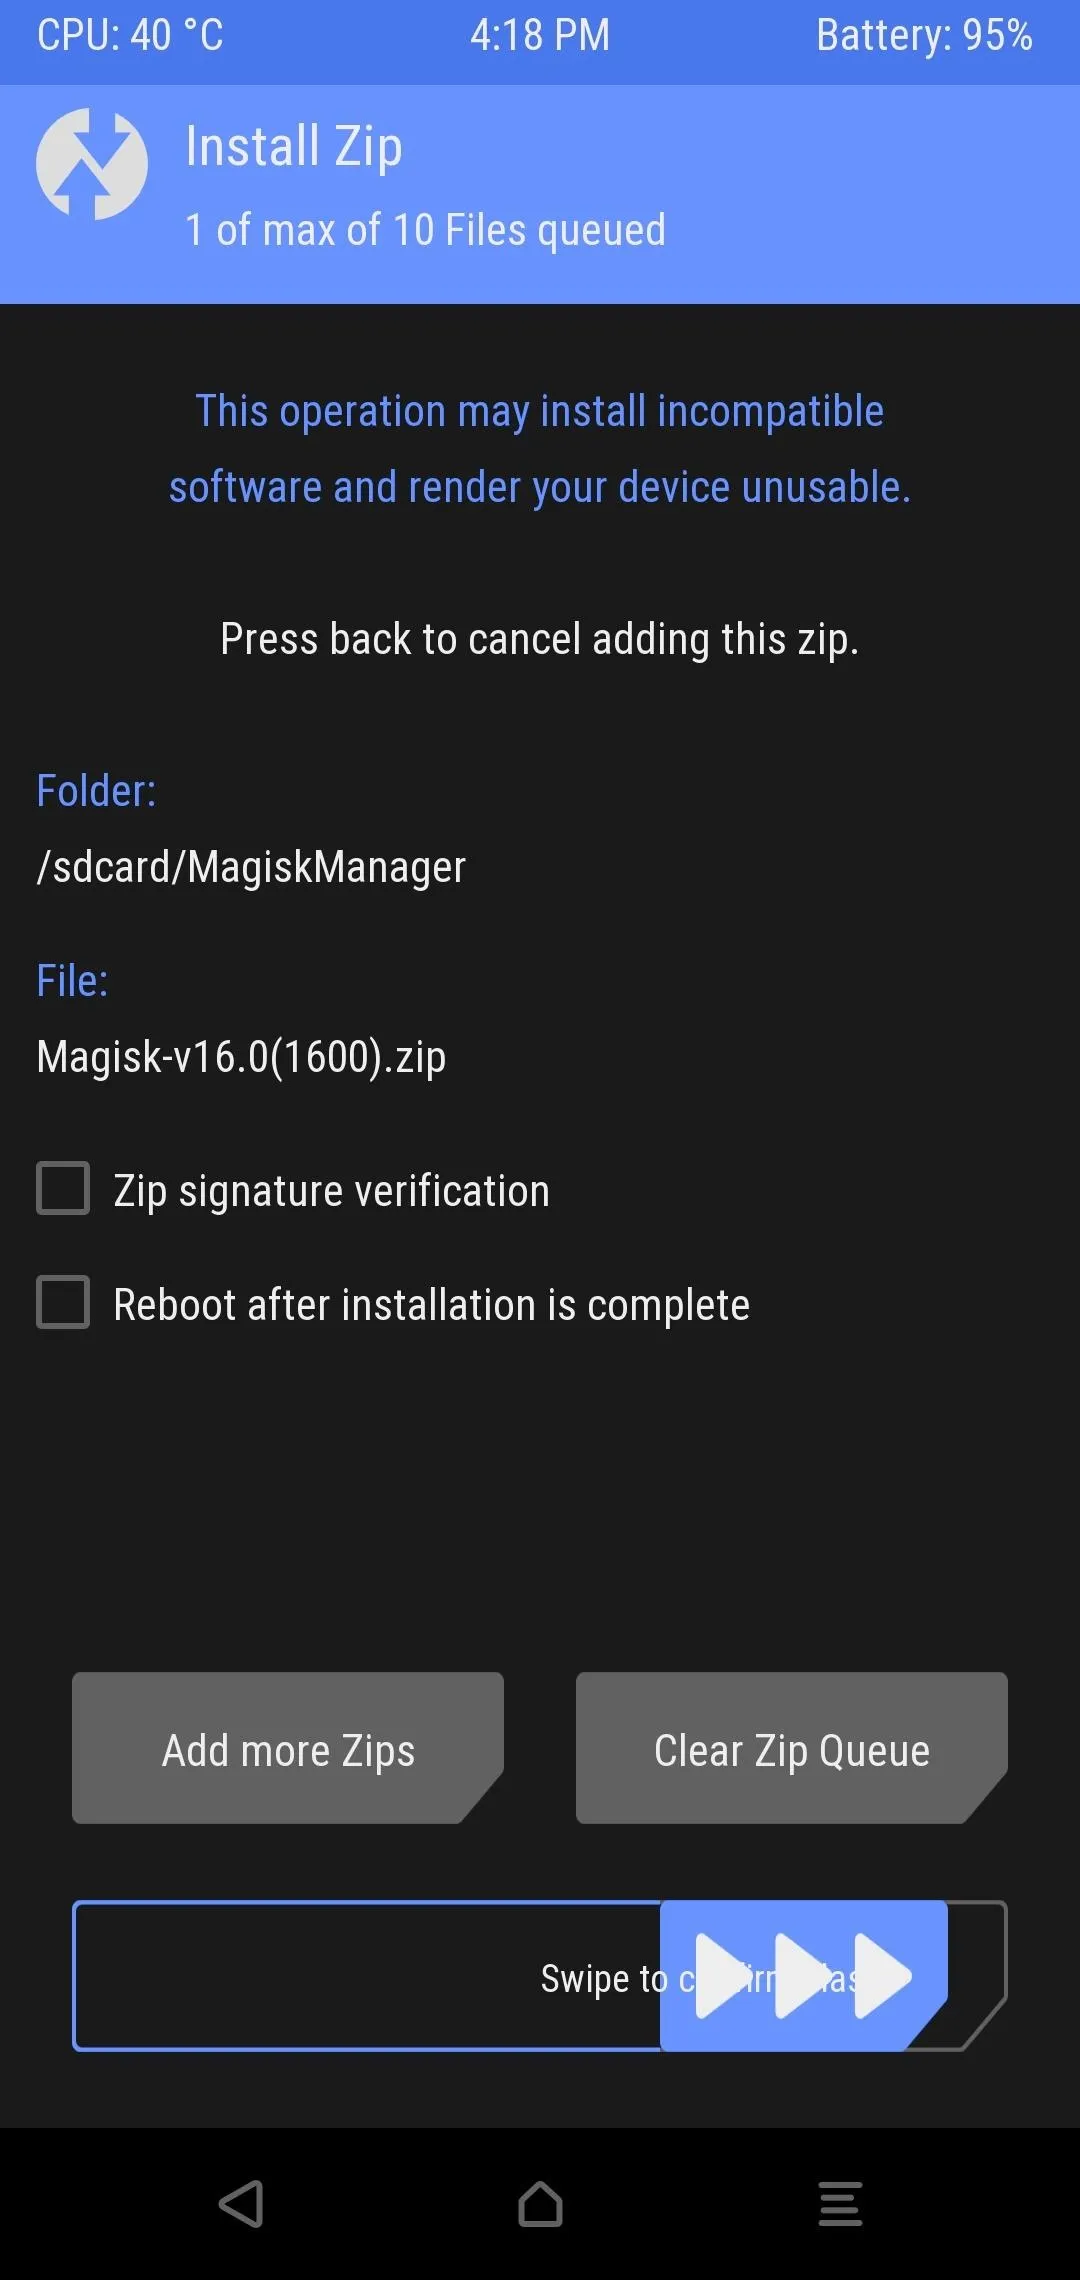
Next, swipe the slider at the bottom of your screen to flash the Magisk ZIP — this is the part that's actually rooting your phone. It'll take roughly 30 seconds, but when it's done, go ahead and tap "Reboot System" to wrap things up.
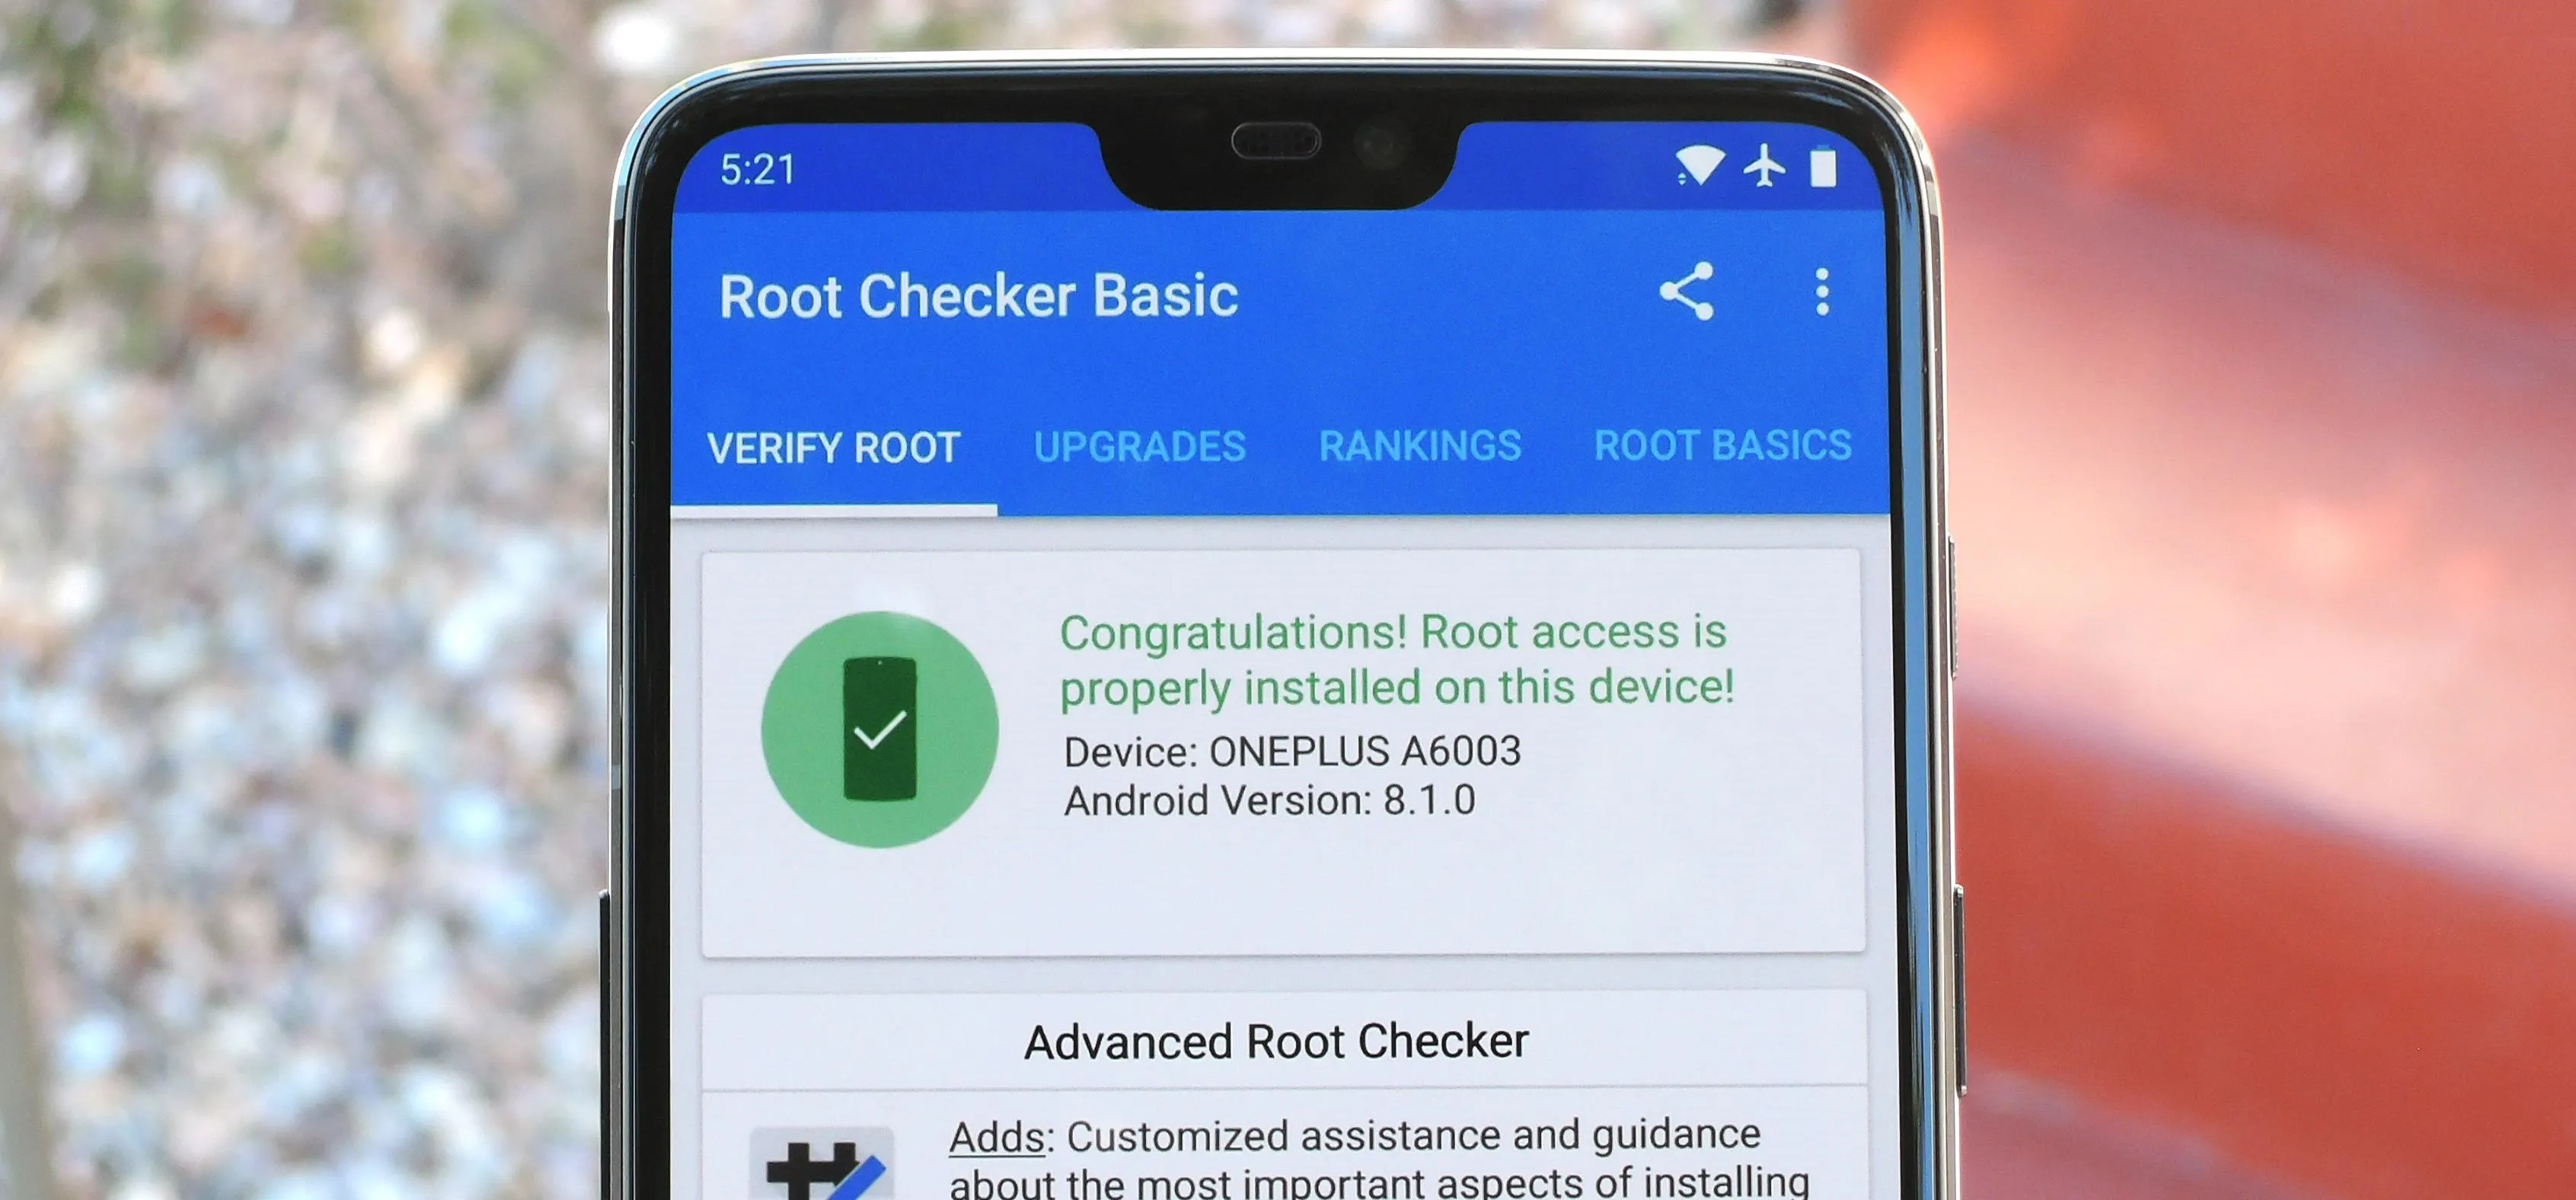
Verify Root
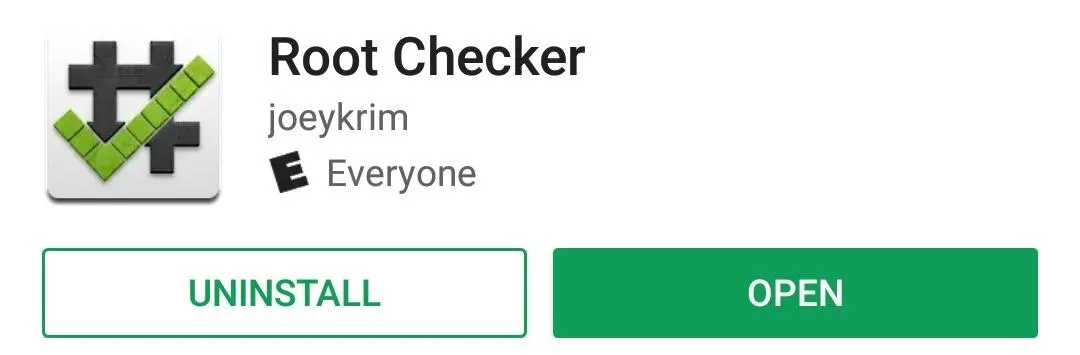
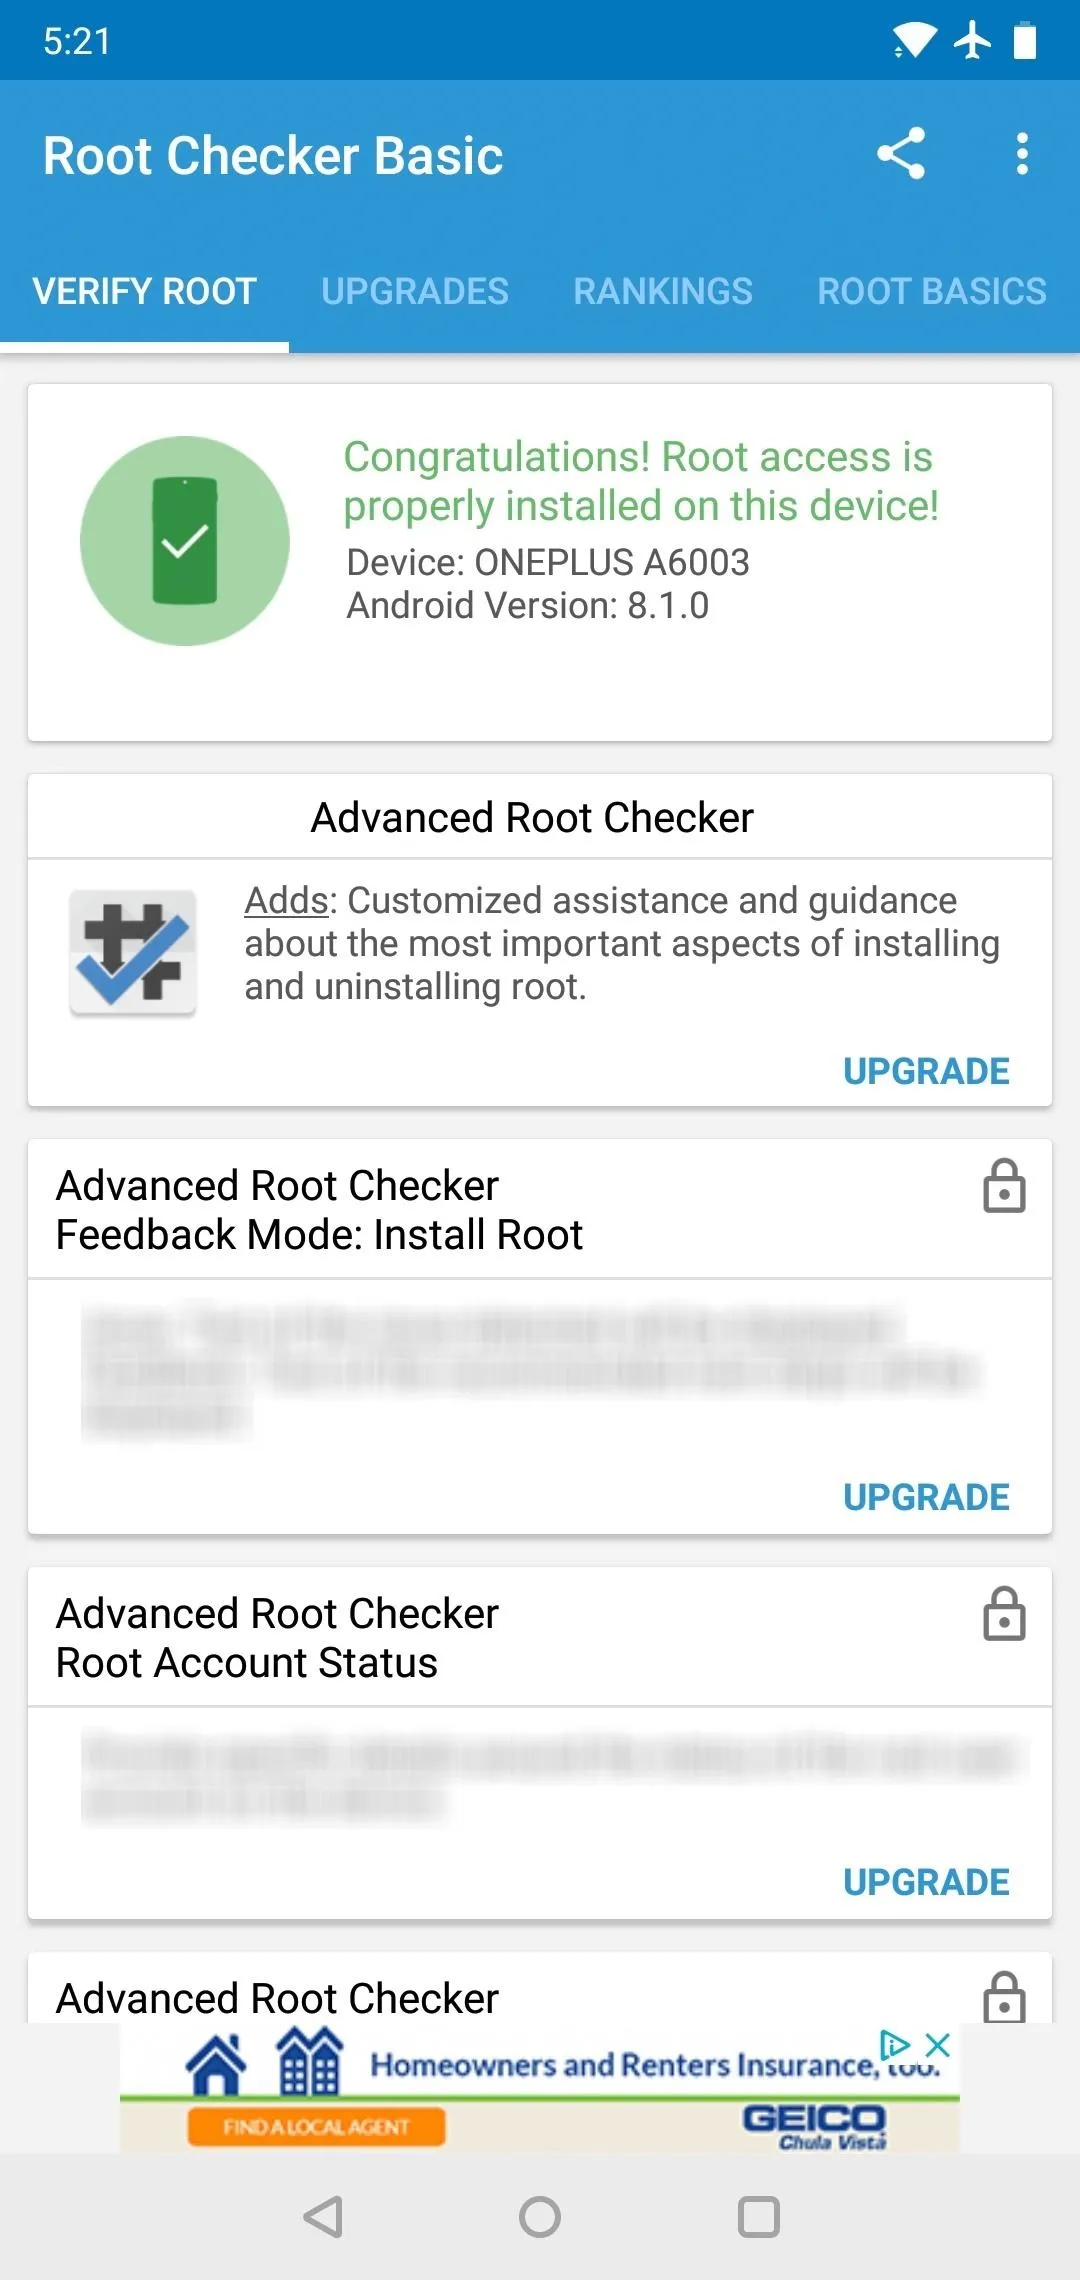
When you get back up, you should be fully rooted! To verify this, install an app called Root Checker by developer joeykrim.
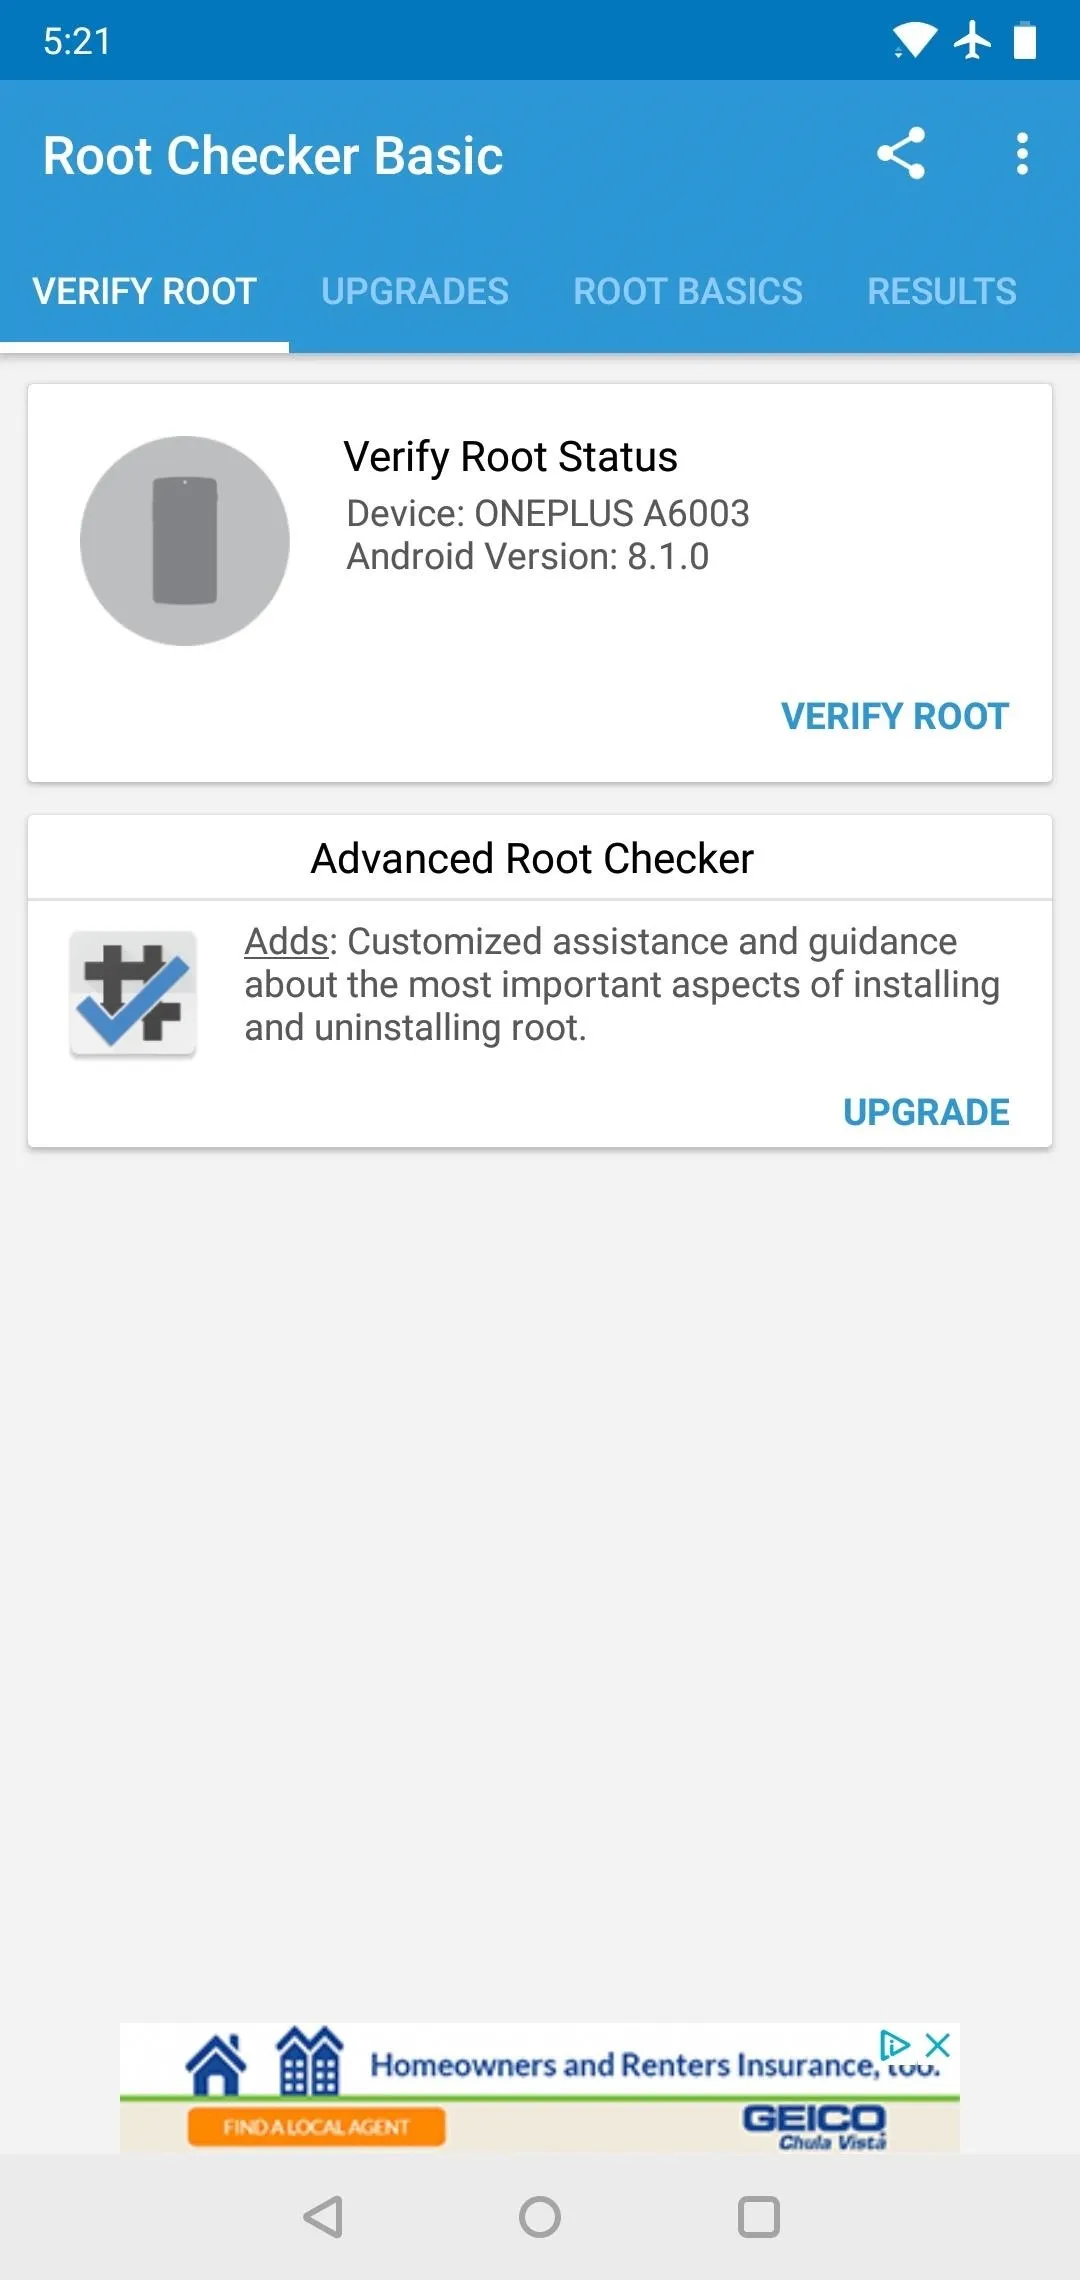
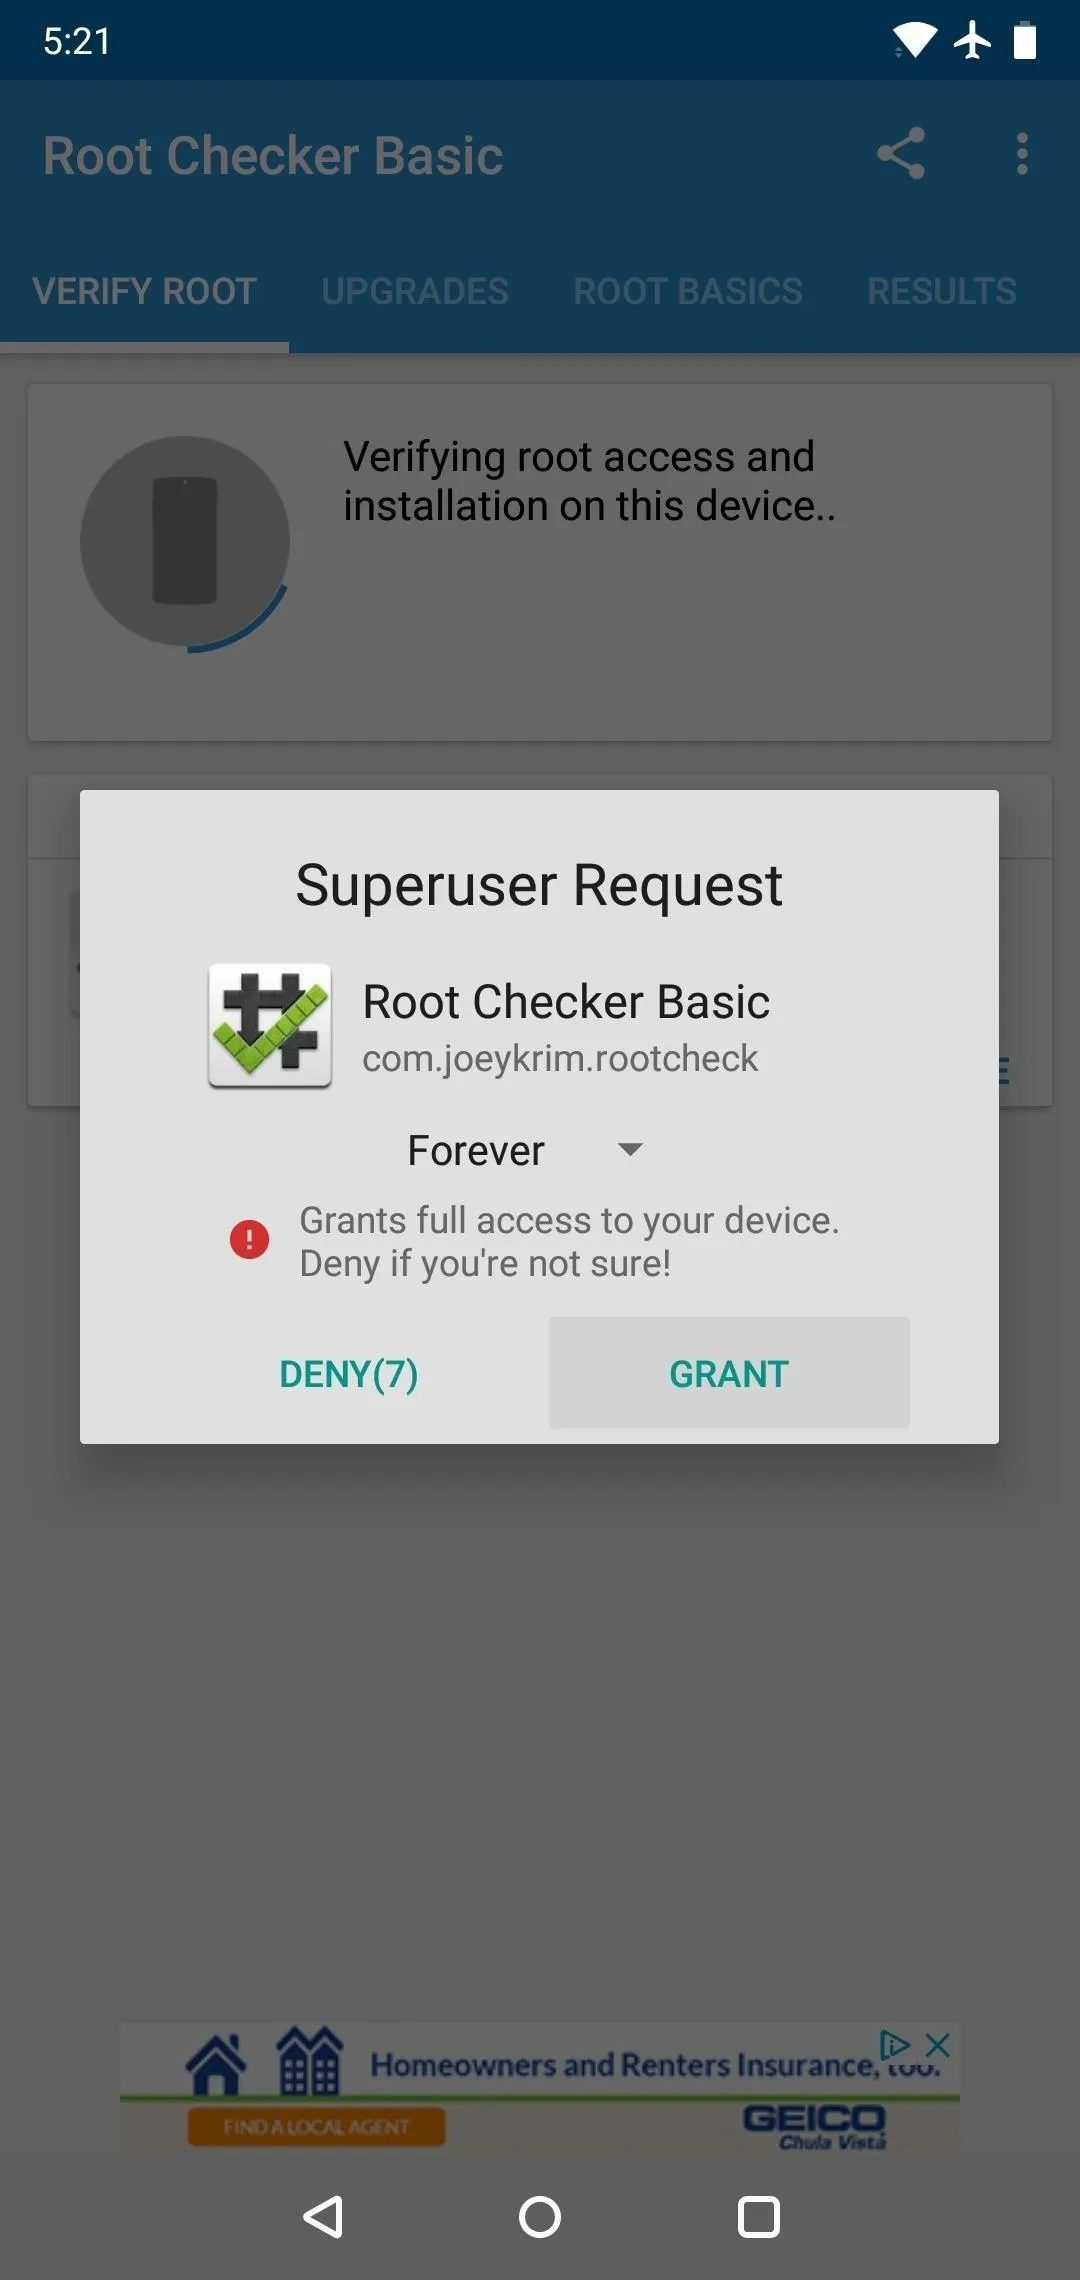
Next, open Root Checker and flip through the prompts on first-run. From there, tap the "Verify Root" button on the main screen, then a popup should appear — this is a superuser request, and it's how apps will ask for root access in the future. Tap "Grant" on this prompt, then you should see a message saying "Congratulations! Root access is properly installed on this device!"
Verify SafetyNet Status
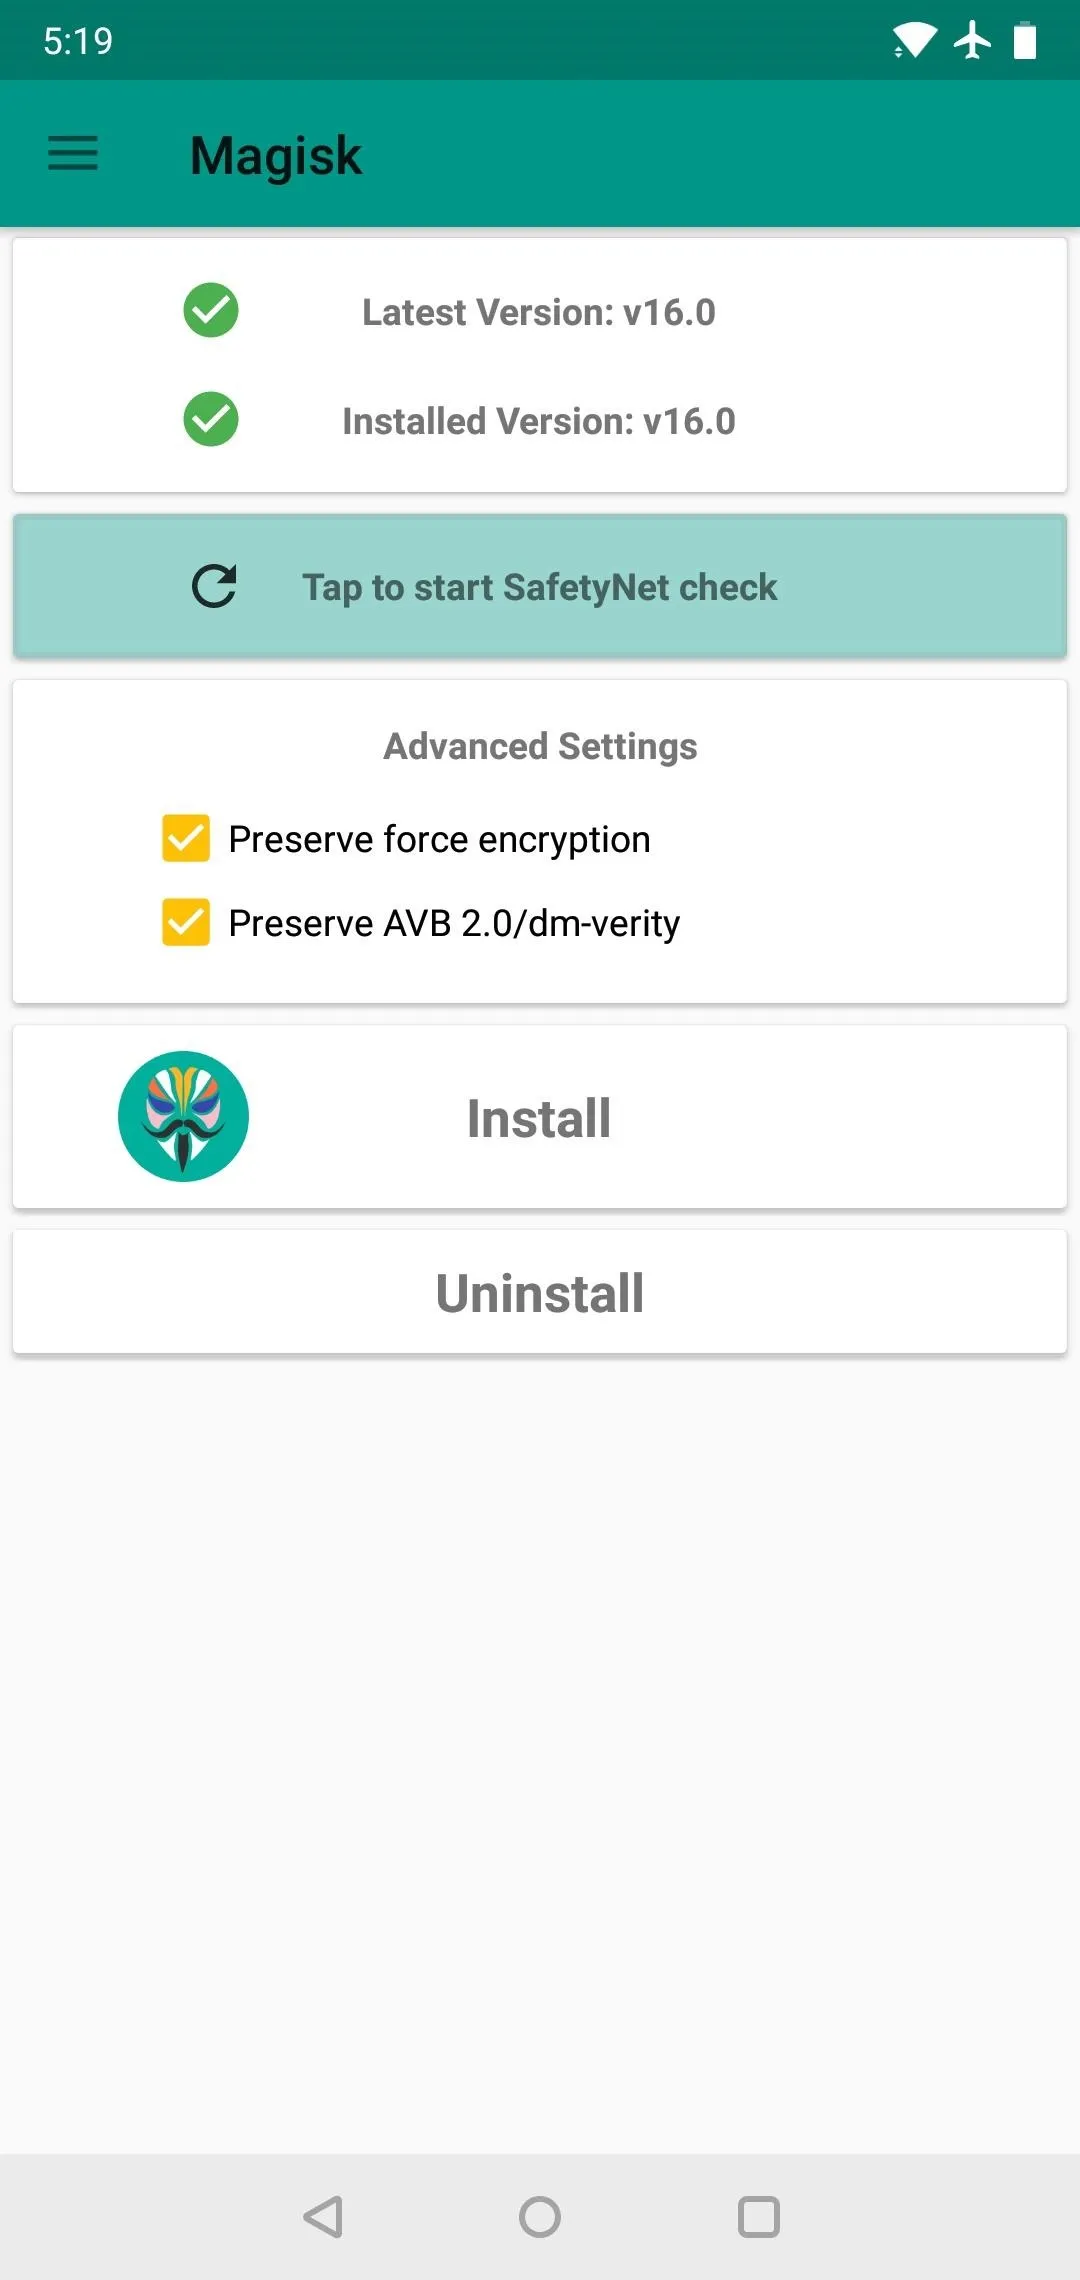
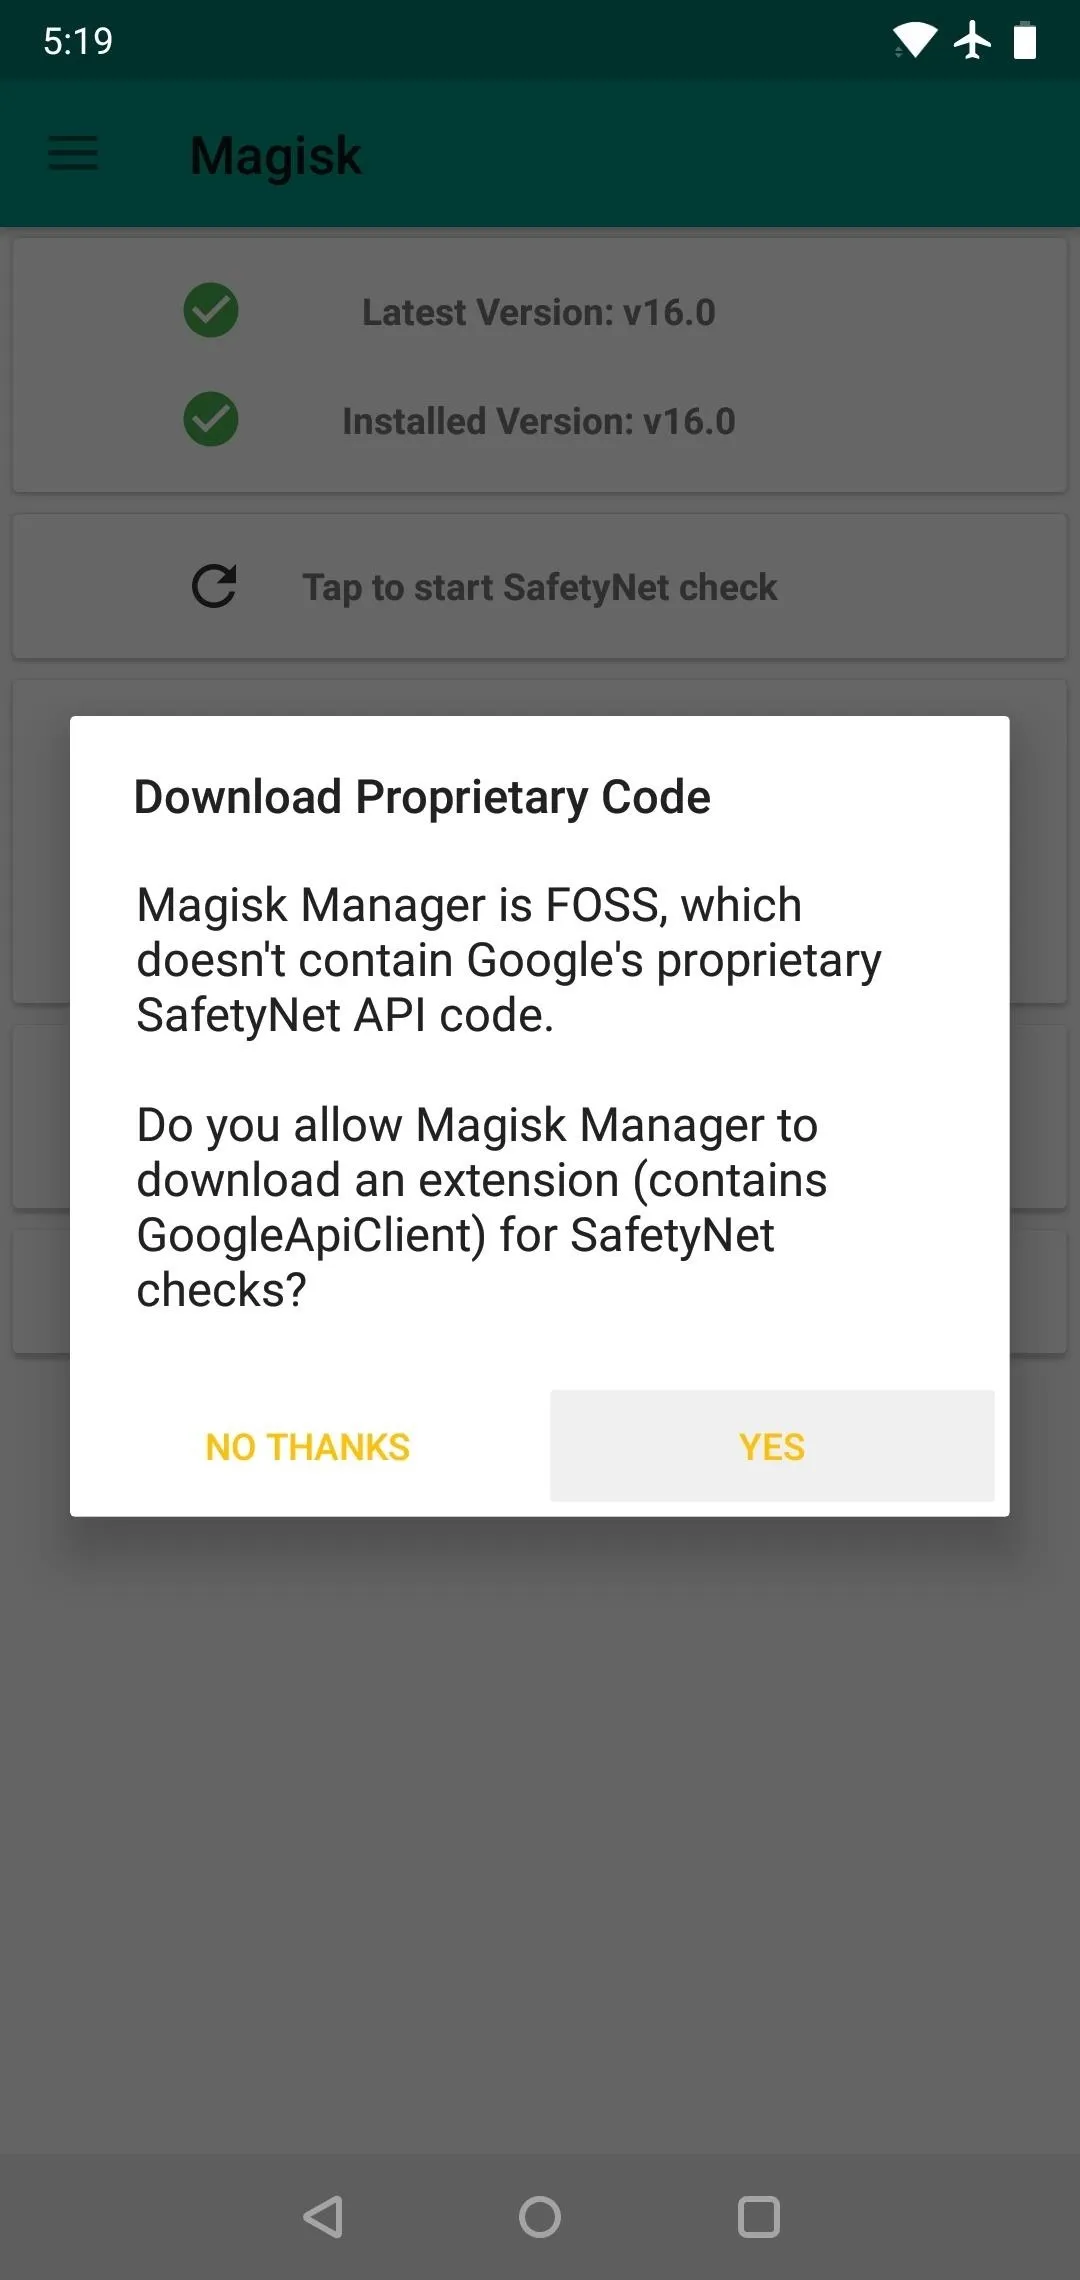
Finally, open the Magisk Manager app, then hit the button that says "Tap to start SafetyNet check." Next, press "Yes" on the popup, then just wait a few seconds.
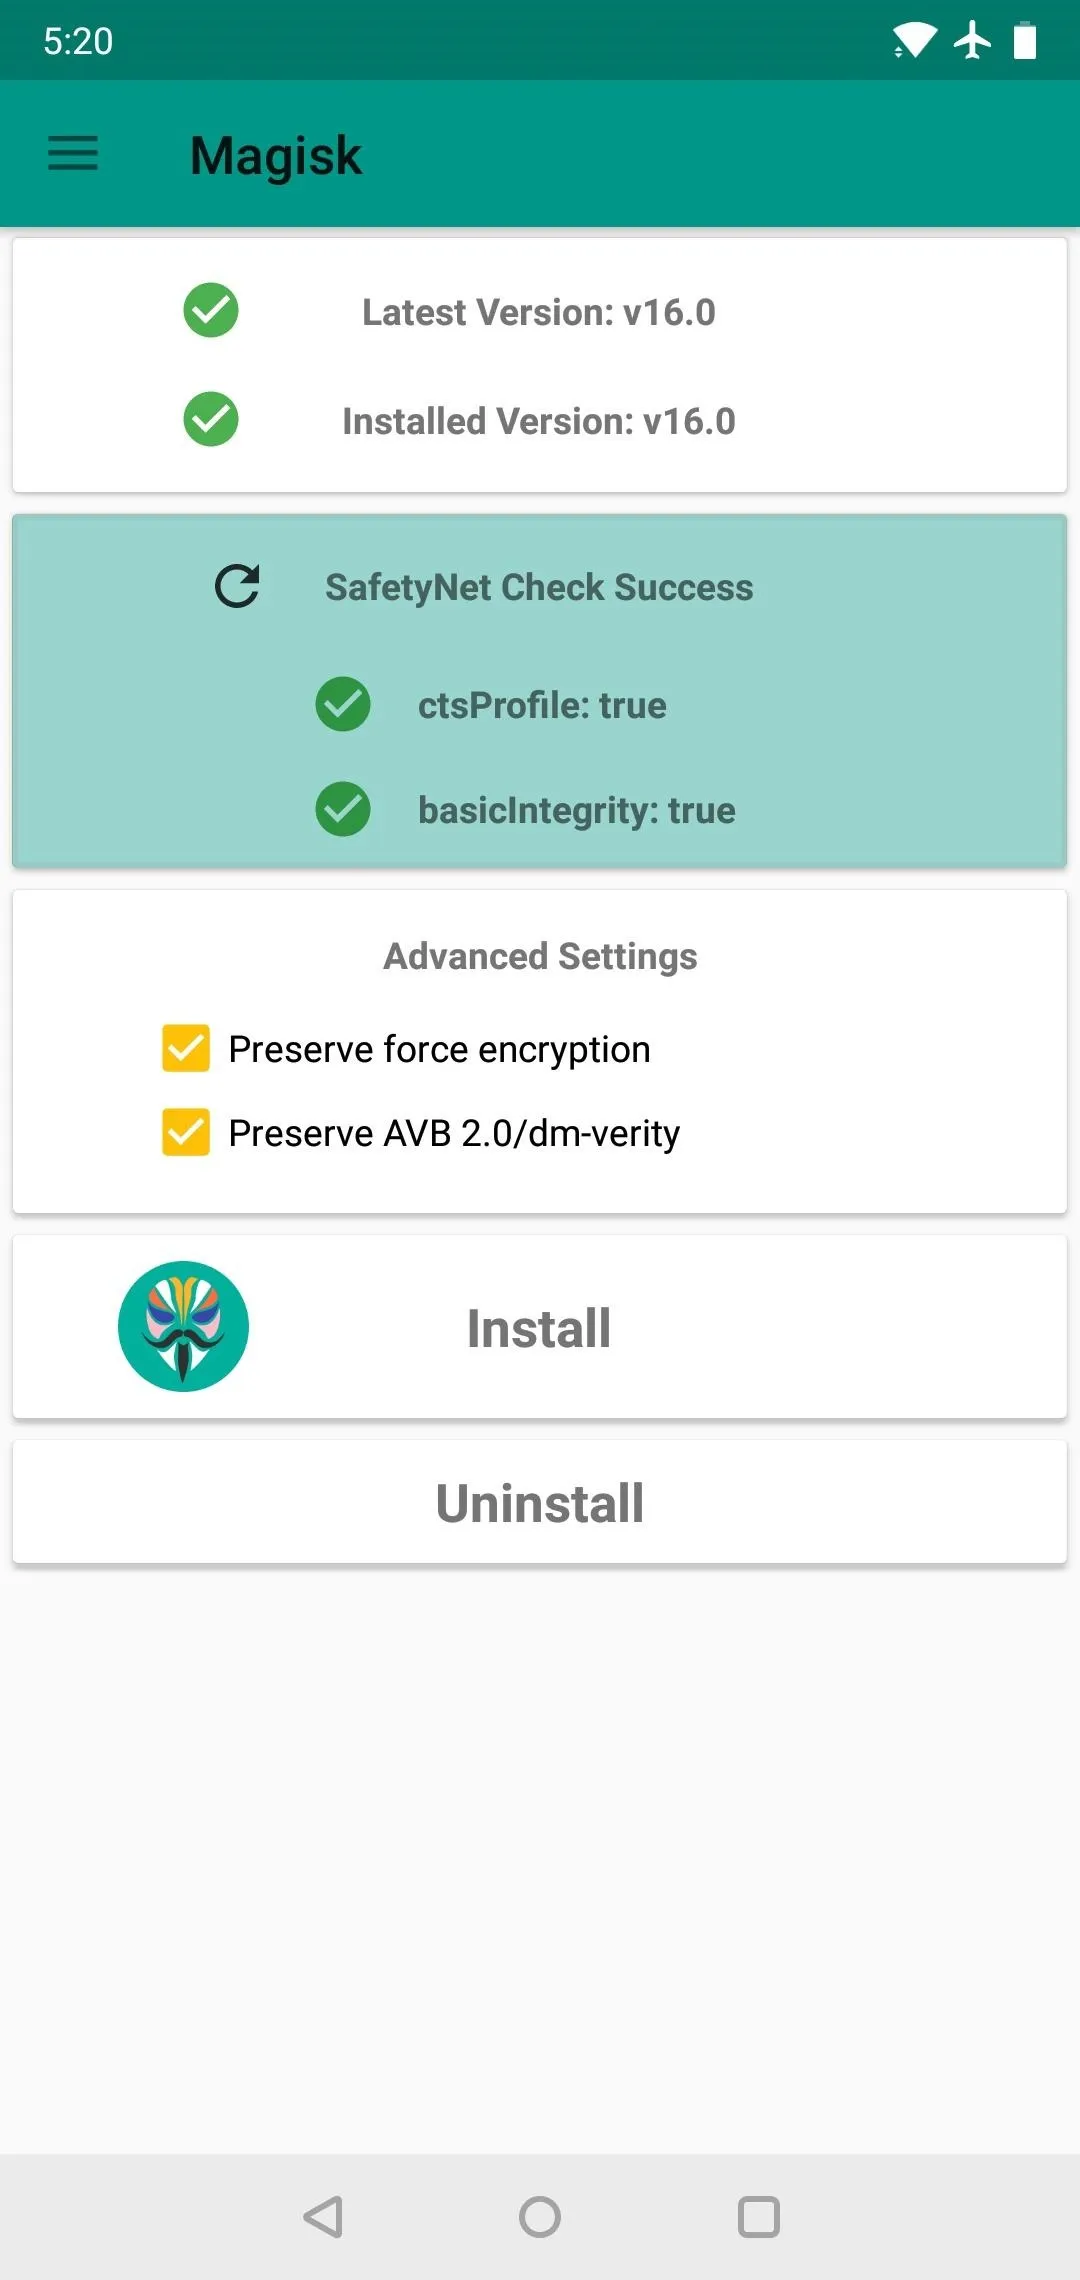
If everything went off without a hitch, the second box on the main screen should now say "SafetyNet Check Success" followed by two green check marks. This means Google's anti-tampering system doesn't know you're rooted, which, in turn, means you can continue to use apps that rely on SafetyNet like Netflix and Android Pay.
If you followed this guide to the letter, you shouldn't have any issues with the SafetyNet check. But just in case you do, you can use this guide to get them squared away. And now that you're rooted, you can start tinkering with all the cool features Magisk has to offer — check out our coverage on the topic below!
- Follow Gadget Hacks on Facebook, Twitter, YouTube, and Flipboard
- Follow WonderHowTo on Facebook, Twitter, Pinterest, and Flipboard
Cover image and screenshots by Dallas Thomas/Gadget Hacks


Comments
Be the first, drop a comment!