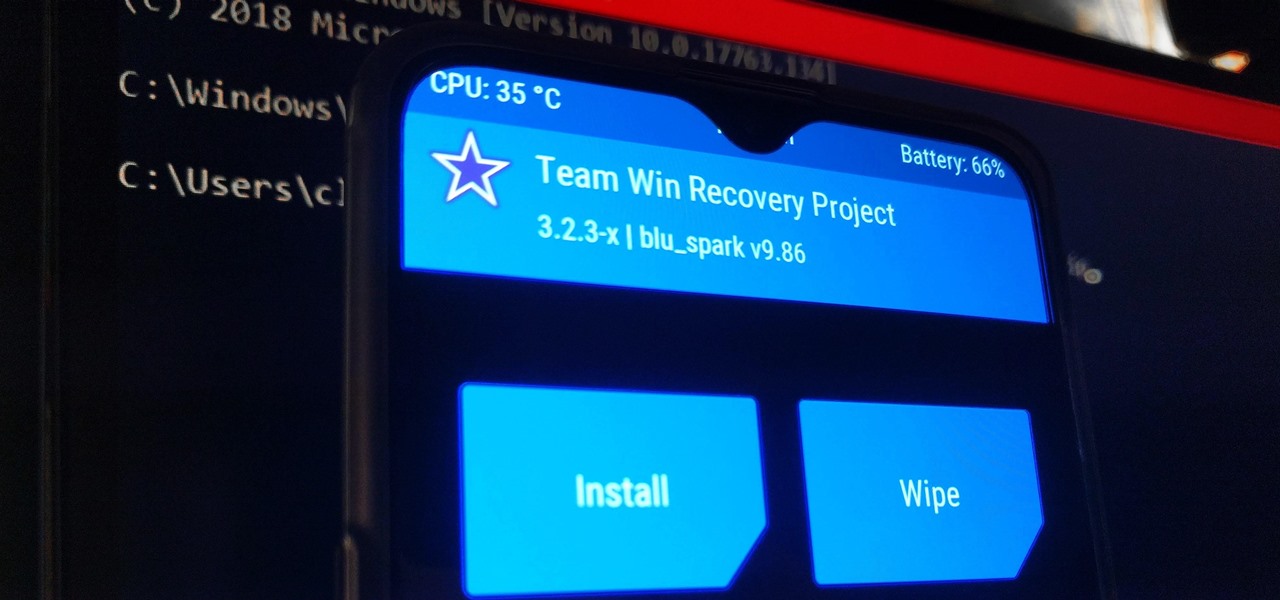

If you have ever wanted to mod your Android device, your new best friend is easily going to be Team Win's TWRP custom recovery. This gives you access to file flashing on the fly, which can include such things as Magisk for root access, or even a custom ROM to replace the stock firmware that came with the device.
All Android devices do come with a minimal stock recovery, but TWRP takes it a step further with a much more feature-packed and user-friendly environment. Installing TWRP will override your stock recovery, but you gain the ability to have full control over your new recovery experience with many useful root-related features. For example, being able to make a NANDroid backup of the whole system has been solving semi-bricked device issues for years.
Requirements
- Windows, Mac, or Linux computer
- Google's Platform-Tools
- USB data cable
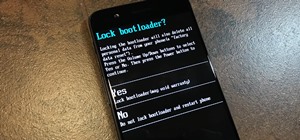
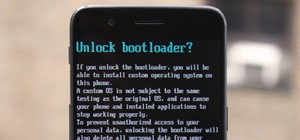
Step 1: Unlock Your Bootloader
To start this journey of flashing TWRP and other root-related files to your device, the bootloader must be unlocked. This allows you to install custom or unofficial software to gain more control over your device. If you have not unlocked the bootloader yet, go ahead and visit our guide on how to do that before moving on with this one.
- Don't Miss: How to Unlock the Bootloader on Your OnePlus 6T
Step 2: Download the TWRP Files
Once you have your bootloader unlocked, you will then need to download two separate TWRP related files. To get started, go ahead and download the first file below, which is the bootable TWRP image file:
- Download TWRP for OnePlus 6T (.img): Android 9 (TWRP 3.3.1-32) | Android 10 (TWRP 3.4.0-0)
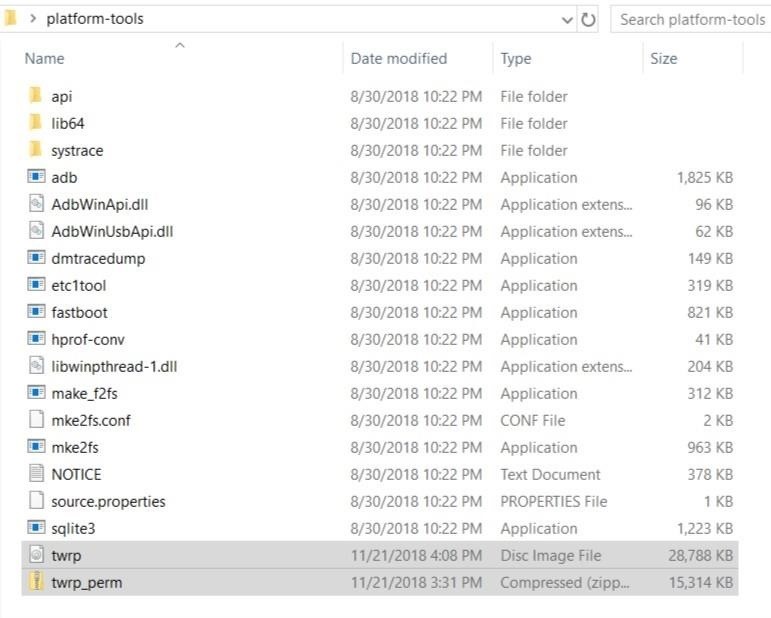
Go ahead and rename the file to "twrp" (or "twrp.img" if your computer is set to show file extensions) to simplify the terminal commands you'll be using later on in this guide.
Now, you want to download the ZIP installer file as well:
- Download TWRP Installer for OnePlus 6T (.zip): Android 9 (TWRP 3.3.1-32) | Android 10 (TWRP 3.4.0-0)
You can rename this file to "twrp_perm" (or "twrp_perm.zip" if your computer is set to show file extensions) to also make flashing this file simple when the time comes.
Step 3: Enable Advanced Reboot
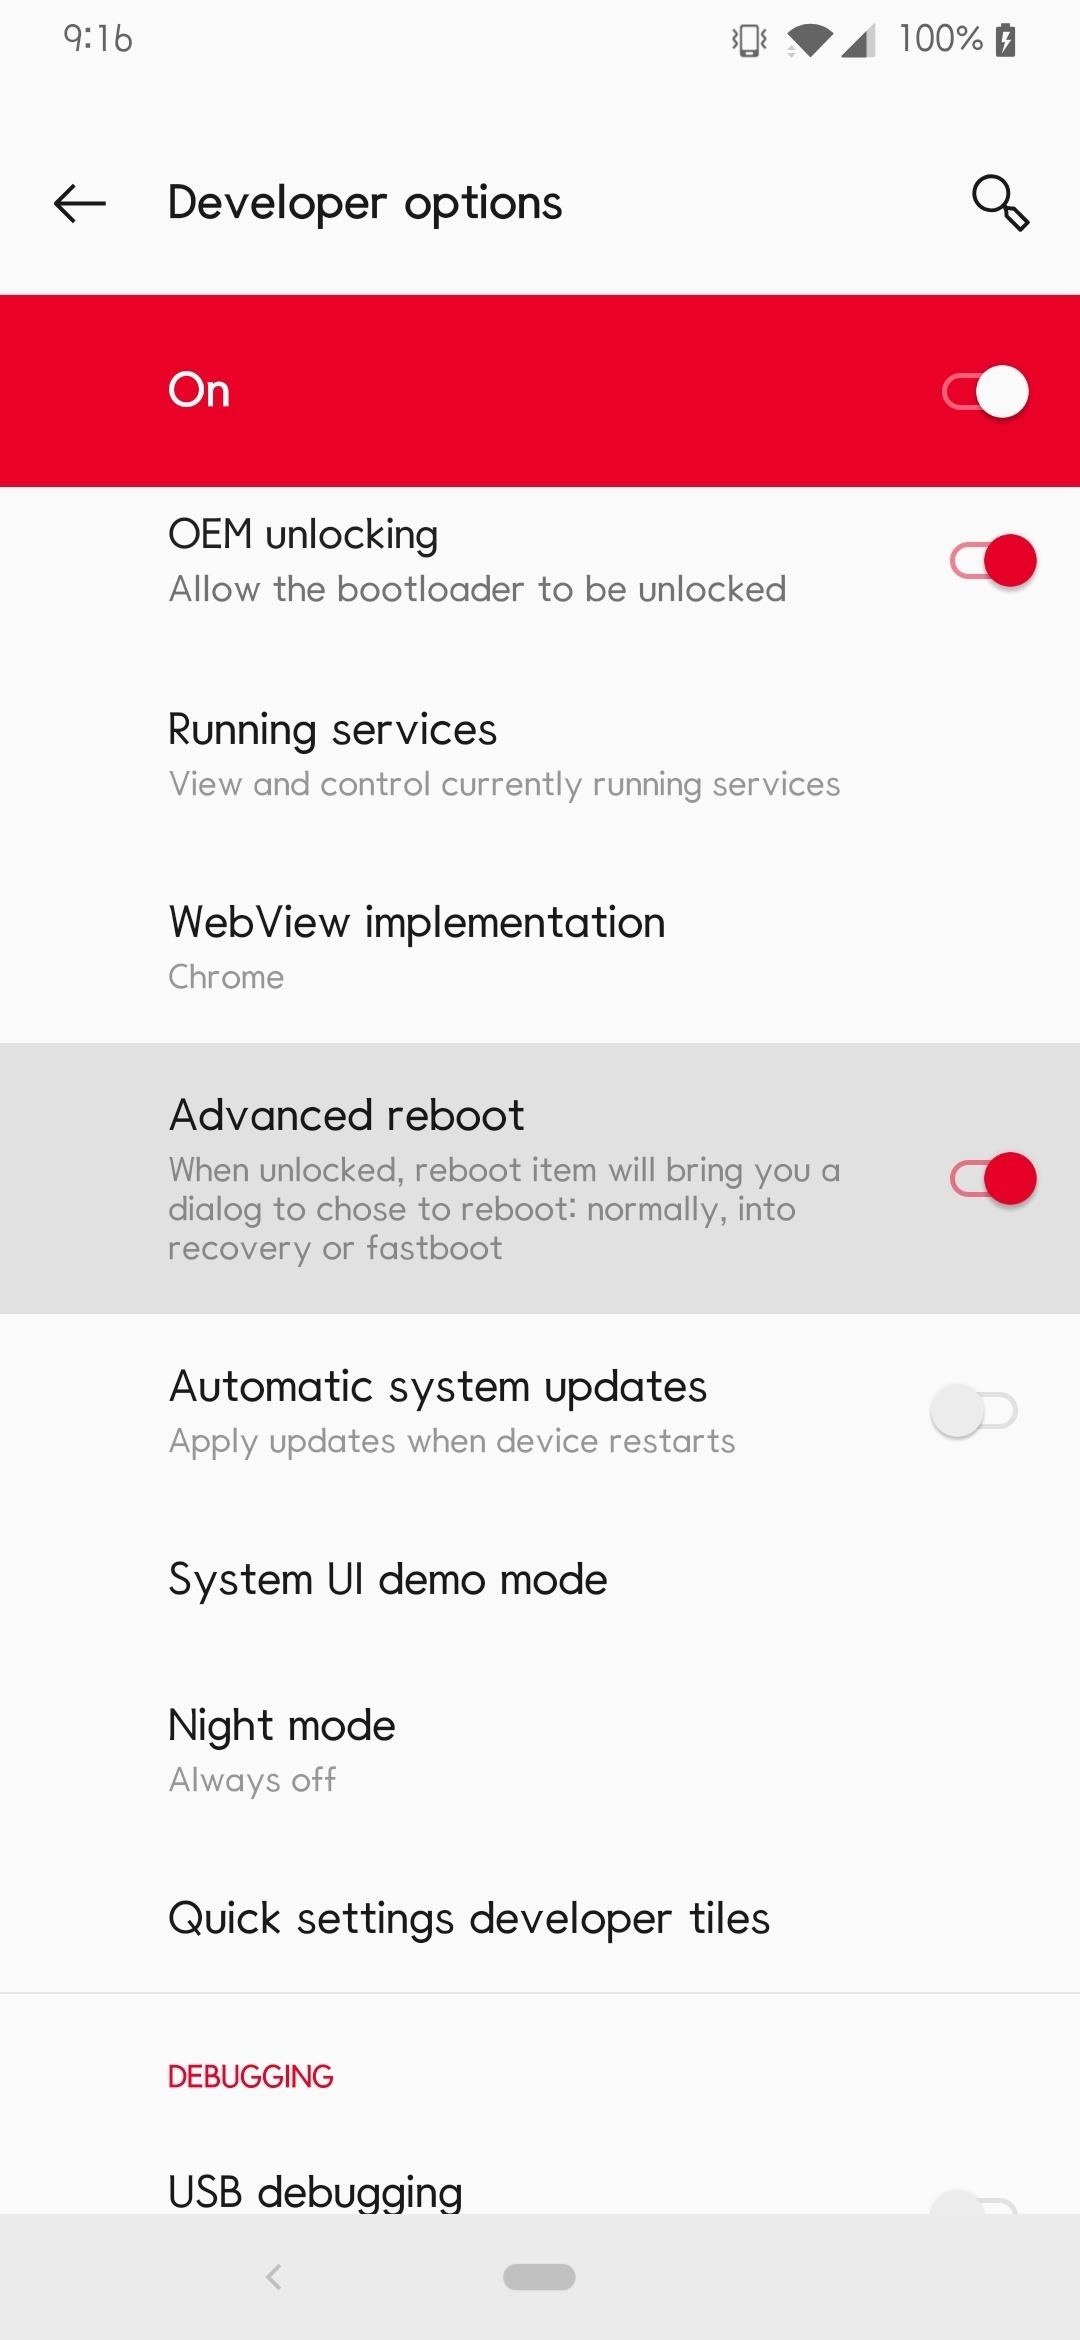
Instead of having to turn your phone off and holding a few buttons to get into TWRP in the future, turning on the advanced reboot menu will make things a little easier. If you followed my previous guide on how to unlock the bootloader for the OnePlus 6T from Step 1, then you can skip this step; otherwise, you can visit the unlocking bootloader guide and get that squared away.
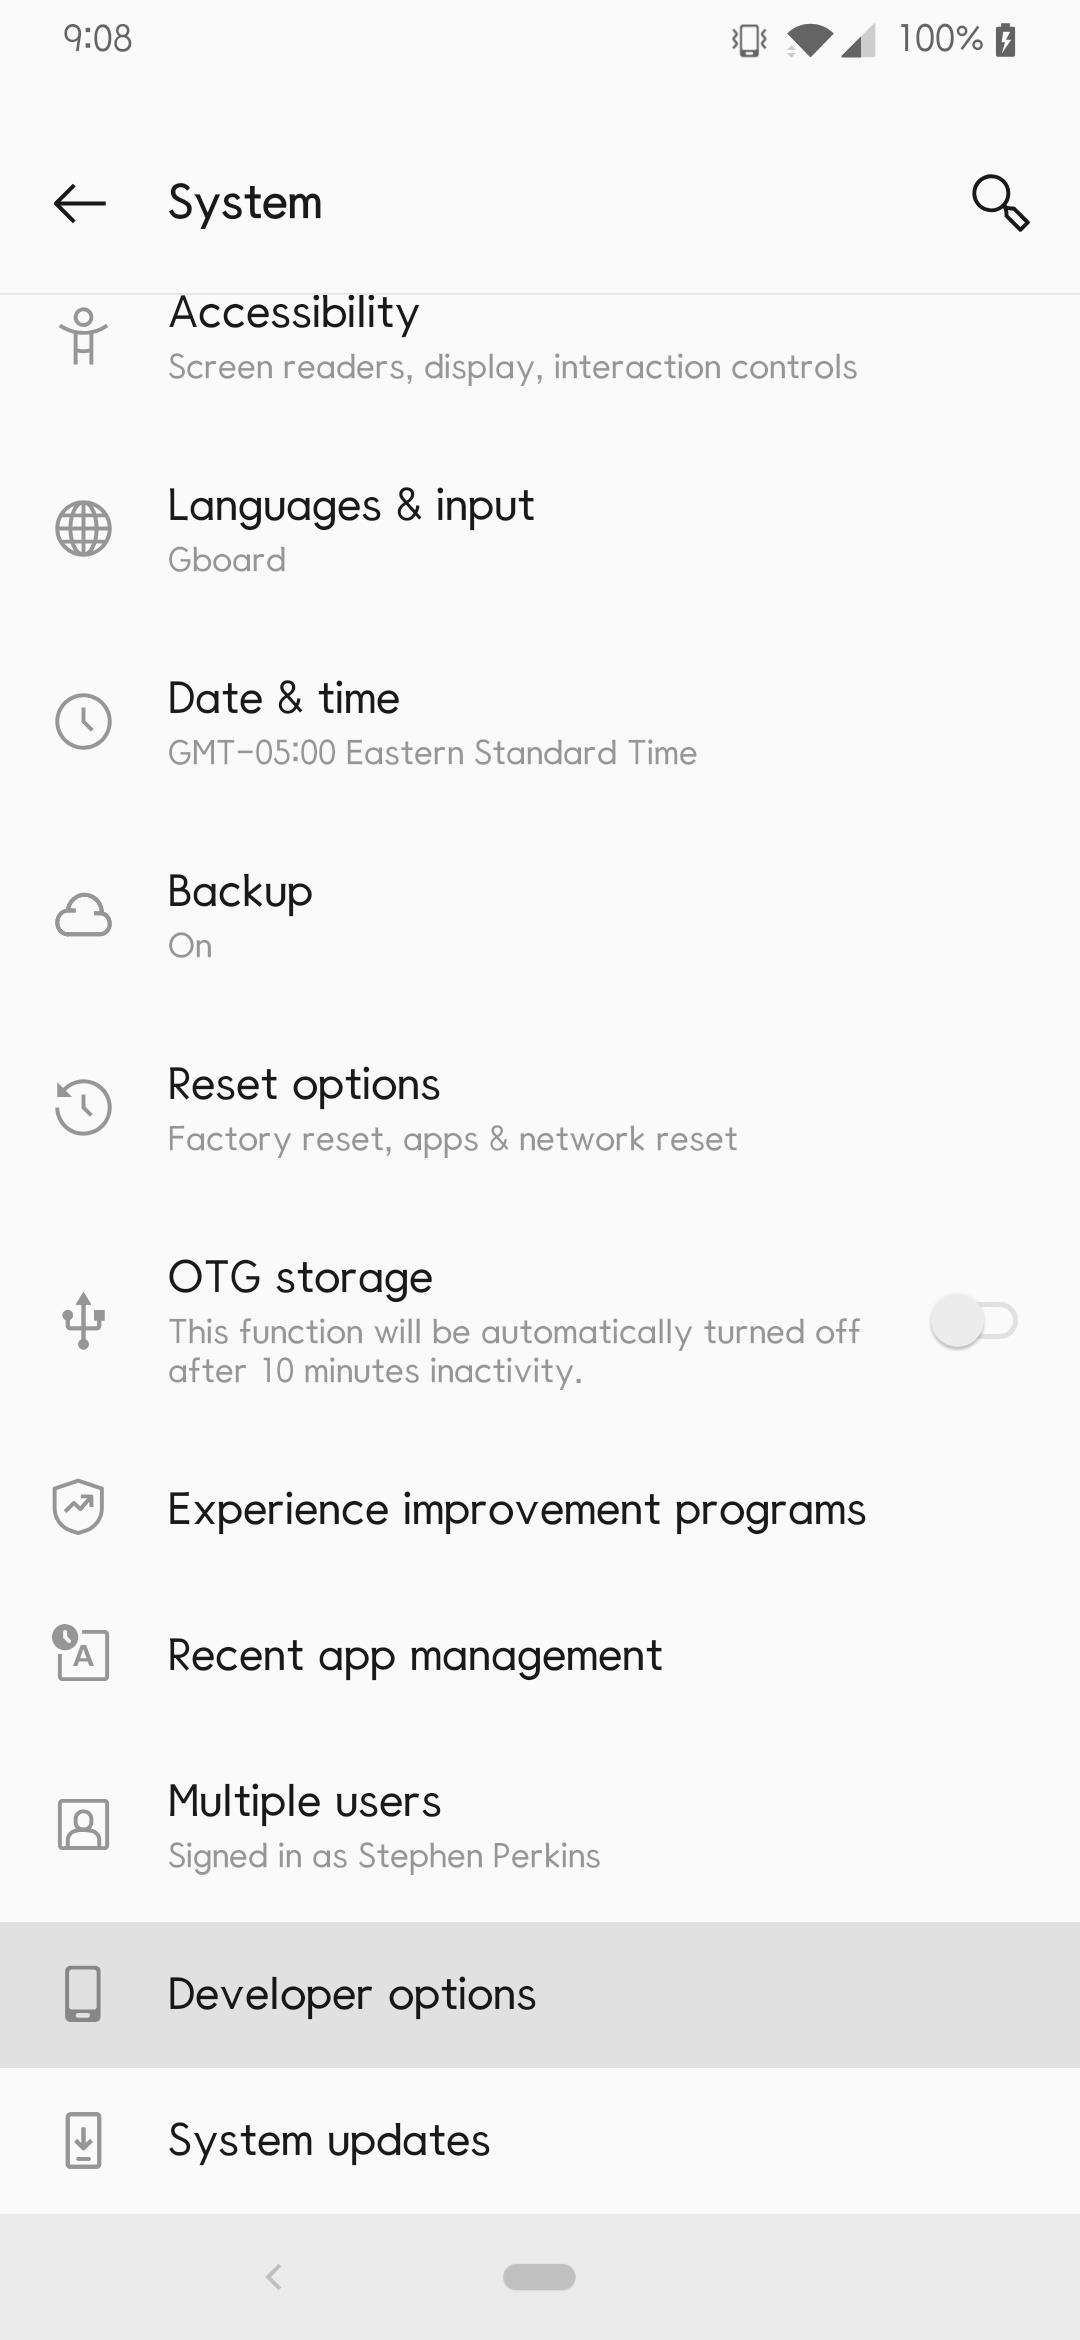
As a quick reminder, you can go to Settings –> System –> Developer options, then you can enable the "Advanced reboot" option from there.
Step 4: Boot into Fastboot Mode
Now, you want to hold your power button to bring up the power menu for the device. You will see a list of options, but go ahead and tap the "Bootloader" option and it will boot into the bootloader main menu. While you're still with your phone, now would be an excellent time to connect it to your computer via a USB data connection.


Step 5: Open a Command Window
If you followed my previous guide on how to unlock the OnePlus 6T bootloader, you should already have the platform-tools folder installed and ready to go. You will need the platform-tools package to launch Fastboot and ADB commands in the future, especially for installing TWRP. If you haven't done that yet, go ahead and download the file below from Google to get started.

Now that you have the platform-tools extracted to a location of your choosing, we can open a command window for your current operating system. Head into your platform-tools folder (if you don't remember where this is, search your hard drive for "platform-tools"), and then you are going to copy the location of this folder to be used in the command window.
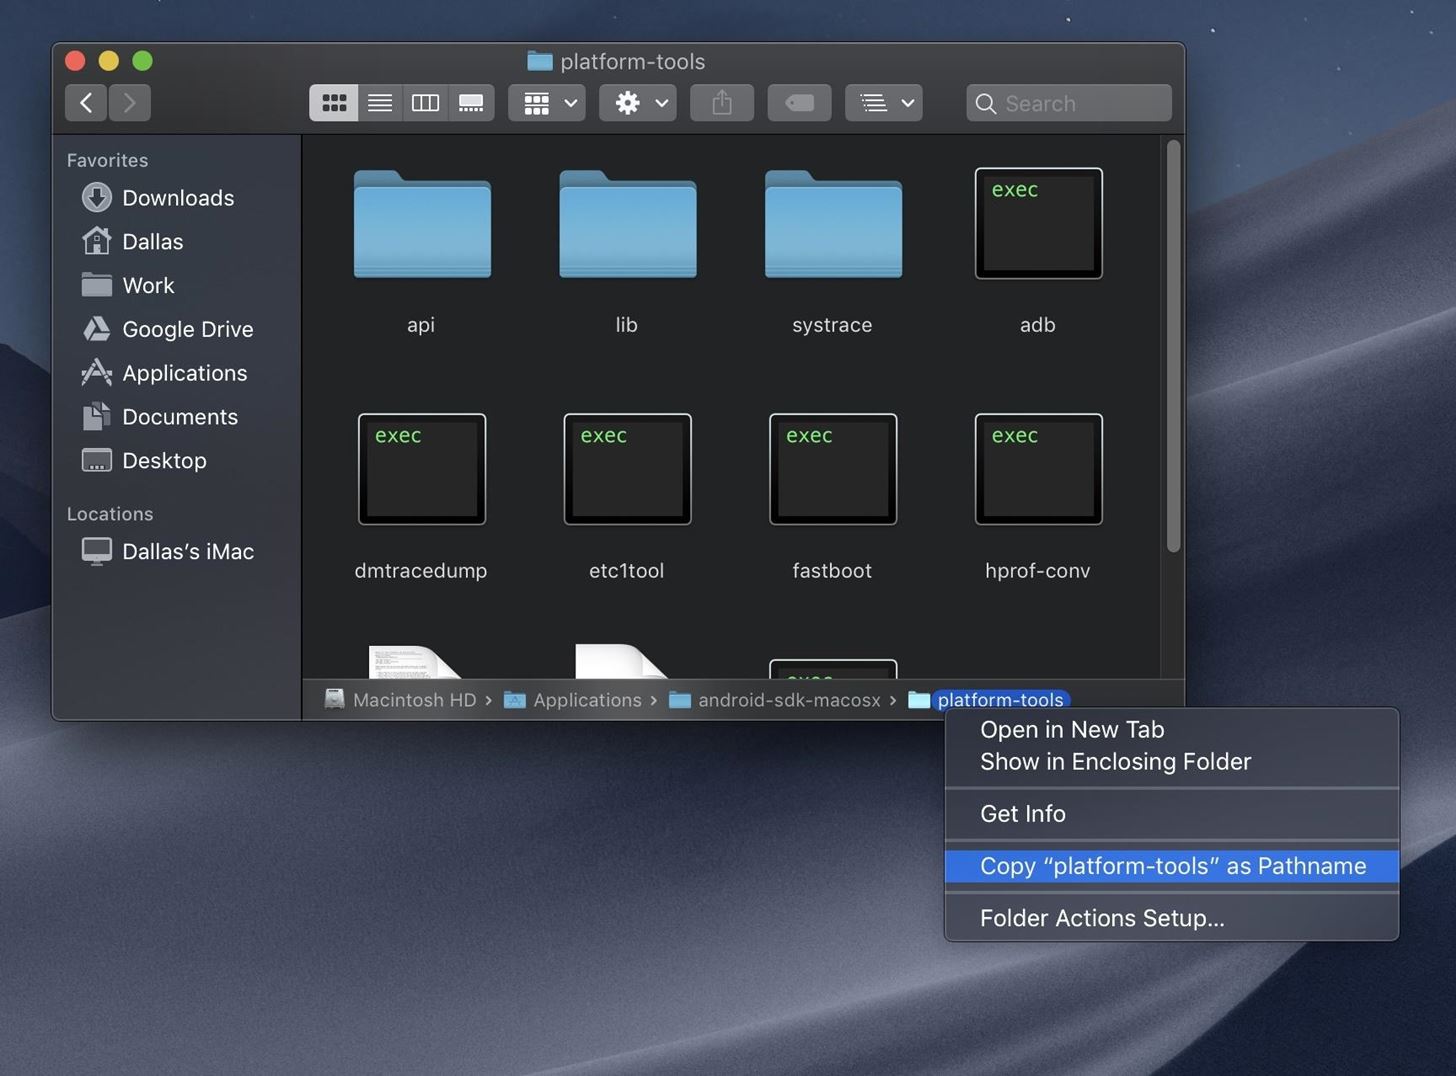
You might have trouble with this if you are running macOS Mojave, in this case, open the platform-tools folder in Finder, press cmd+opt+p to display the path location of the folder, then right-click the "platform-tools" at the bottom of the window. From there, click the "Copy as Pathname" option and you have now successfully copied the location of that folder!
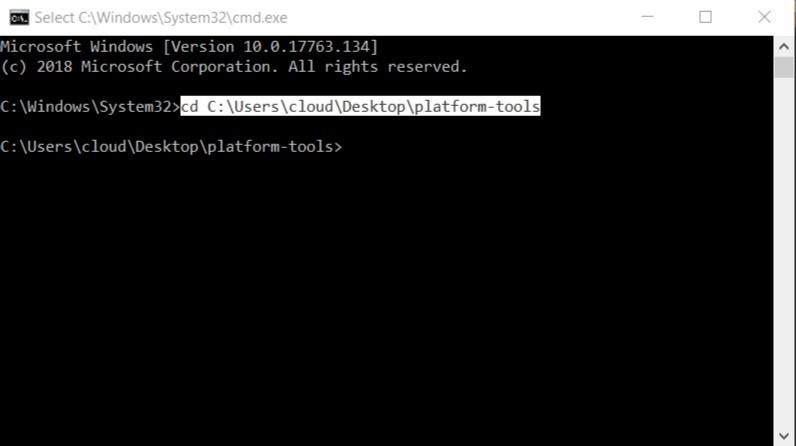
Now, you need to locate the appropriate command prompt or terminal window for your current operating system. On Windows, bring up your start menu (Windows key) and search for "cmd" and hit enter to open the terminal application. If you are running a Linux or Mac system, go ahead and open the "Terminal" program located in your applications folder.
Now that the terminal is up and running, you need to get your platform-tools to communicate with the command-line environment properly. Begin the process by typing in "cd" while including a space after that, followed by pasting the location of your platform-tools folder from a little while ago. Hitting enter will initiate the link between your platform-tools and the terminal application, making it one step closer to flashing TWRP on your device! Make sure to keep the terminal application running for the next steps of the guide.
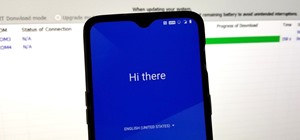
Step 6: Verify the Connection
Since you have successfully gotten your terminal application working with your computer, now it's time to make sure they can work together with your phone. Since you left the terminal application open, you should already have the correct directory for your platform-tools ready to go. To verify the link between your phone and the terminal application, copy the following command, then hit enter:
fastboot devicesNote: Mac, Linux, and Windows PowerShell users will likely have to add a period and a slash before entering any ADB or Fastboot commands (e.g., ./fastboot devices).
Successfully running this command will show a grouping of numbers and letters, which is the unique identifier for your device.

Step 7: Temporarily Boot TWRP
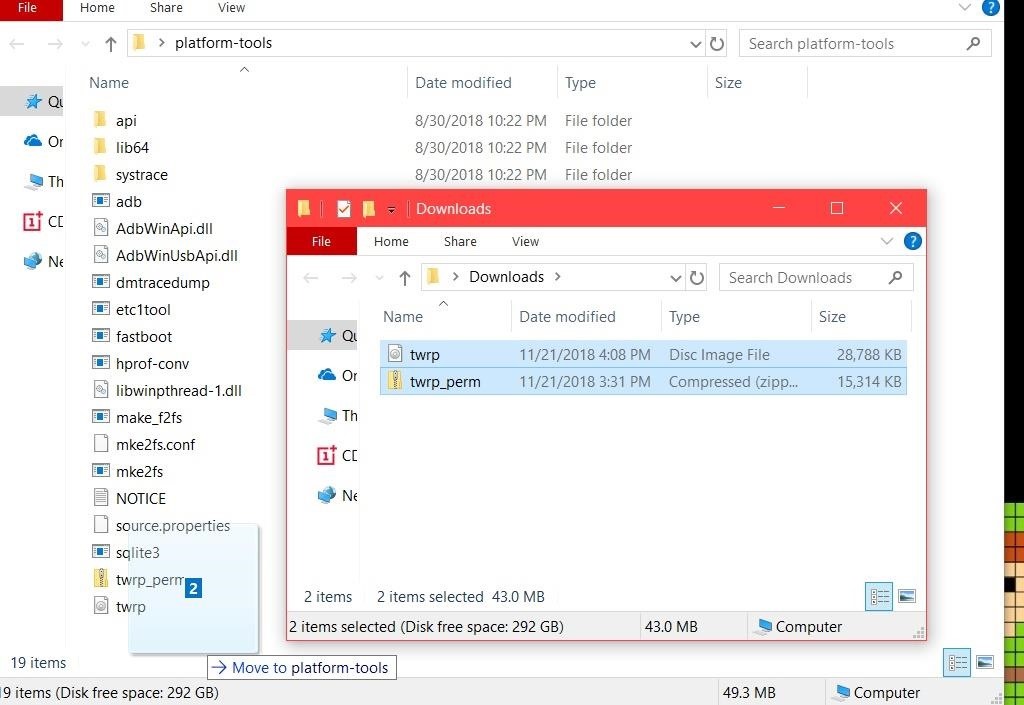
Take the two TWRP files that you downloaded and renamed from Step 2 and place them into your platform-tools folder if you have not already done so.
You're now going to boot into a one-time temporary version of TWRP so you can flash a permanent solution from there. There are some limitations with newer devices on the install process, so that makes this the only way to flash the TWRP recovery for now. After the files are in the folder, begin by typing the following command in your terminal application, followed by hitting enter:
fastboot boot twrp.imgIt should take no longer than half a second or so to send the file over to your phone and begin booting into the temporary custom version of TWRP.
Step 8: Permanently Flash TWRP
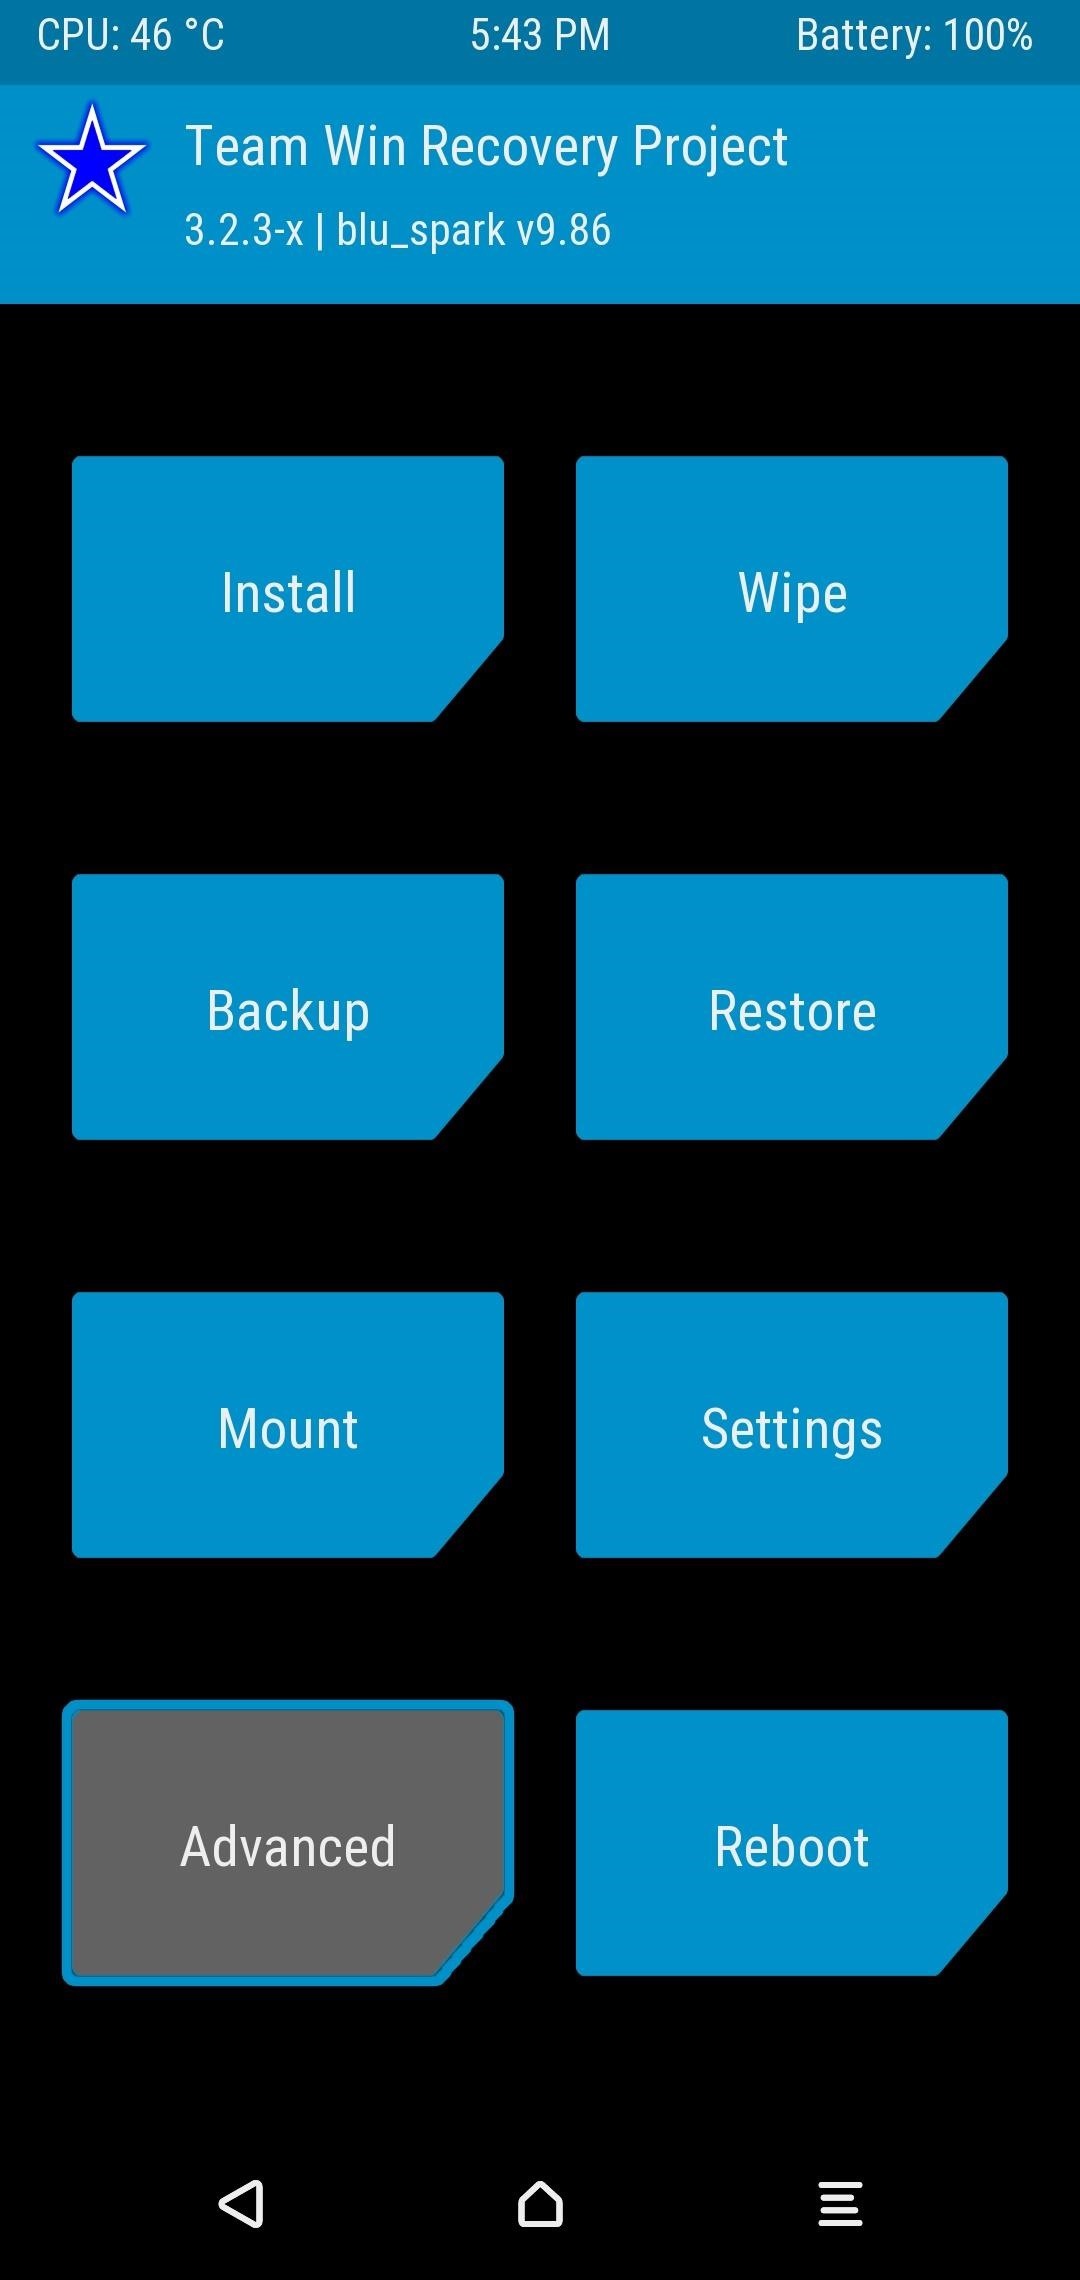
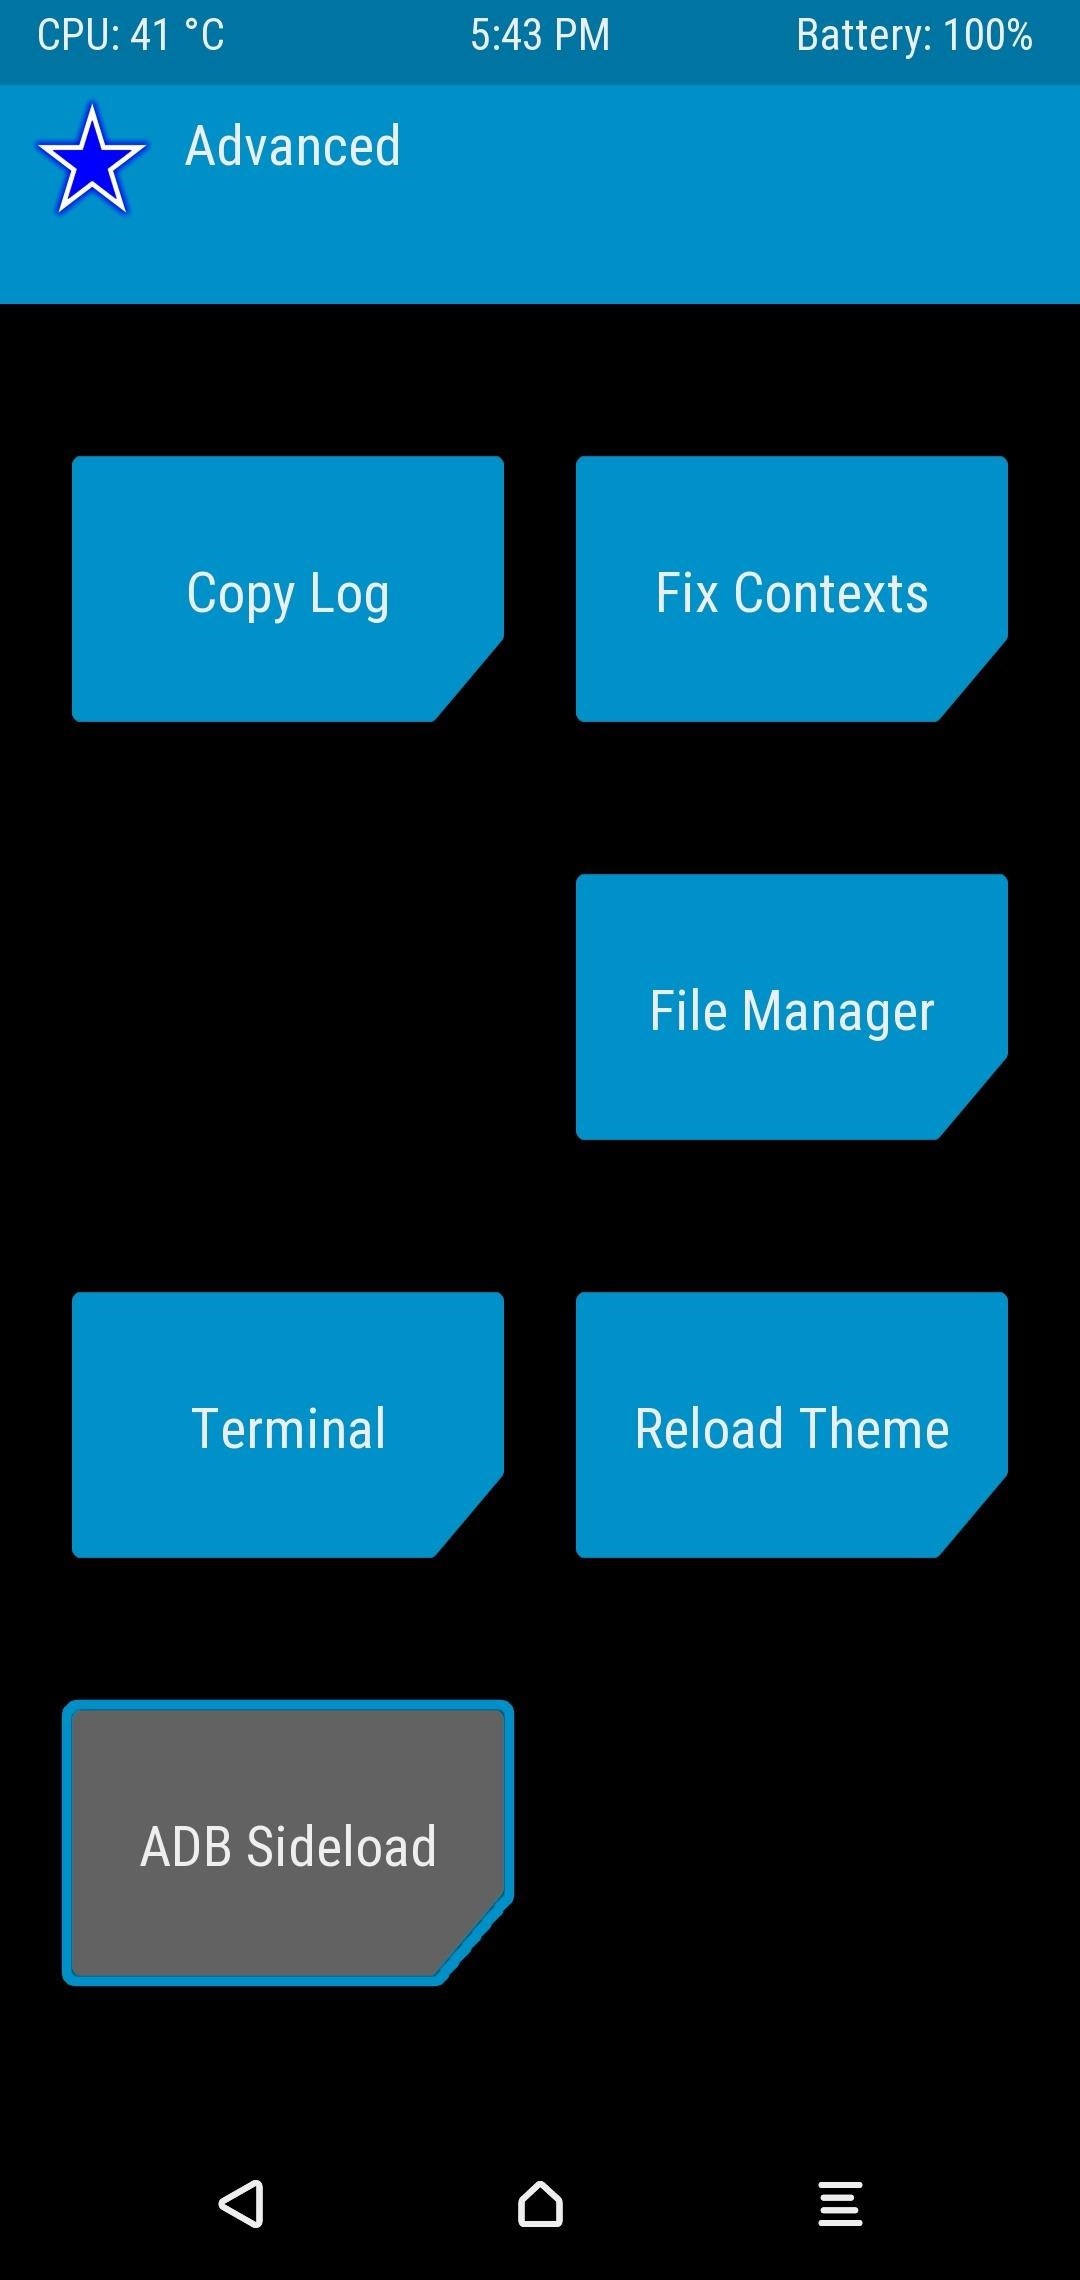
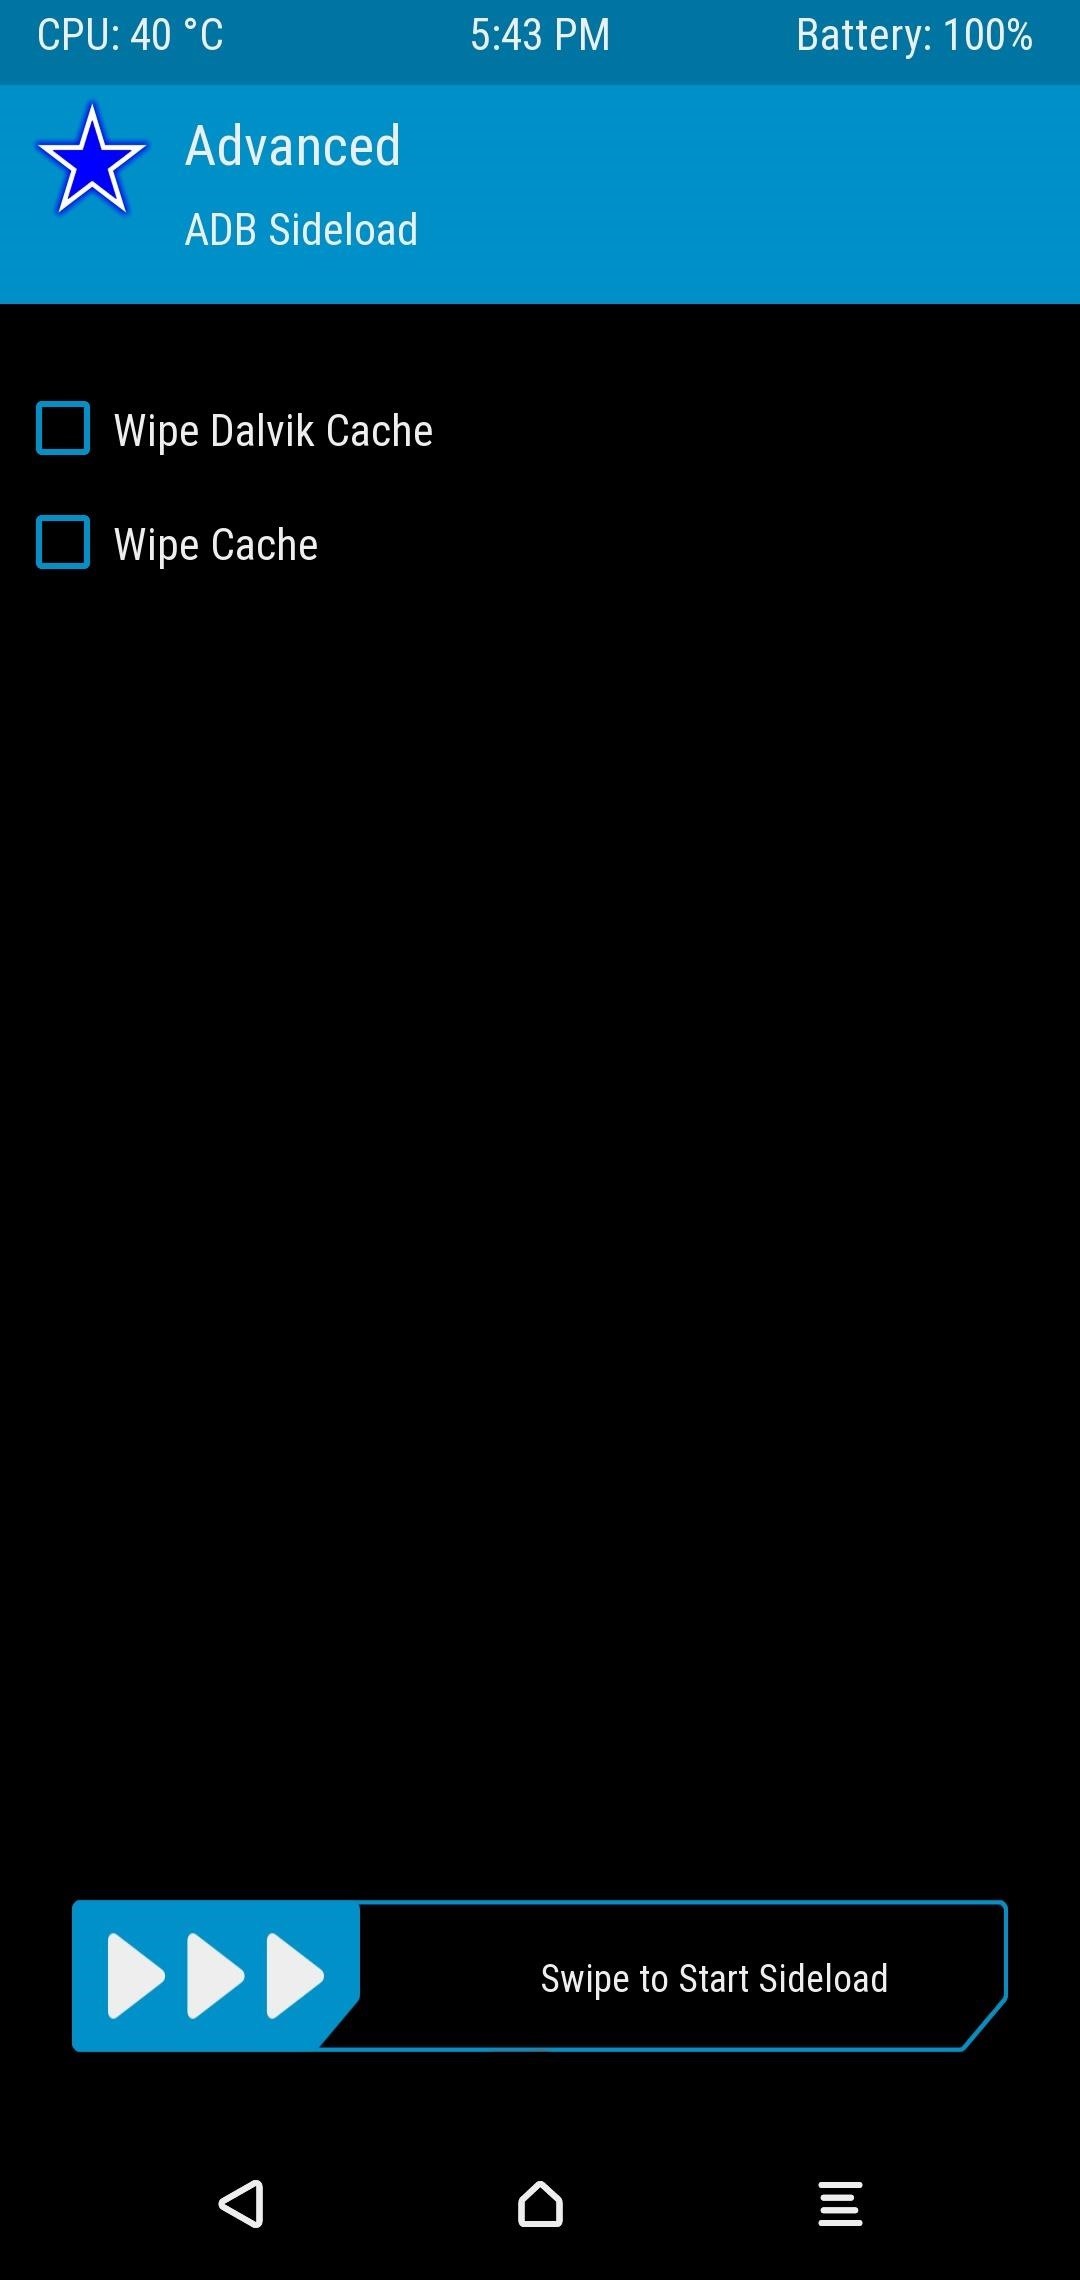
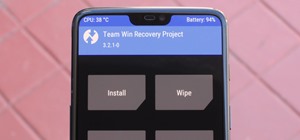
Now on your phone, you should have booted into the TWRP recovery environment where you will be presented with the "Modified System Partition" message. This is normal, but to continue, you must "Swipe to Allow Modifications" to be granted access to the TWRP main menu. Once you are on the main menu, you need to go to the Advanced –> ADB Sideload. For now, you don't need to bother with the two options that wipe the caches on your device, so just move on with "Swipe to Start Sideload."
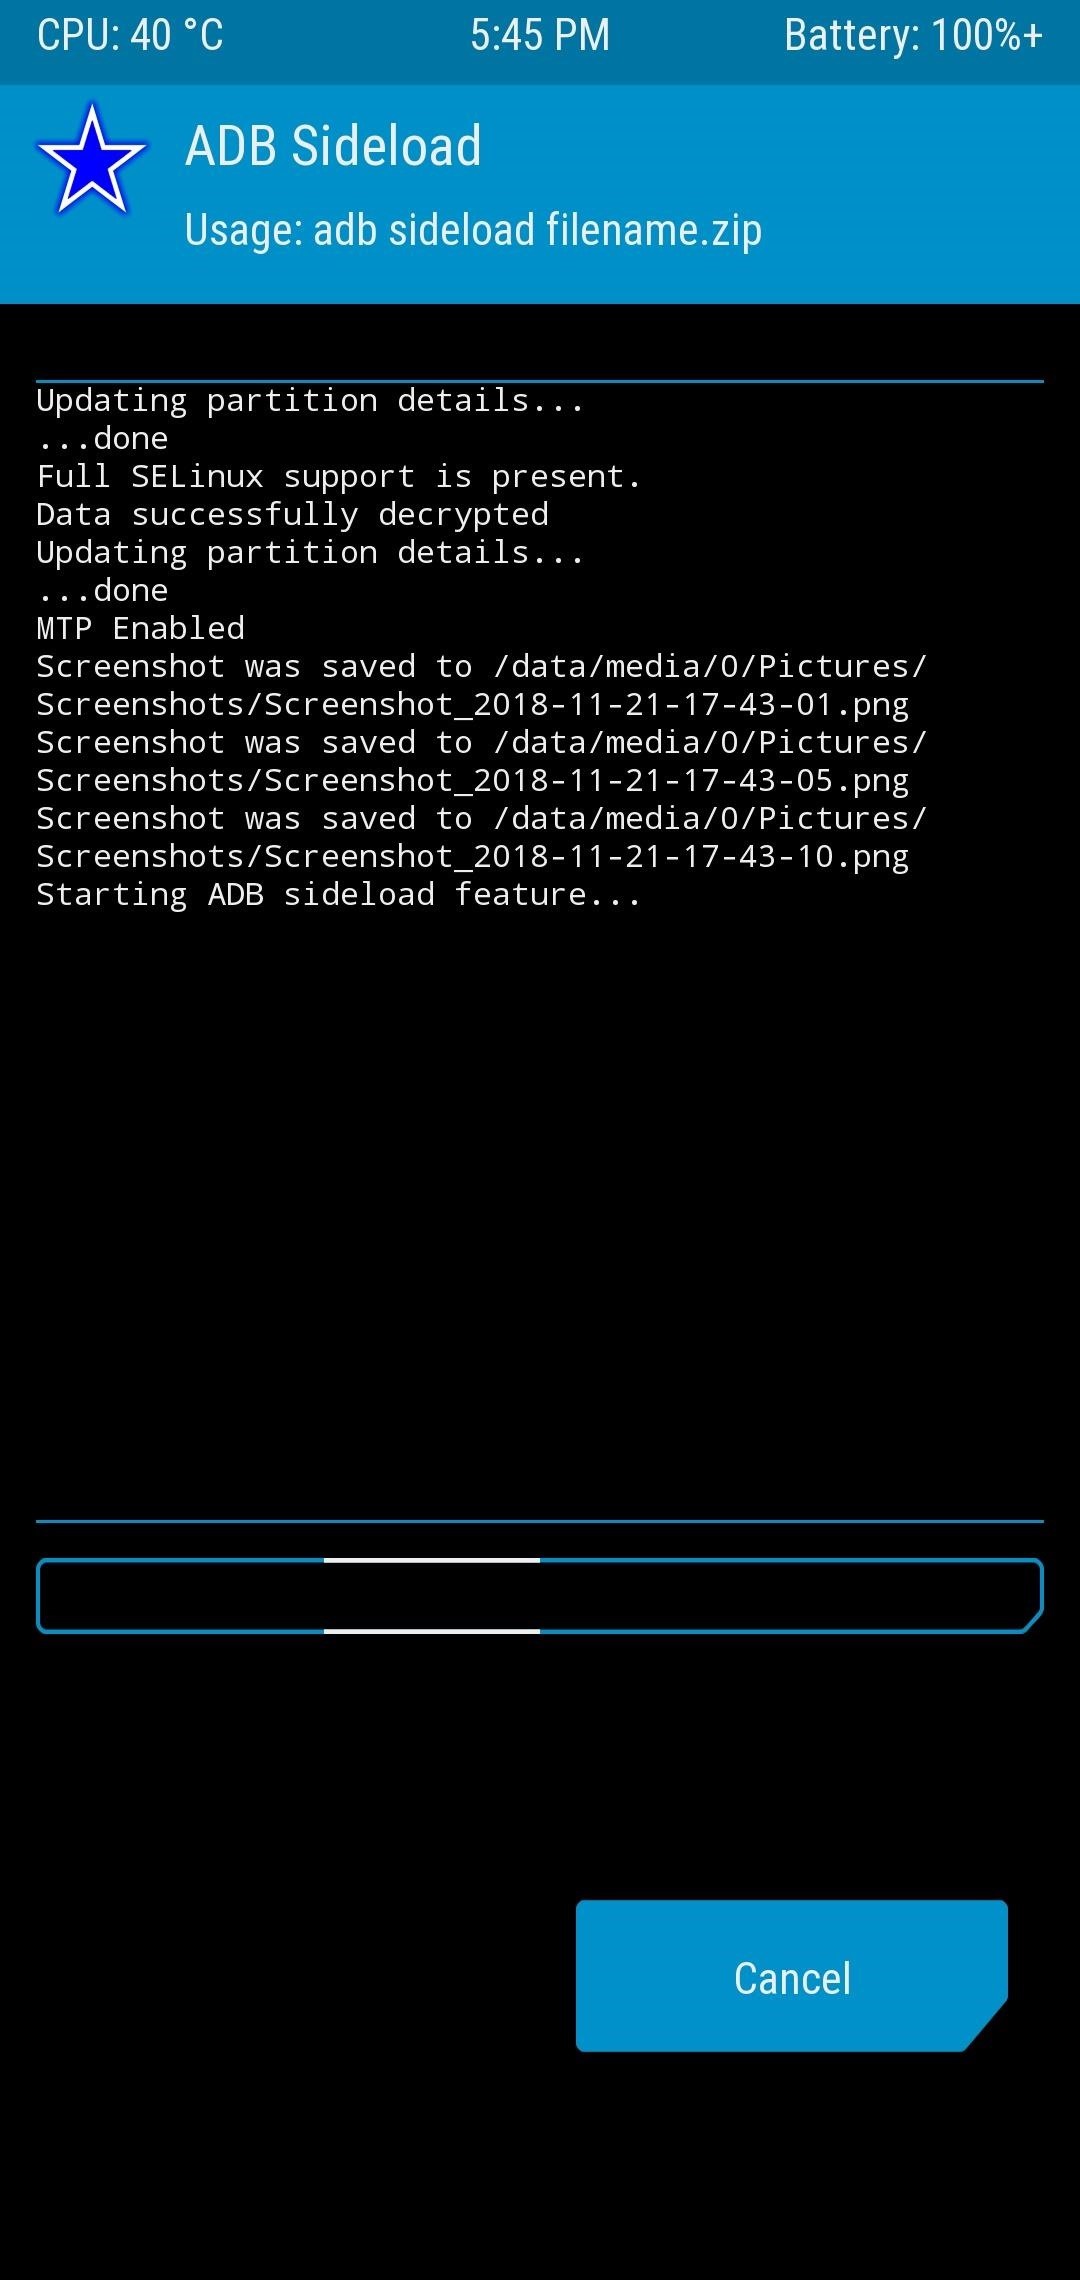
Now that the ADB sideload feature is running on your phone, head back to the platform-tools folder on your computer. You should still have your terminal application open and ready to go from the previous steps, if not, go back and repeat Step 5 to get back up and running.
In the terminal, you want to enter the following command, followed by enter.
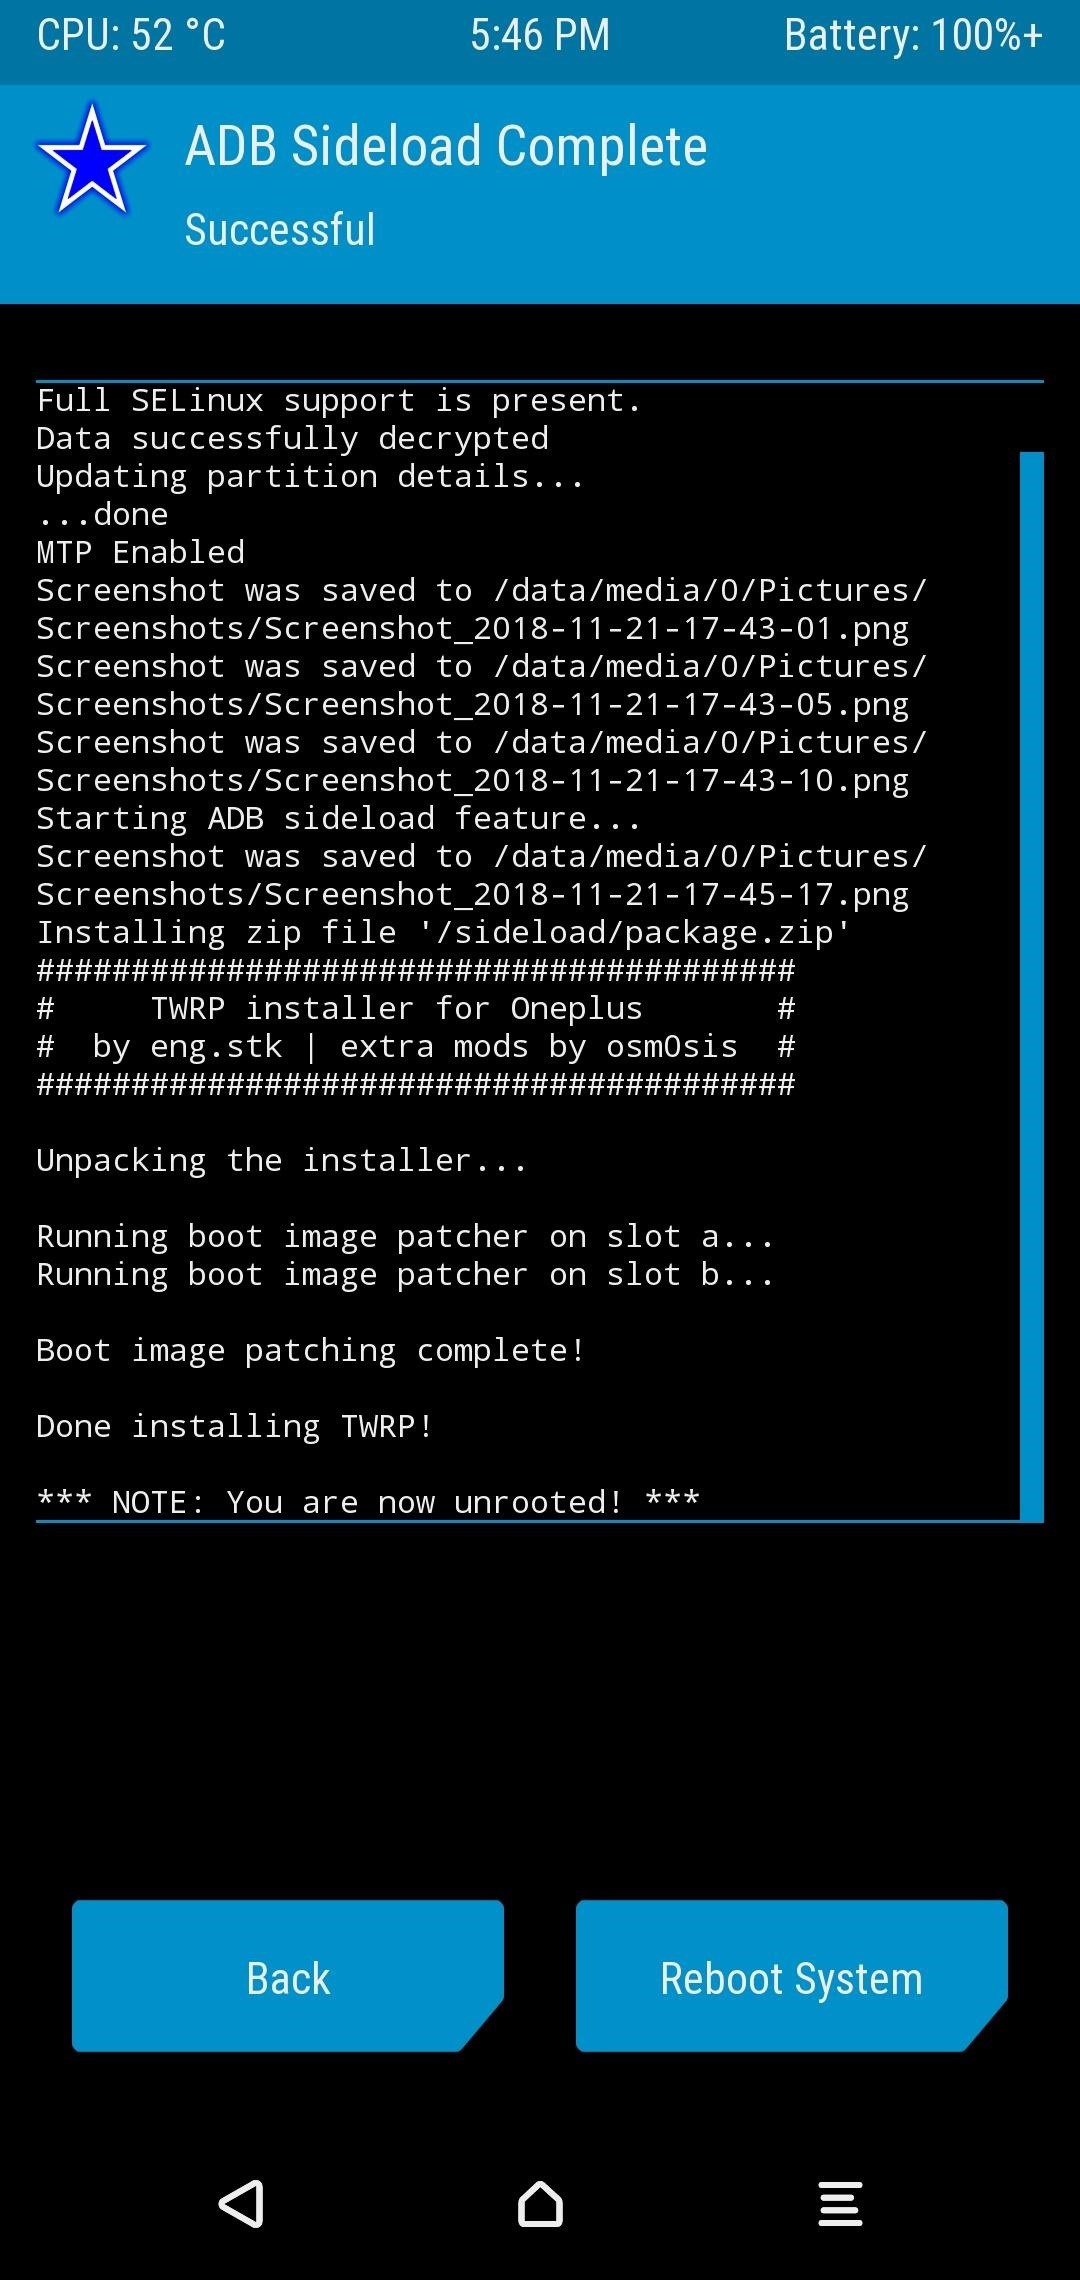
adb sideload twrp_perm.zipIt will take a minute or two to install, but it will do its thing and permanently flash TWRP to your system. Once it completes successfully, tap the home button at the bottom to return to the main menu. To test your new permanent version of TWRP, tap "Reboot," then "Recovery."
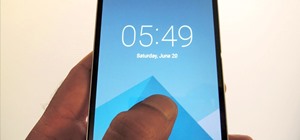
From here on out, you can get back into the TWRP recovery menu without using a terminal command from a computer. To get back into TWRP at any time from the operating system, long-press the power button to bring up your power menu, then select "Recovery." Simple as that!
Just updated your iPhone? You'll find new emoji, enhanced security, podcast transcripts, Apple Cash virtual numbers, and other useful features. There are even new additions hidden within Safari. Find out what's new and changed on your iPhone with the iOS 17.4 update.


11 Comments
Hey, how can I decrypt my oneplus 6t? I want to make nandroid backup, I have successfully rooted the phone, but an error shows up.
Cannot create '/data/media/0/ TWRP' folder (Required key not available). Failed to make backup folder.
Maybe this is because my phone is encrypted. I have already tried taking backup after both having and removing pattern on device.
hello good day i'm trying to install twrp and i have been successful up to the point where im supposed to type in adb sideload twrp_perm.zip. it says that no device or emulator is found but the previous tasks are fine i got throught unlocking the bootloader fine but it seem s as though his just isnt working. i want to know if im just doing something wrong or what is causing the issue
i was slightly confused when they said in the instructions to go back to the platform-tools and then they said nothing concerning the matter. Can you advise be on how to get over this hurdle
Hi, since creating this guide, TWRP has become official for the OnePlus 6T. I have updated Step 2 of this guide to the official TWRP image and zip files. Please reflash TWRP with the official versions I have linked to and try to make a Nandroid backup again and see if this fixes it. If not, we can go from there and see how we can fix it if you're still having issues.
hello good day i'm trying to install twrp and i have been successful up to the point where im supposed to type in adb sideload twrp_perm.zip. it says that no device or emulator is found but the previous tasks are fine i got throught unlocking the bootloader fine but it seem s as though his just isnt working. i want to know if im just doing something wrong or what is causing the issue
i was slightly confused when they said in the instructions to go back to the platform-tools and then they said nothing concerning the matter. Can you advise be on how to get over this hurdle
Hi there, the platform-tools folder you previously had to download and extract from Step 5, you must open a command window from within this folder before you can flash the twrp-perm.zip file. If you closed the command window before you got to Step 8, you'll need to repeat Step 5 to open it back up.
If your device is not listed in fastboot mode from Step 6, make sure the cable is properly secured and that you're running the commands from the platform-tools folder. It can be confusing at first, but I'll help you through it if you're still stuck.
If I flash twrp do I lose all my data?
You don't lose any data by default when installing TWRP, so you're safe there!
hi, tq for accepting me to be a member. in my humble opinion the biggest concern is bricking the phone. it is for this reason, i believe decrypting the one plus 6t is the safest to be. i just bought the phone 4 days back and before this i was having one plus 5t. i had it decrypted from day one. till now for one year, i hv no problem on encryption issues. But with one plus 6t, i find it very surprising that i could not find decrytion anywhere in google. this makes me nervous really. why is 6t not allowing decrypt on this model. i am hoping someone could provide me with a solution. thank you
pls note that without decryption, i could not backup using twrp. why is oneplus 6t making our lives difficult? i hv no such problem with oneplus 5t. it is as though one plus 5t n one plus 6t are managed by 2 different companies. Are they?
Share Your Thoughts